Plant profiles: Mint (#1) Diy mint water!

Hello everybody! I hope you are having a good day! Today I want to share with you how you can make mint water with your homegrown mint! Let’s get started!

Mint water is so refreshing and a great summer drink! It is so easy to make as well! Here is what you have to do to make your own mint water.

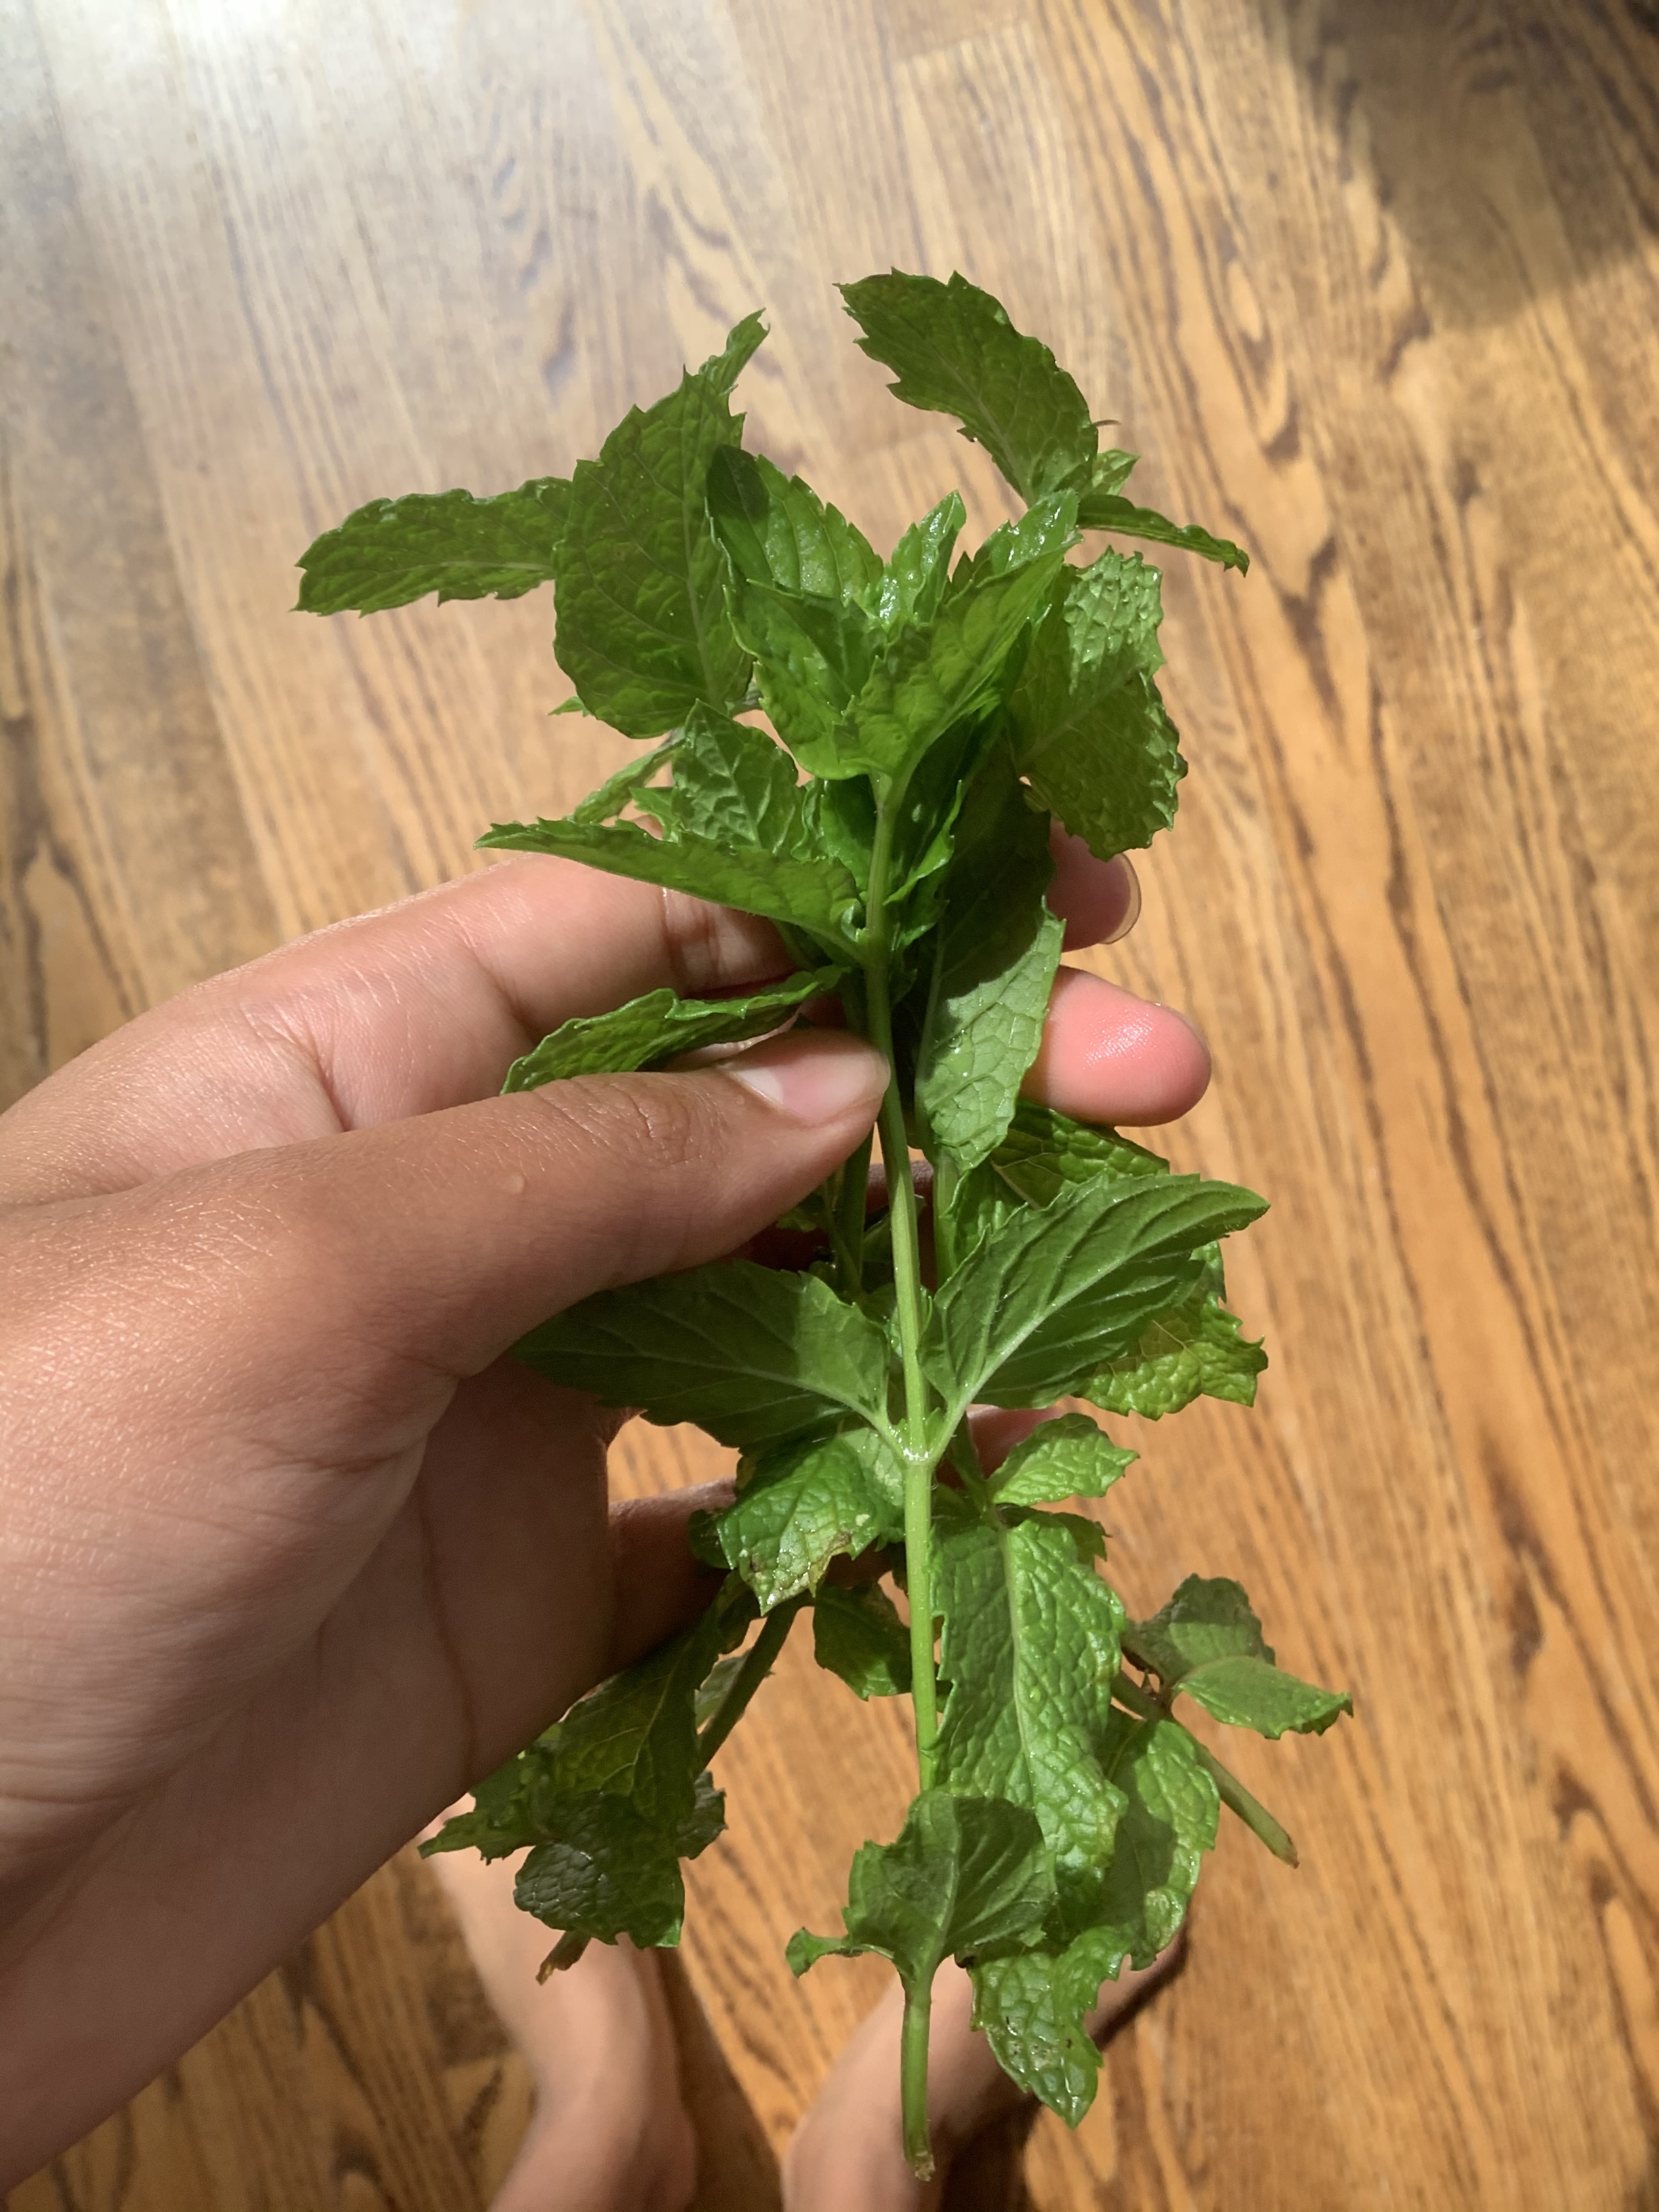
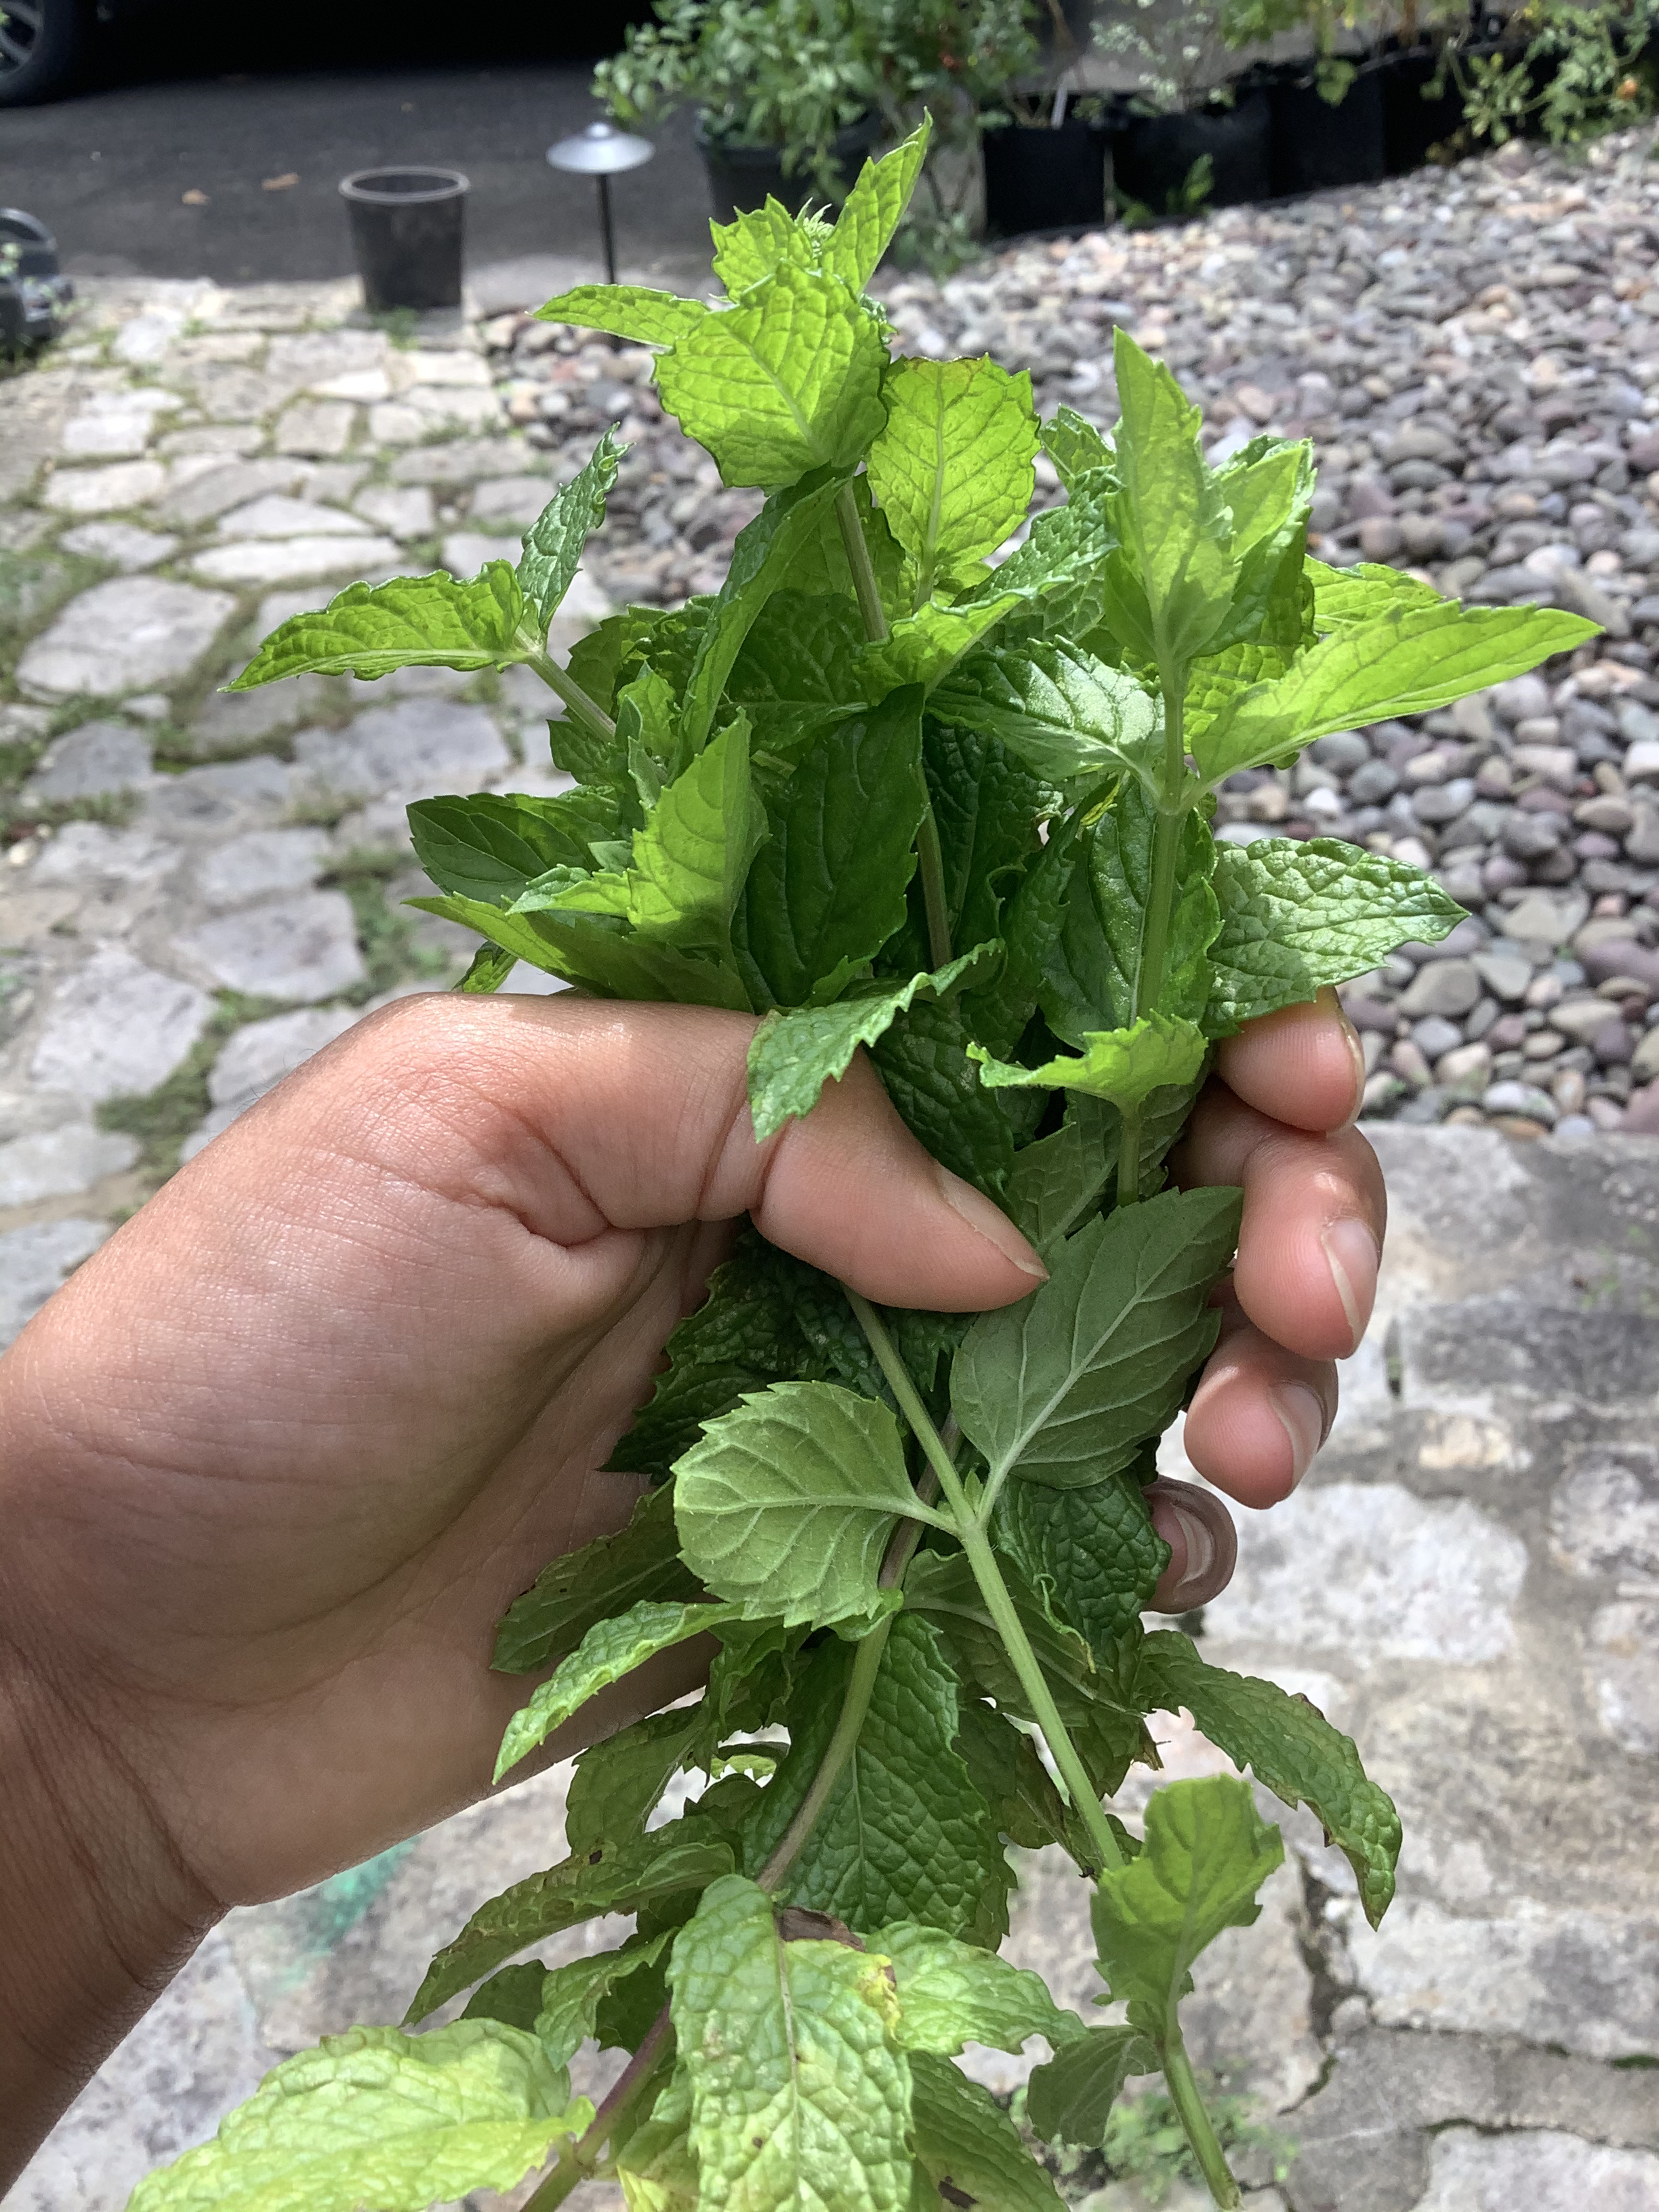
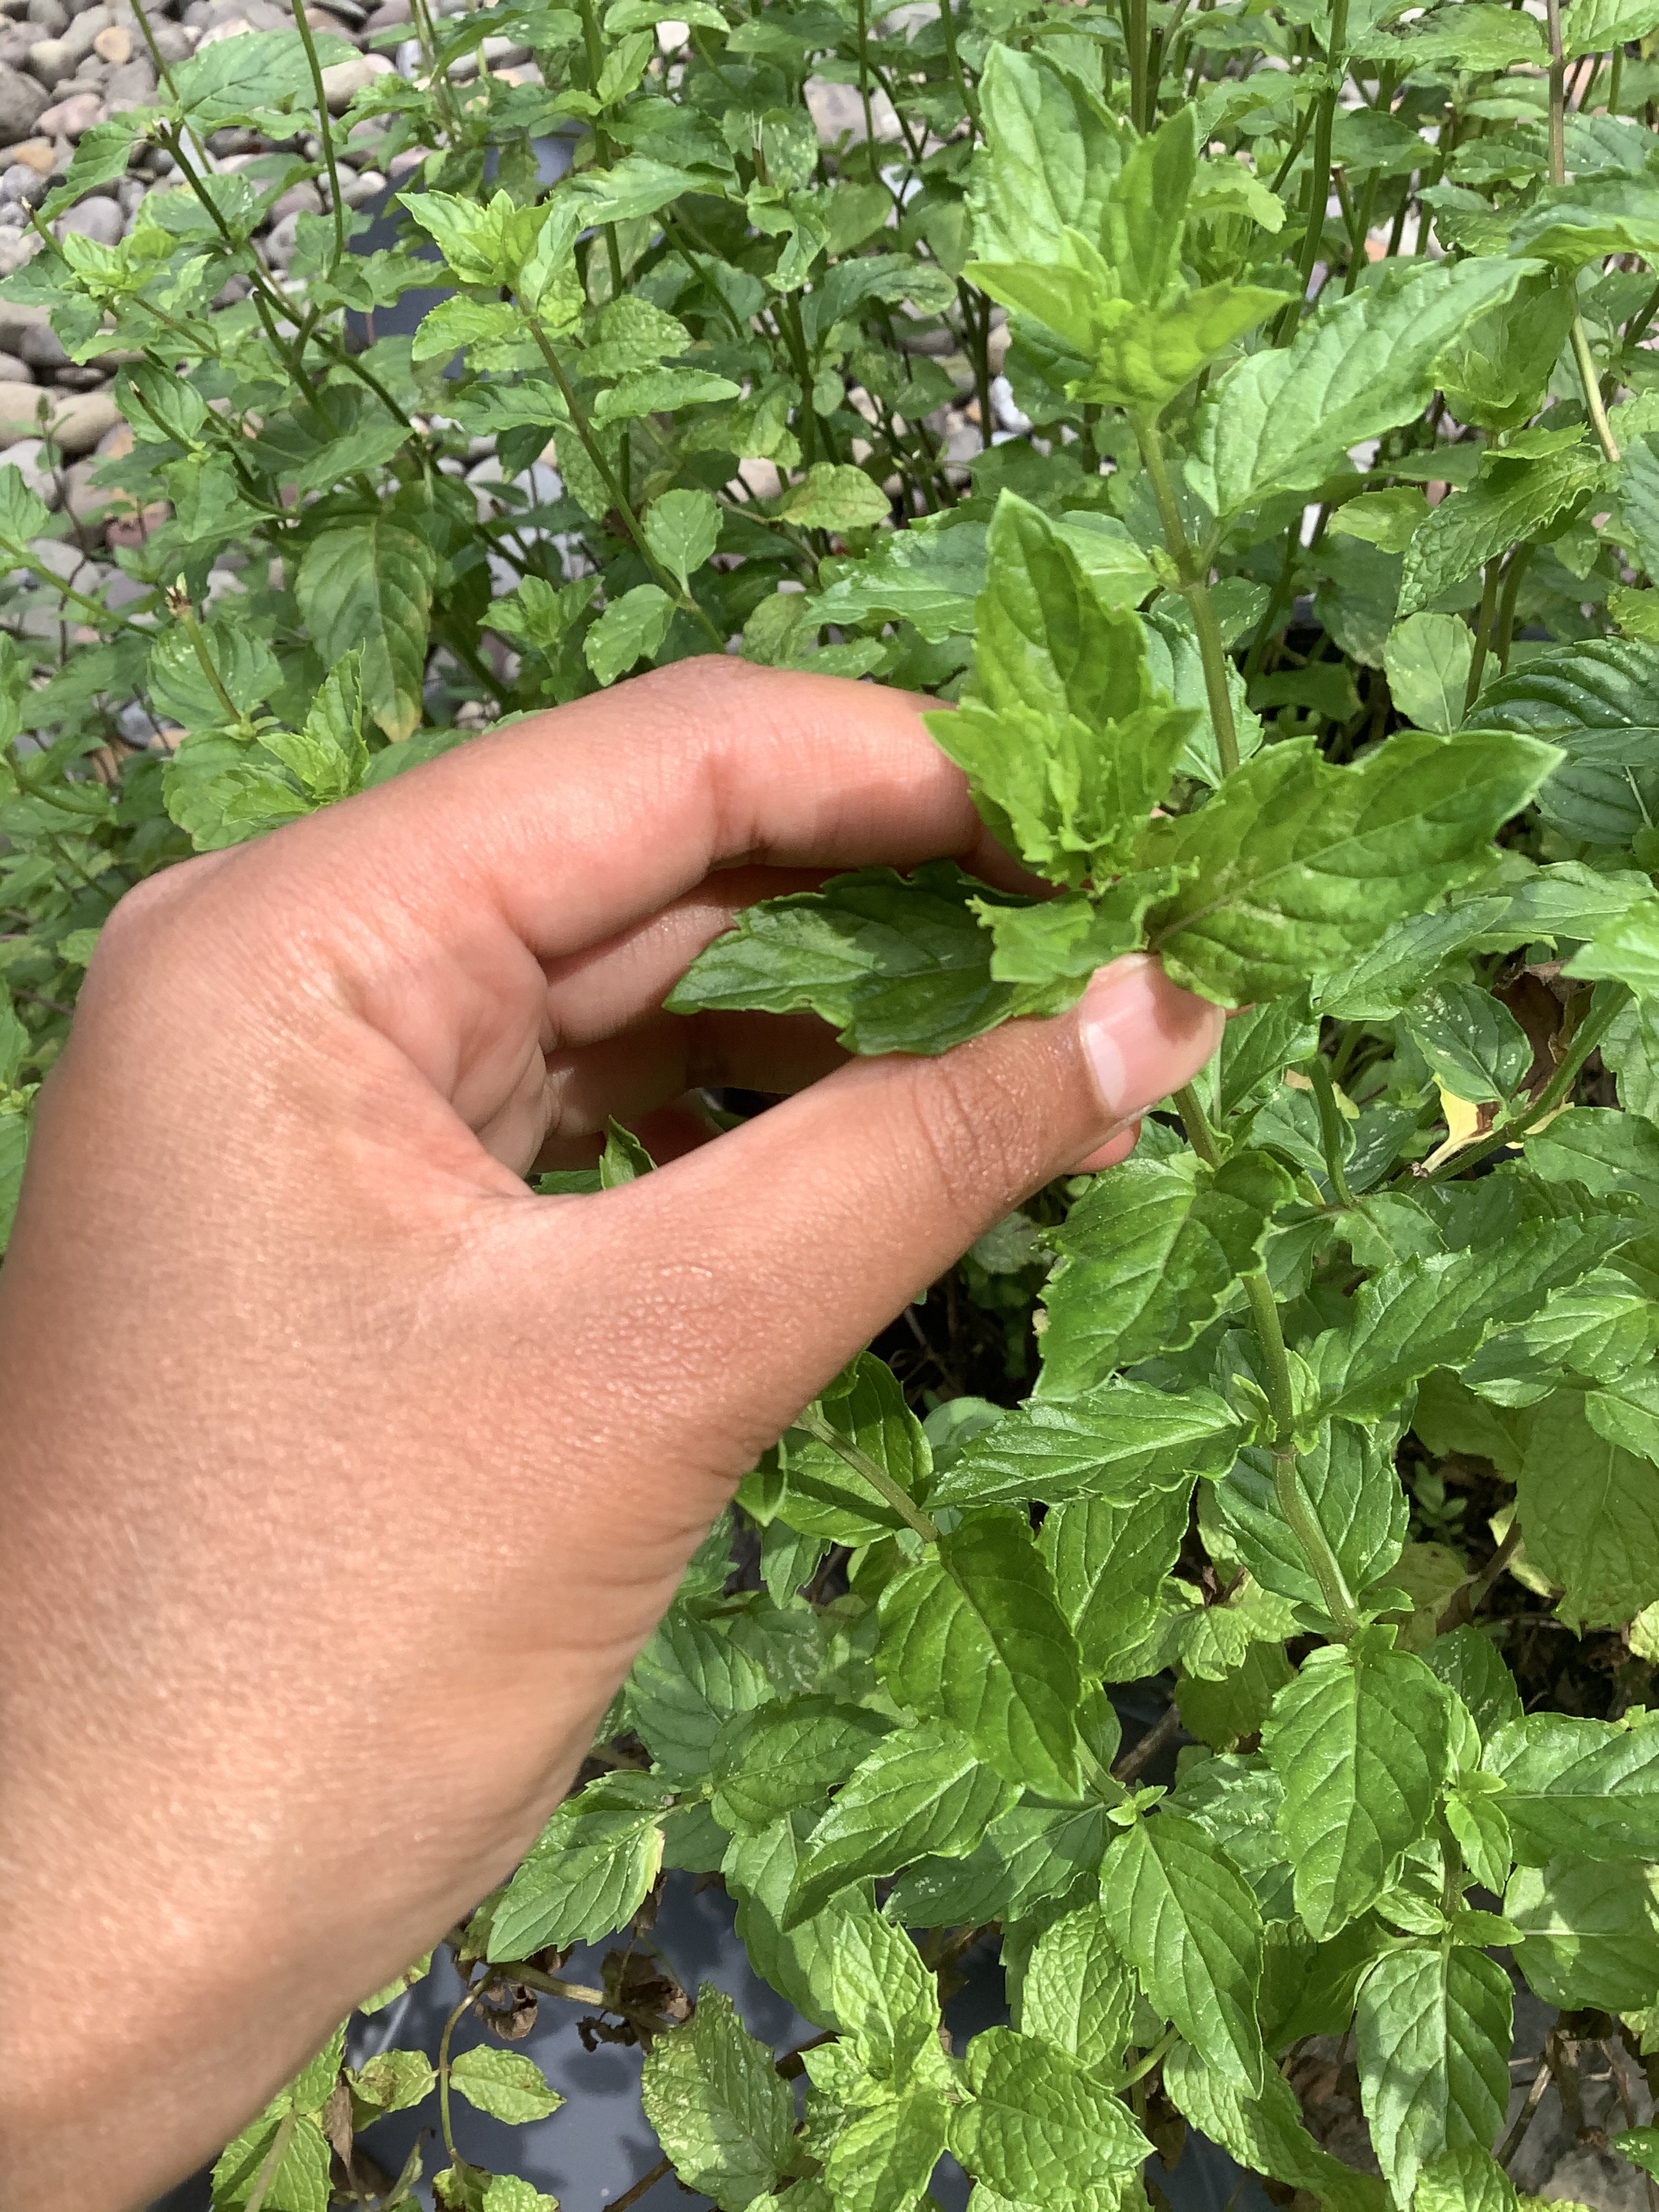
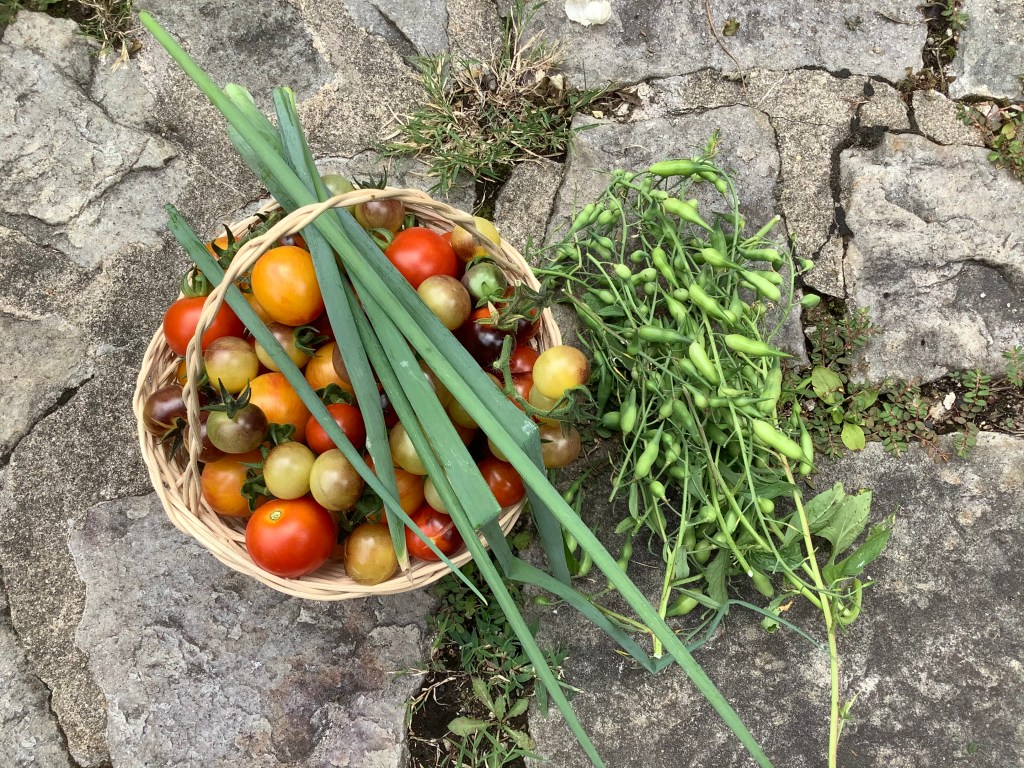
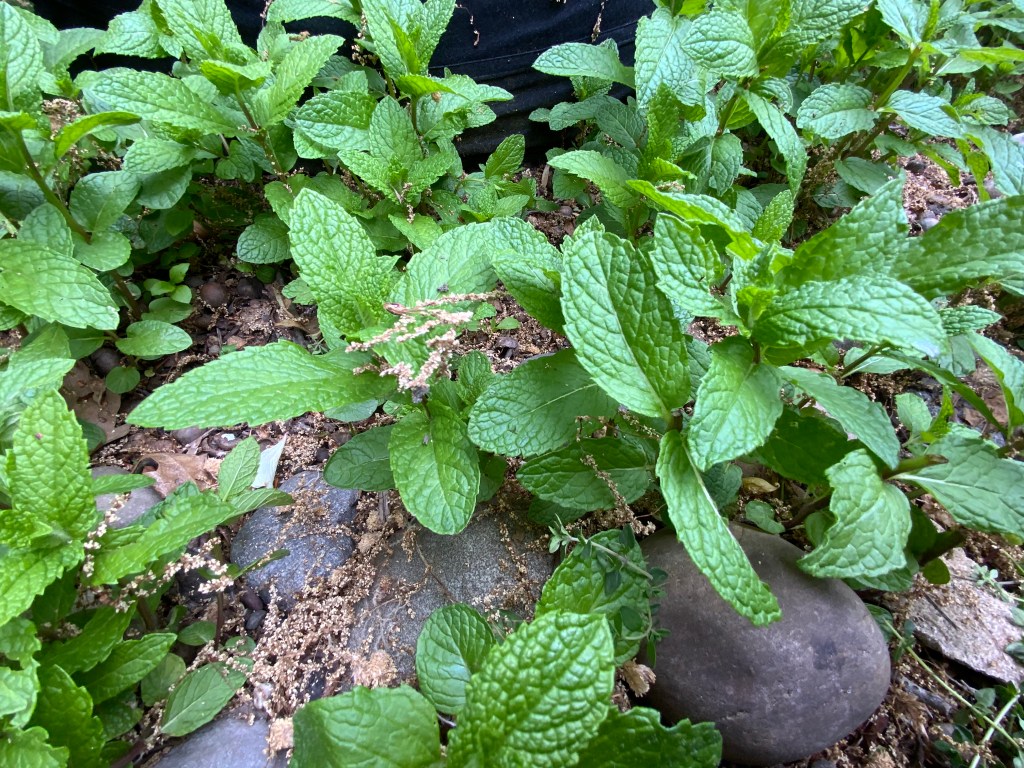
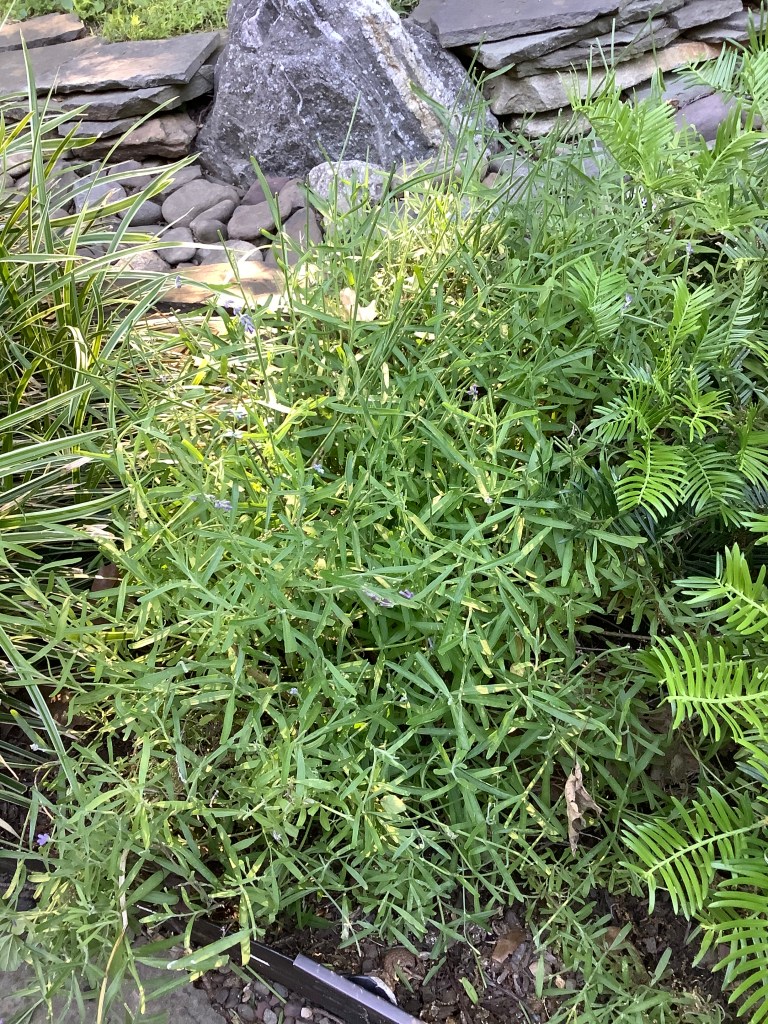
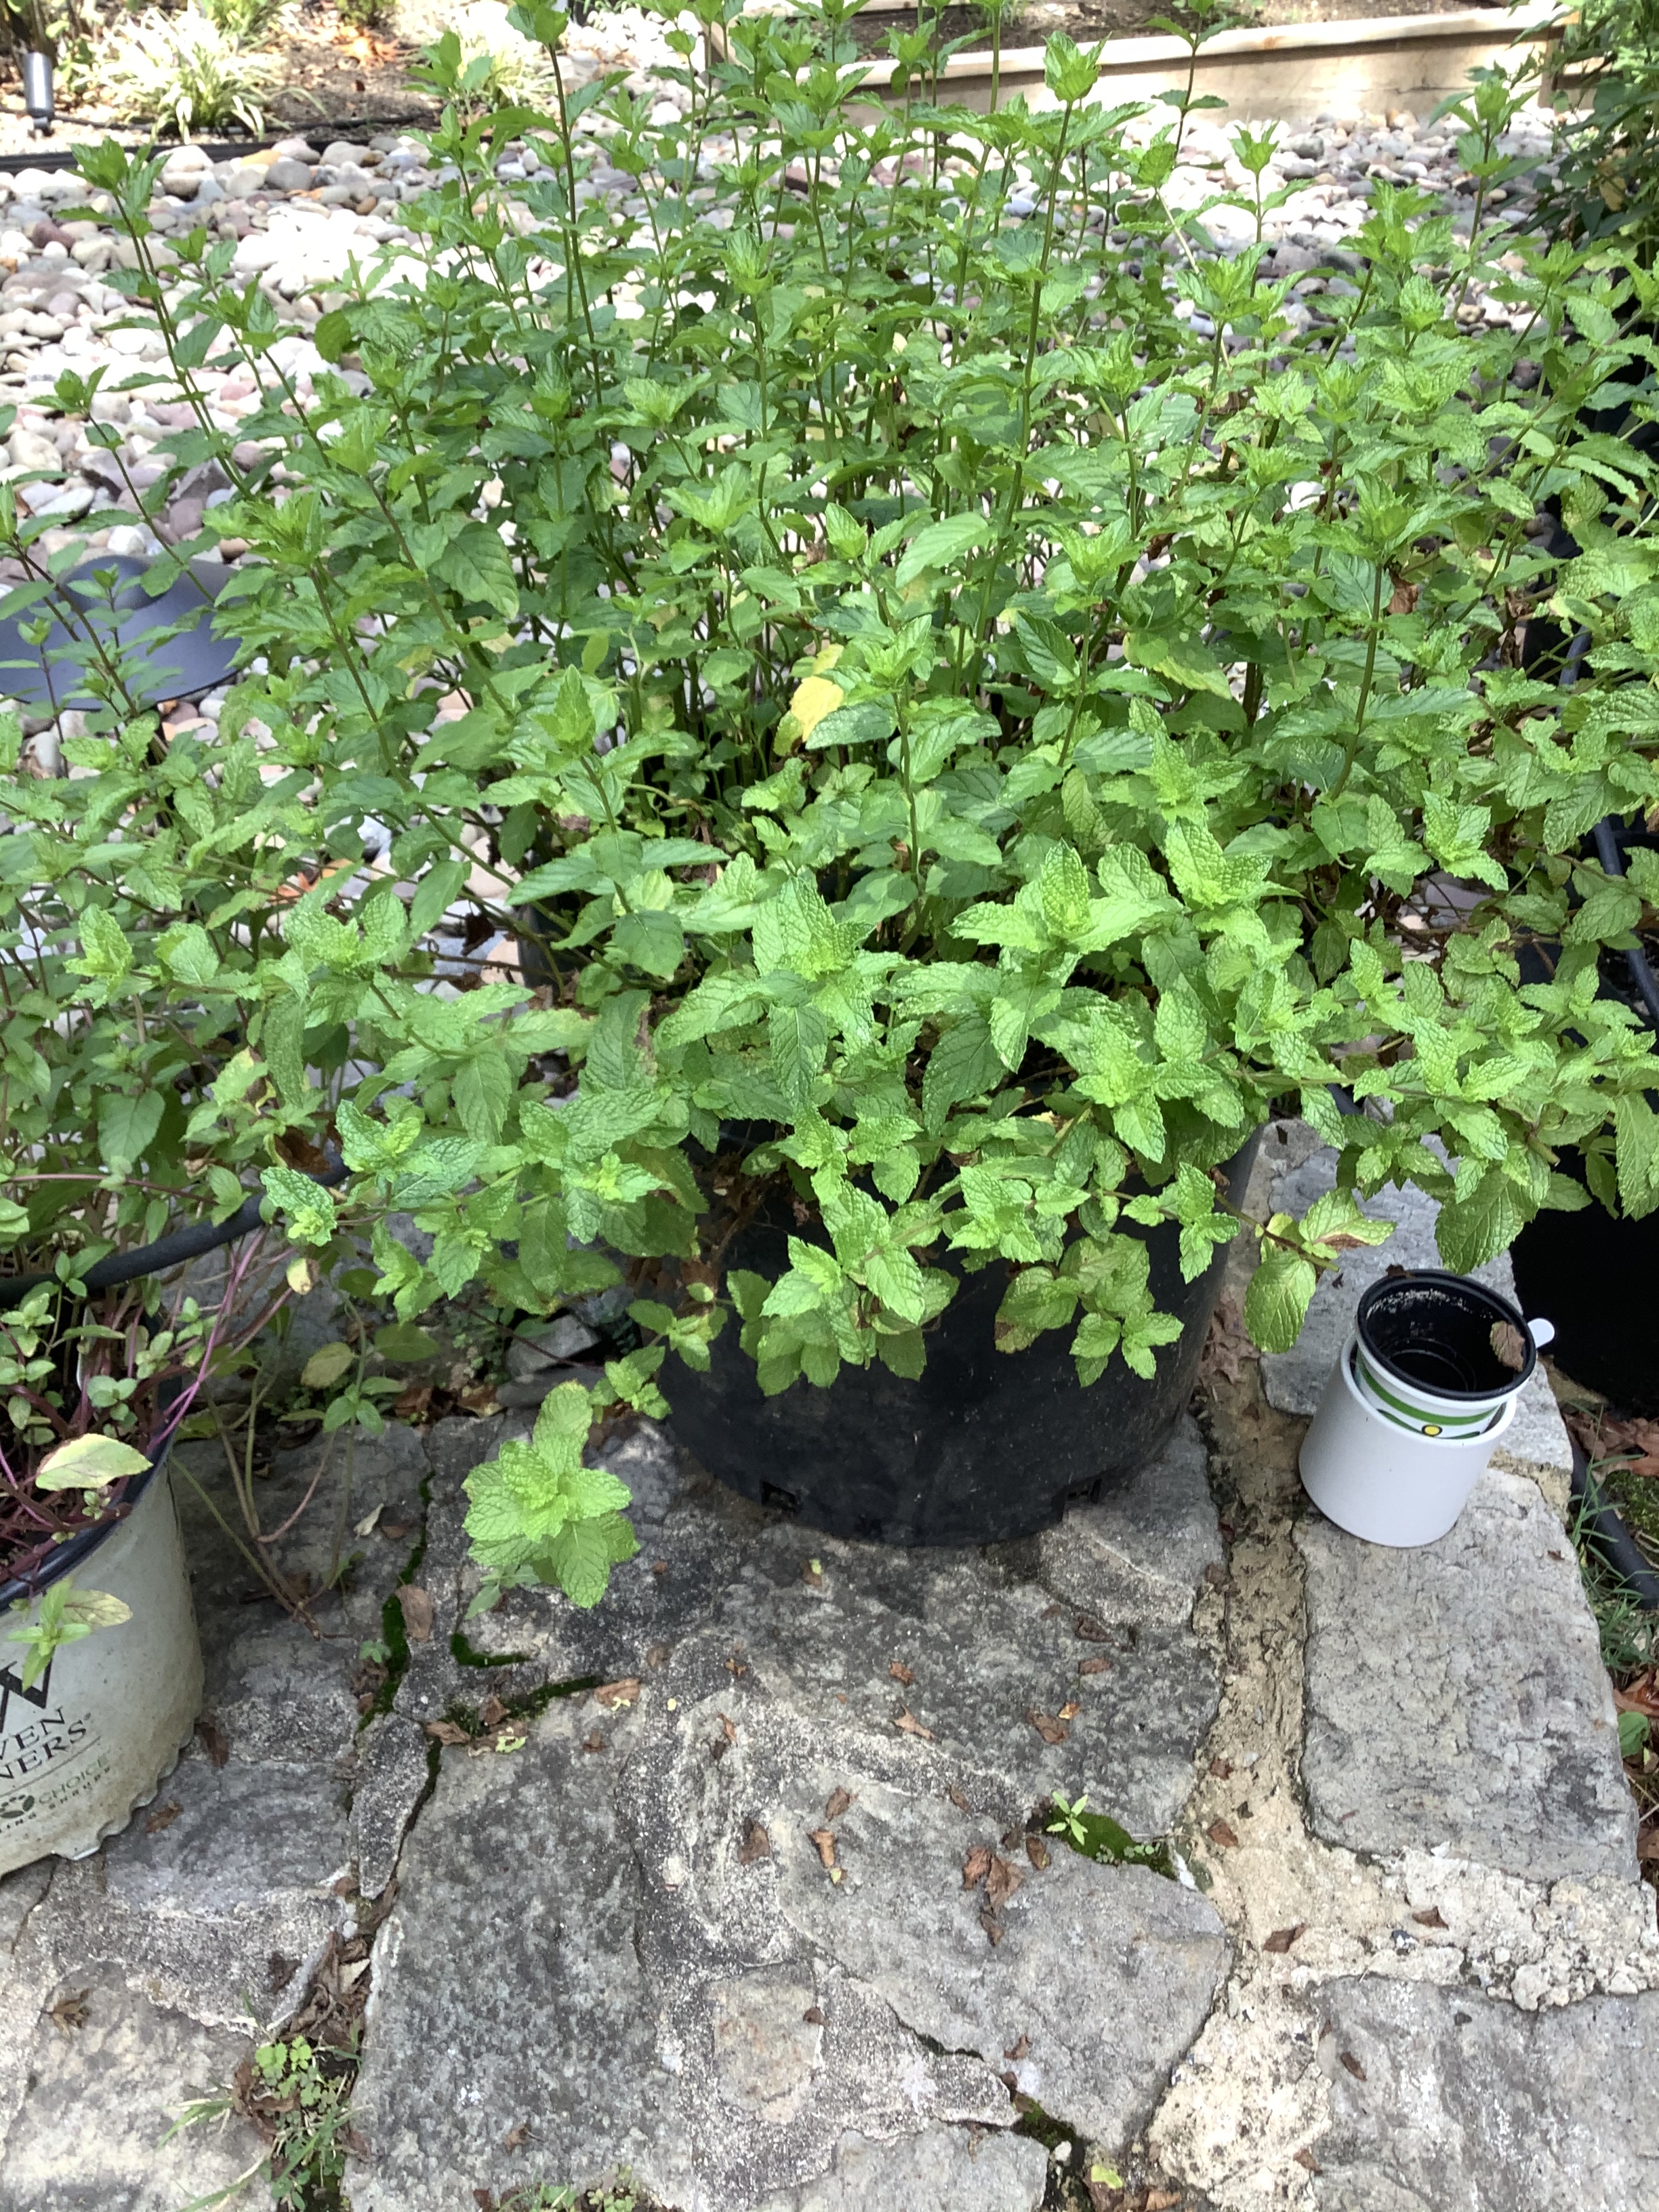
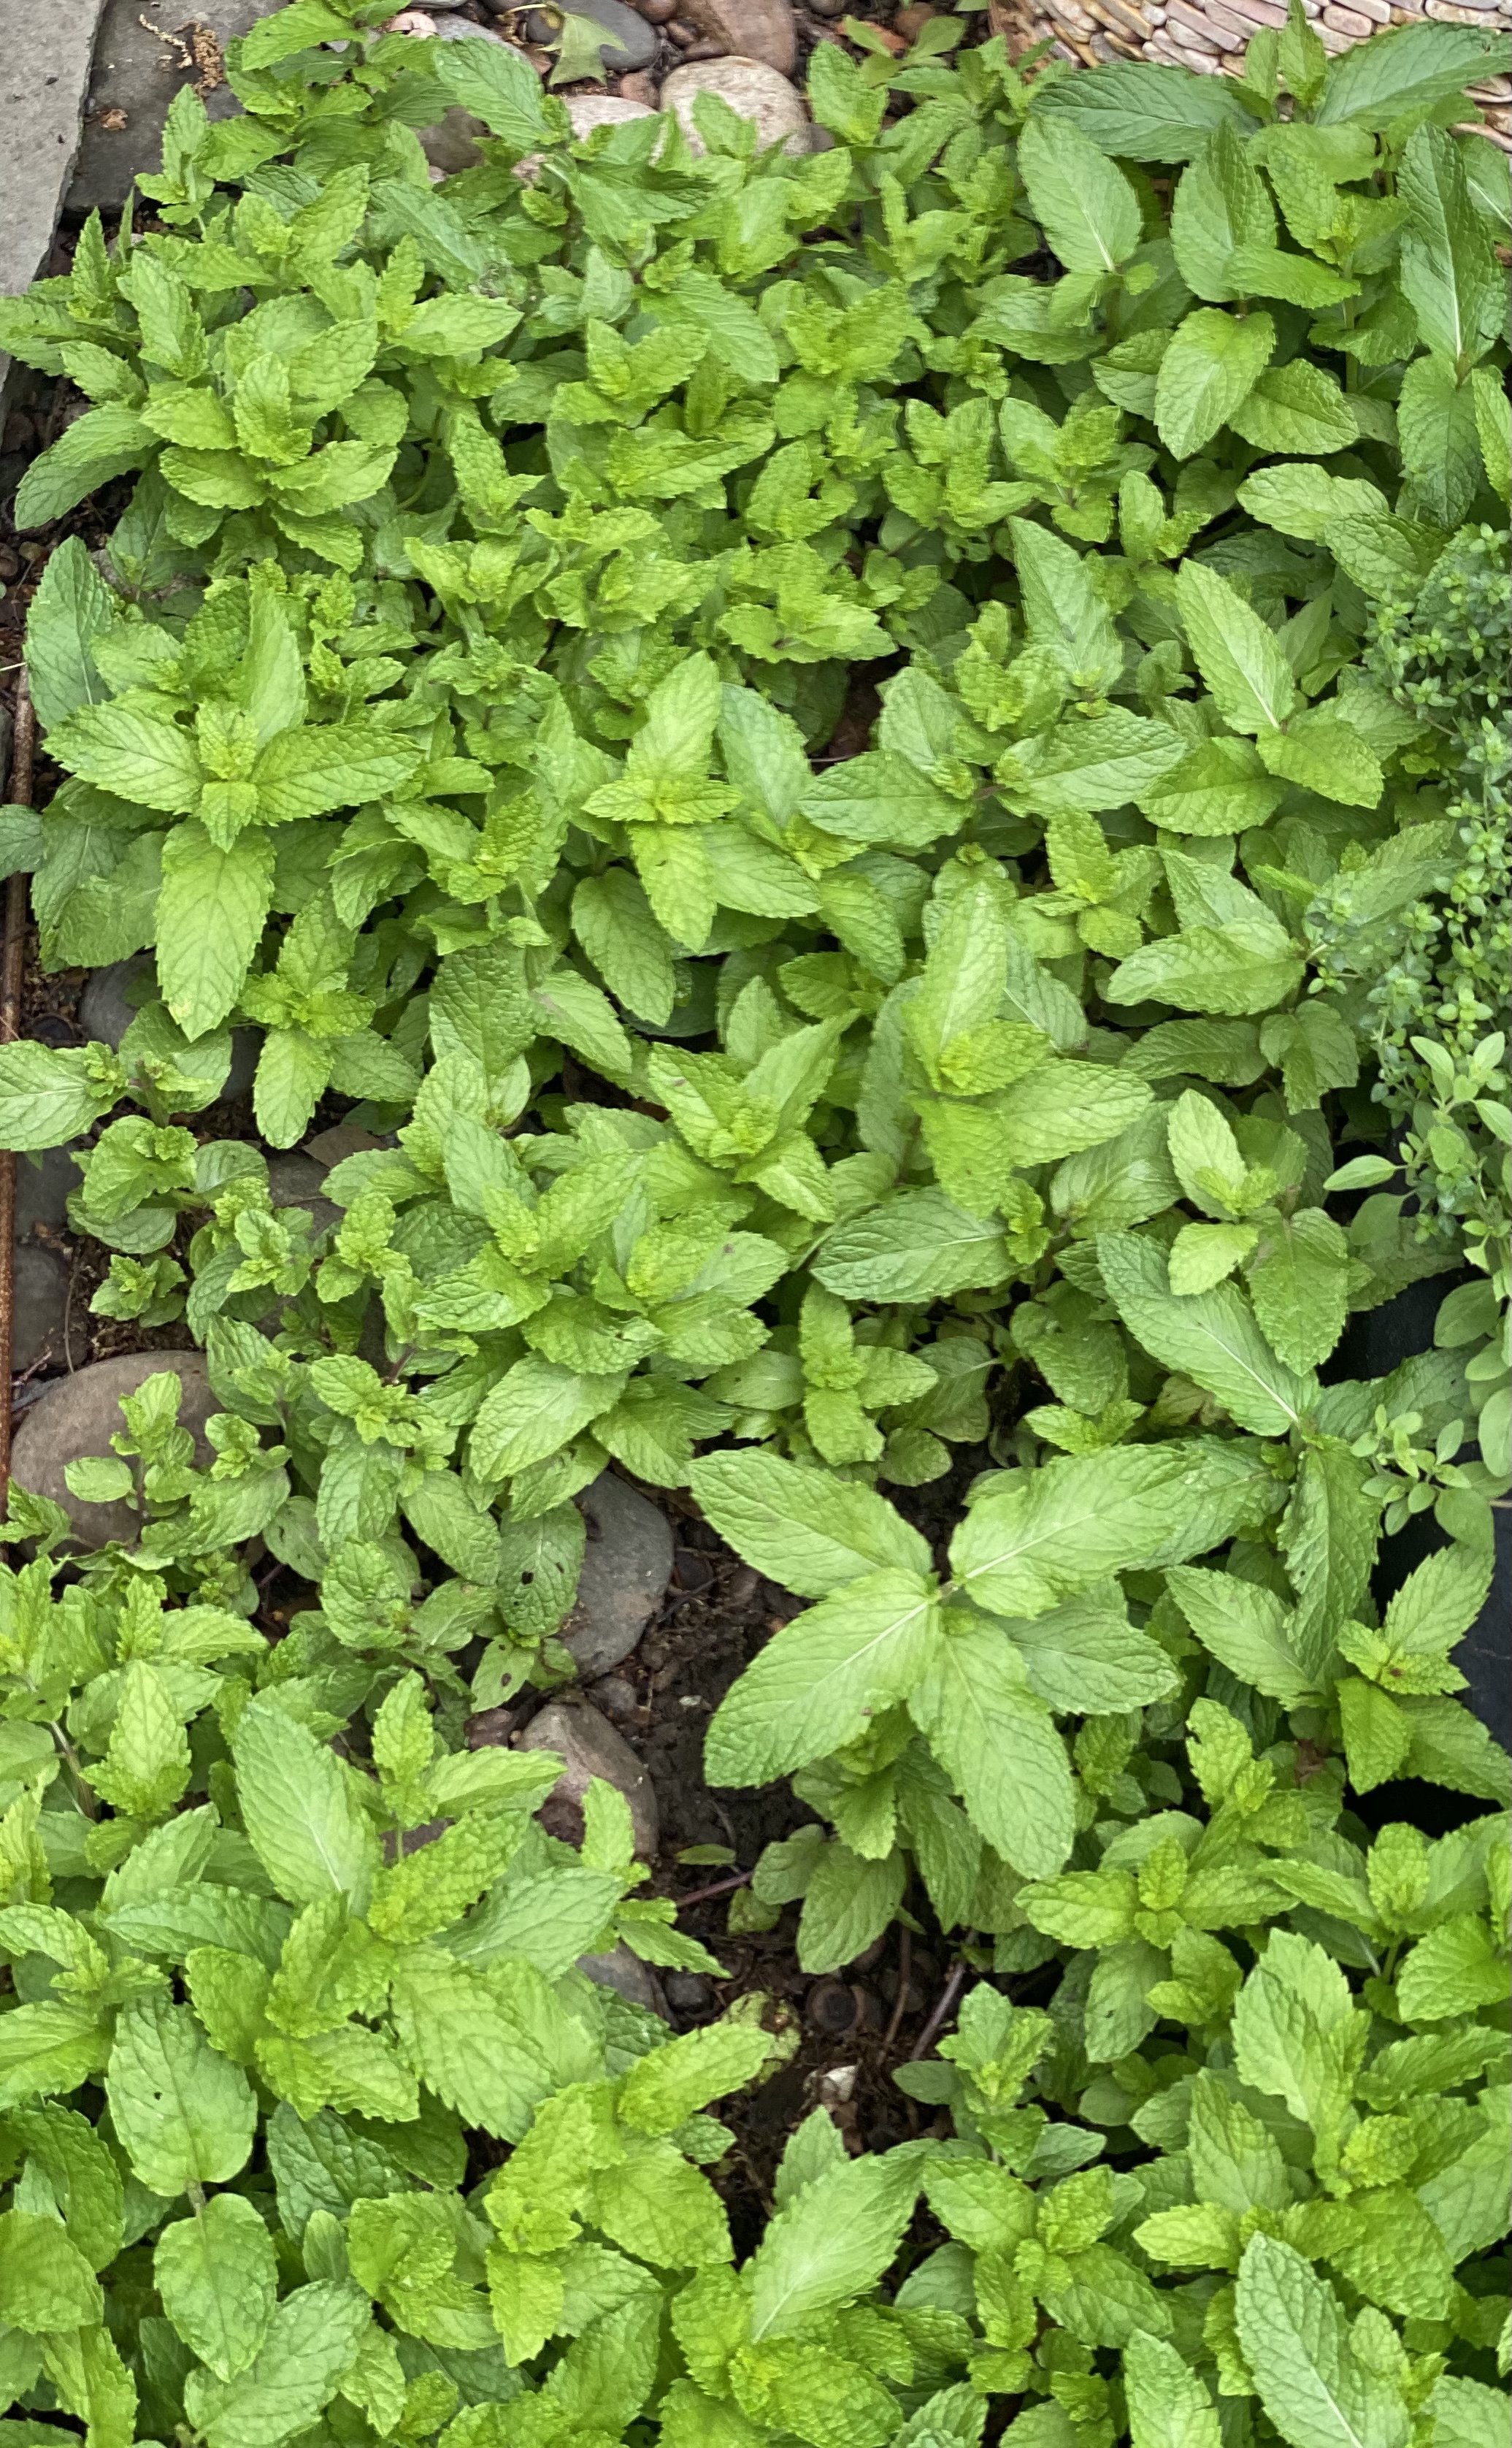
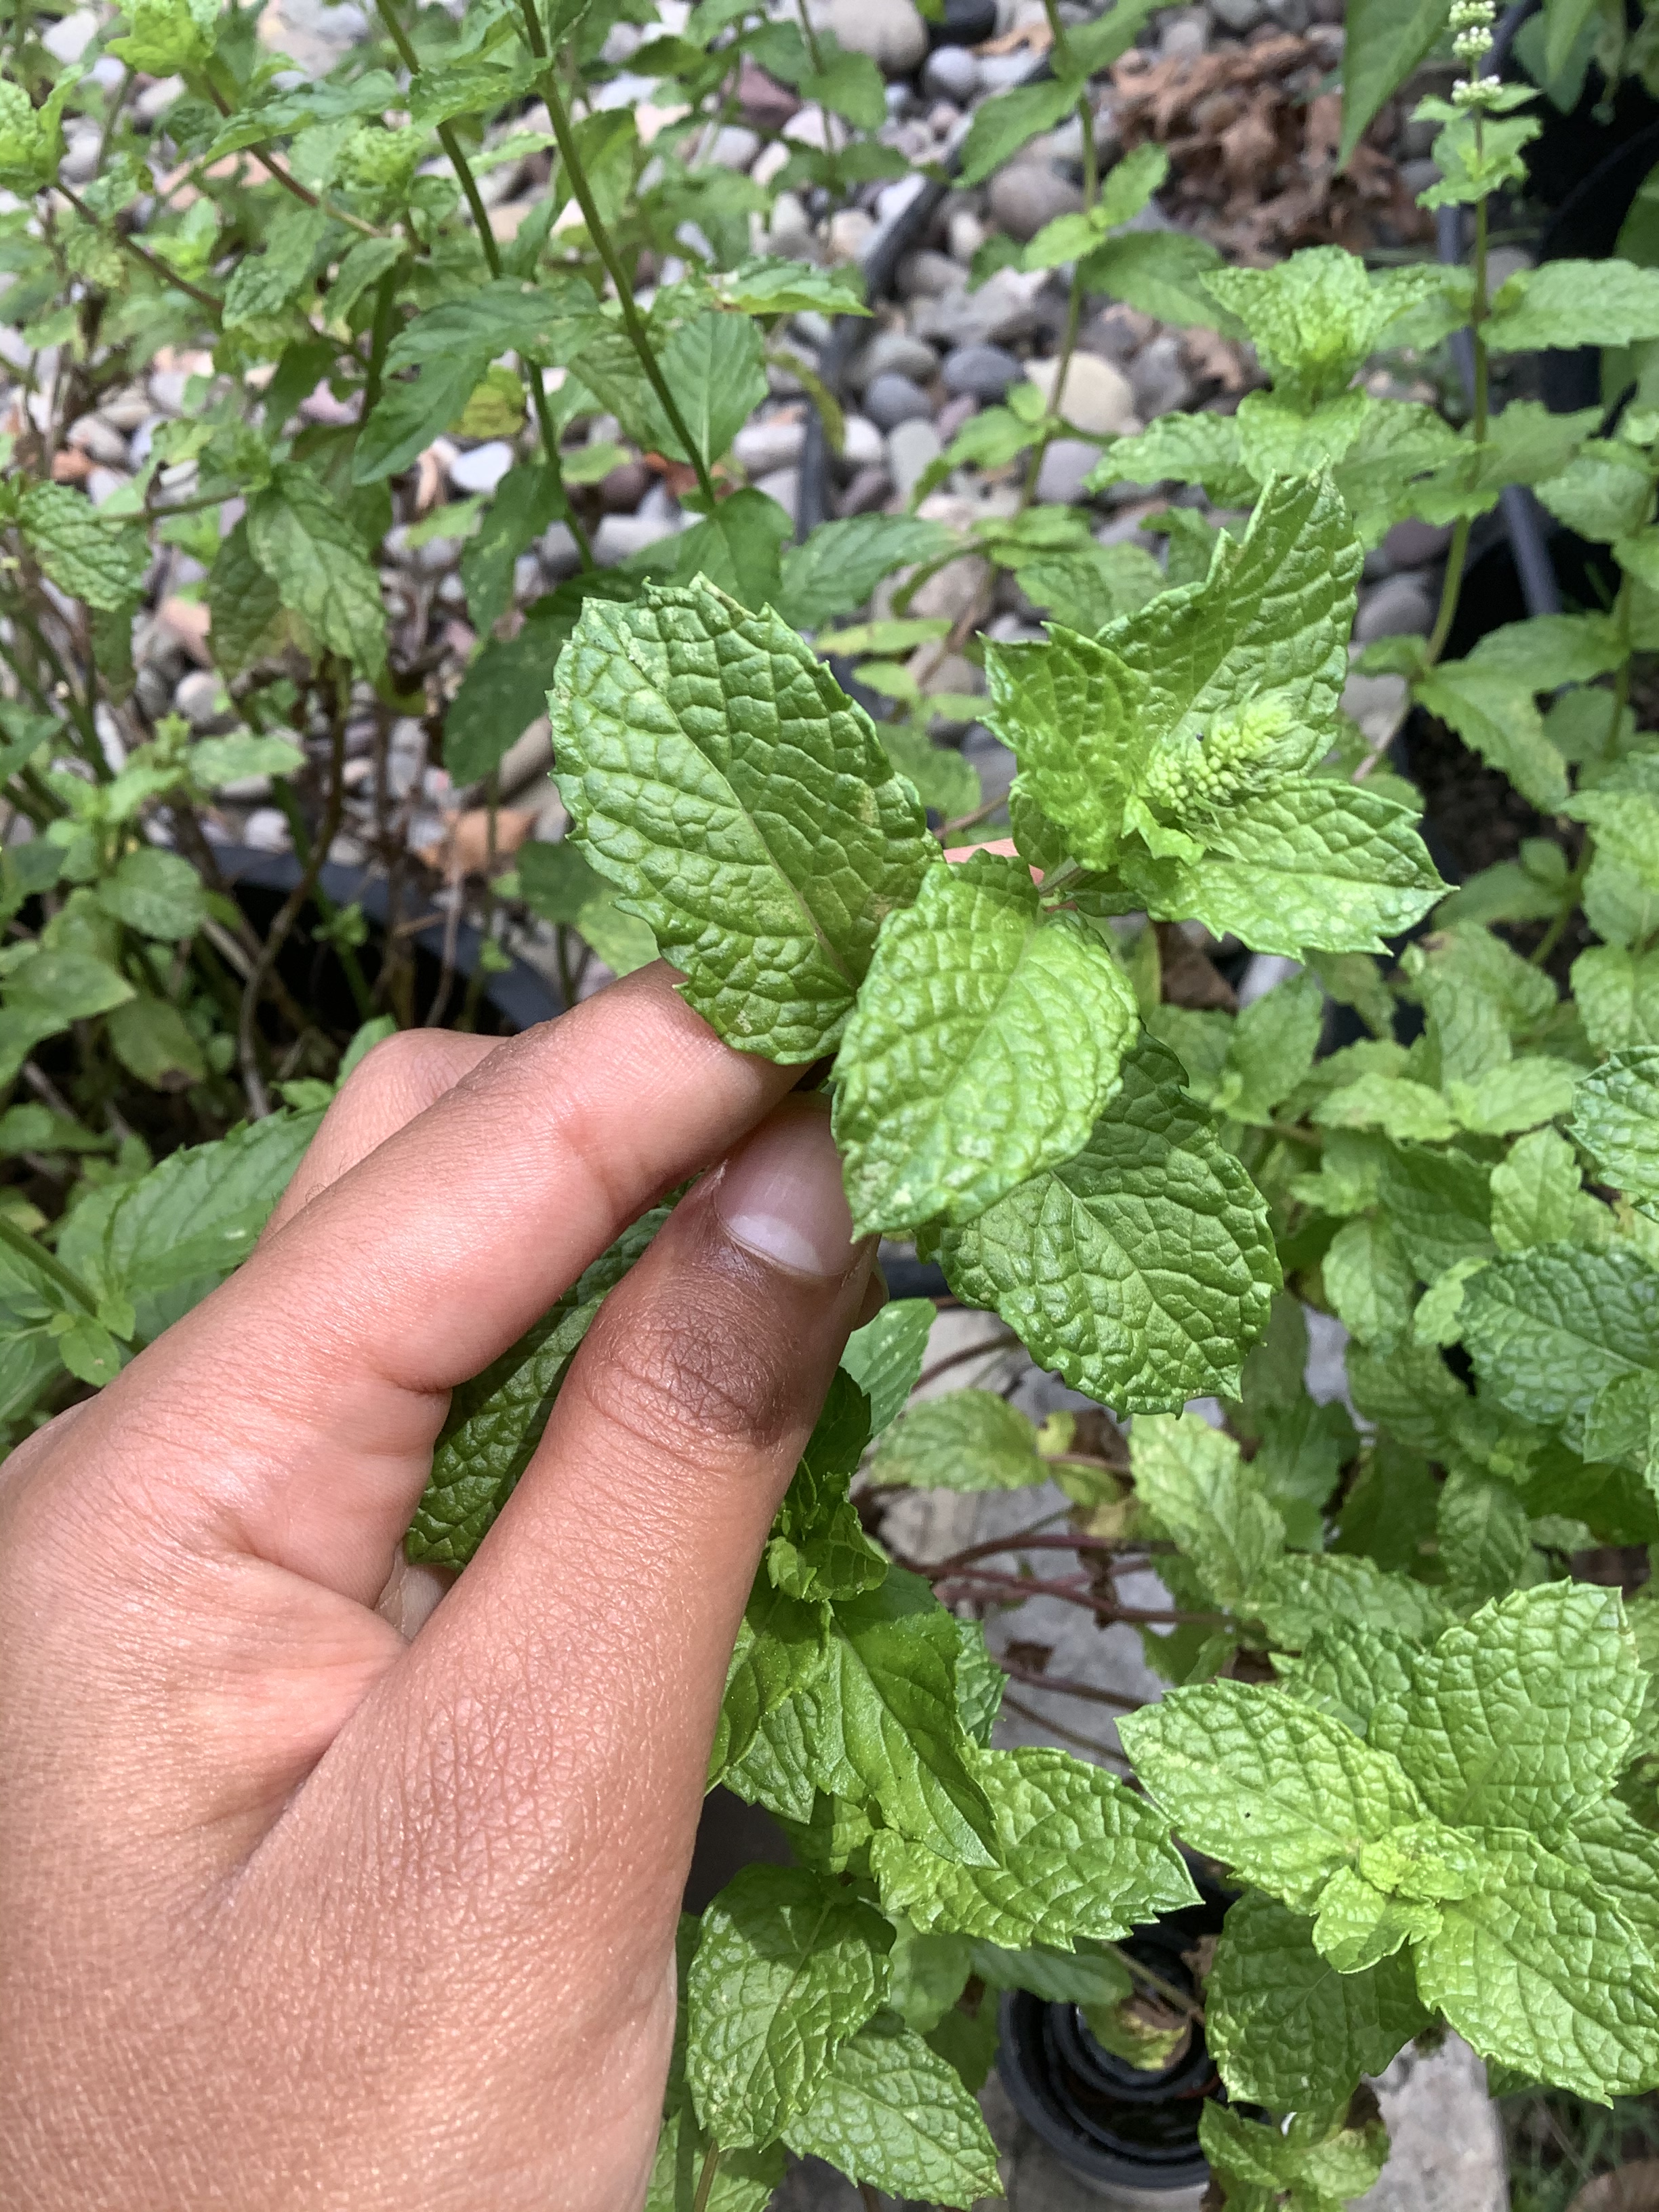
Step one: Pick your mint.

I used about three sprigs of mint and I used a mix of spearmint and common mint!

Only pick the mint that you need. To determine how much mint you need to pick, bring your water cup or bottle, (which ever one you want to use) and use that to see how much mint you can fit in it. You can also just pick a small bundle of mint instead of bringing your cup out to measure.

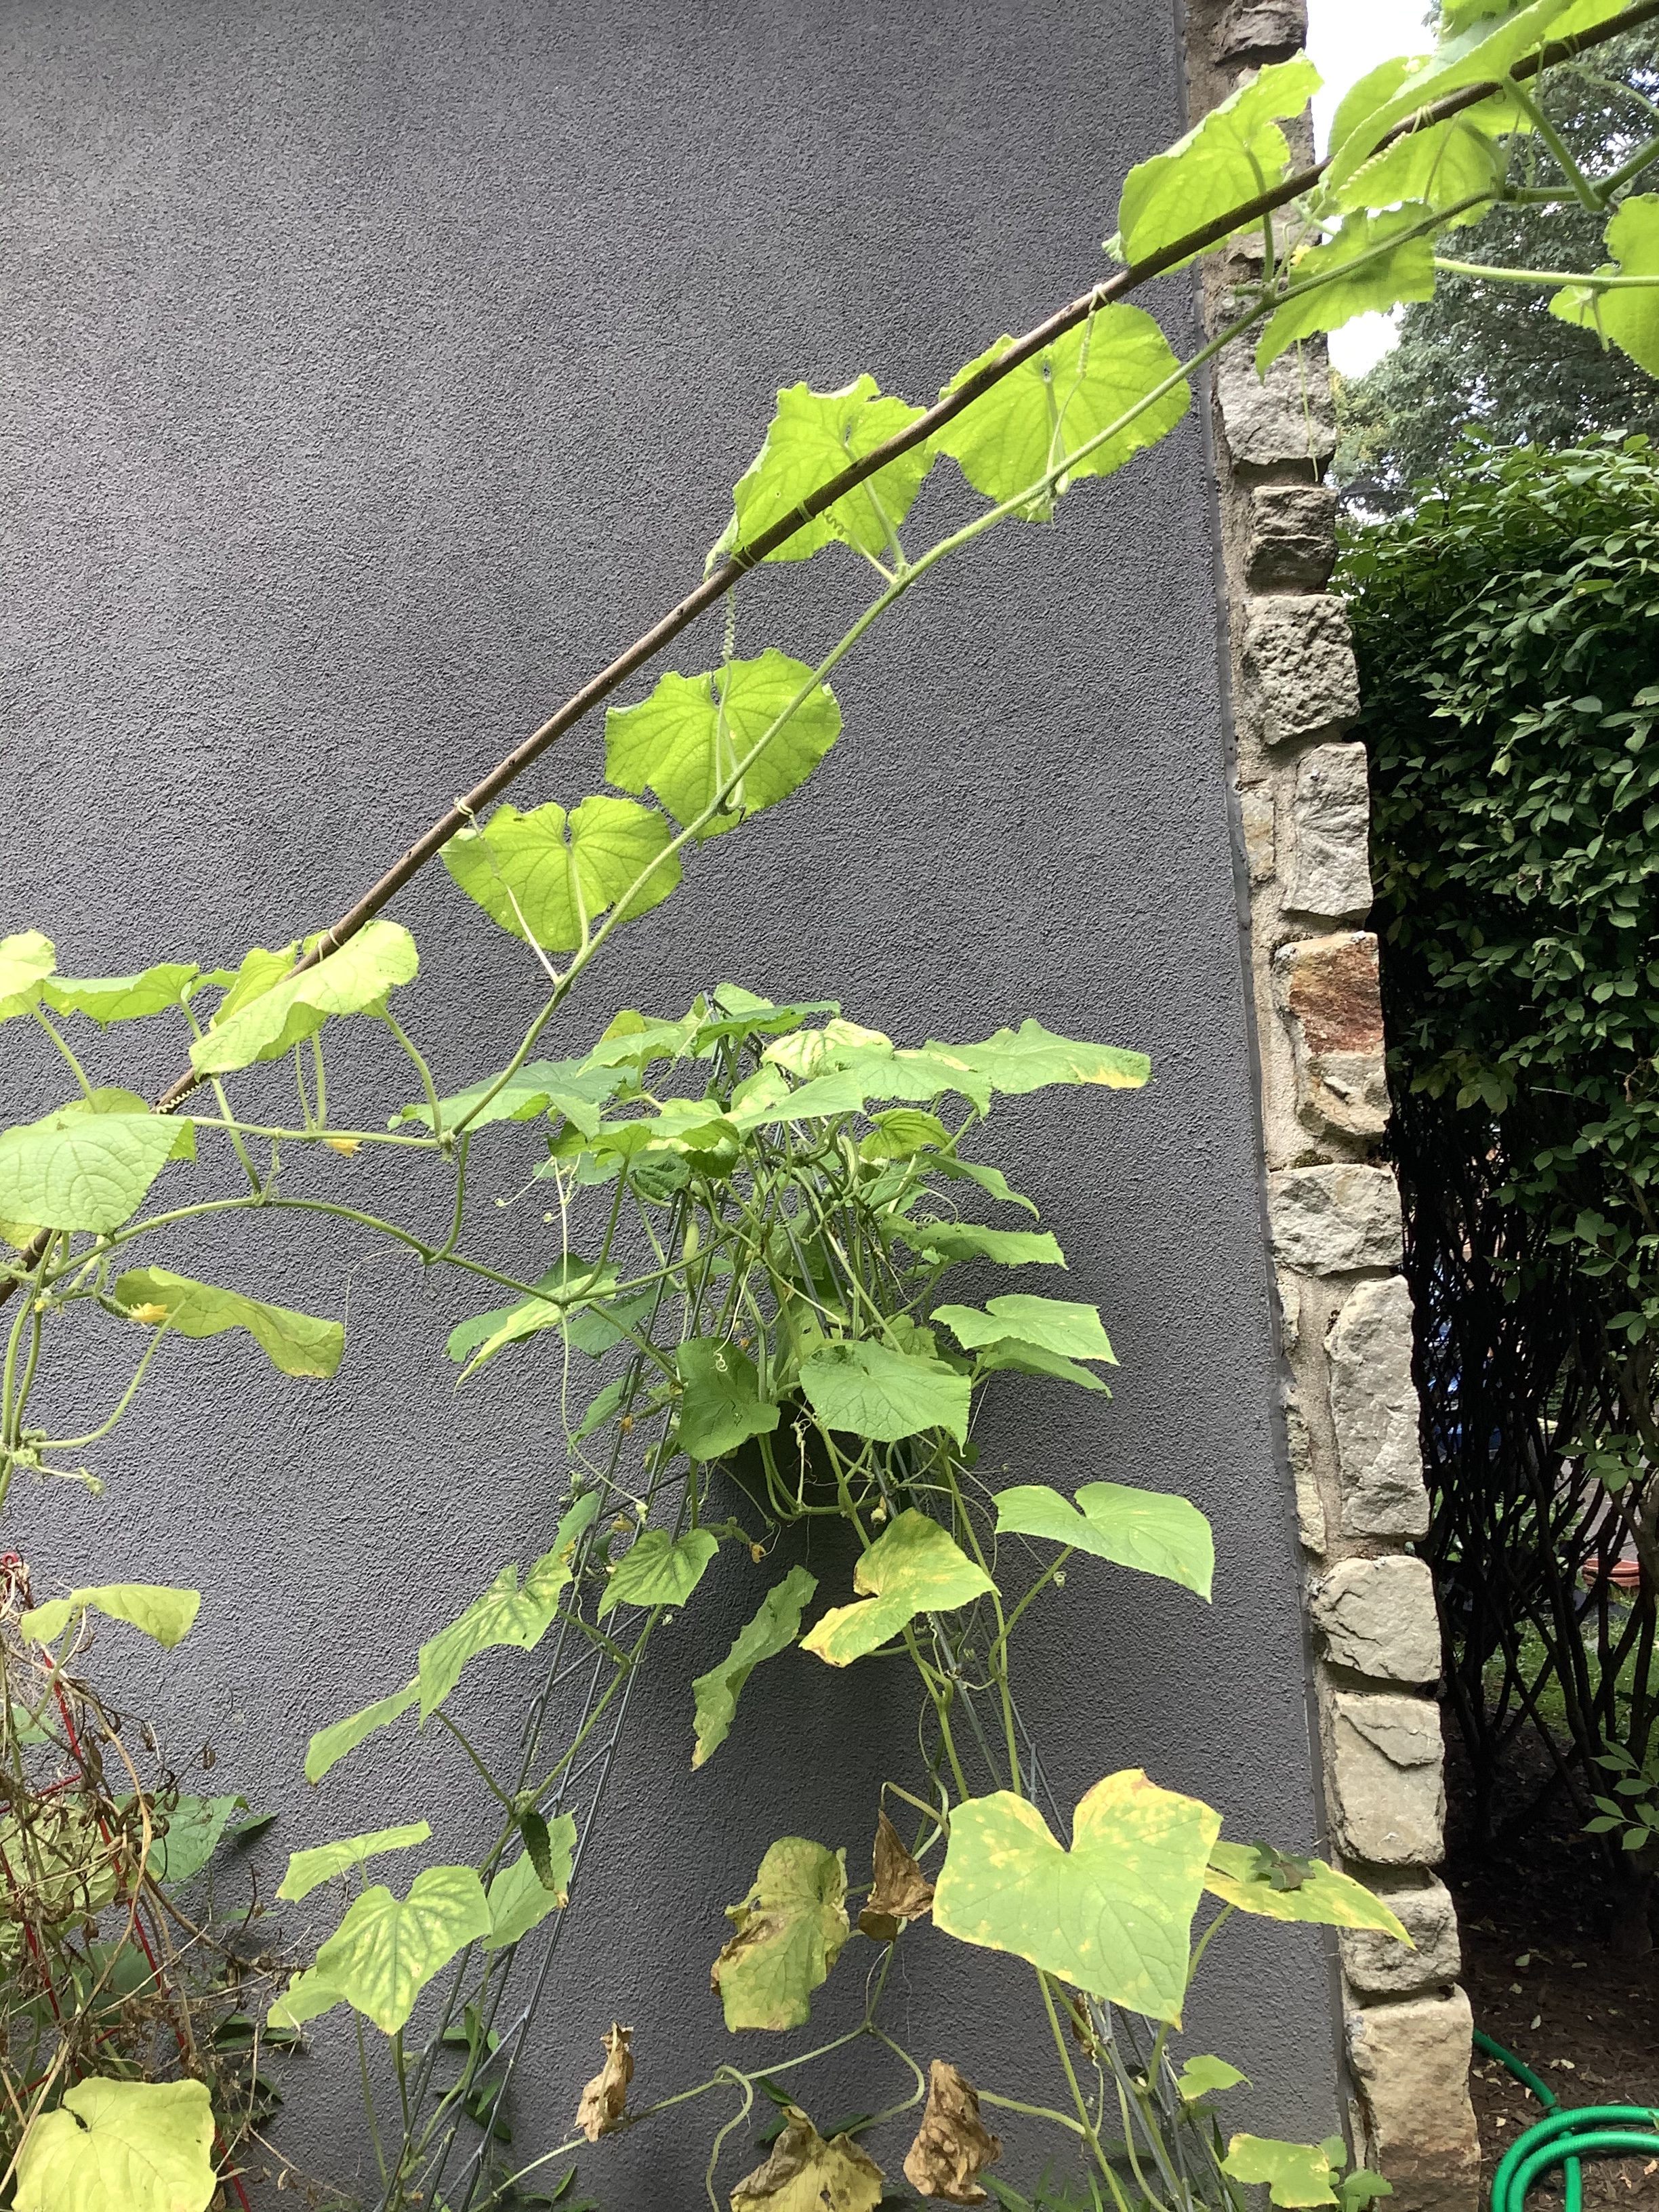
As for what type of mint to use, you can use pretty much any type of mint that you like the taste of.

For example,when we pick our mint to make mint water, we usually only make mint water with common mint and spearmint, since we don’t like the taste of chocolate mint that much.

But if you like the taste of chocolate mint, go right ahead and use it to make your mint water!

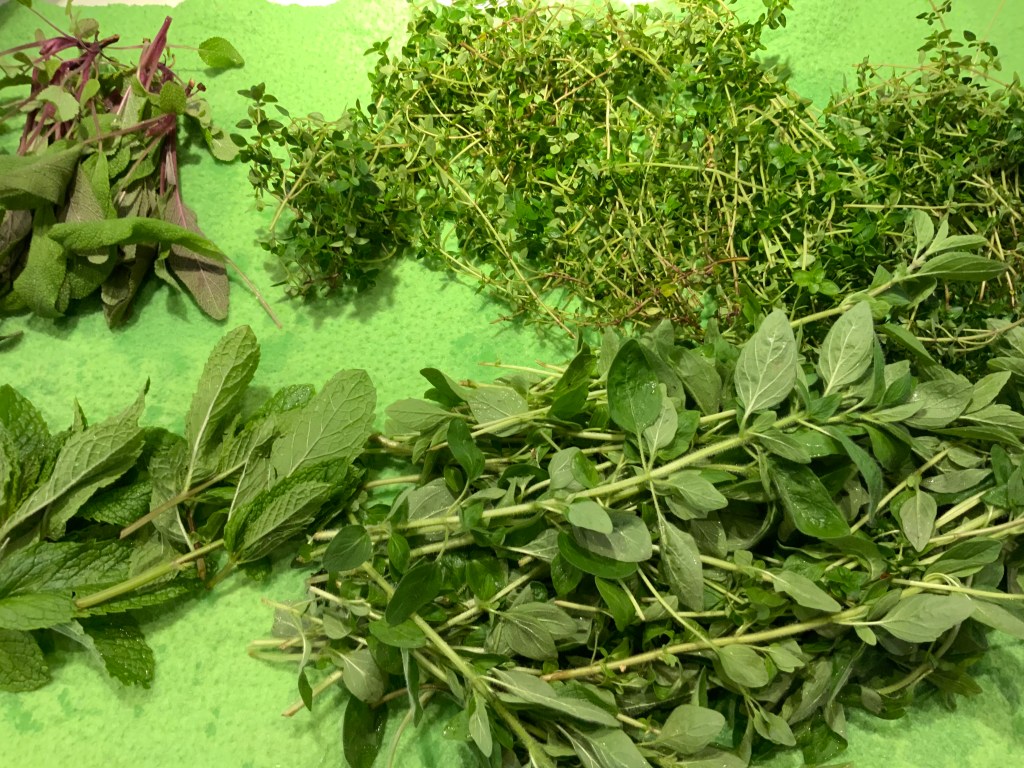
Step two: Clean your mint

Now that you have your mint, it’s time to clean it! Hold your mint in your hands under running water like a hose or your tap.

Make sure you get all of the dirt off!

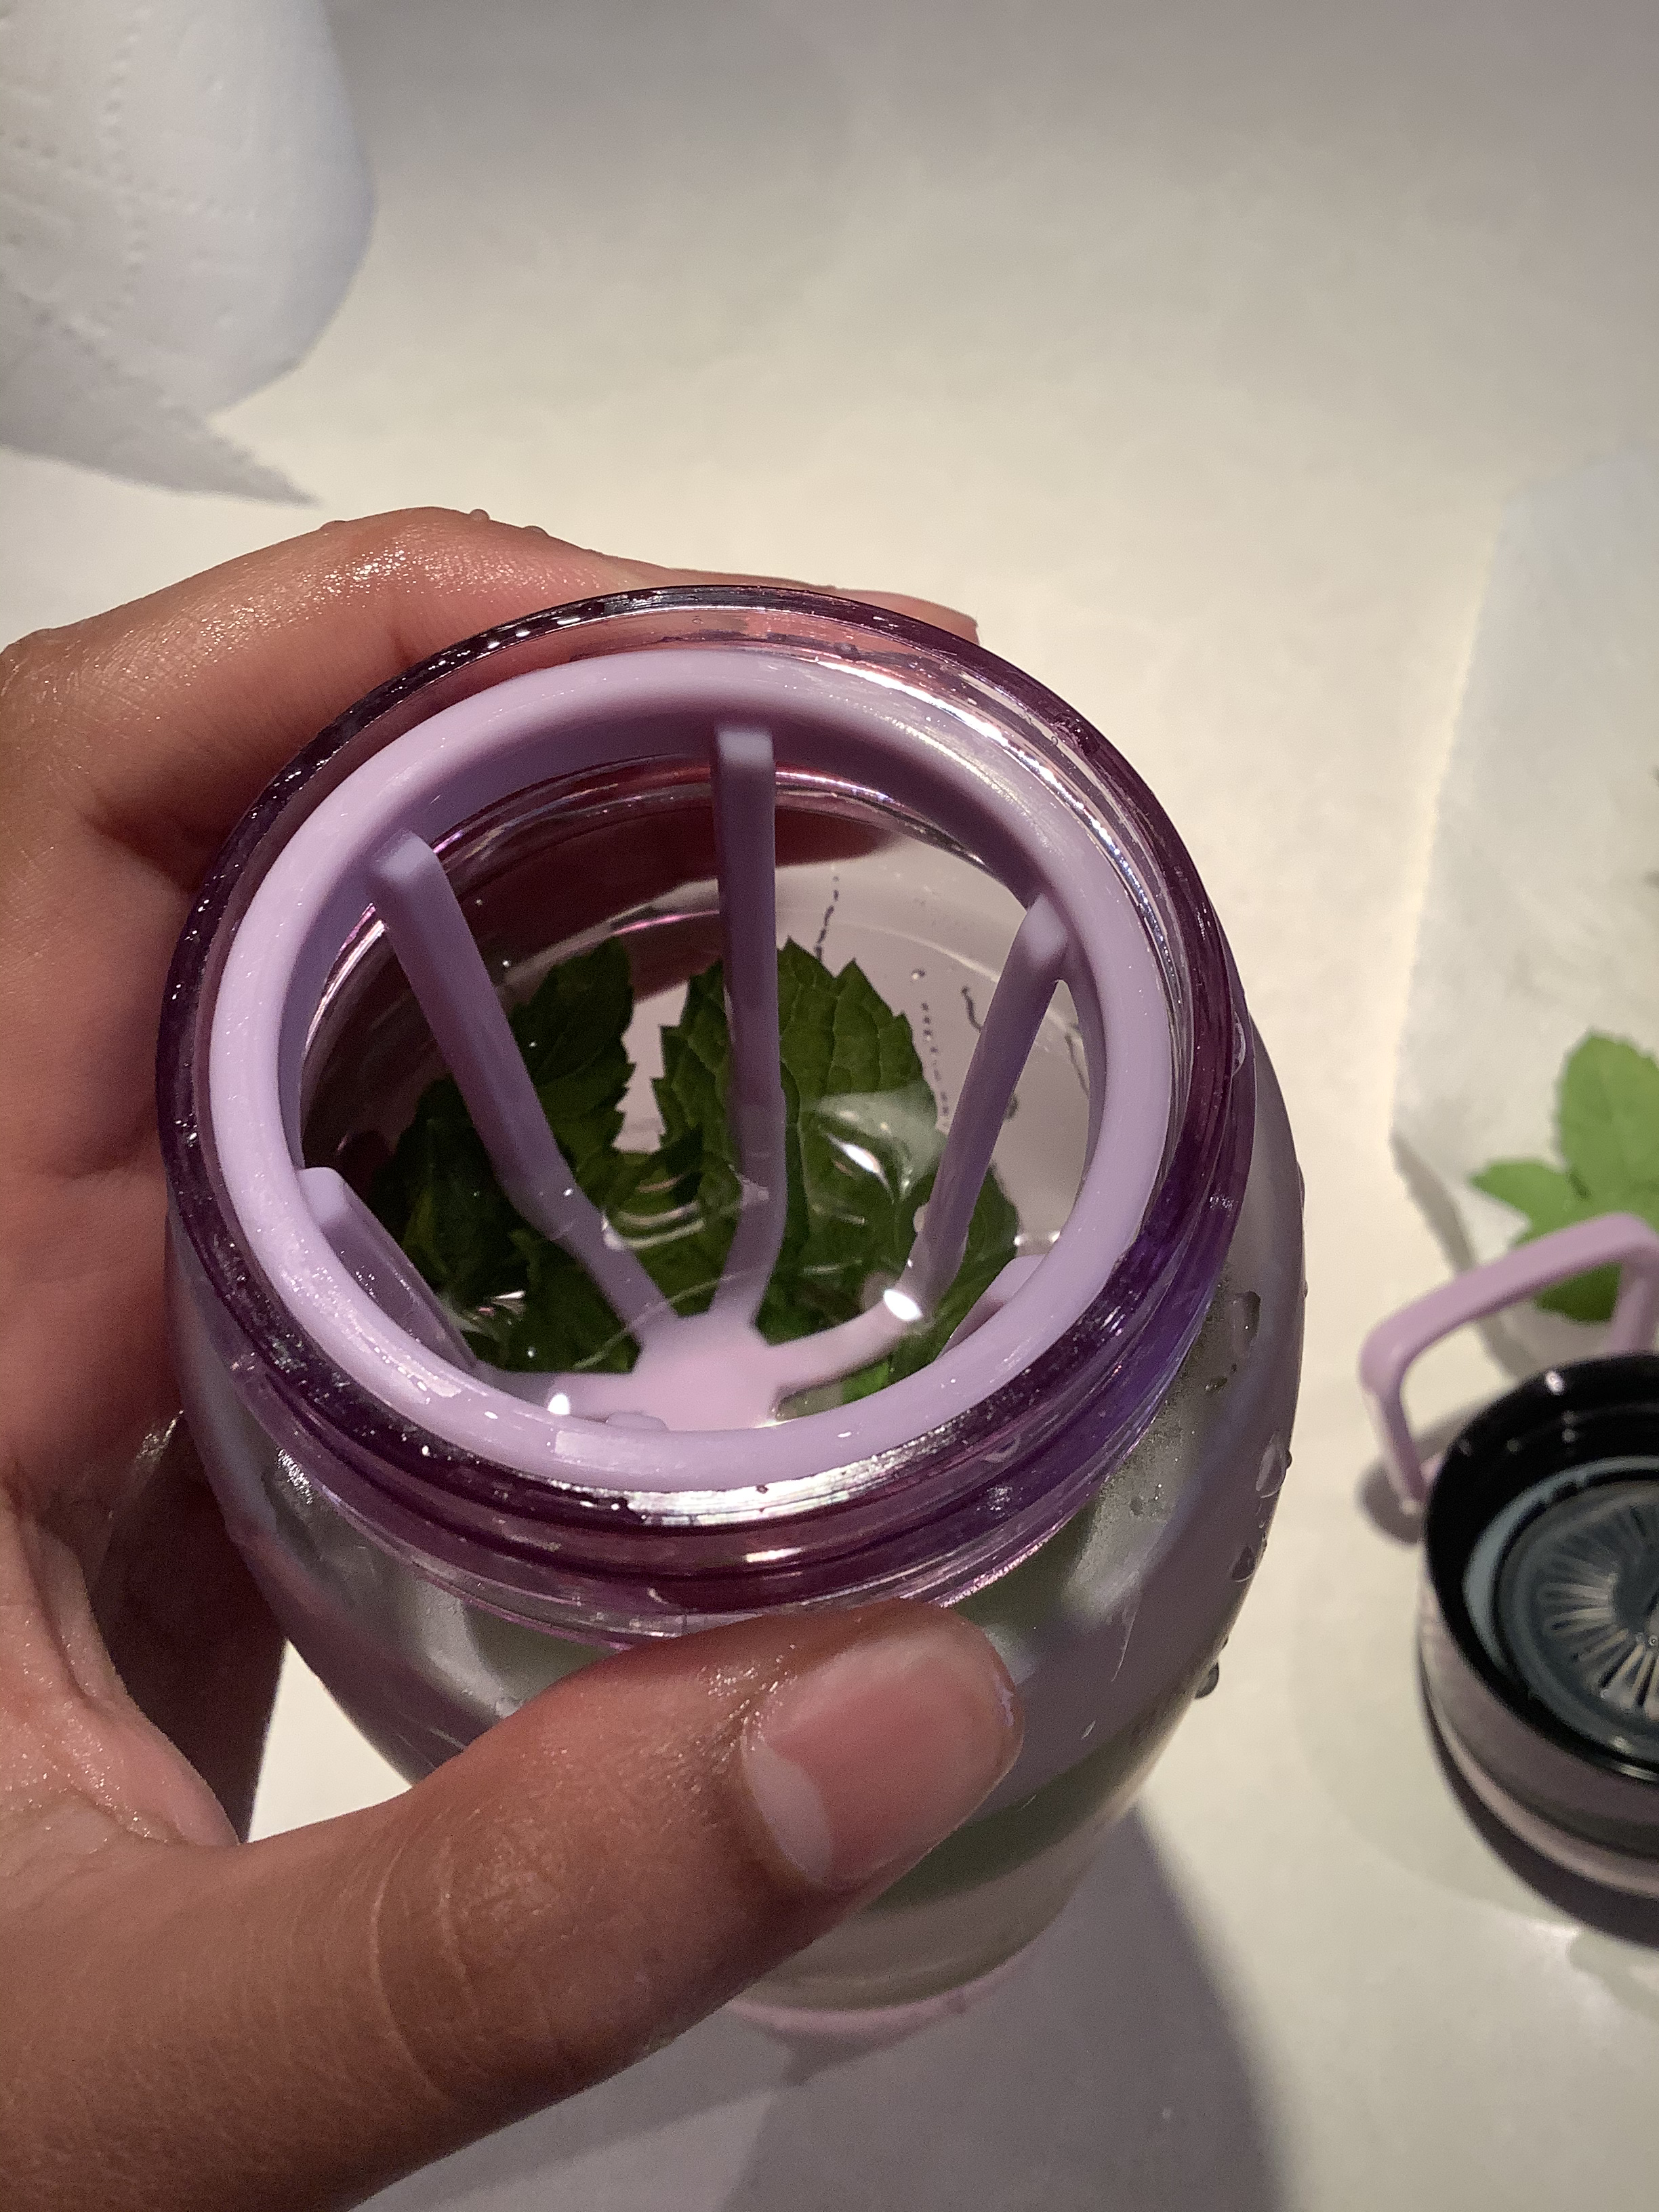
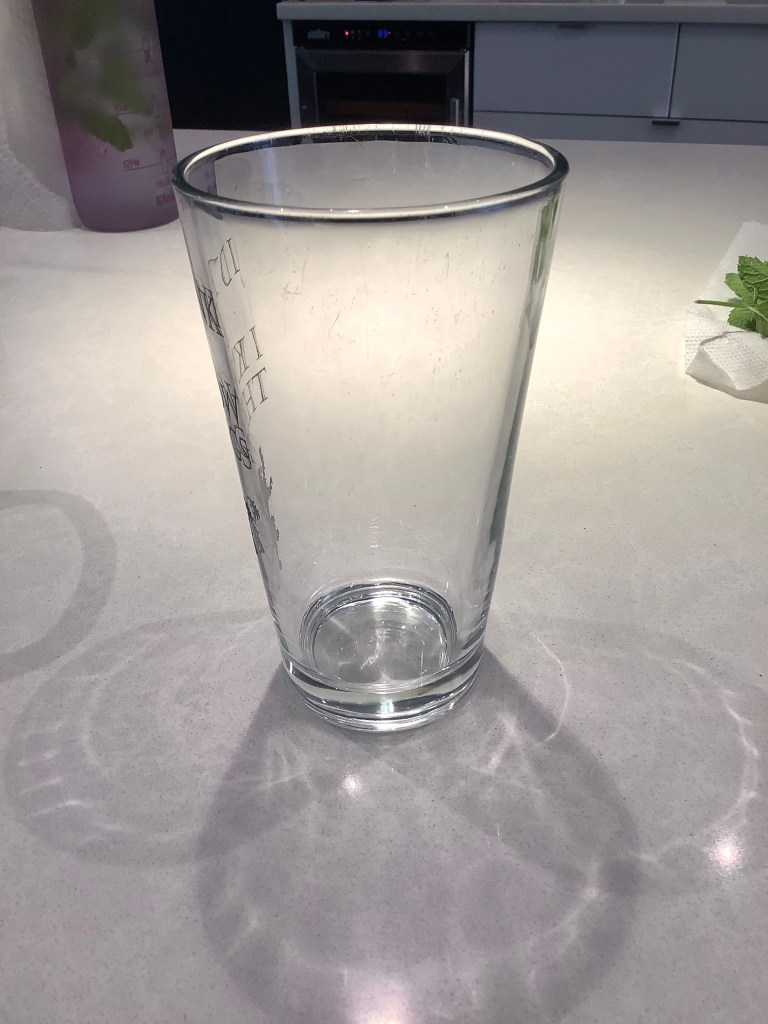
Step 3: Fill your cup!

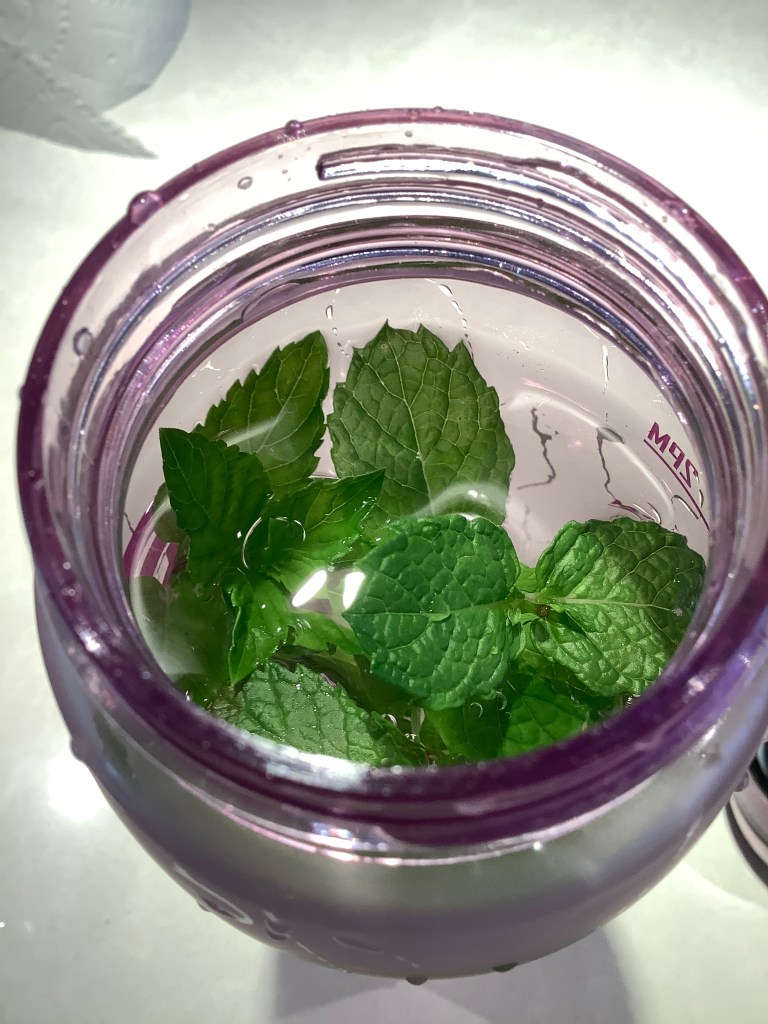
It’s as easy as it sounds! All you have to do now is take your mint and put it in your water bottle or cup and add water!

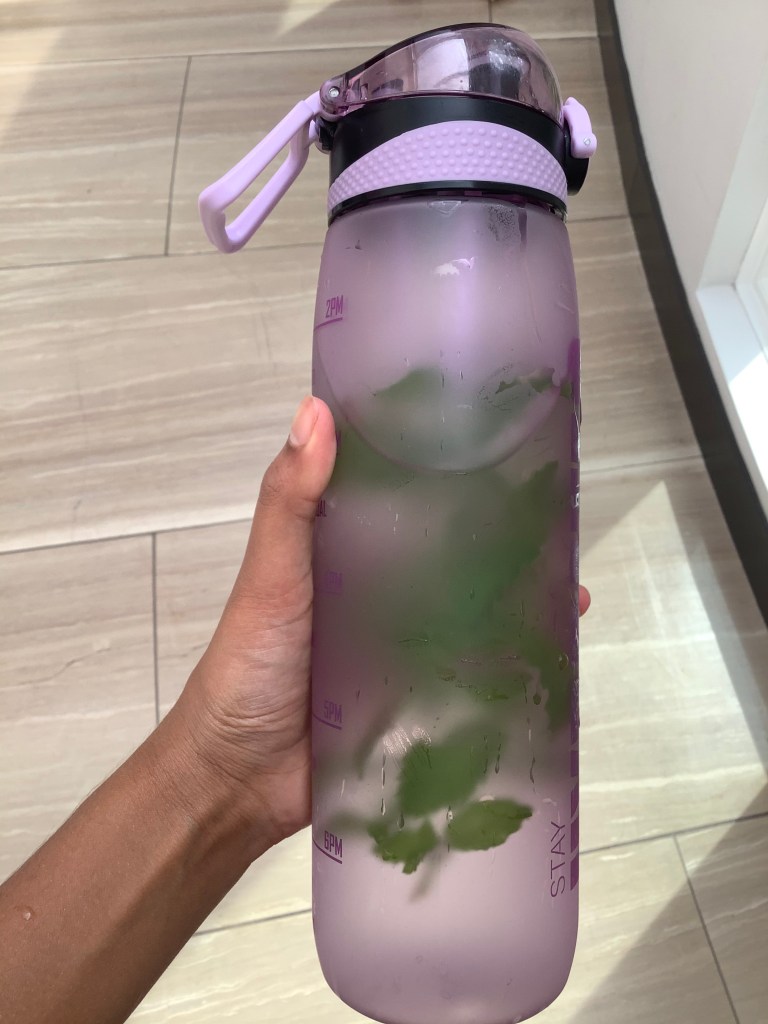
If it’s hot outside, sometimes it’s nice to put some ice in your mint water too!

Notes

  • If you are using a water bottle, don’t use a really nice one with a fancy cap so mint doesn’t get stuck in it!
  • You can refill your water when it is finished without having to pick new mint, but make sure you throw your mint out after a couple days so it doesn’t go bad!
  • Mint water is easier to make and drink in a water bottle with a cage thingy like this:


Or in a cup with a lid like this:

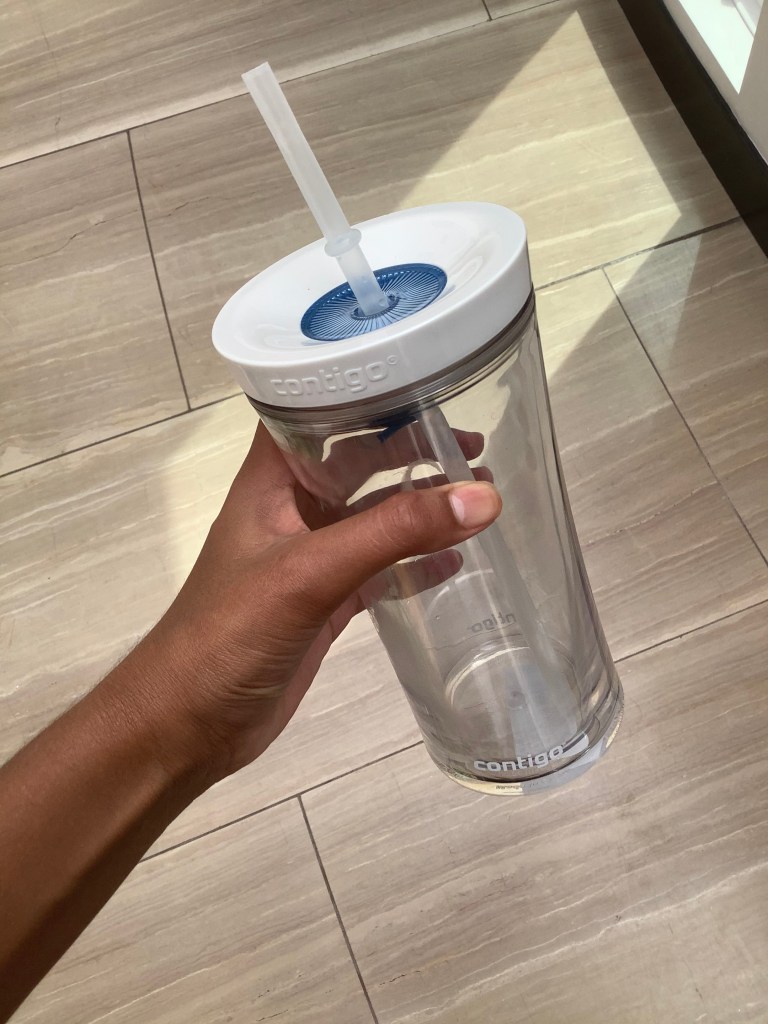
But it you don’t have a water bottle or a lidded cup, do not worry! A normal cup will still work fine!


Alright! That is it for today’s post! I hope you enjoyed it! Make sure you check out our mason jar herb garden posts Here so you can grow your own mint even if you don’t have a yard! Bye!

Shop update!

Hello everyone! I hope you are having a great day! I just wanted to give everyone an update for our shop, Solis and Luna Crafts! As of today, all of our products have free shipping! Here is a link to Solis and Luna Crafts if you are interested! https://www.etsy.com/shop/SolisandLunaCrafts if you can, try to spread the word about us! Have a great day!

Garden harvest and how to grow it yourself!

Hi everyone! Today’s post is a garden harvest/garden update post. Enjoy all of the pictures! Let’s get started.

To begin, here is a picture of my harvest!

It is not a HUGE harvest, but its still a lot of food for my family to eat!

Almost all of our harvest came from our container garden, proof for how productive container gardens can be. The part of the garden where we harvested most of our seeds from is the front garden. Here are pictures of some of the plants that we harvested from!

We also harvested a bit of food from the side garden. This garden does not get as much sun as the front garden, but we still get a good about of produce from it! Here are also some pictures of plants we harvested from.

Believe it or not, you can grow this too! Even if you don’t have a raised bed/lots of space to grow in, you can grow your food in containers, like me! If you want instructions on how to grow/start a container garden, check out my small space garden series! Here is a link to the first post:

That is it for today’s post! I hope you enjoyed it and got plenty of inspiration for your garden too! Bye!

New video! Opening Solis’s pen pal letter!

Hi everyone! Today please enjoy this video, and consider please subscribing! Enjoy!

Click here to watch the video

Garden vocabulary #1

In this series I am going to explain some of the gardening words that I use in my posts that you might not understand. This first post will be about differing plant needs like sun and water, and the words I might use to explain them. These explanations of garden vocabulary might be different than what they actually mean. This is just how I use these words in my blog posts. Let’s get started!

Sun & Shade Full sun-Means 6 to 8 hours of (direct) sunlight or more Partial sun-Means 4 to 6 hours of (direct) sunlight Partial shade-Means less than 4 hours of direct sunlight Full shade-Means barely any direct sunlight, mostly shade

Water Overwater/ing- Means giving a plant too much water Underwater/ing- Means not giving a plant enough water

Fertilizer Heavy feeders-Means a type of plant needs a lot of nutrients and fertilizer Burning a plant-You can burn a plants roots or shock the plant by giving it too much fertilizer

Planting Transplanting-Means moving a plant from one patch of soil or container to another Shock/Transplanting shock-Means shocking or damaging a plant when transplanting

That is it for todays post! If you have any questions about this post, feel free to comment below! Bye!

Garden bounty!

Over the last few days, we have been harvesting salads, radishes, and herbs from our garden. In this post, you are going to see, that even if you have bad soil, not much sun, nibbling rodents, and more (like us), you can still grow a bountiful garden!

Here is our herb garden:

It does not get full sun and our soil does not drain very well, but look at what we have harvested from it!

(We have containers for most of our plants here to take care of the problem of bad soil. The soil has been loosened where the mint is in the ground.)

As you can see, we even have some lavender plants near this area. On the web, you will see that lavender likes full sun and well drained soil. Lavender plants will do better in full sun and well draining soil, but these plants have neither, and they are still doing fine.

In our mostly greens garden, we made a chicken wire and zip tie cage to protect the plants from animals that will eat them, and tilled the soil to help the plants grow. This space does not get full sun, but it still gave us a good harvest. In the summer heat, lettuce will bolt (when a plant starts to flower and their leaves taste bad) pretty quickly, so in this scenario, the shade might help. There is mostly bok choy (a plant with edible leaves) right now, because we harvested and pulled out the other plants, (they were bolting) and started seeds in the bare spaces.

These places in the garden that I showed you today are not the best spots for gardening, but we still have managed to get a bountiful harvest from them. Here are some of the things we will/have done to maximize our harvests. Firstly, we water our plants everyday, because in the summer/late spring heat, the soil will dry up very quickly. Also, every week or two we will fertilize our plants. This is especially important if you are growing your plants in containers or poor soil. Another thing you can do to get good harvests from your plants is to spray your plants with neem oil. Neem oil is an oil that keeps away or kills many plant bugs.

Keep in mind that many of these plants will do better in full sun and well drained soil if you can plant them in those conditions, but if you don’t have lots of sun or good soil, do not let that keep you from growing a garden! Bye now!

Home grown beans! (Grown in a partially shaded area!)