
As some people know, there is something terrible going on. It is called Global warming. Global warming is just that the earth is warming up a little bit right? No. Global warming or Global crisis as I like to call it, is when the earth is heating up FAST. And as it gets hotter, it warms up even quicker. In this series, I am going to explain what is happening, and what we need to do to save not just our world, but us too!
Author: tigershakti09
Crops you can still plant in October!
Hi guys! Today I am going to show you crops that you can still plant RIGHT NOW! Even if your first expected frost is coming up soon you can still plant these! So let’s start!
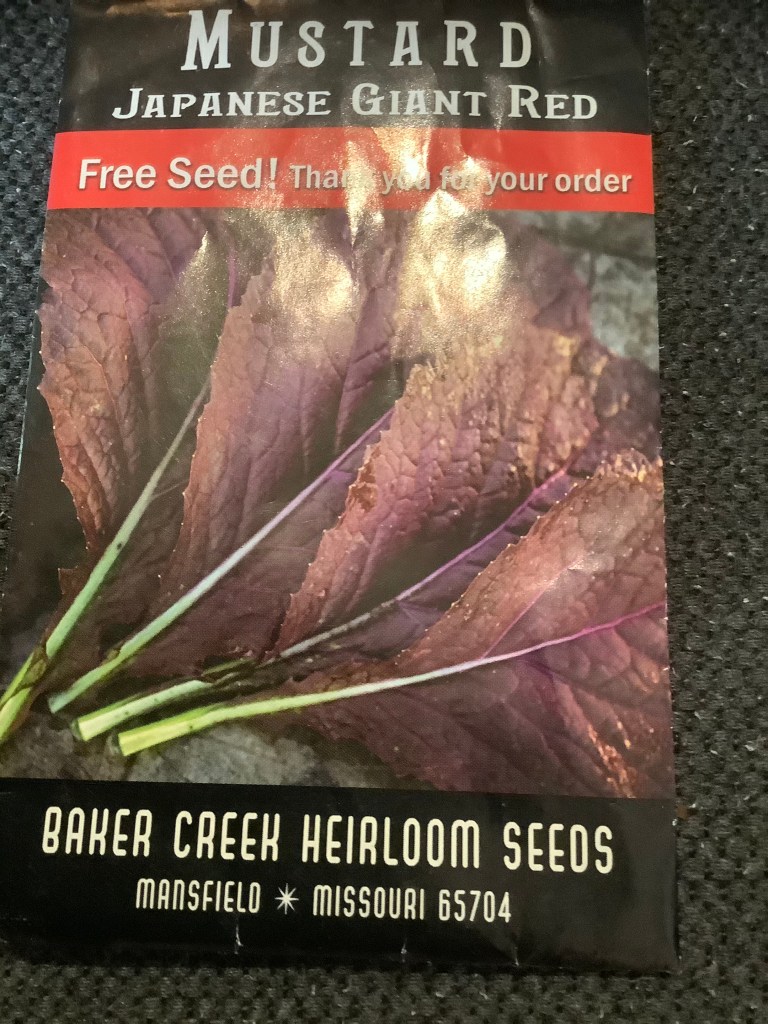
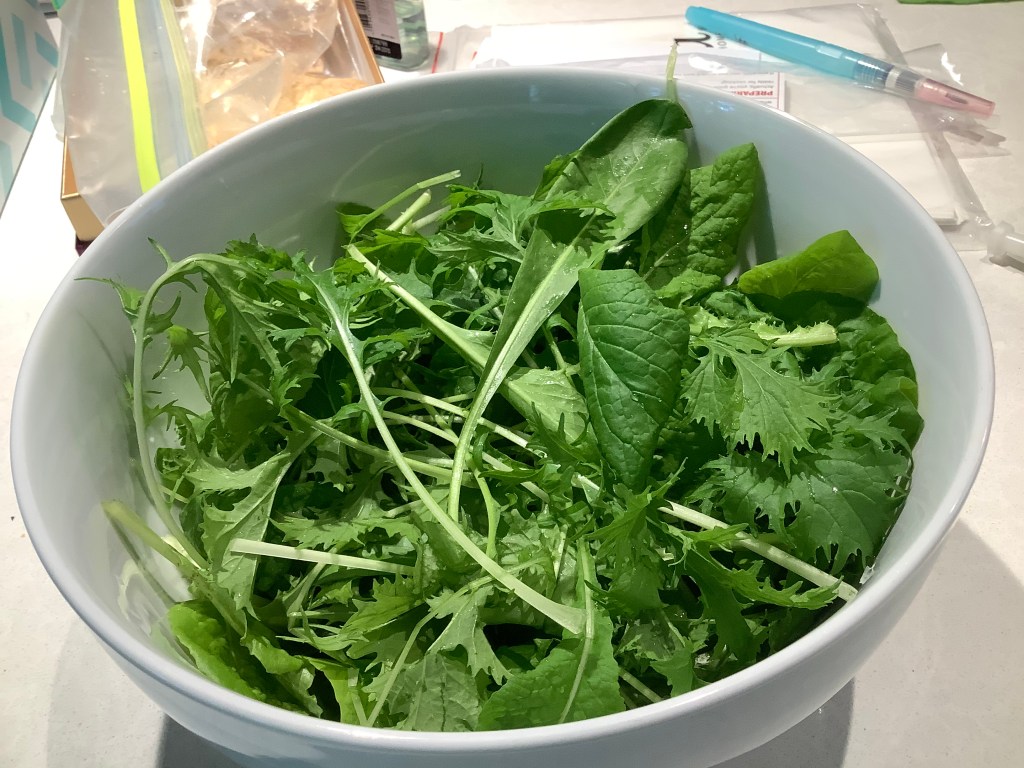
the first crop that you can plant right now is cold or maybe even frost tolerant greens. A good one is mustard greens. I like to grow a certain variety called giant red mustard. It’s really good! Even if you don’t have enough days before frost date for your mustard greens to fully mature, you can harvest their baby leafs as baby lettuce. You can also protect them from the frost by covering them with different materials. Soon I will do a post on that.
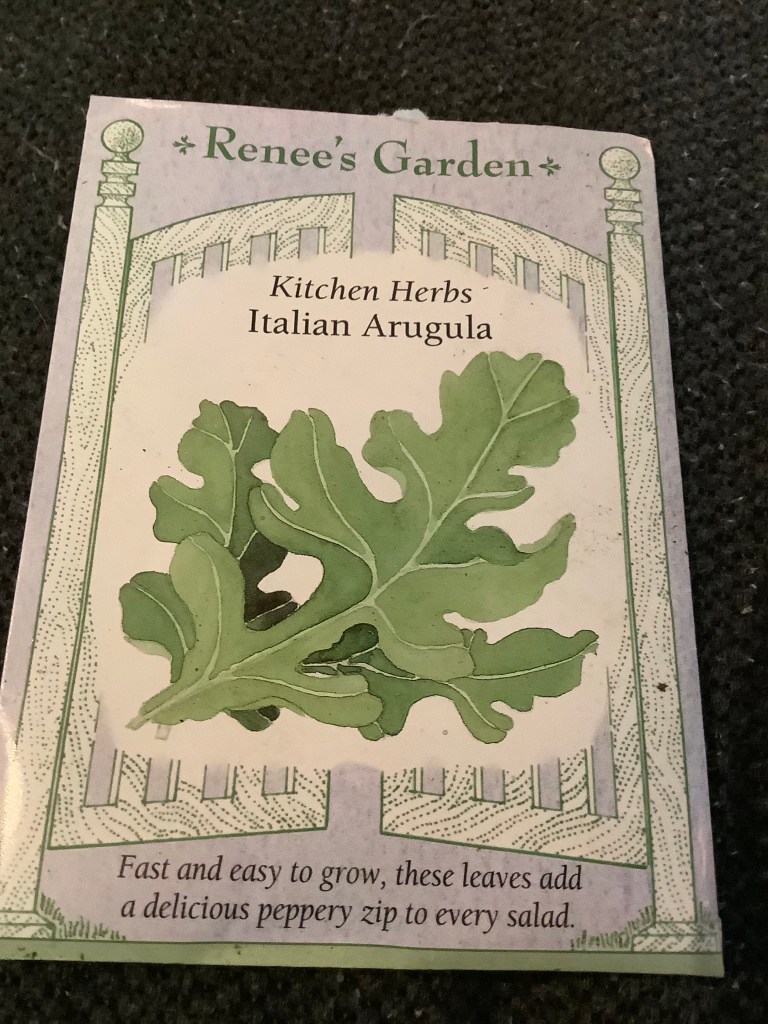
The second crop that you can plant now is arugula. Arugula is another plant grown for its leaves, and is extremely fast growing and loves the cool weather. It might even be able to withstand a light frost.
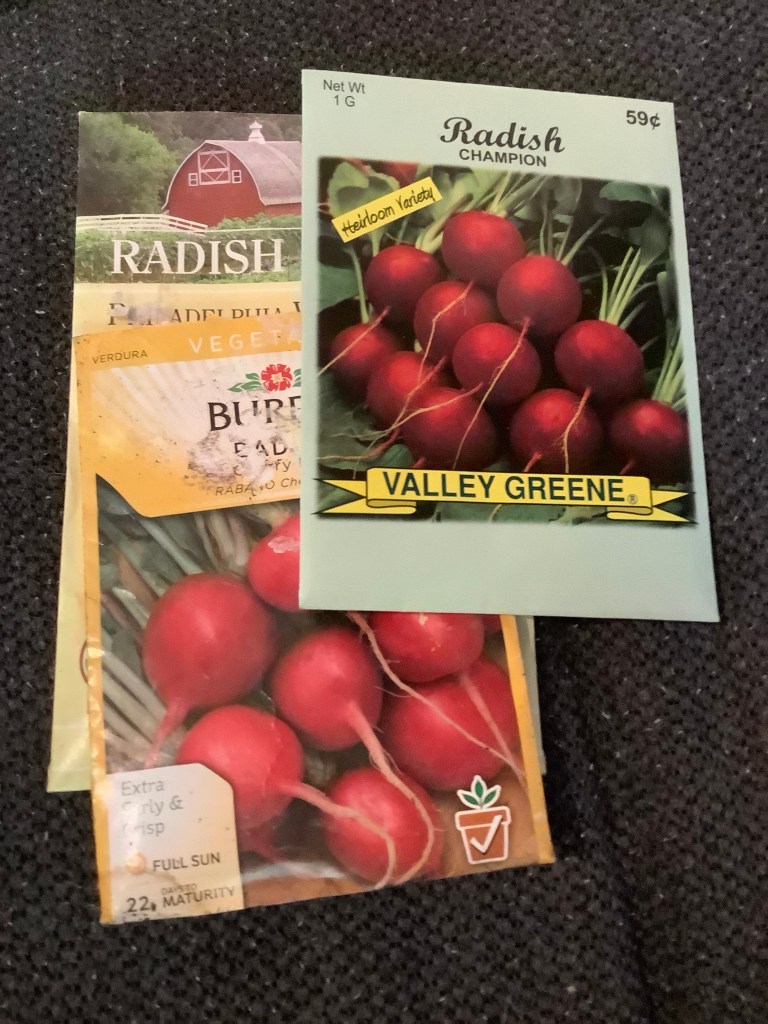
The next crop you can plant are radishes. Some radishes can grow really quickly, and can sometimes tolerate a light frost. And even if your radishes don’t have time to grow their radish parts, you can still eat their greens!
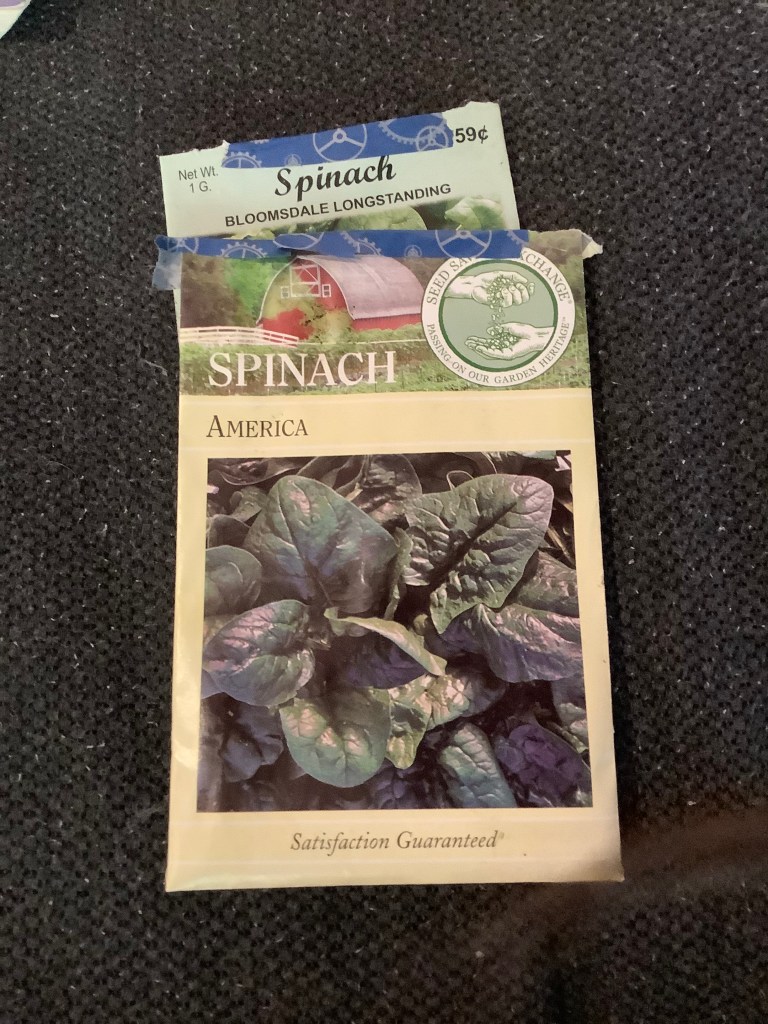
One of the last but not least list of crops that you can plant now is spinach! Spinach is SUPER heat intolerant, and loves the cool weather. Plus, even if your spinach plant doesn’t have enough time to grow it’s full sized leaves before that frost, you can harvest and eat it’s small leaves as baby spinach greens.
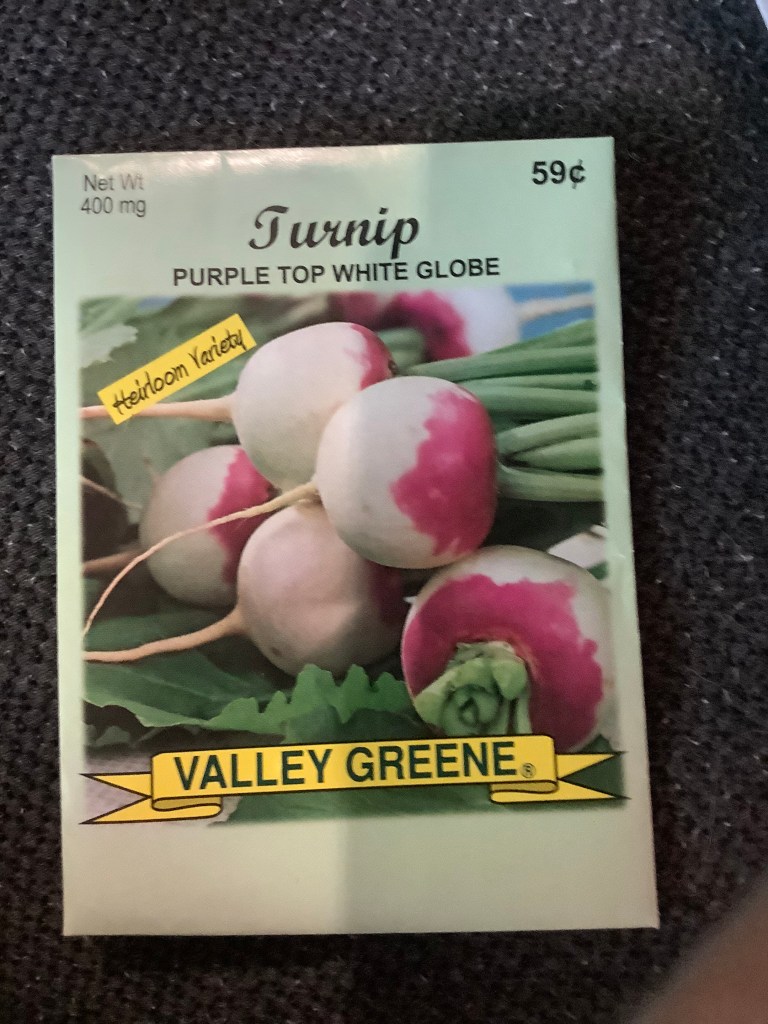
The last crop but definitely not the least, are turnips! Now, if you’ve grown turnips before, you probably know how long they take before they are ready to harvest, but we are growing them for their greens! Many people like to eat their leaves or put them in cooking recipes.
That is it for today’s post! I hope you enjoyed it. I will do another post on how to protect your plants from a light frost soon. If you enjoyed this post leave a like and comment down below what is your favorite crop from this post. Bye!

Back to school binder setup!
Today’s post is a binder setup! Click here to see it: https://www.youtube.com/watch?v=X_OBc-8cOjE
Thanks!
Bean harvest!
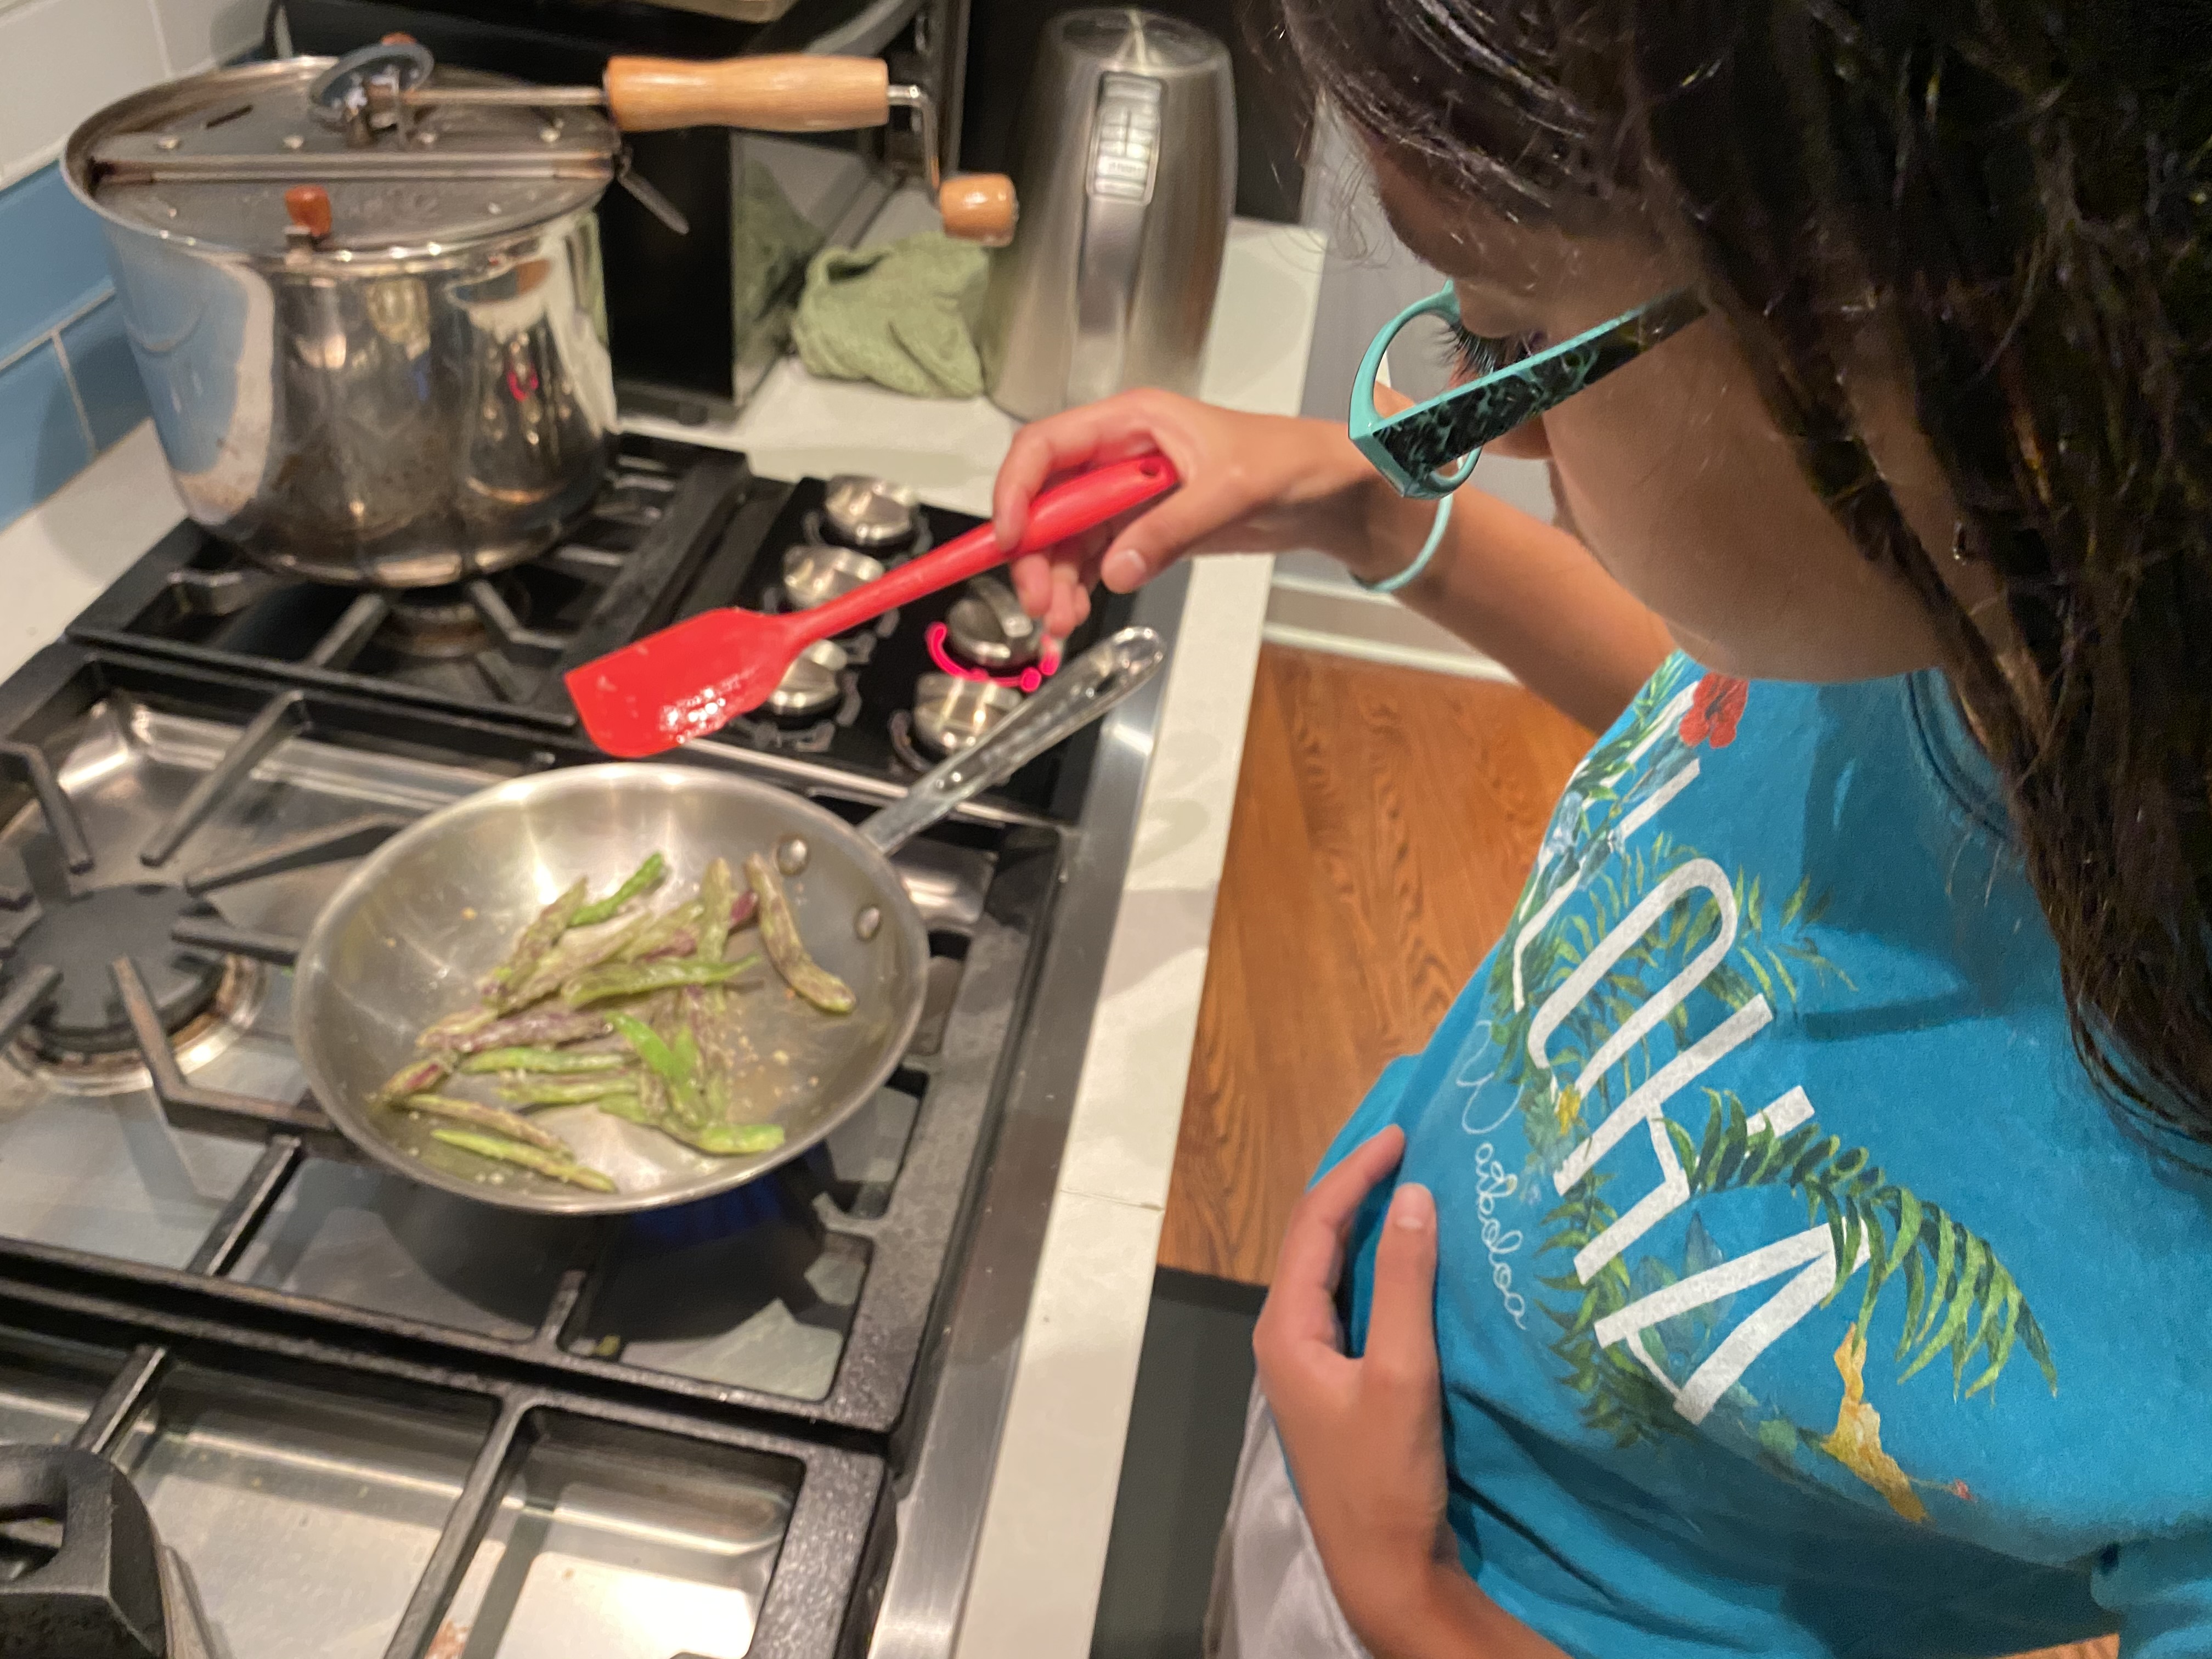
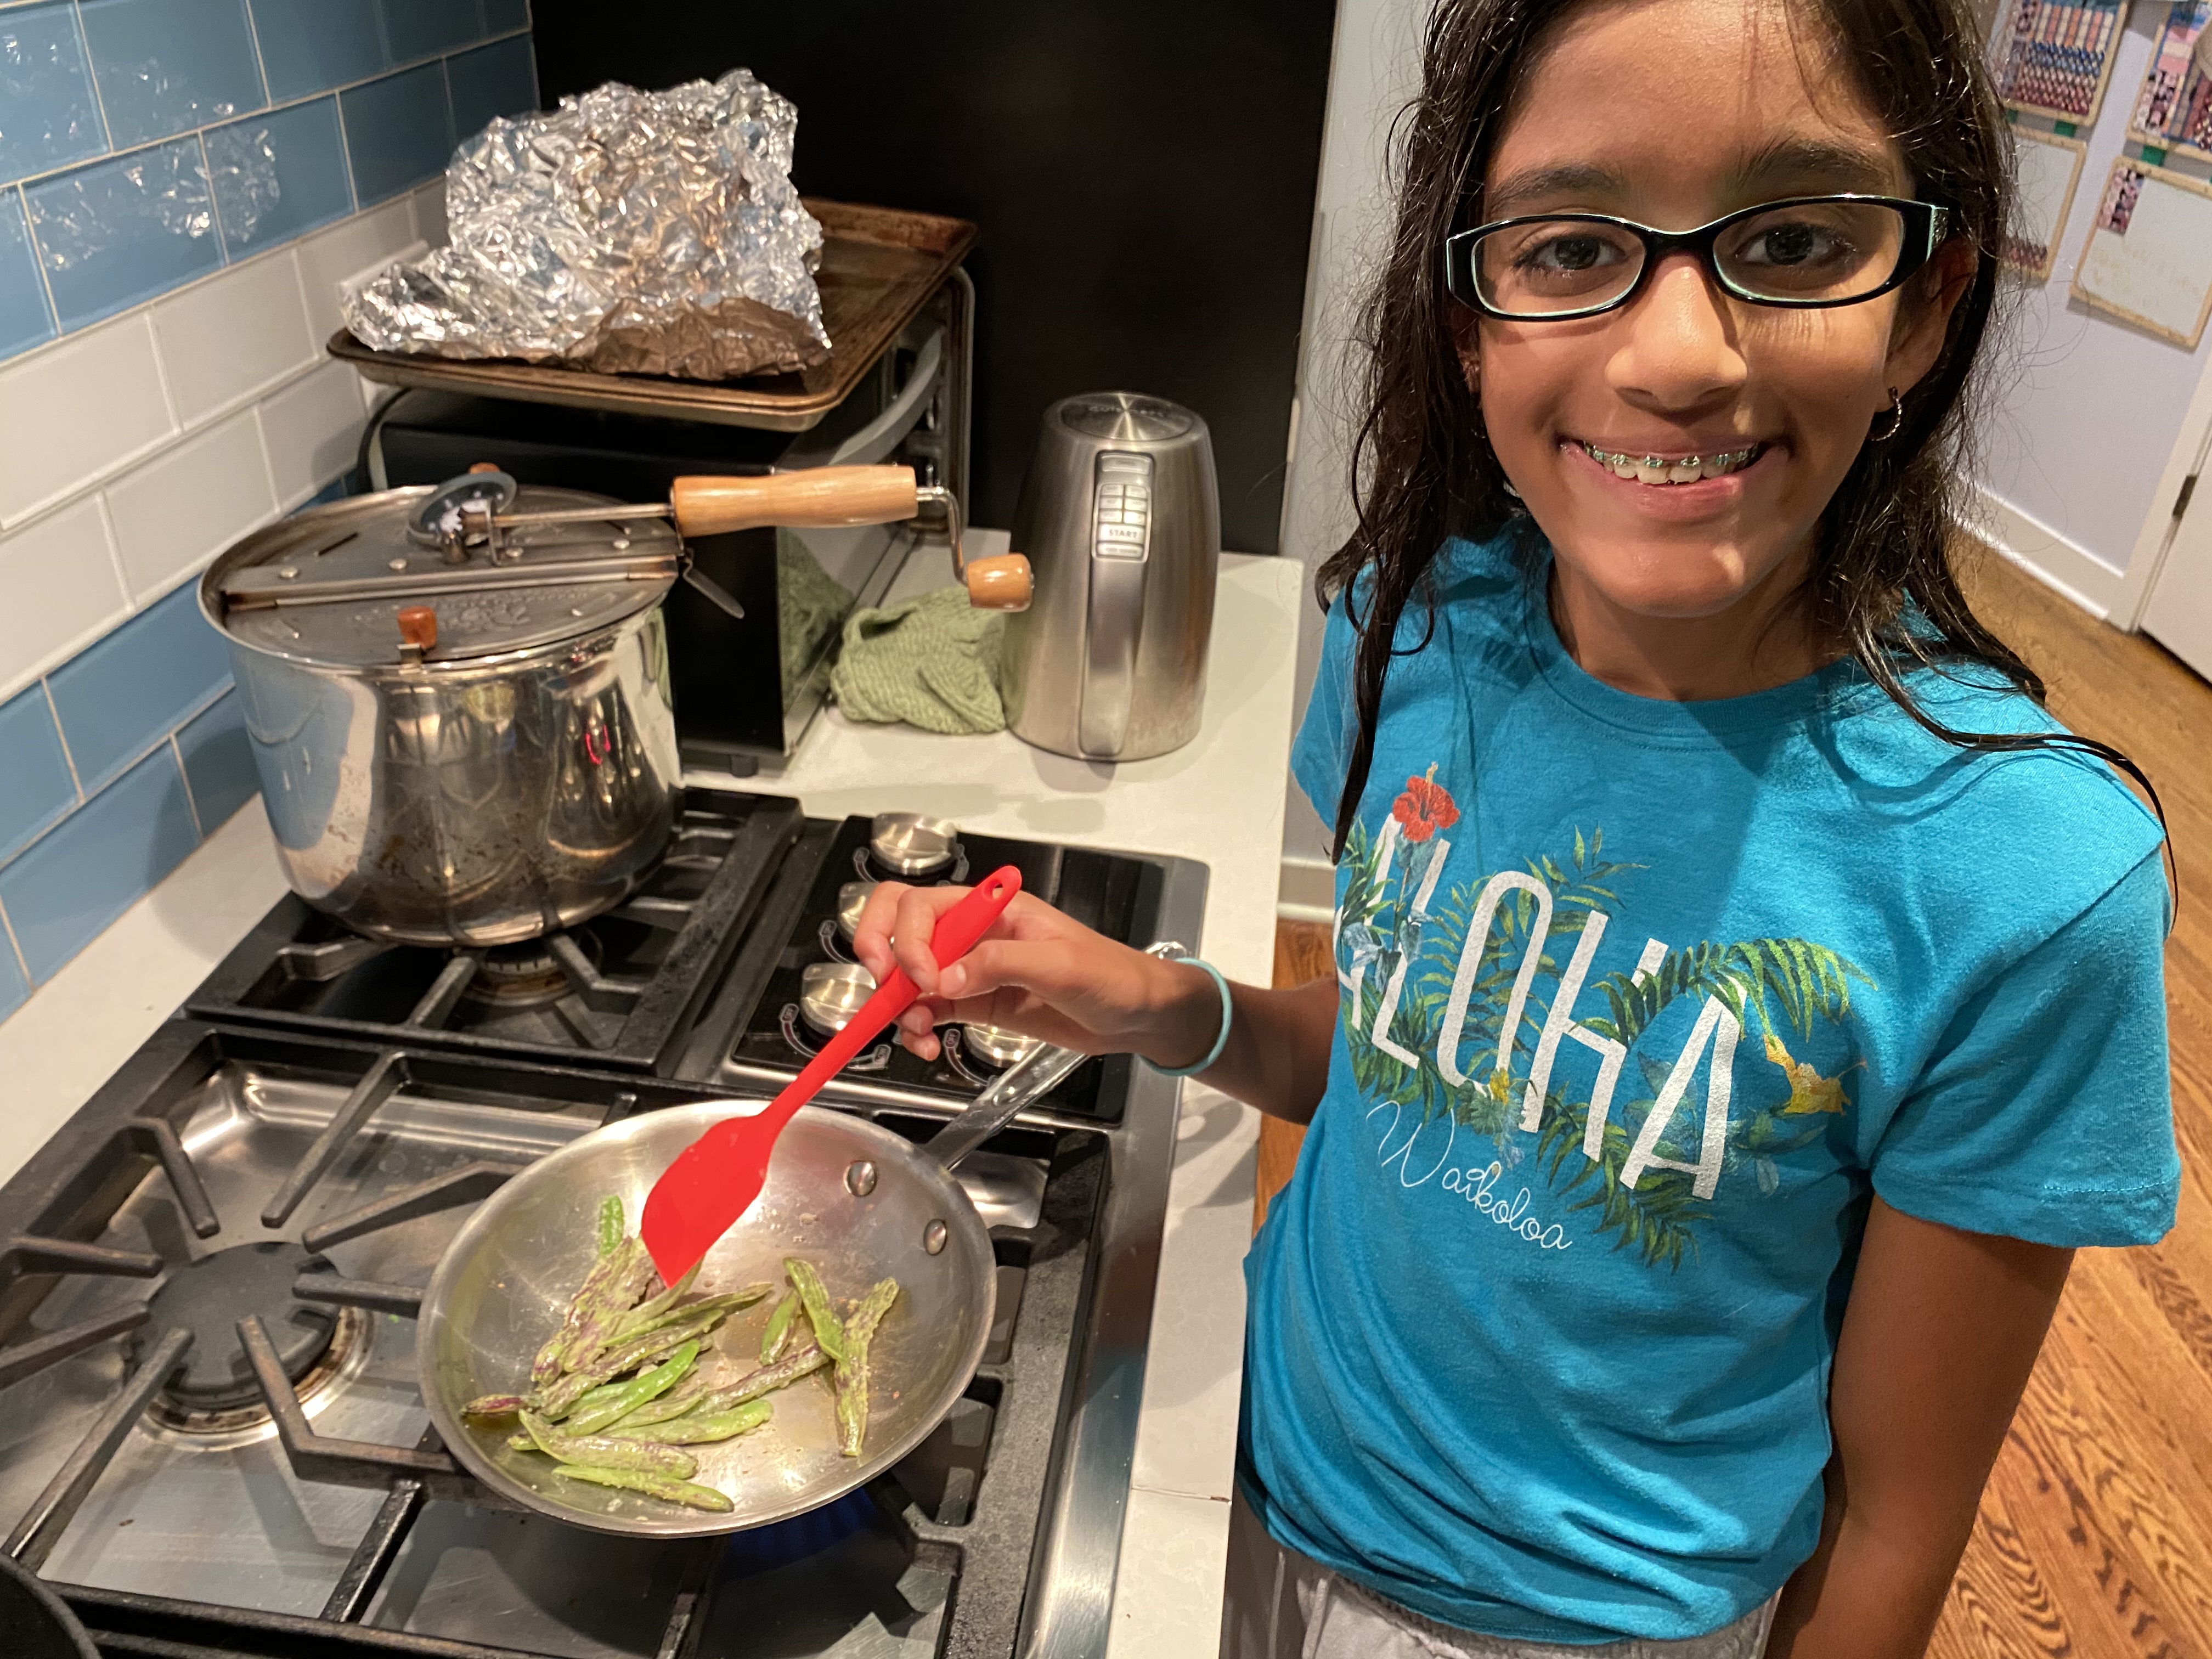
Hi guys! Recently we had our first bean harvest! So in today’s post I am gonna show you guys the harvest and how we cooked them. Let’s get into it!
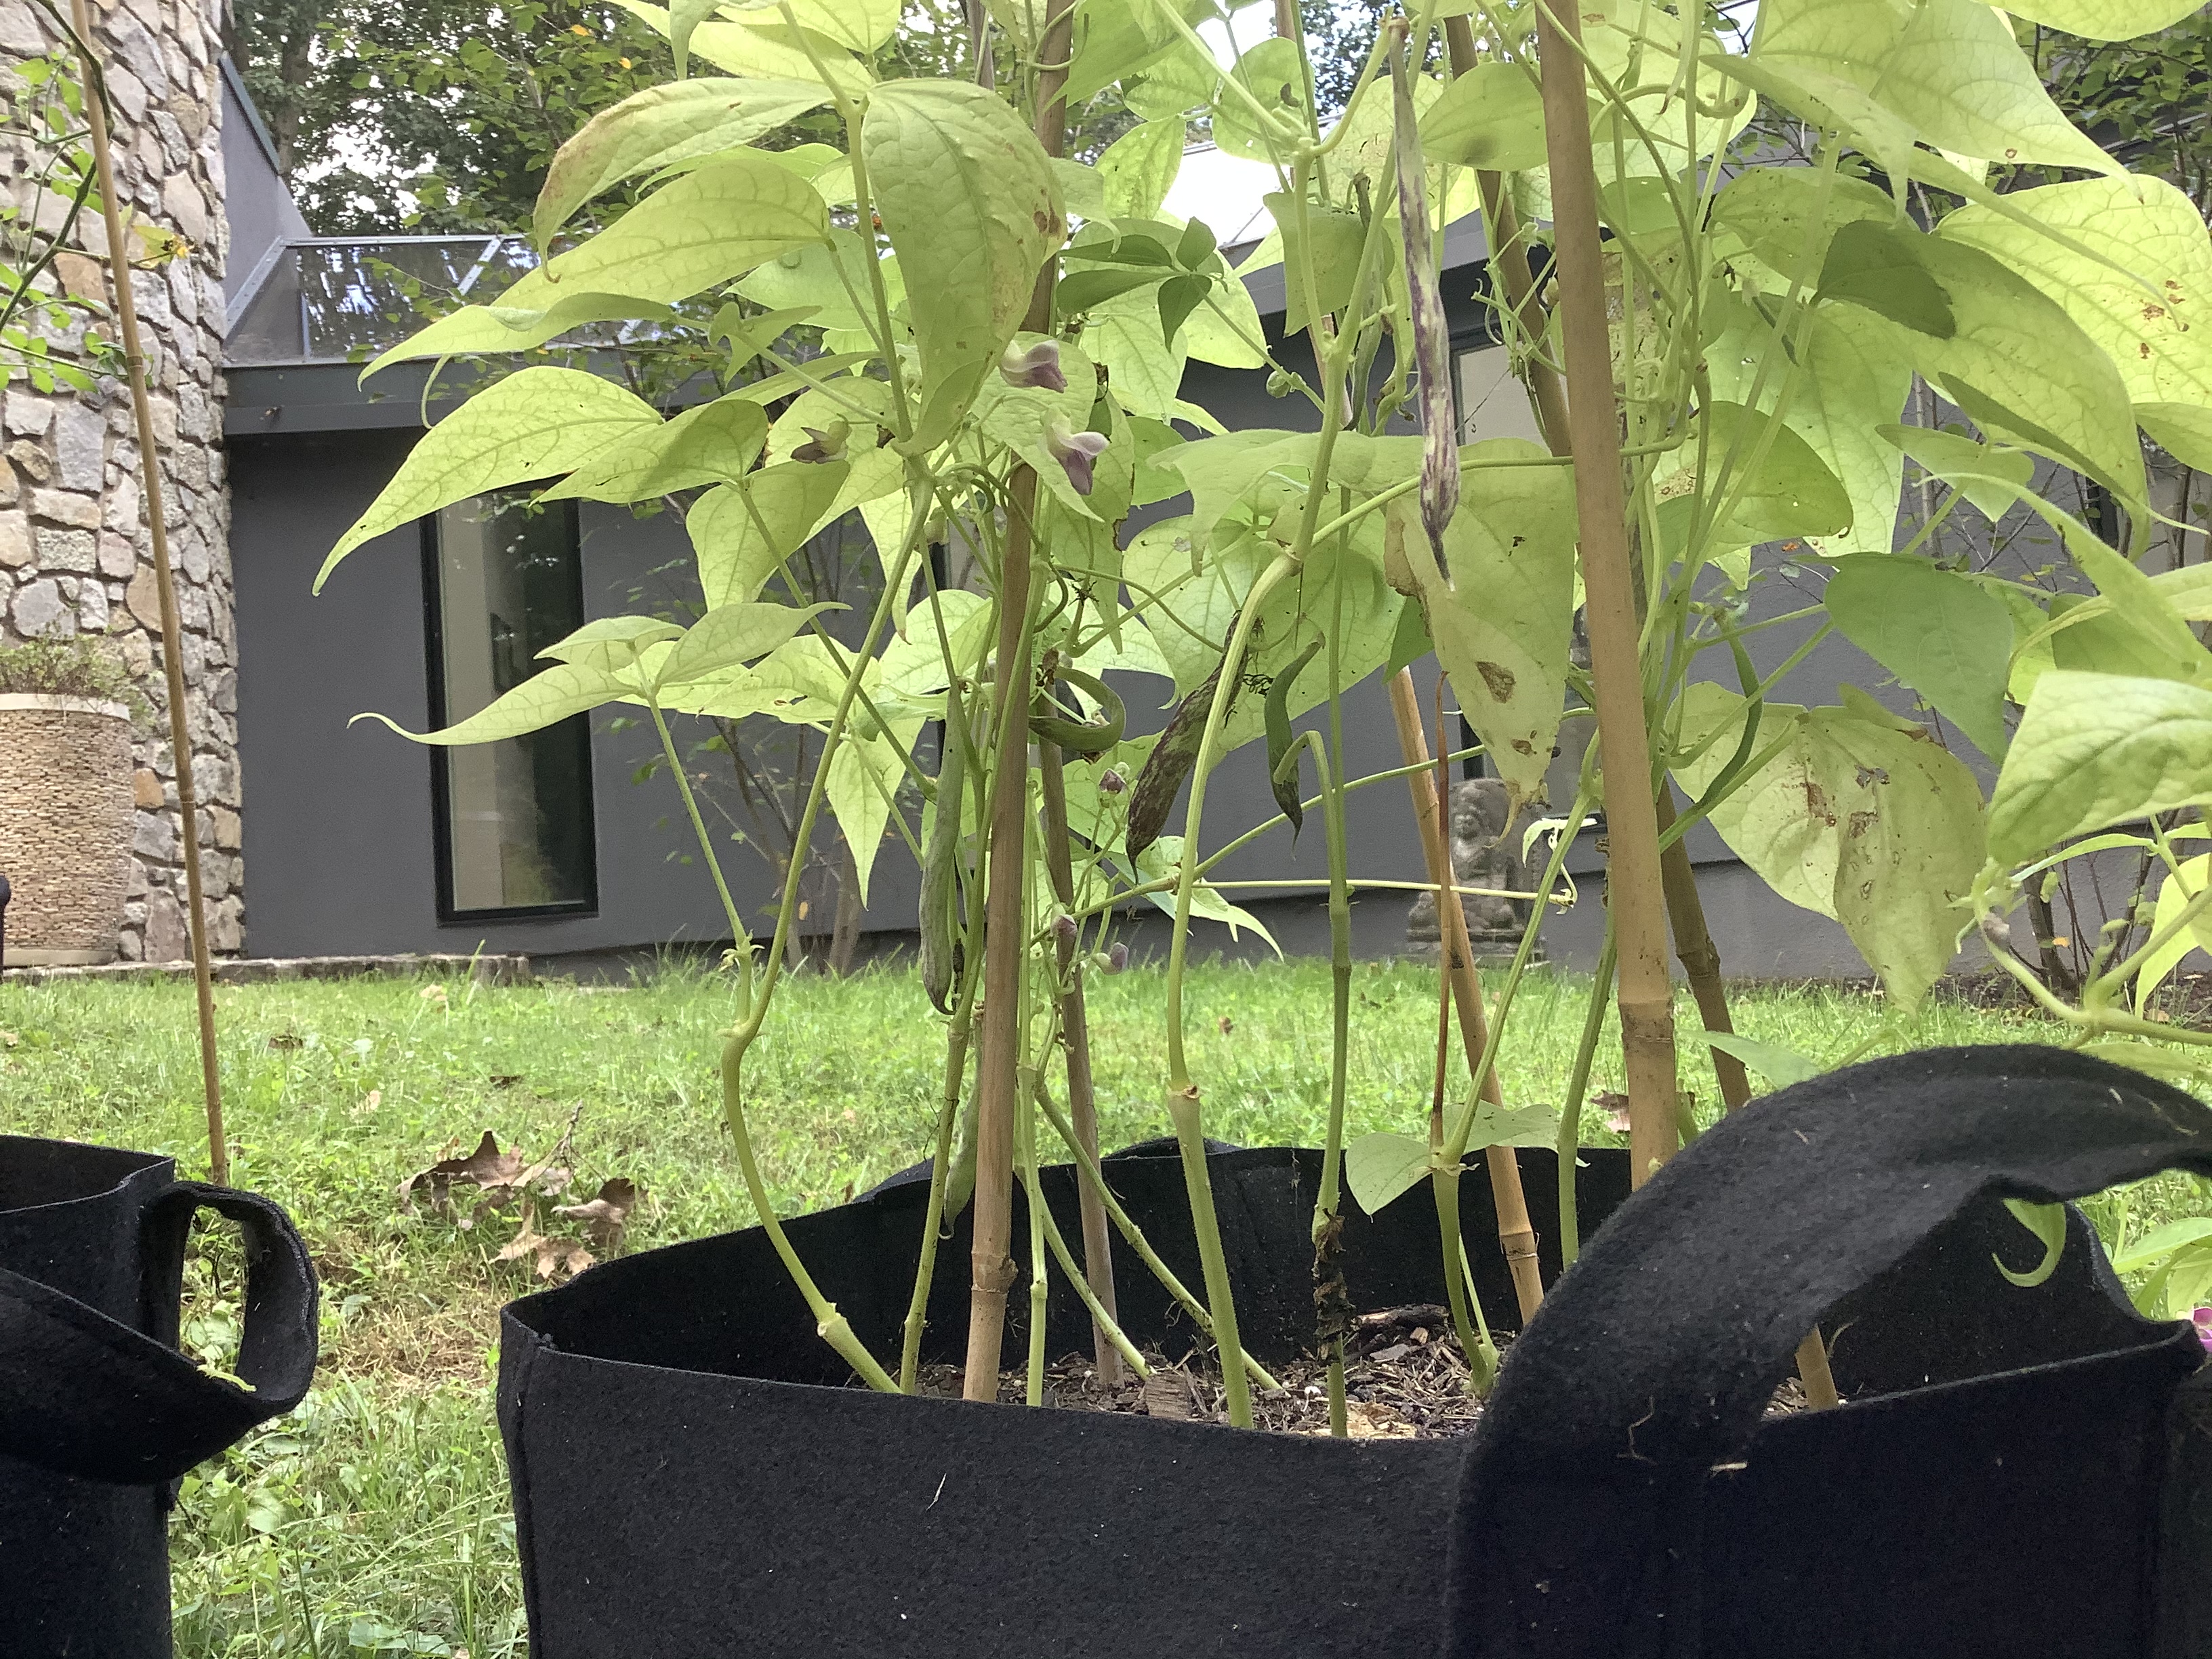
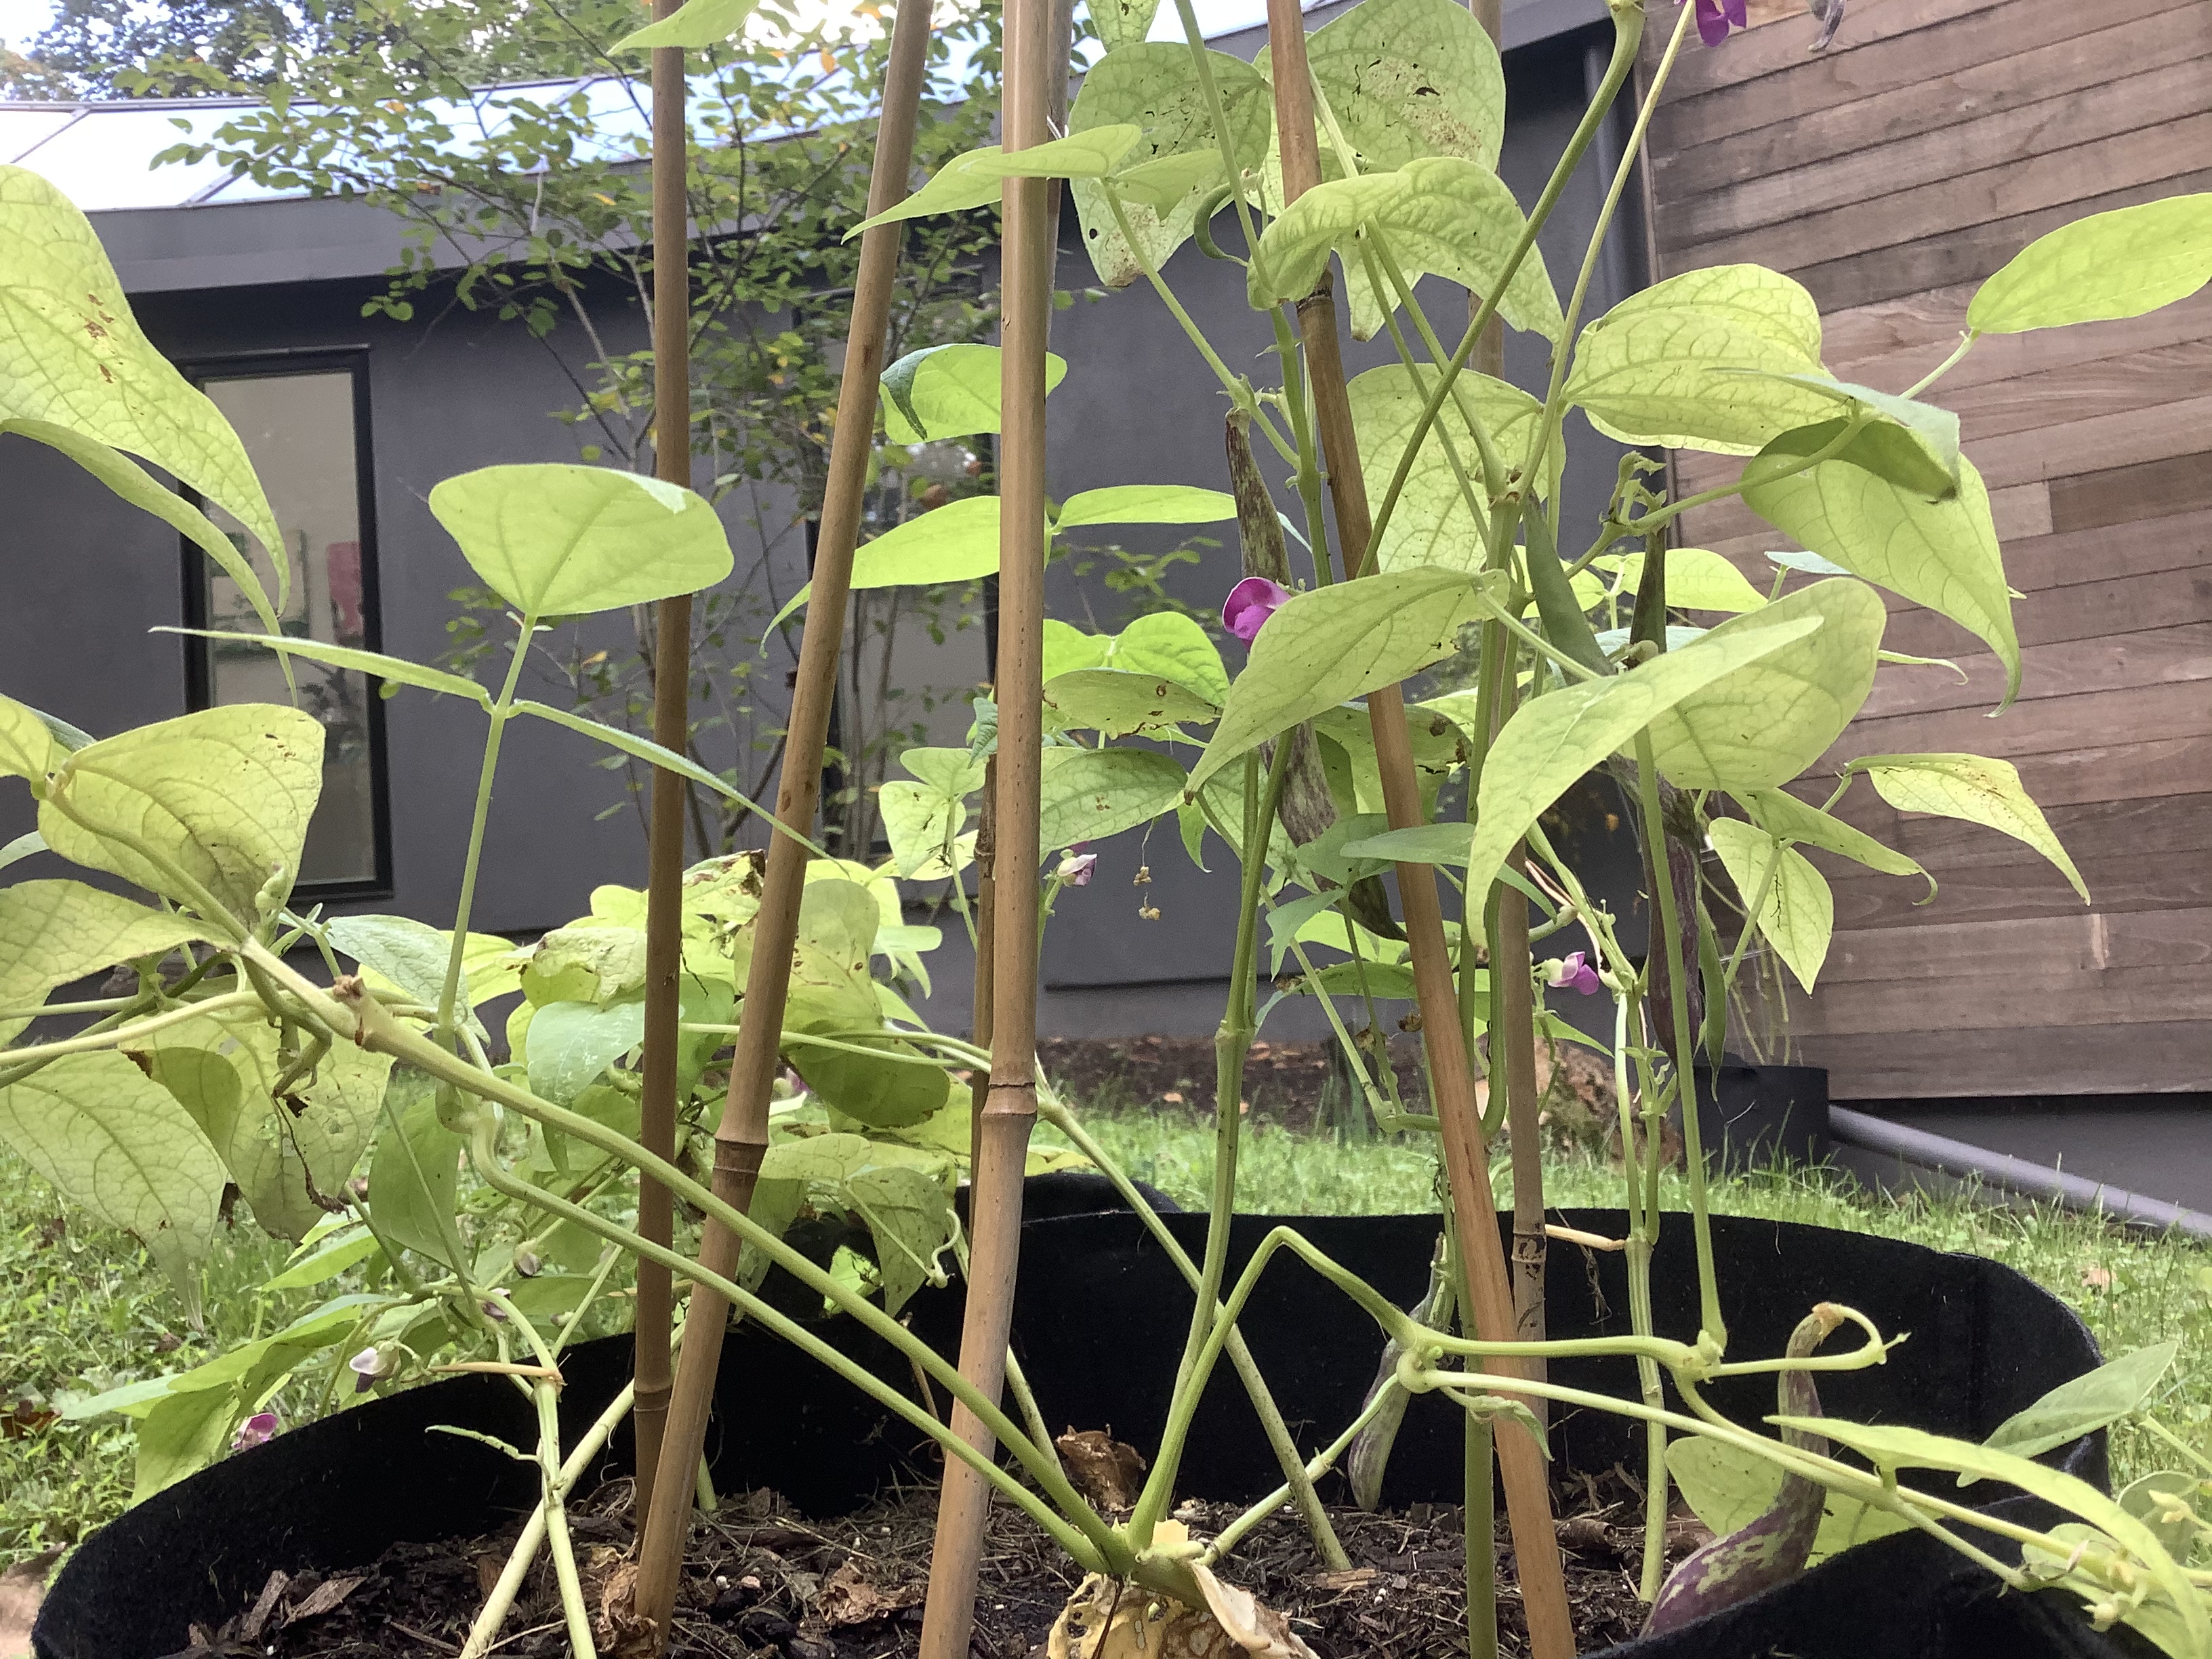
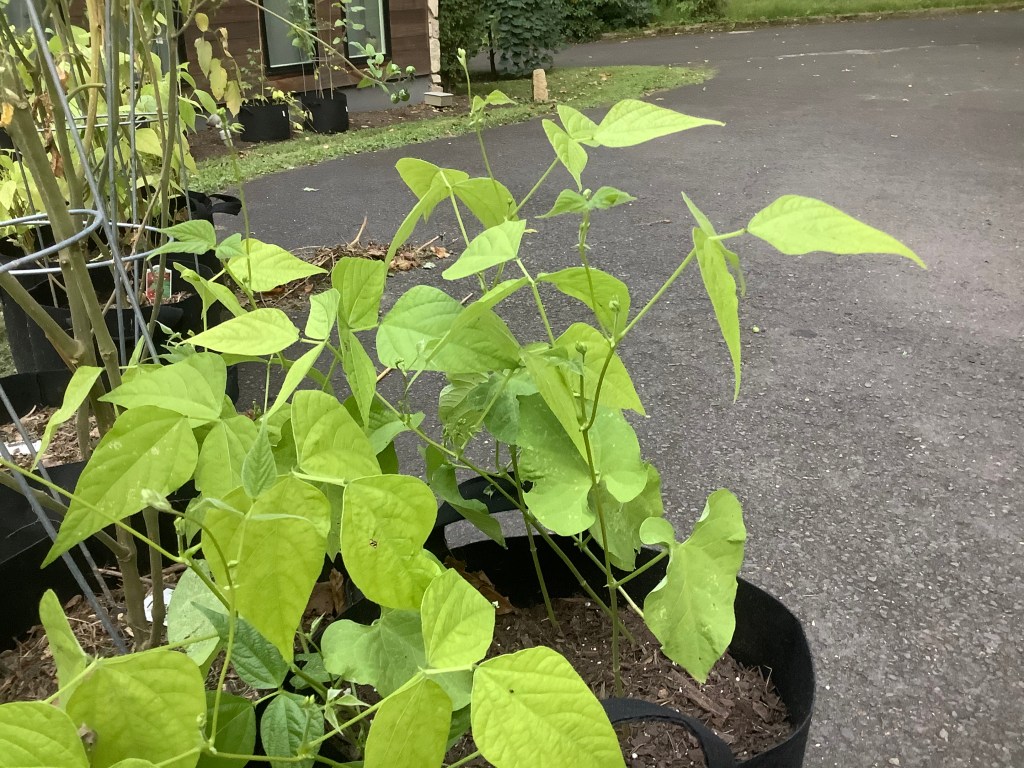
So first the harvest. We got a decent amount out of the two containers of bean plants we have considering this is our first harvest! The type of beans that are in this post are called dragon tongue beans. As you will see, they have a cool purple stripe pattern on creme colored skin. We also harvested one other type of bean. It is called scarlet runner beans. (We only got one tho.)
Here are the pictures of the beans:
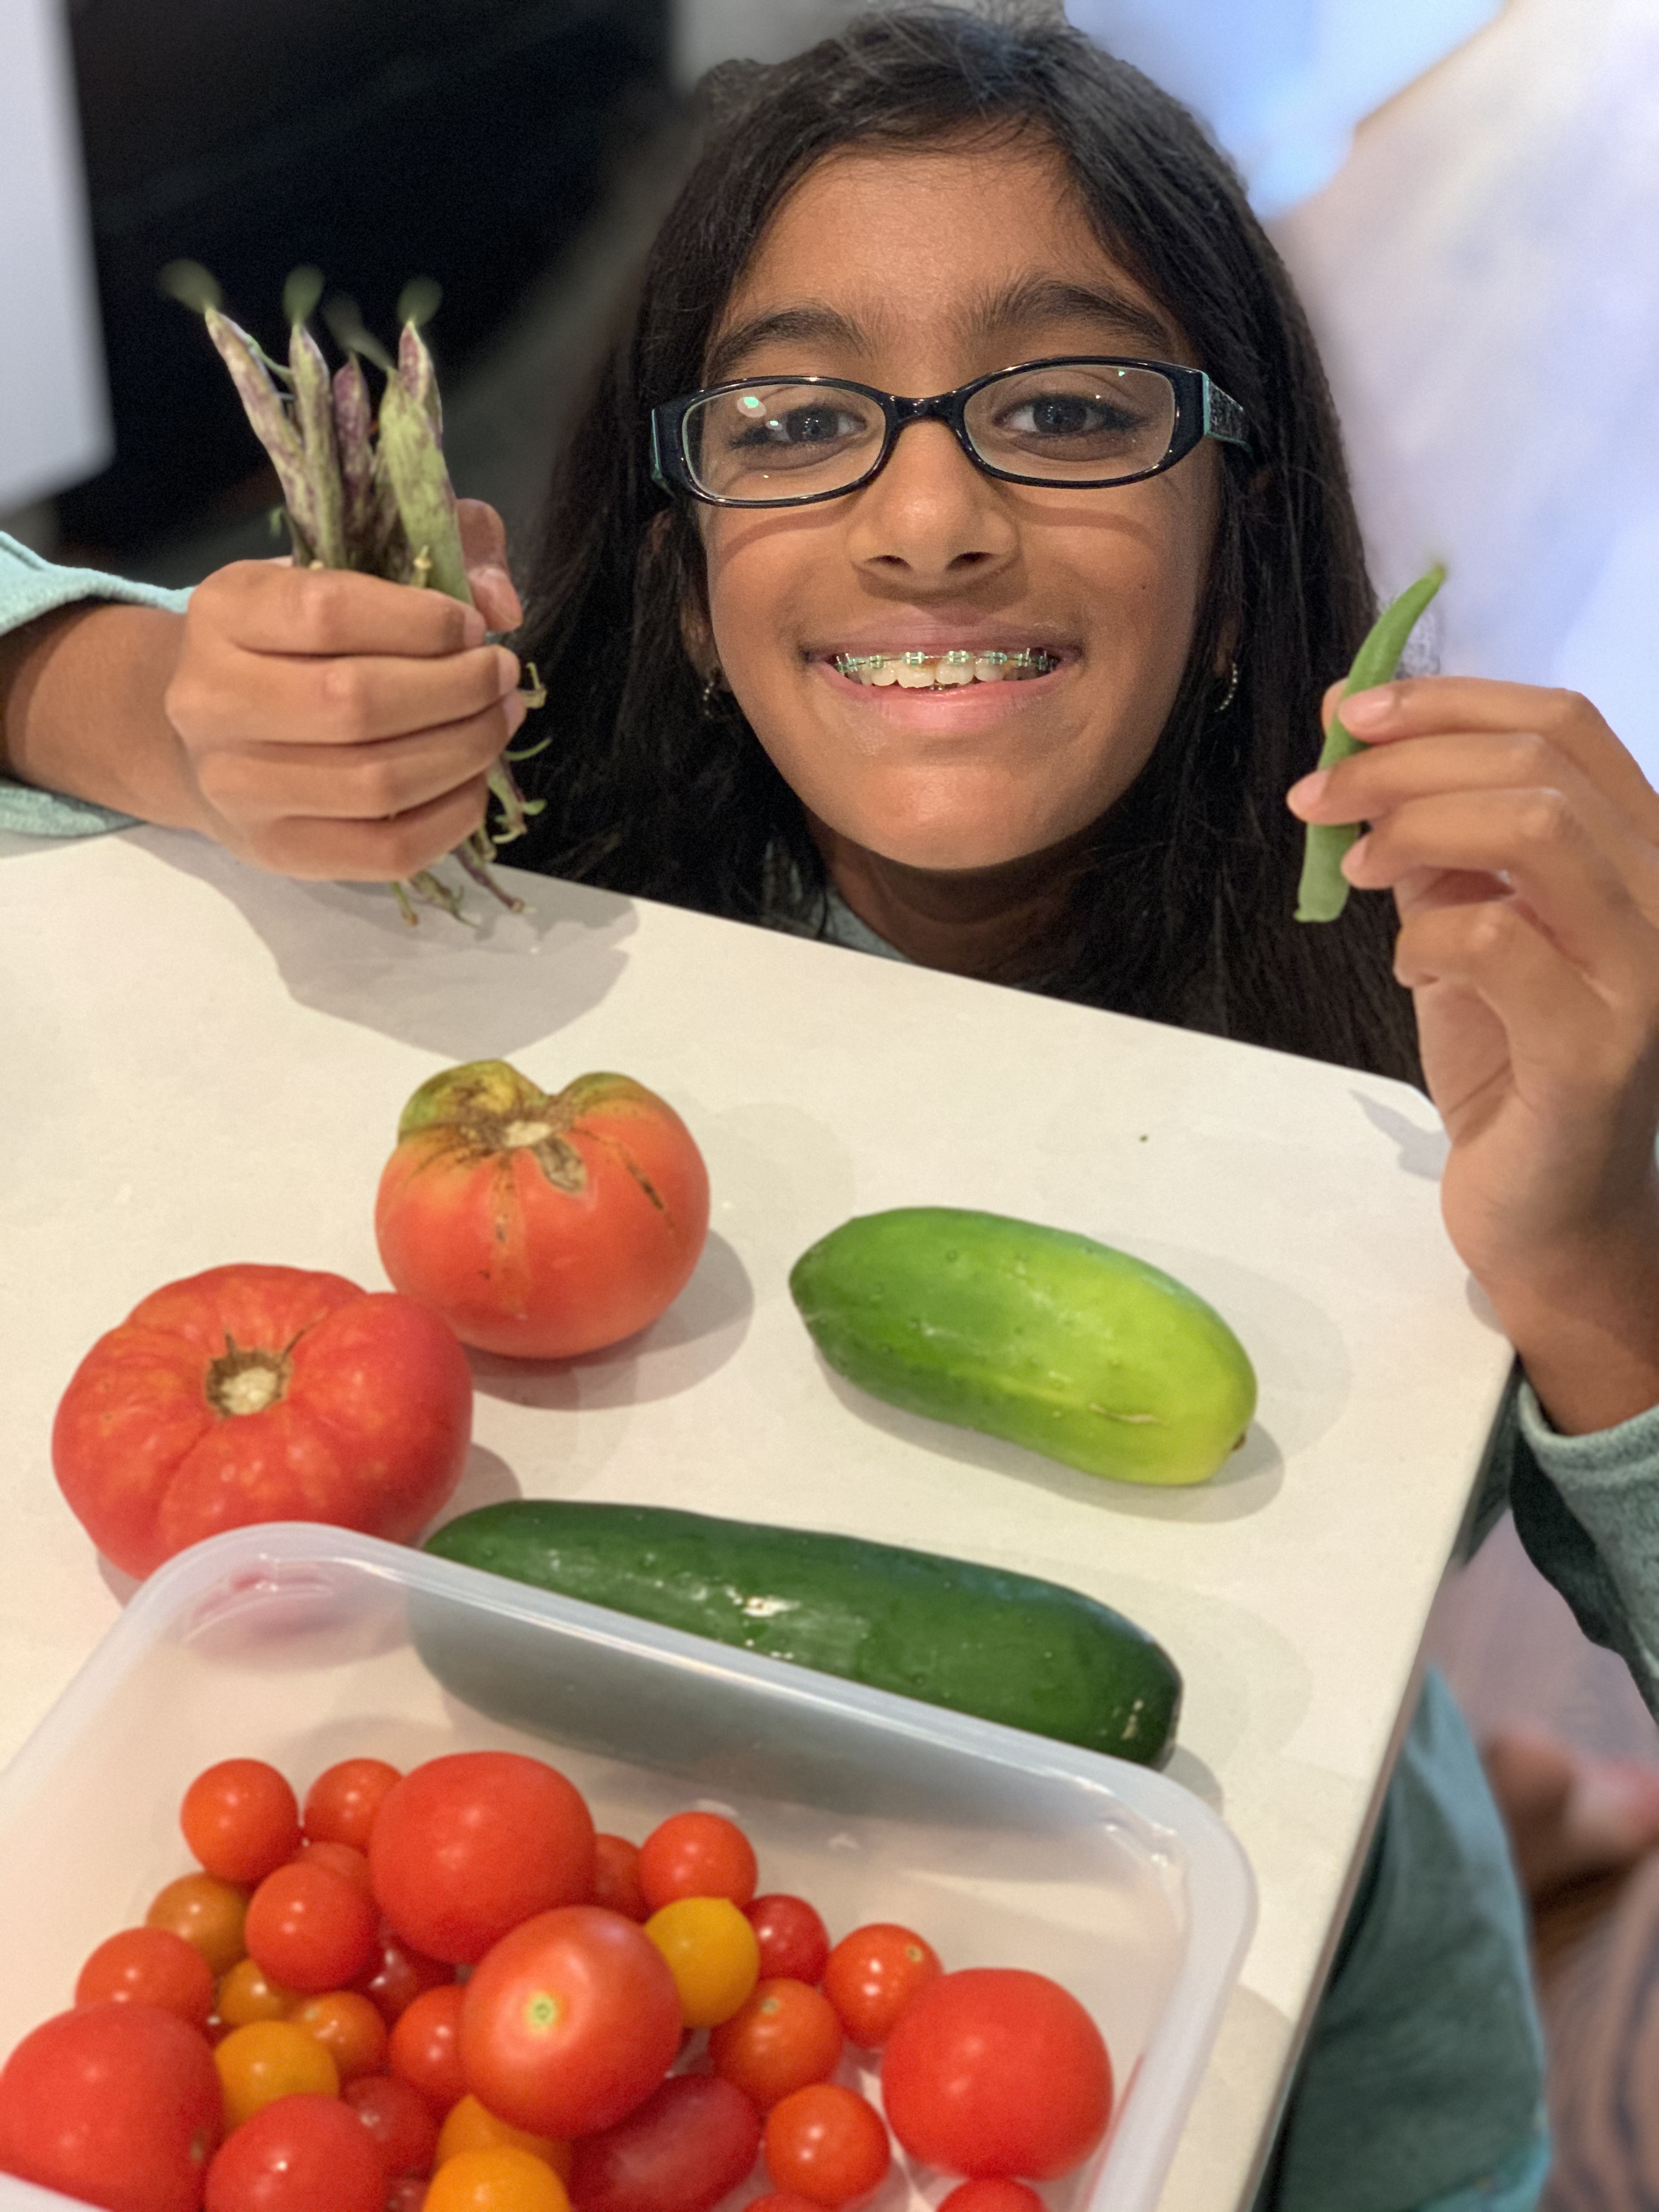
Because the beans didn’t really tase good plain, we fried them with salt, butter and garlic. They were soooo good! Sadly the dragon tounge beans loose their purple coloring when they are cooked. But they tasted like amazing green beans!
Here are some pictures!
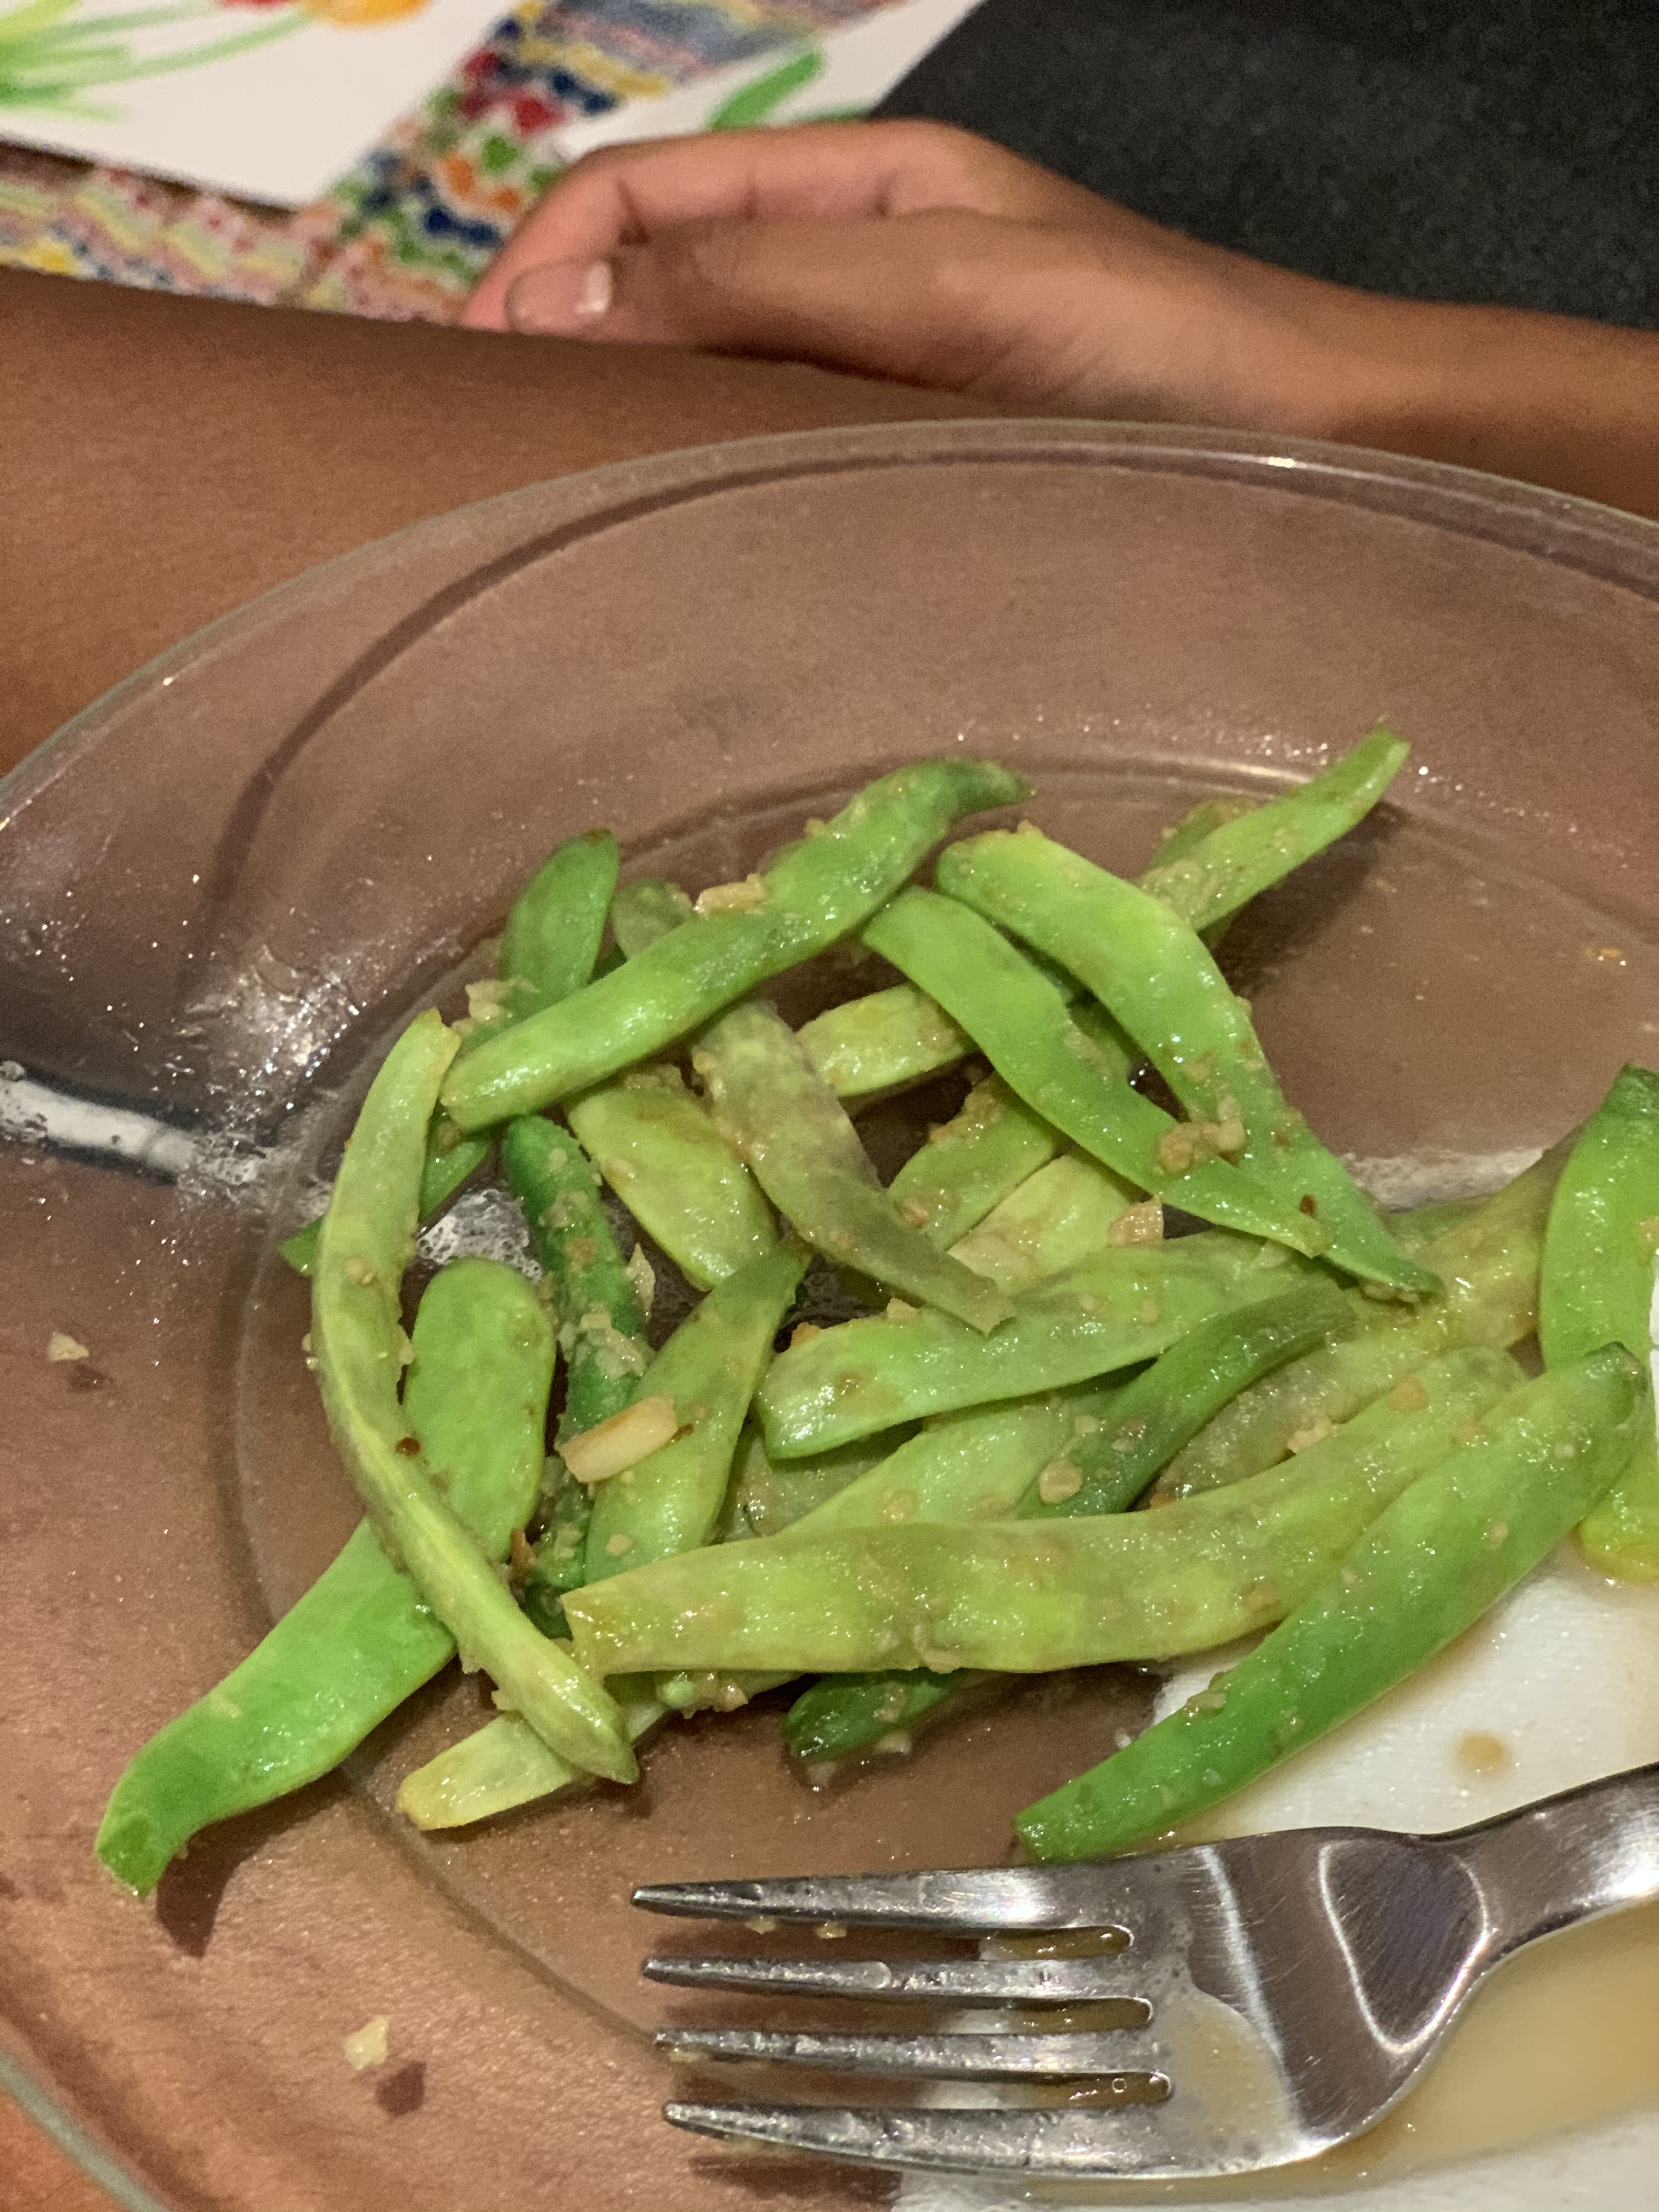

They tasted AMAZING!
Here are some facts about beans:
Most beans usually go from seed to harvest in about six to eight weeks. Witch means that they are pretty fast producers.
There are two types of beans, vining beans, and bush beans. They are just like their name suggests. Bush beans are bushy, and vining beans are vines and need support like a trellis. These dragon tounge beans are a bushy type bean, (though they still like to send out vines), and the runner beans are a vining bean. Here are some pictures:
Bush beans 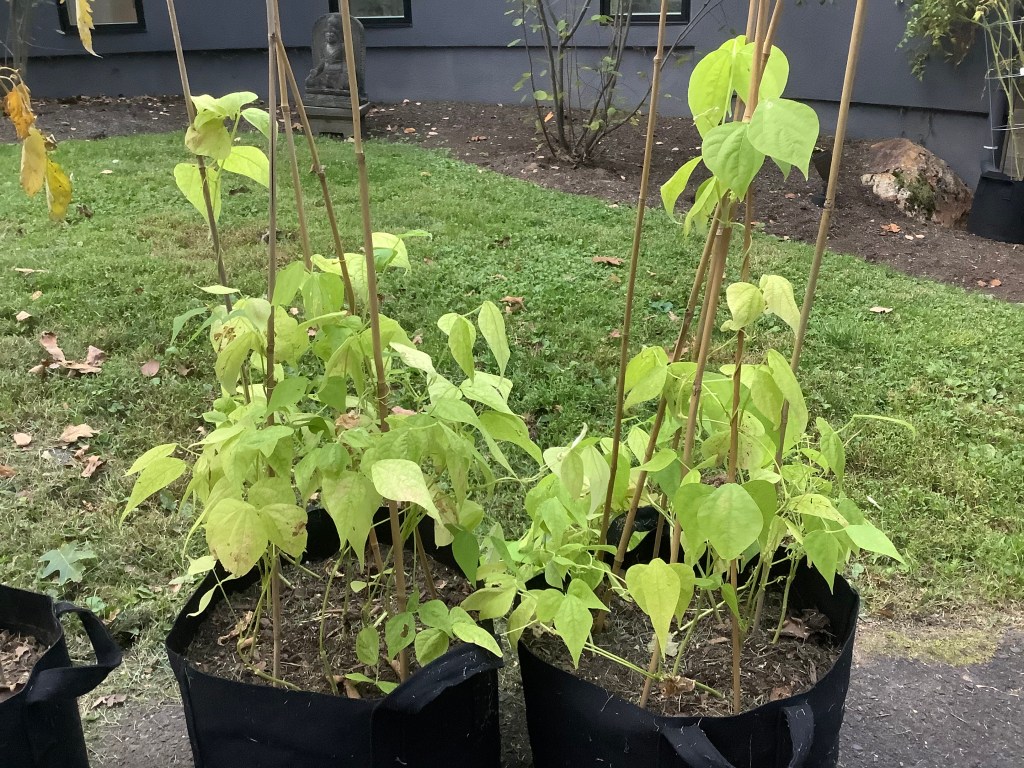
The dragon tounge beans:
bush/vining beans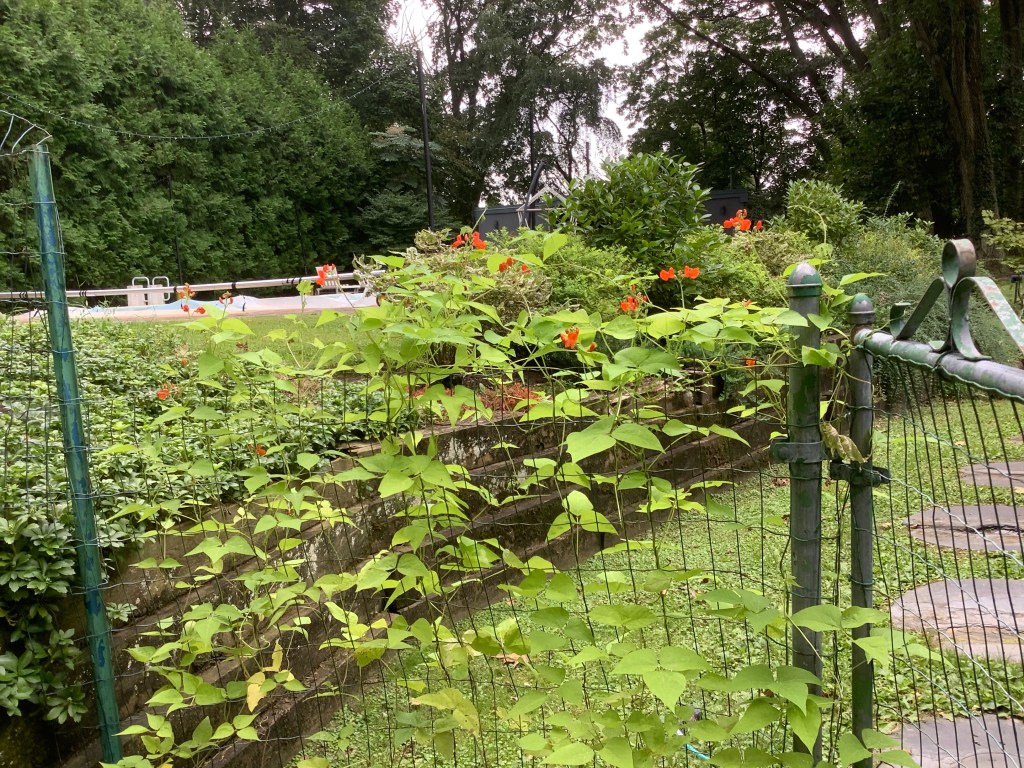
And runner beans. Vining beans.
The next fact is also about the different types of beans. It’s how bush beans usually produce their harvest more all at once in a span of a couple weeks, and vining beans usually have a more spread out harvest time.
Well, that is all for today’s post! I hope you enjoyed it and learned something from this post. Stay tuned for my next post soon! Bye!
Back to school supply haul!
Hi everybody! Today’s video post is a back to school supply haul. I know it is a little late, but better late then never, right?
To watch the video click here: https://m.youtube.com/watch?v=UzP34DrGwYw
Thanks!
Starting fall crops!
Hi guys! Today I am gonna go over the crops you can still plant NOW to gat a fall harvest. Let’s get started!
The first crop you can plant is arugula! Arugula cannot stand the heat and loves the cool weather. Arugula or rocket is a SUPER fast growing green and is amazing in salads. Sowing arugula seeds is really easy. All you have to do is grab some seeds and sprinkle them on the soil. Then water.
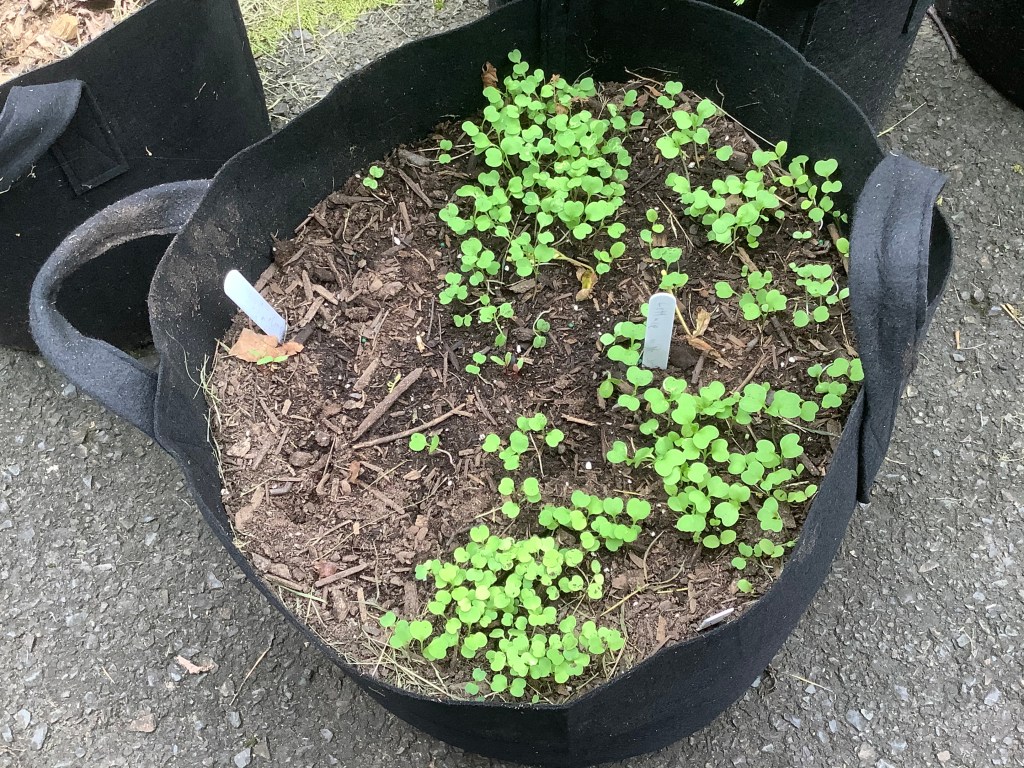
The second crop you can plant are radishes! Radishes are also a super fast growing root crop and you can also eat their leaves in salads. To start the seeds, use your finger to make a trench in the soil that is about a half inch deep. Then, sprinkle the seeds in the trench. Then water!
The next crop you can plant is lettuce! Lettuce is a great crop that does really well in cool weather and grows pretty darn fast too! Lettuce needs light to germinate so start the seeds like you would arugula.
The last crop is bok Choy! Bok Choy is a Chinese lettuce and is a great fall crop. It loves the cool weather too! Sow bok Choy like any other lettuce.
That is it for today’s post! I hope you enjoyed it and learned something. Now go plant your fall crops! Bye!
Tomato branch planting!
Hello! Today I am going do an update on a post about propagating tomato plants. You can check it out here:
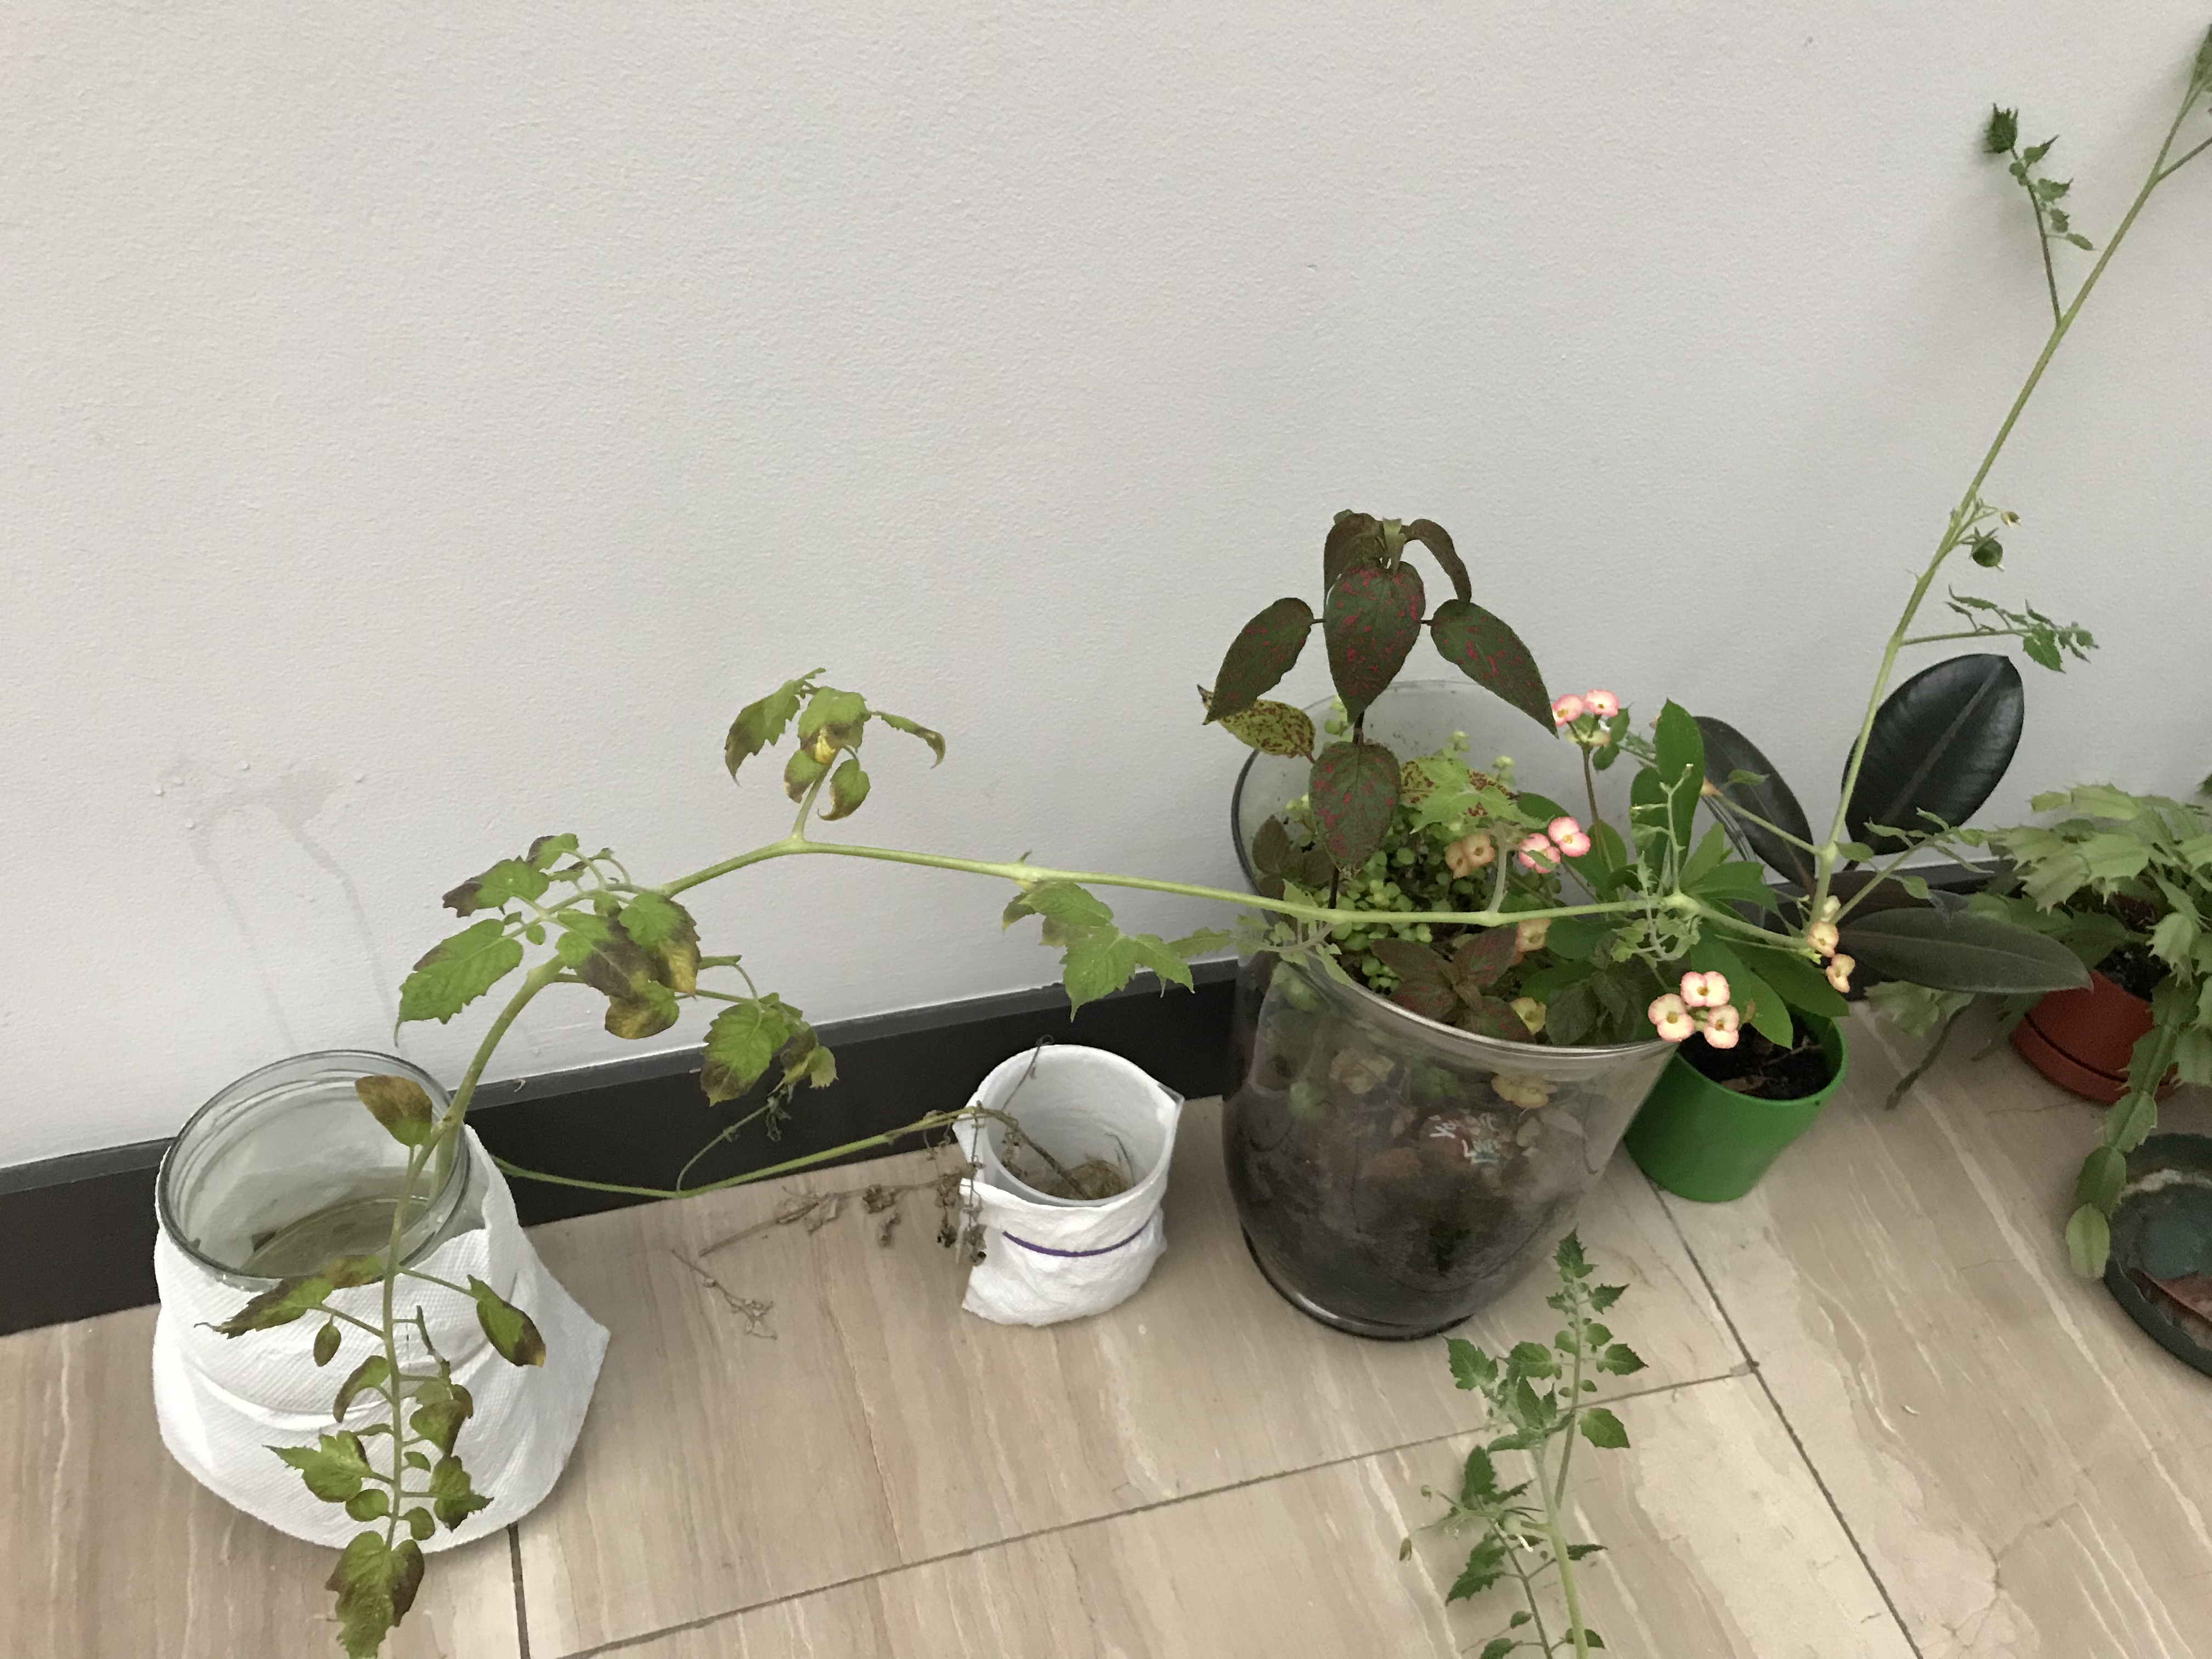
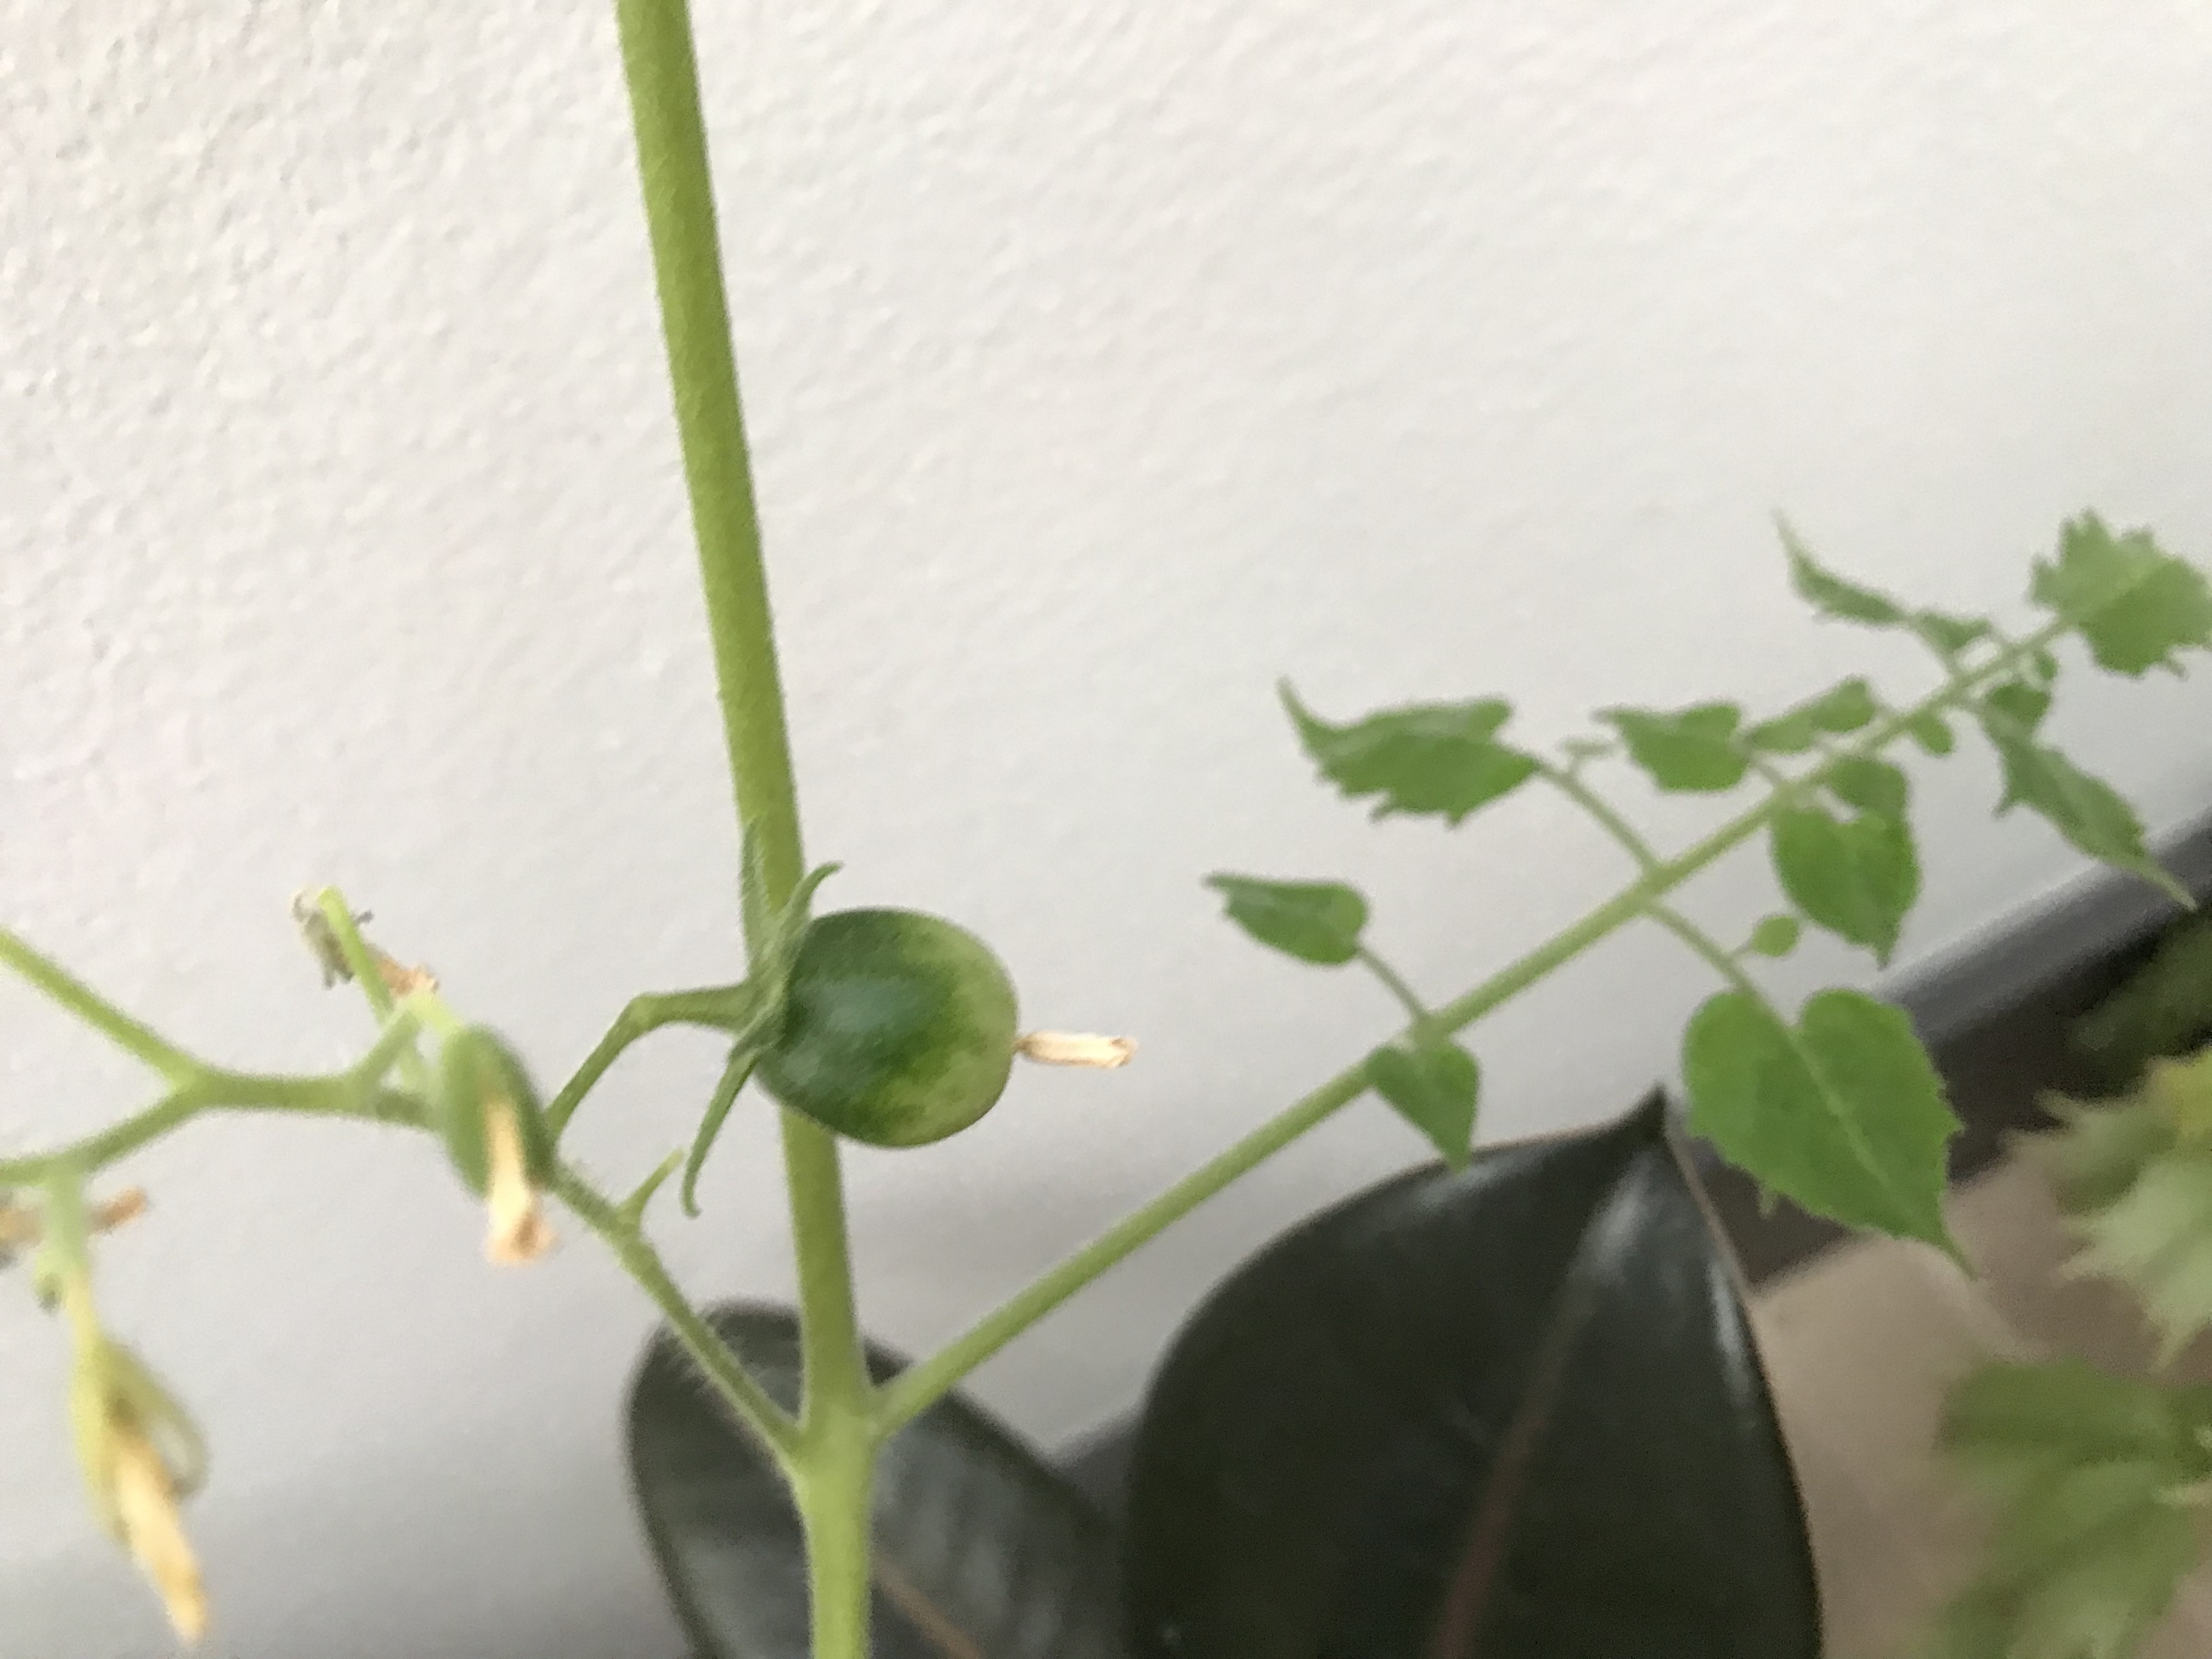
The original tomato branch that I propagated got a disease. So around two weeks after I did the first tomato branch, I added another one just in case. So the tomato branch that I added is the one that is being transplanted.
The tomato branch that I transplanted had a healthy amount of roots and already had some mini cherry tomatoes on the vine. So all in all, the tomato plant transplanted pretty well.
here is the tomato plant a couple days after transplanting.

As you can see, it is a little bit shocked, but it will recover!
That is it for today’s post! I hope you enjoyed it. Bye!
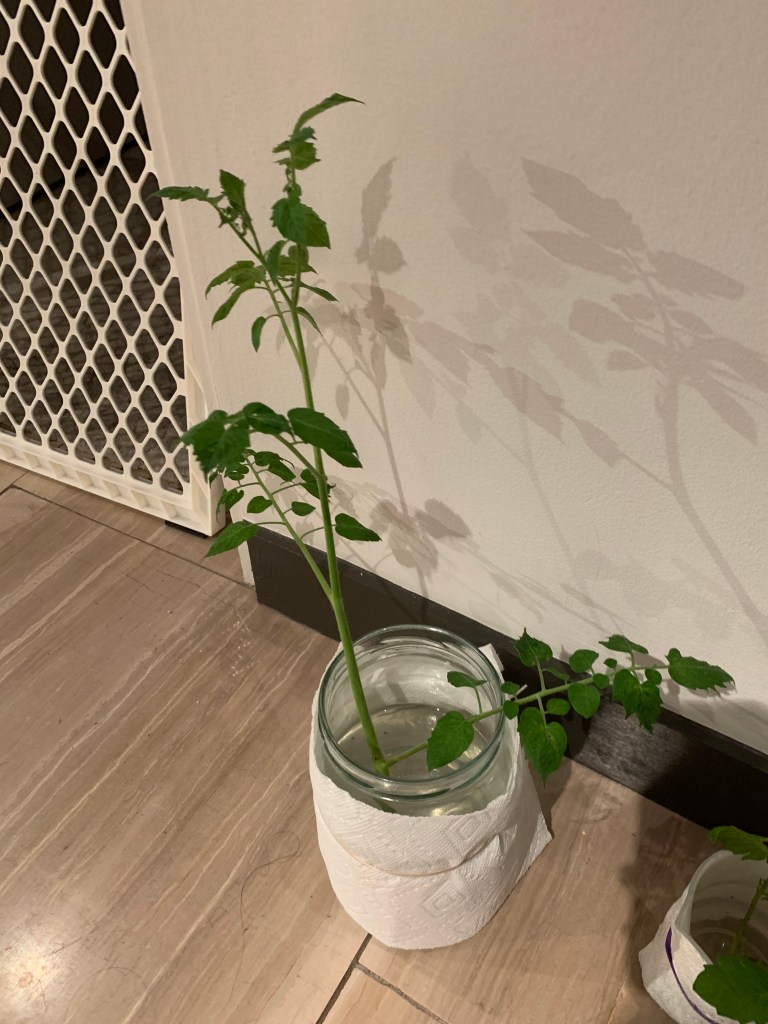
Propagating tomato plants update!
The tomato branch and leaves after 7 days:
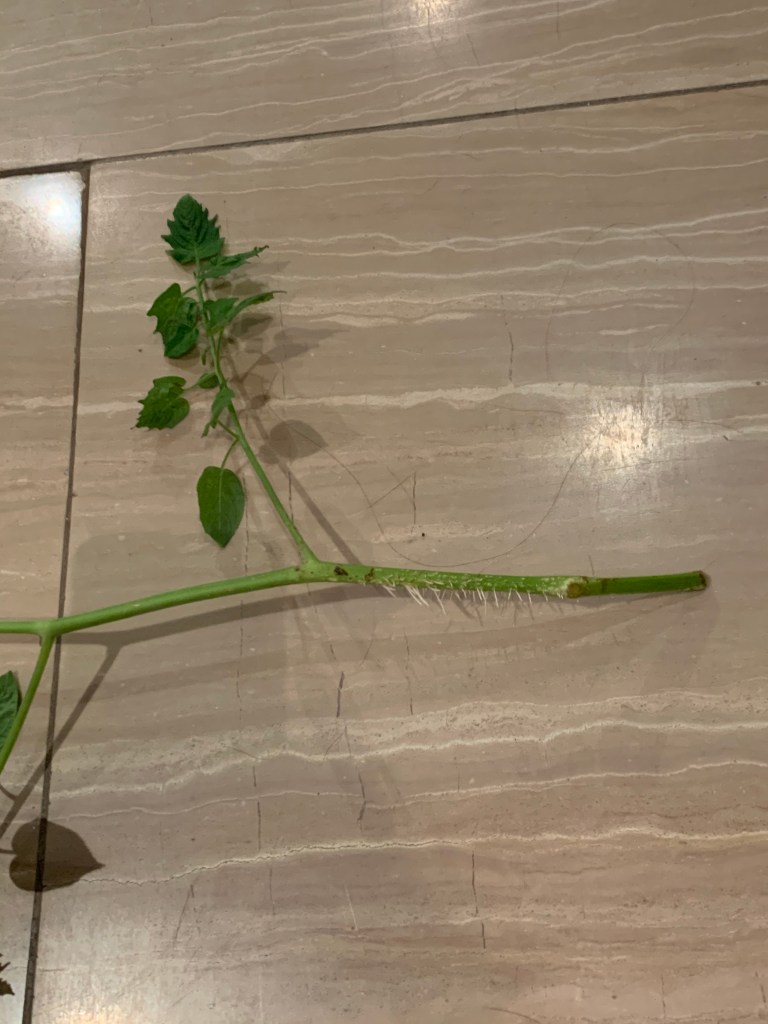
Here is the tomato branch after a little over two weeks:
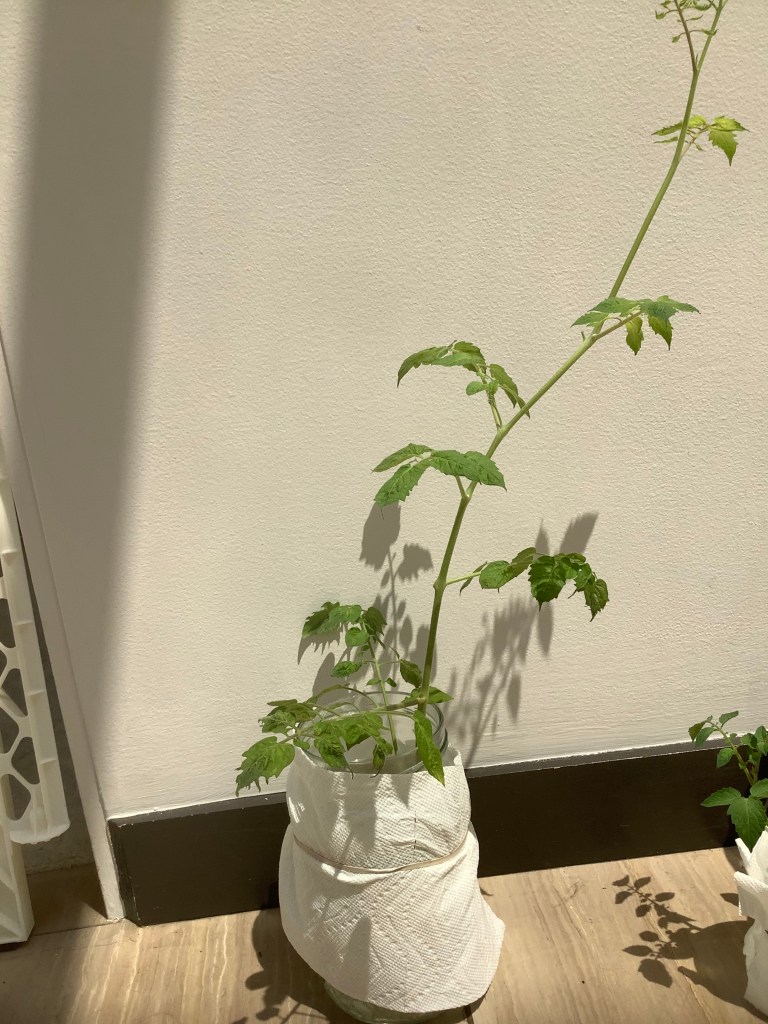

And finally, here is the tomato branch after about a month:

Propagating tomato tips:
-Change the water out every couple days. This is because the water doesn’t really have a lot of nutrients for your tomato plant. So changing the water out makes sure that your tomato branch grows roots.
-When I propagated my tomato plant, I left it in the water for a pretty long time. When you are propagating your tomato branch you do so that have to wait a whole month. You can plant your tomato branch after two to three weeks.
That is today’s post! I hope you learned something. Stay tuned for my next post, Bye!
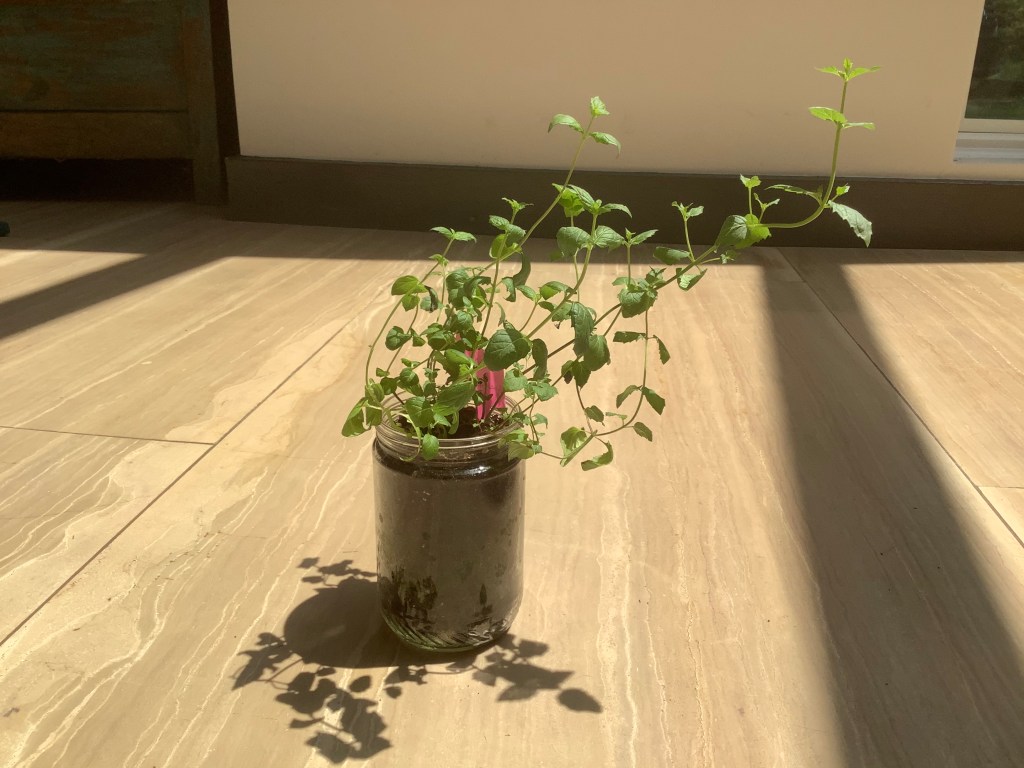
How to prune mint. Pruning the mason jar herb garden!
Hi guys! Today we are going prune our mint and chives in the mason jar herb garden!
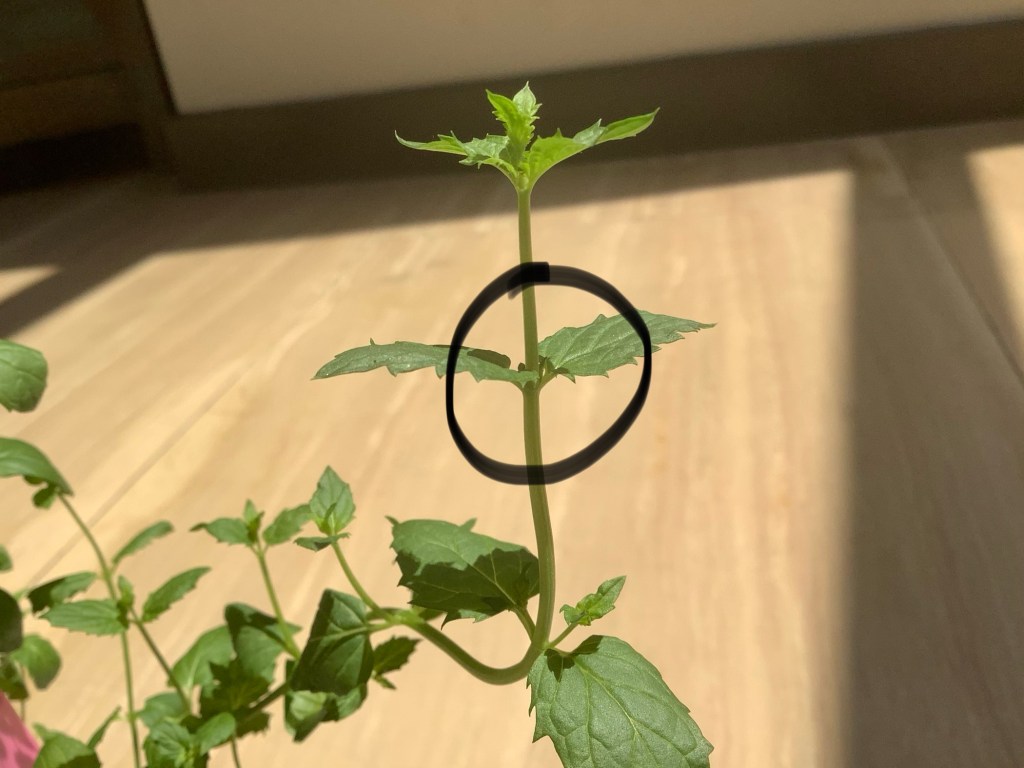
let’s start with our mint! Trimming mint is like trimming basil. You cut the stem at a leaf node so that your plant will get more bushy and put out more new growth.
Check out my post about pruning basil here: https://tigershakti.wordpress.com/2020/07/27/how-to-prune-basil/
Here is what a leaf node looks like on a mint plant:
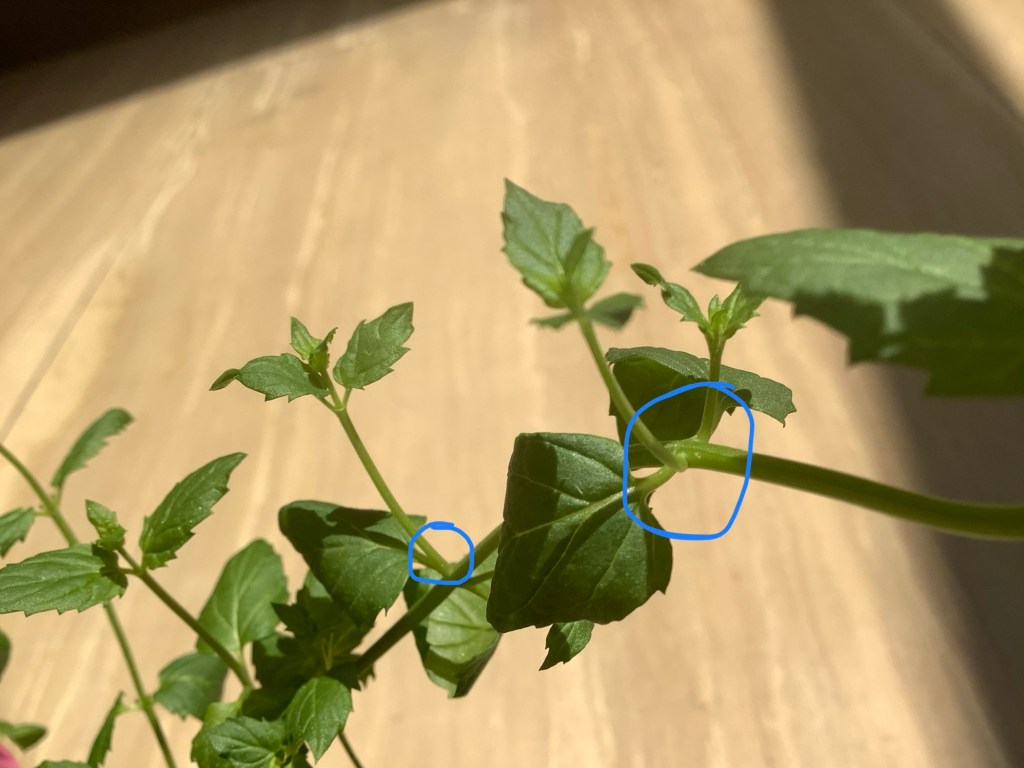
Sometimes when your mint stem gets pretty thick, you will start to see little branches coming out of the leaf node before you even cut the stem!
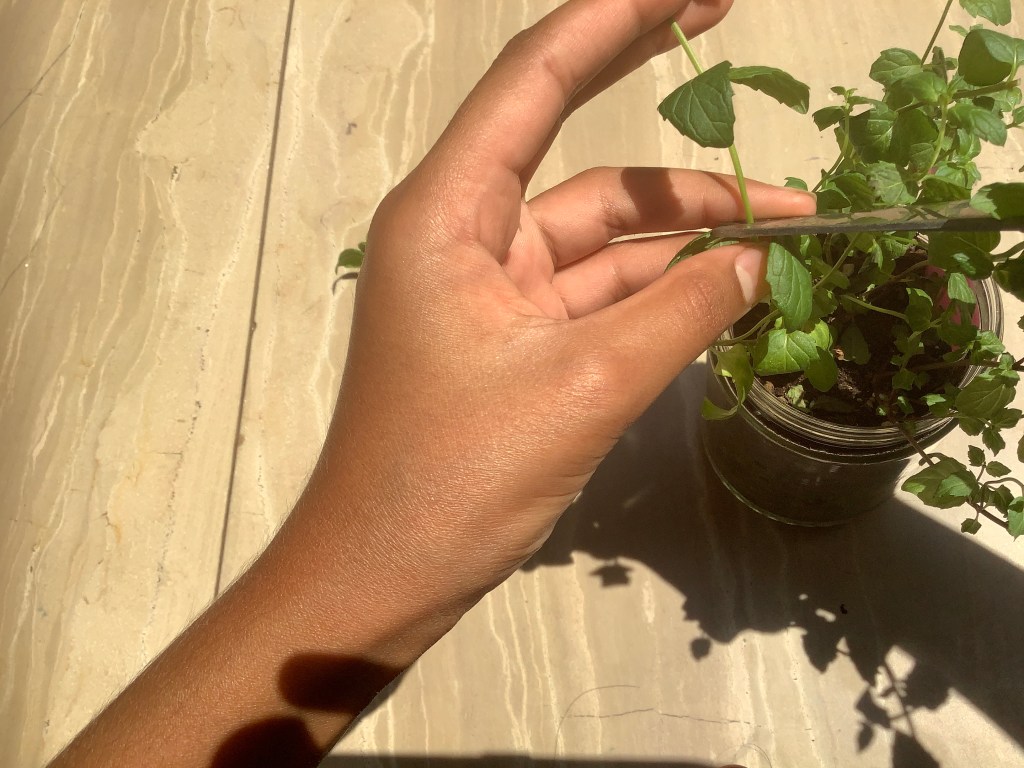
Because mint grows so aggressively, you can cut your plant pretty low on the stem. Here is how I pruned my mint:
Here is a mint stem that I cut in another tutorial. See how the one stem branches off into two at the leaf node? That is what we are going for. Nice and bushy growth!

That is how you prune mint!
Here is the plant before and after:

Like we did here, you can still cut mint back pretty aggressively and your plant will grow back stronger then ever.
For the chives all I am going to do is to give them a little haircut so they keep growing.

Before we rap up this post I want to say that when you first start your mason jar herb garden, it will take a little while for it to start producing a usable amount of herbs. So that is all the more reason to start your own mason jar herb garden right now! Make sure you check out my other mason jar herb garden posts!
That is it for today’s post! I hope you enjoyed it! See u guys on my next post! Bye!
How to prune basil.
Hi guys! Today we are going to prune/trim our basil! And, I will show you the best way to prune your basil! Let’s go!
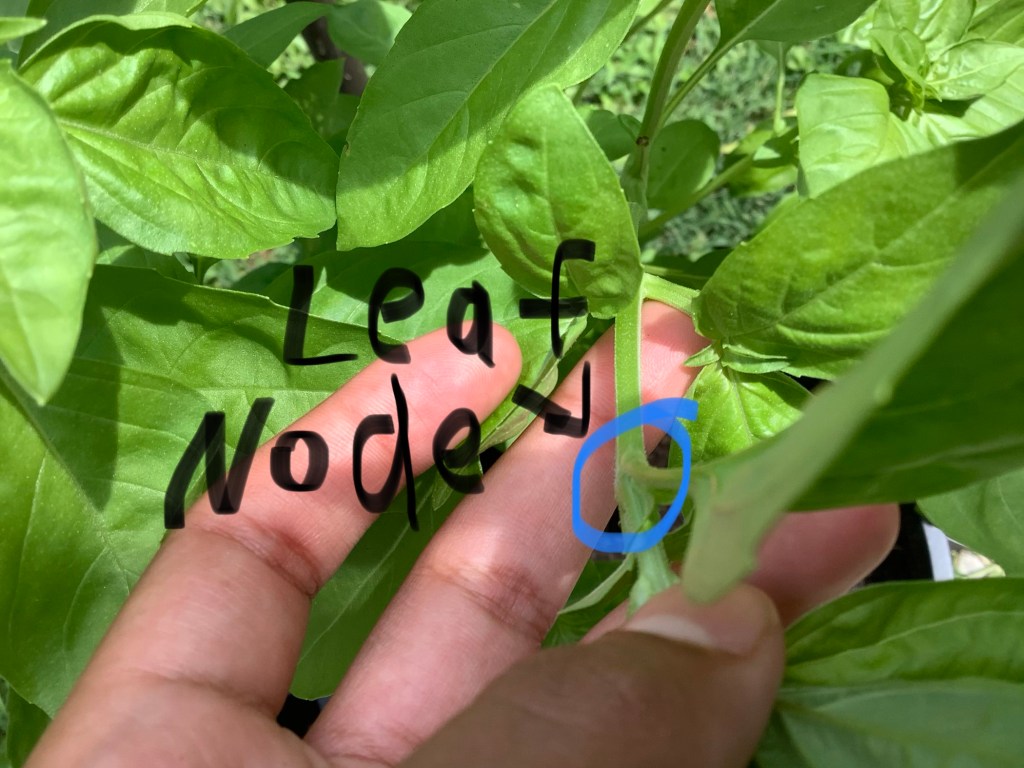
My favorite way to cut basil is to cut the stem at a leaf node. A leaf node is where a leaf connects to the stem of the plant. If you cut your basil plant stem at a node, the will encourage your plant to send out new growth and start branching.
Also when your are trimming basil, you should cut from the tips of the plant to the leaf node. This helps to prevent your plant from flowering which can ruin the taste of your basil and flowering reduces leaf production.
Here are some other tips to pruning basil:
-Cut often. Make sure you cut your basil often to that your plant doesn’t flower.
-Pinch off the buds. If you find any buds on your basil plant, just pinch it off. If your can catch the buds in their early stage, your basil plant will keep its wonderful flavor.
-If your basil plant keeps on forming buds, consider moving it to a shader location. Your plant might be stressed out.
Well, that is all for this post! I hope you enjoyed and learned something from this post! Keep a lookout for my next post. Bye!

