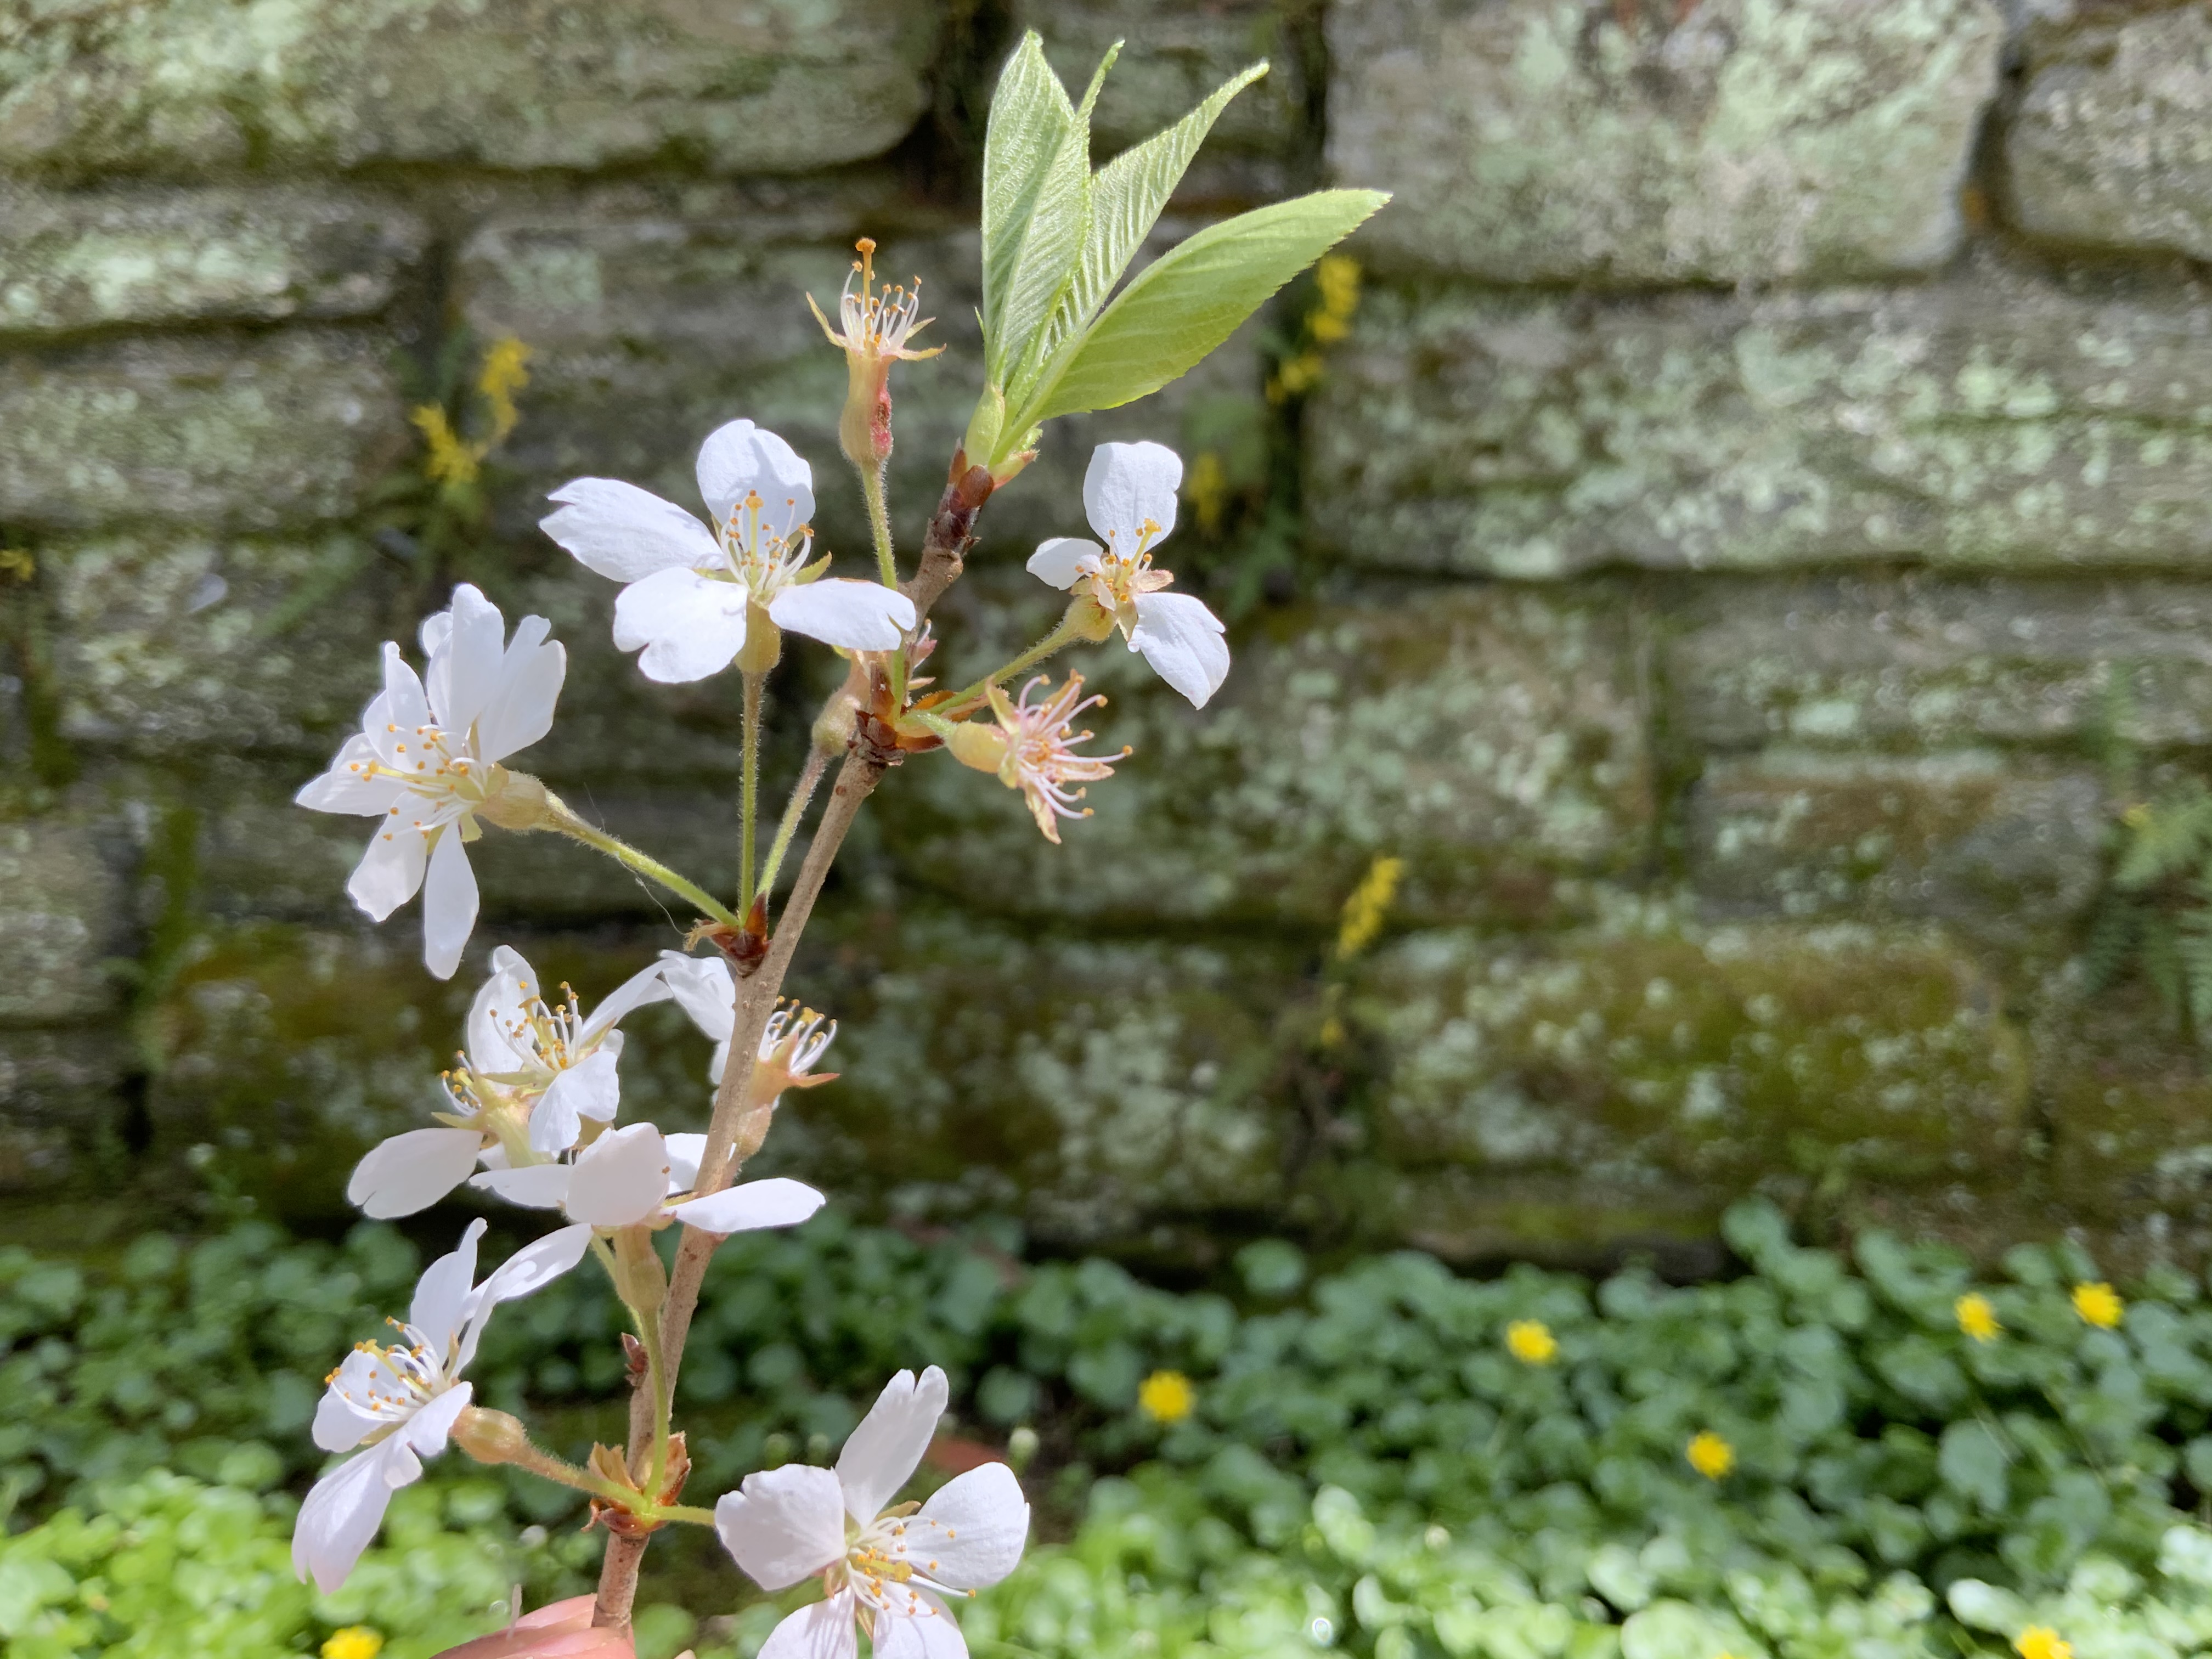
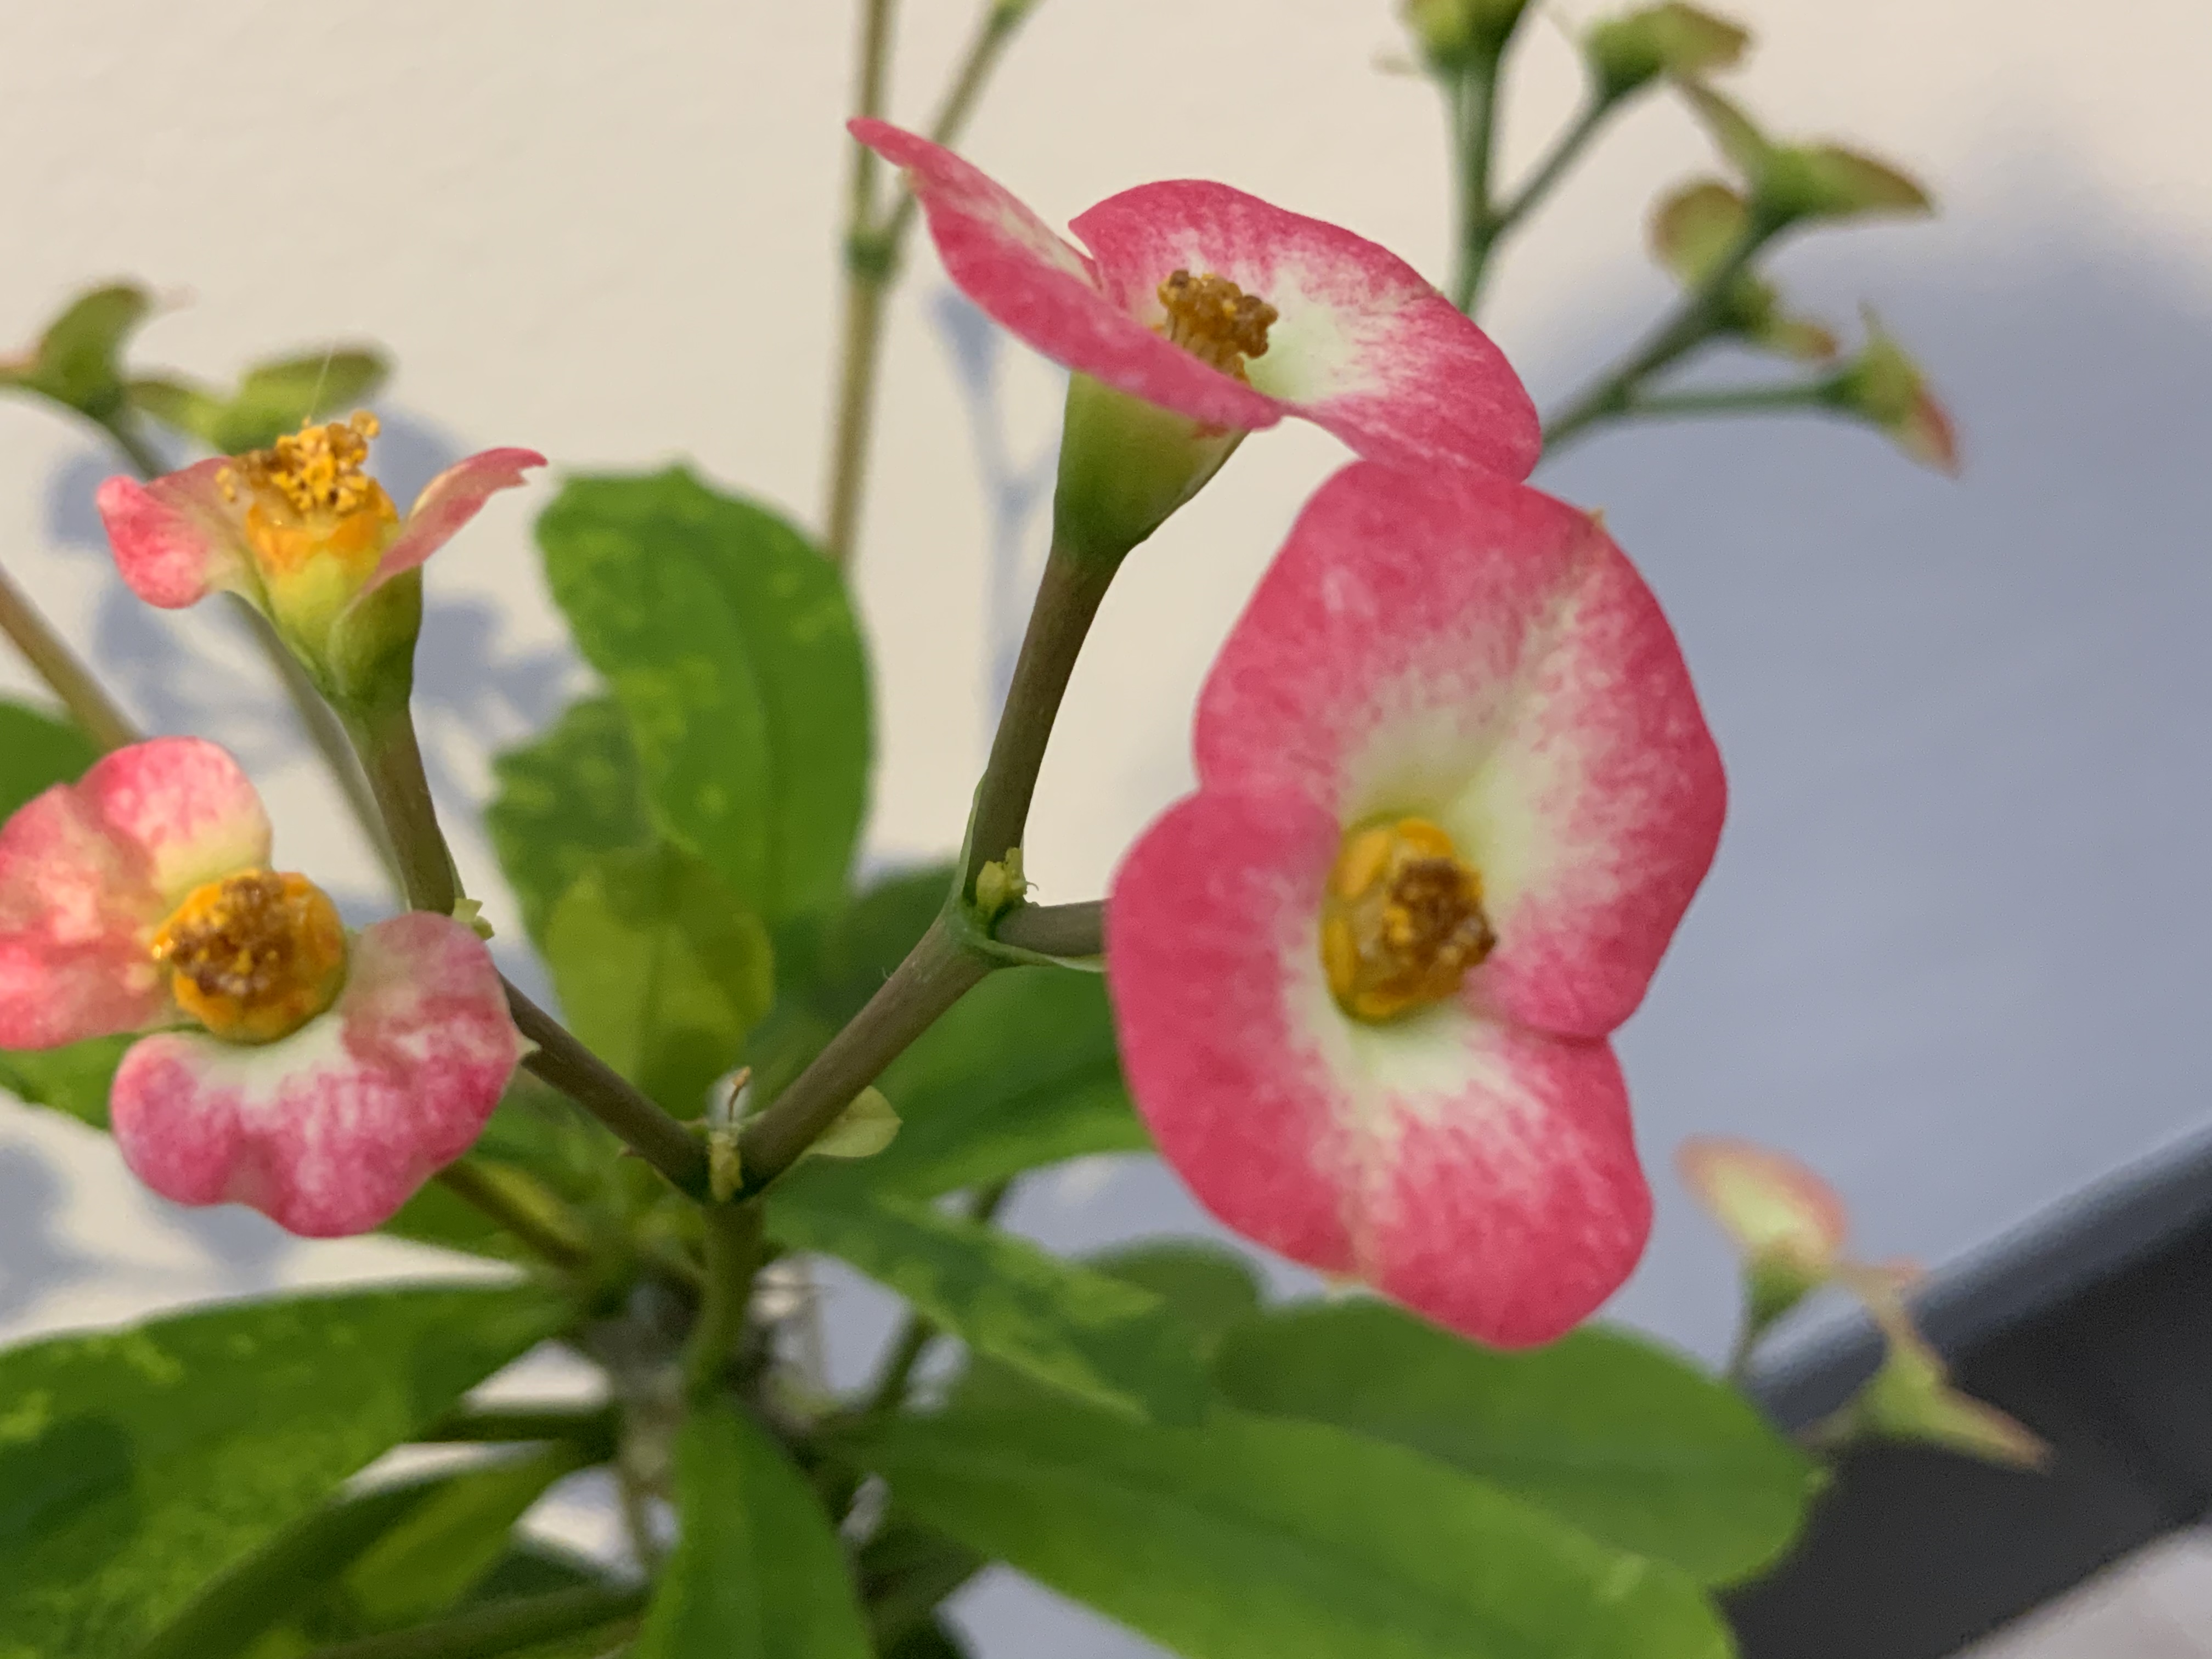
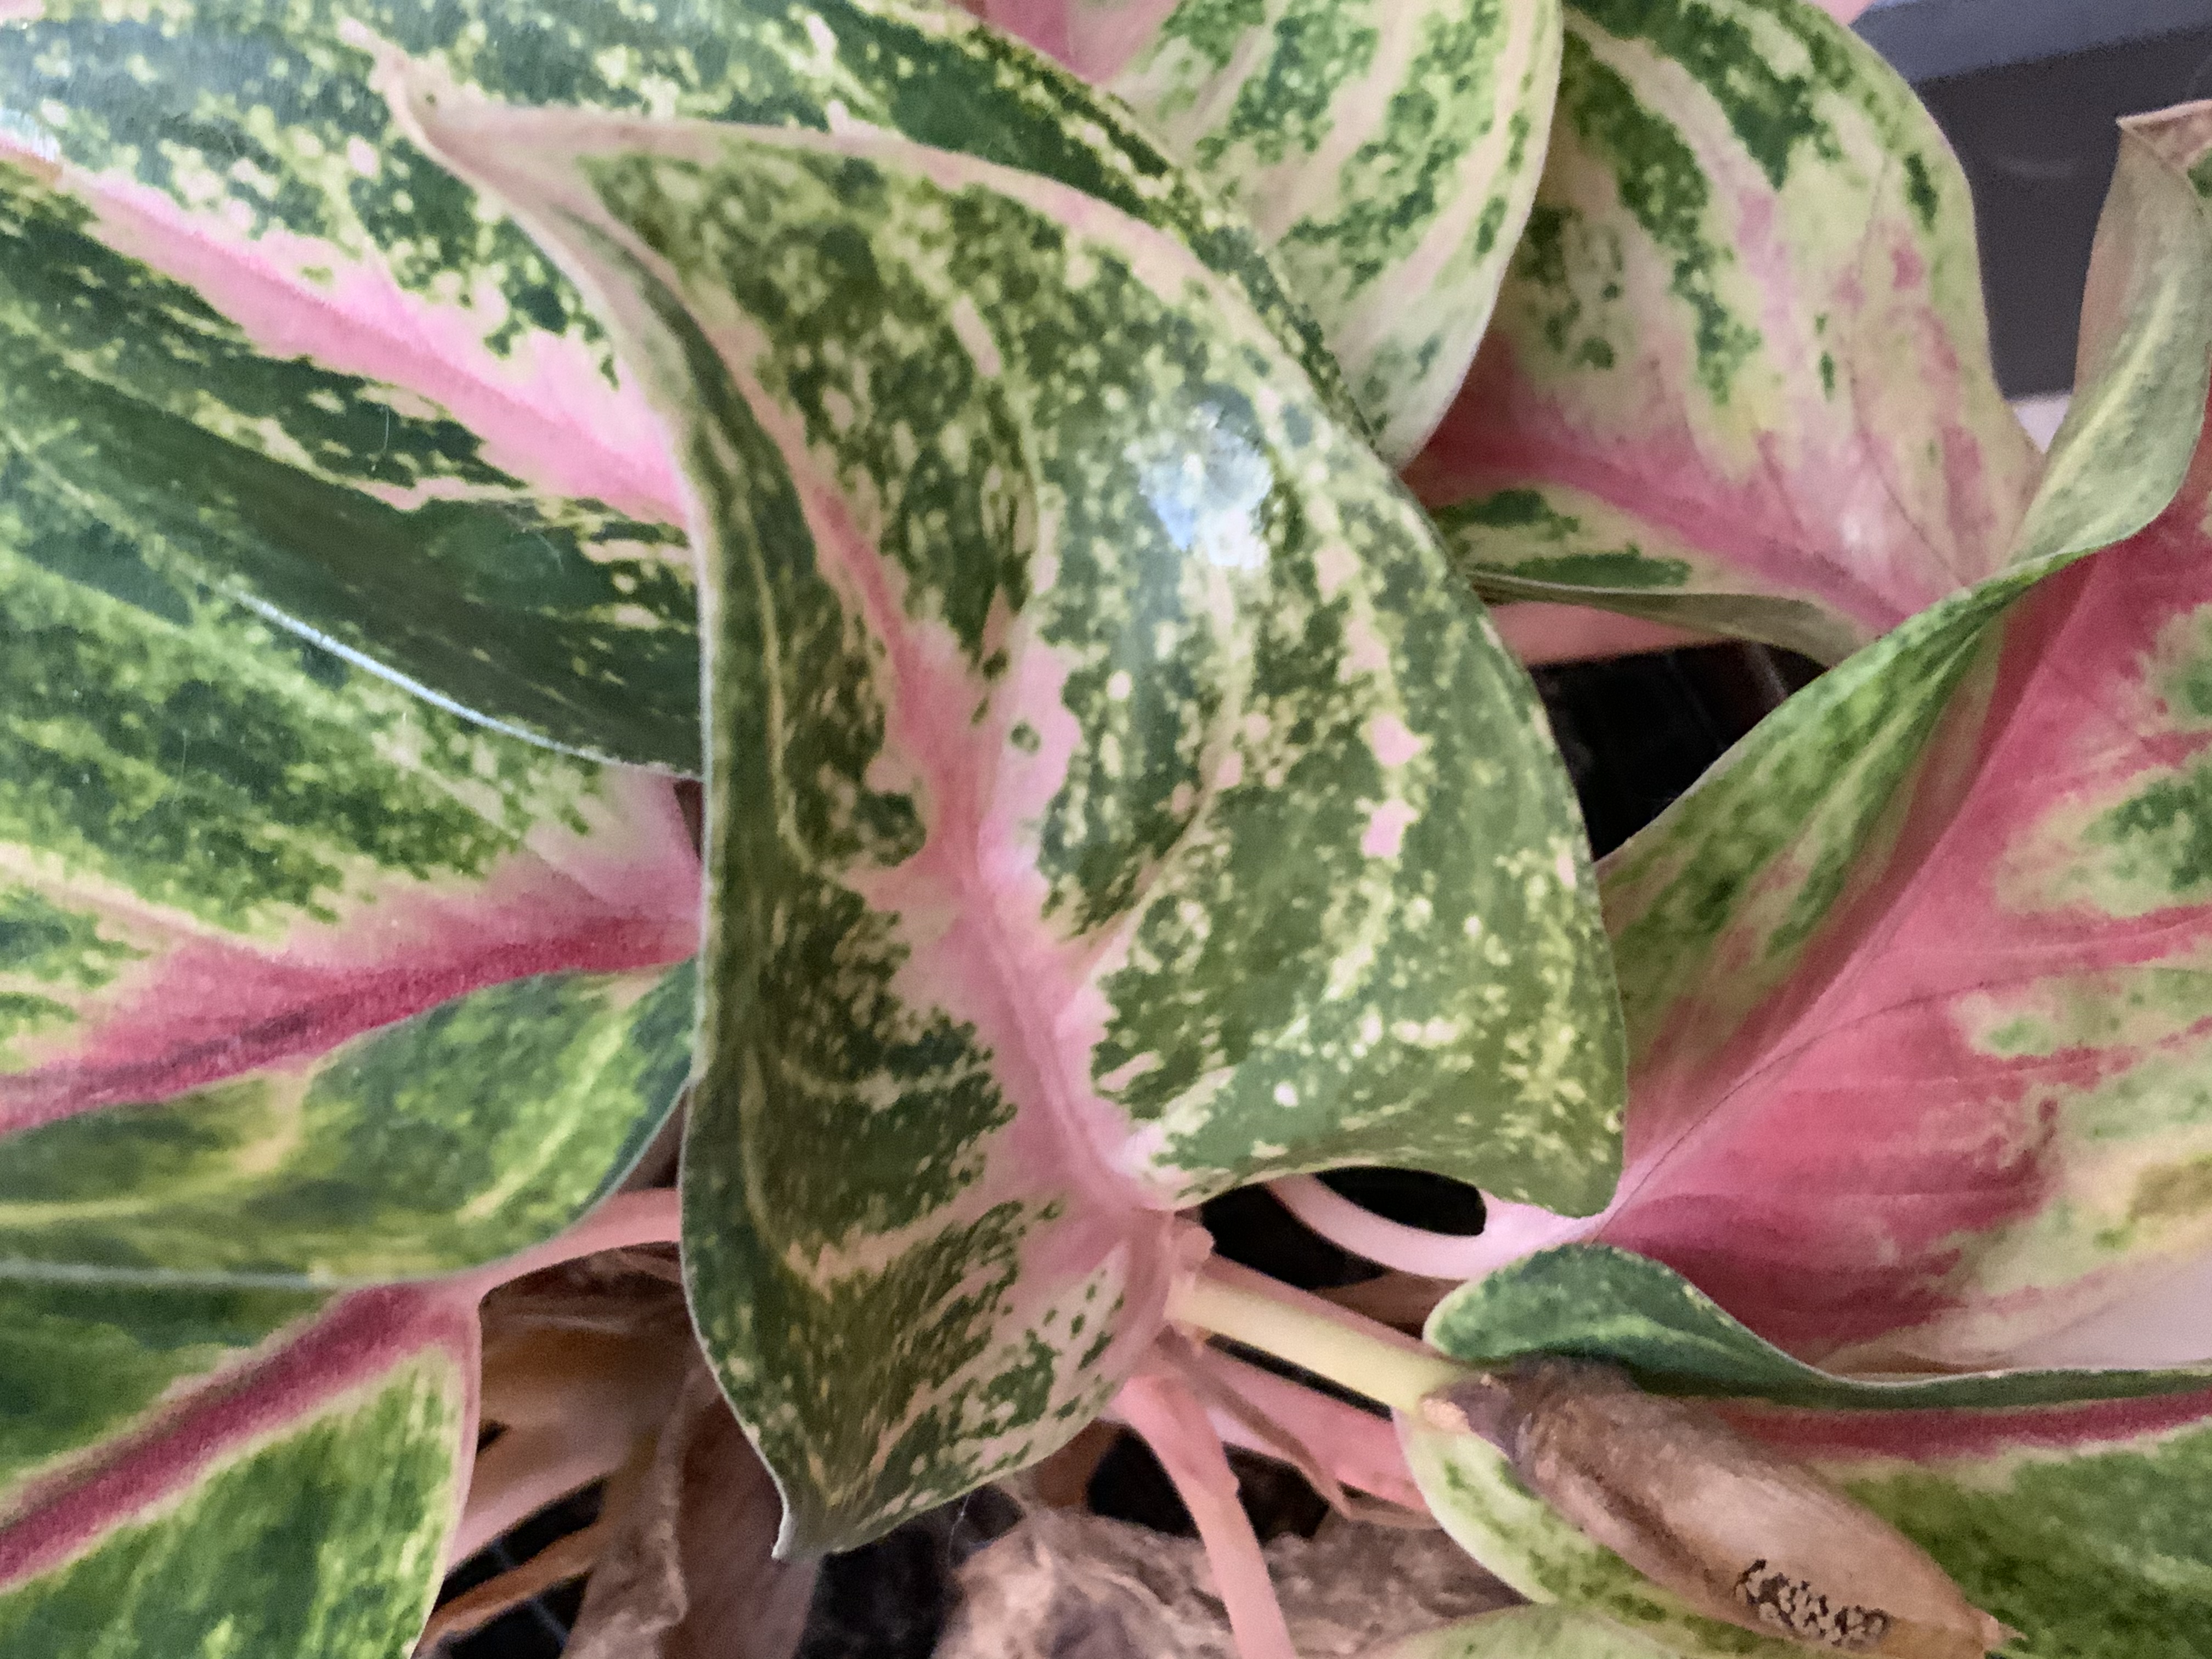
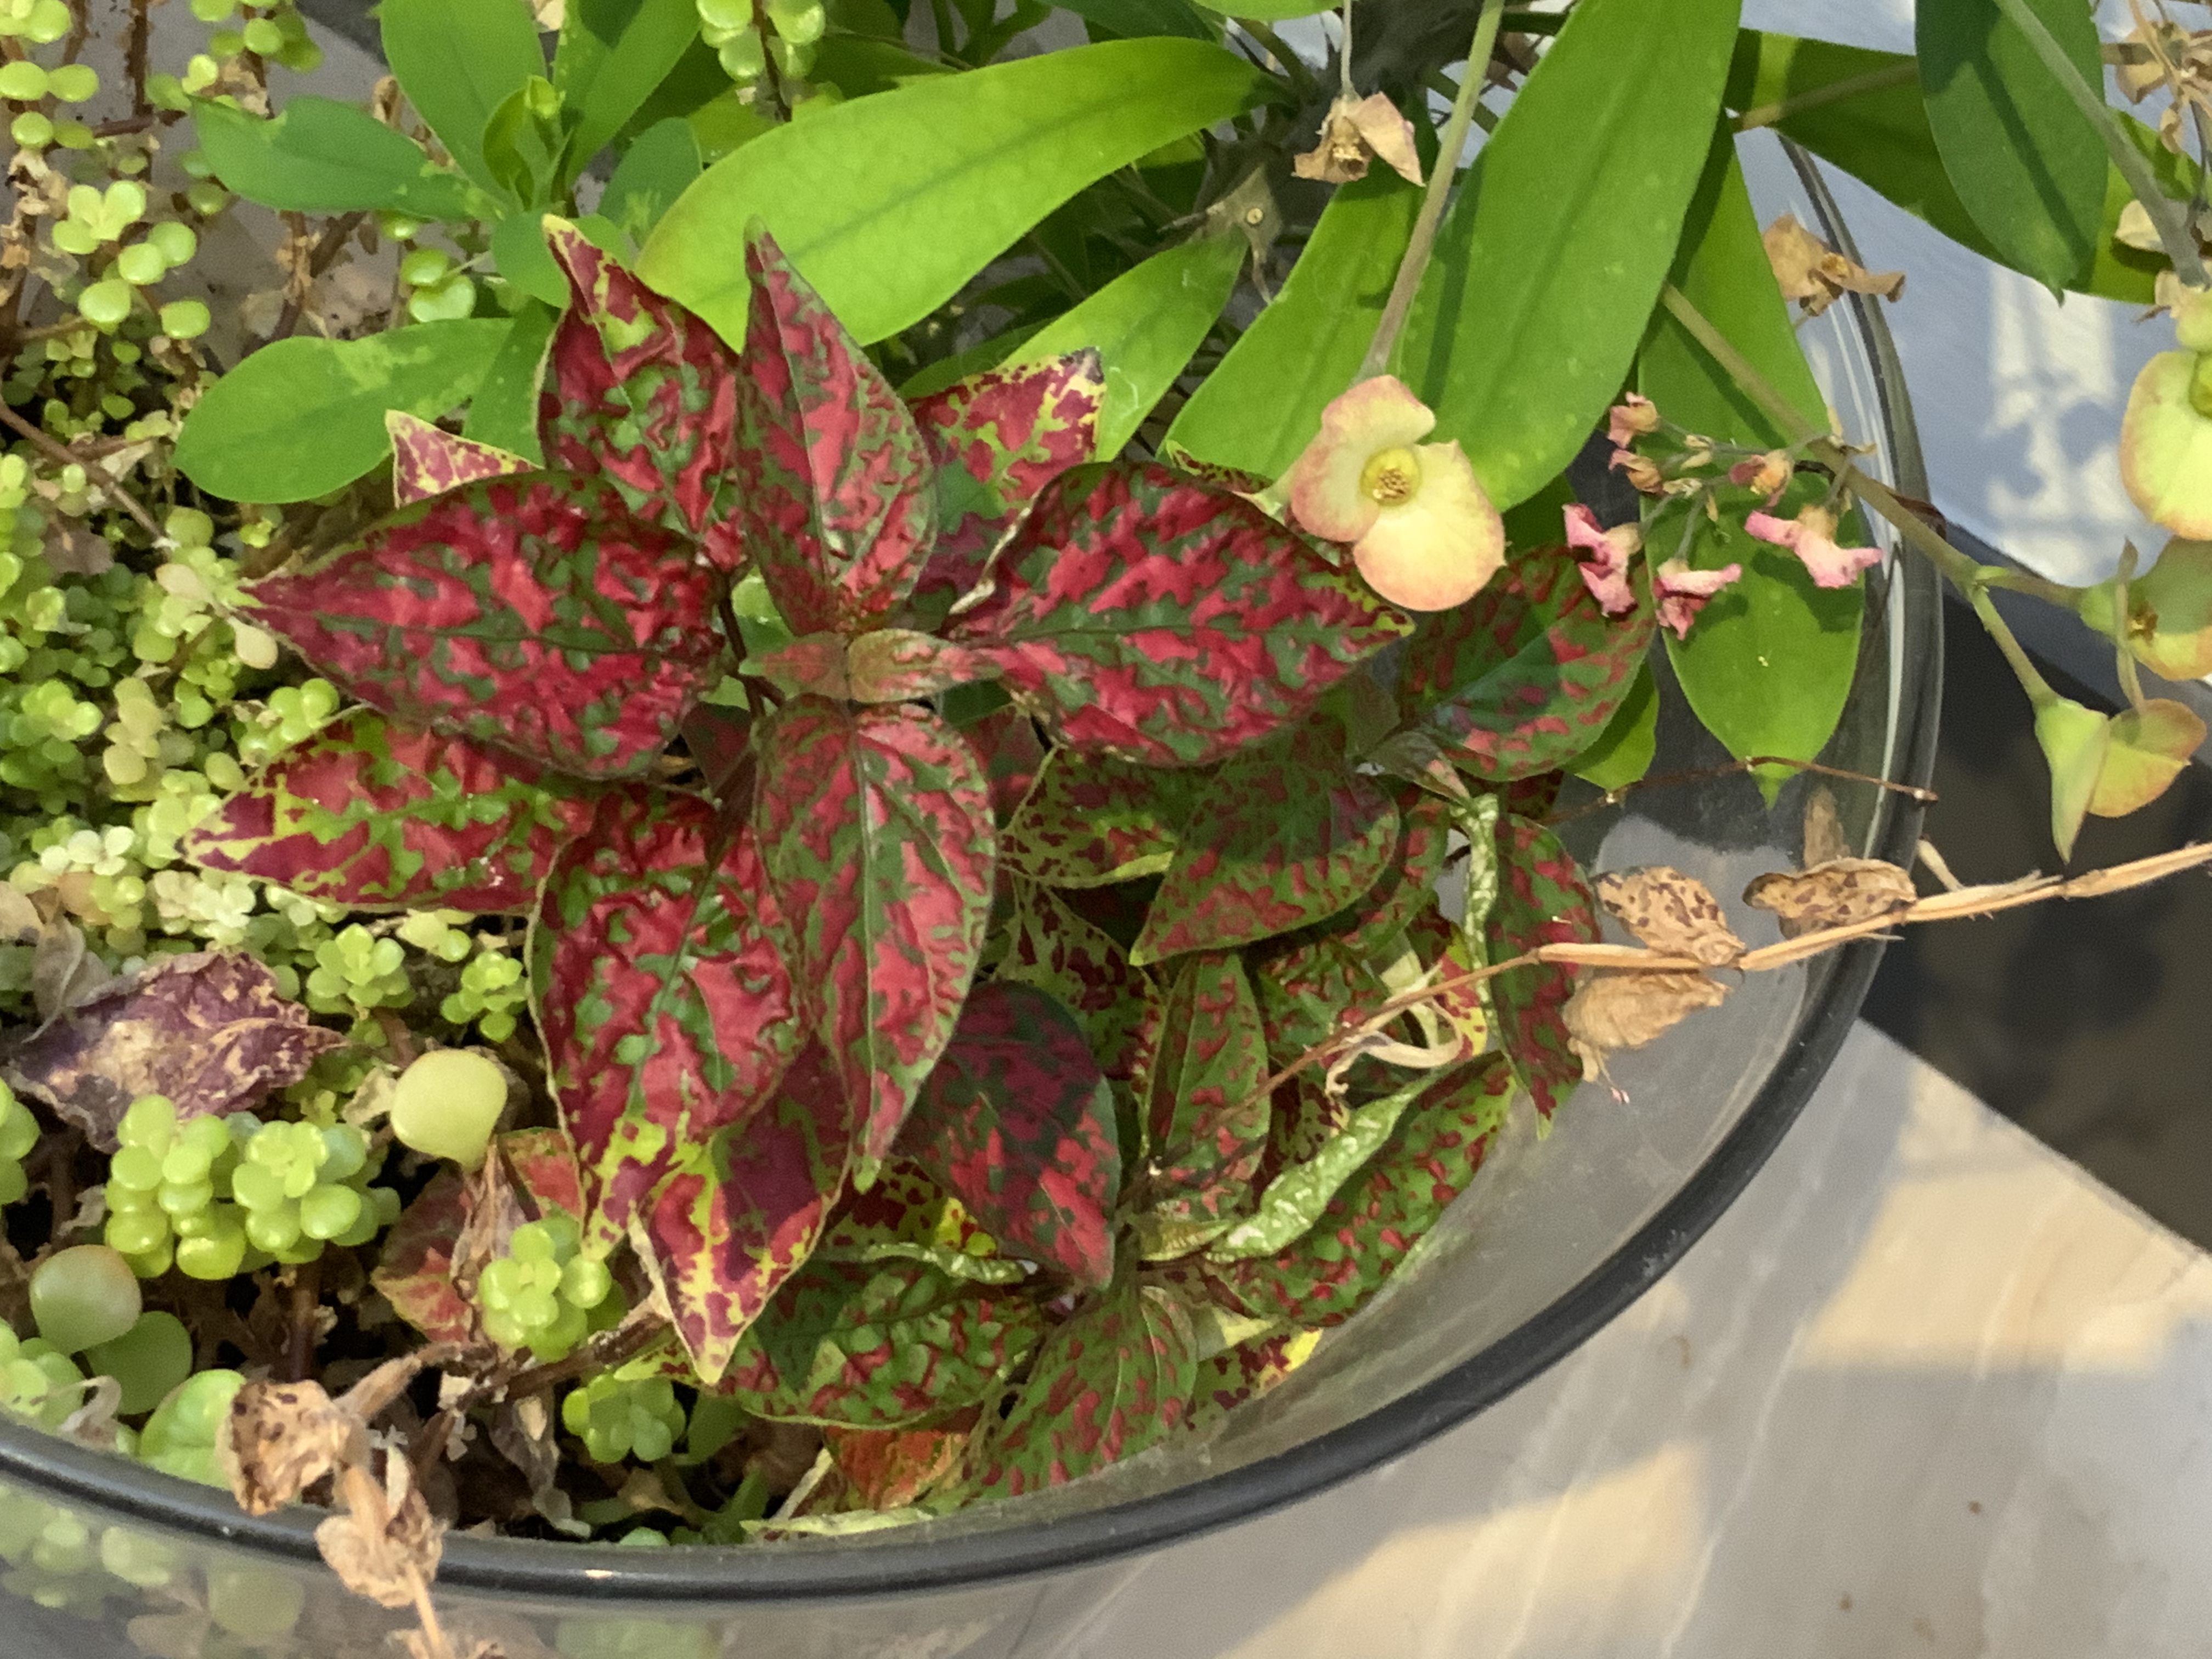
Hi guys! Because it has been a while since my last blog post, I am going to start back up with a post that is just some pictures of my plants. Let’s go!


Hi guys! Because it has been a while since my last blog post, I am going to start back up with a post that is just some pictures of my plants. Let’s go!
when the cold wind blows and the frost comes, you can still grow tasty veggies inside your own home! This series will show you how you can make yummy salads and more in dead winter. Let’s get started!
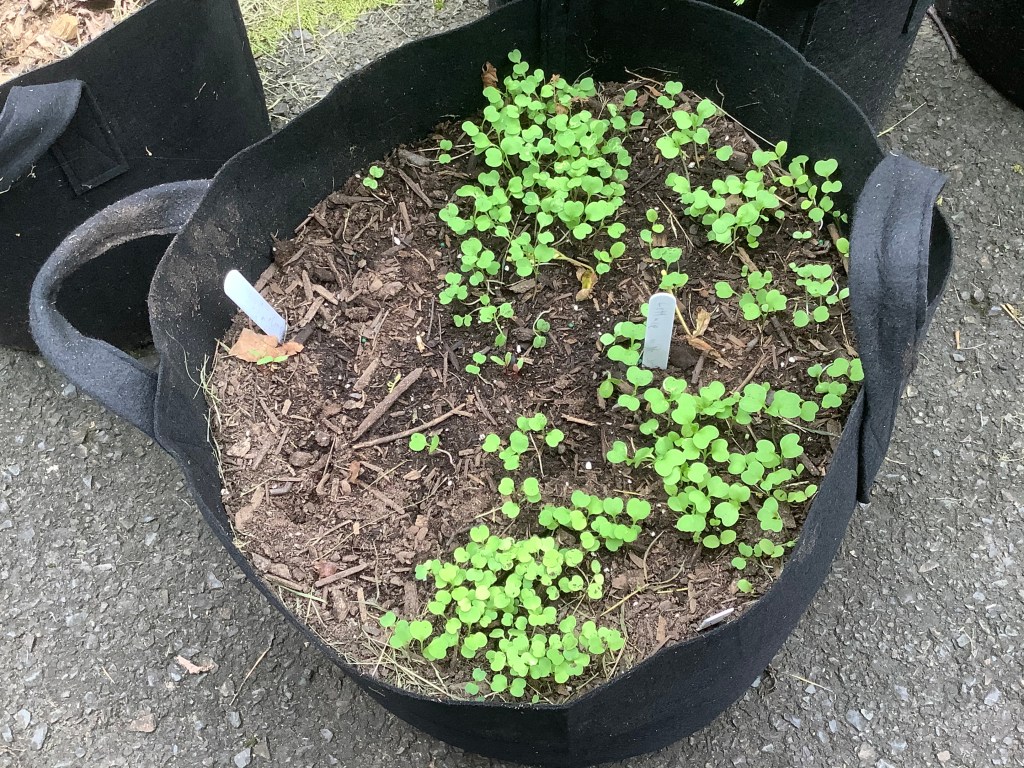
First you need to choose a veggie to grow. If you are just starting , it is best to start with lettuce. Lettuce is super versatile and hardy. And they do not need a huge container to grow in.
Once you have your plant that you are going to grow, get your container. If you are growing lettuce or leafy greens. You do not need a super big container, as even a large plastic party cup will do. If you still need to get a container, you can start your lettuce seeds in a egg carton or a empty toilet paper roll. I will soon do a pot on how to use those to start seeds.
To plant your seeds, gently sprinkle your lettuce seeds over the surface of the soil, and then very lightly mix them in with the top layer of soil. Keep in mind that lettuce seeds need light to germinate or sprout.
Once you have started you seeds, after a couple of weeks, transplant them into their main container. And start harvesting the bottom leaves of the lettuce plant. Enjoy!
I hope you liked this post! Please check out our other posts. Thanks!
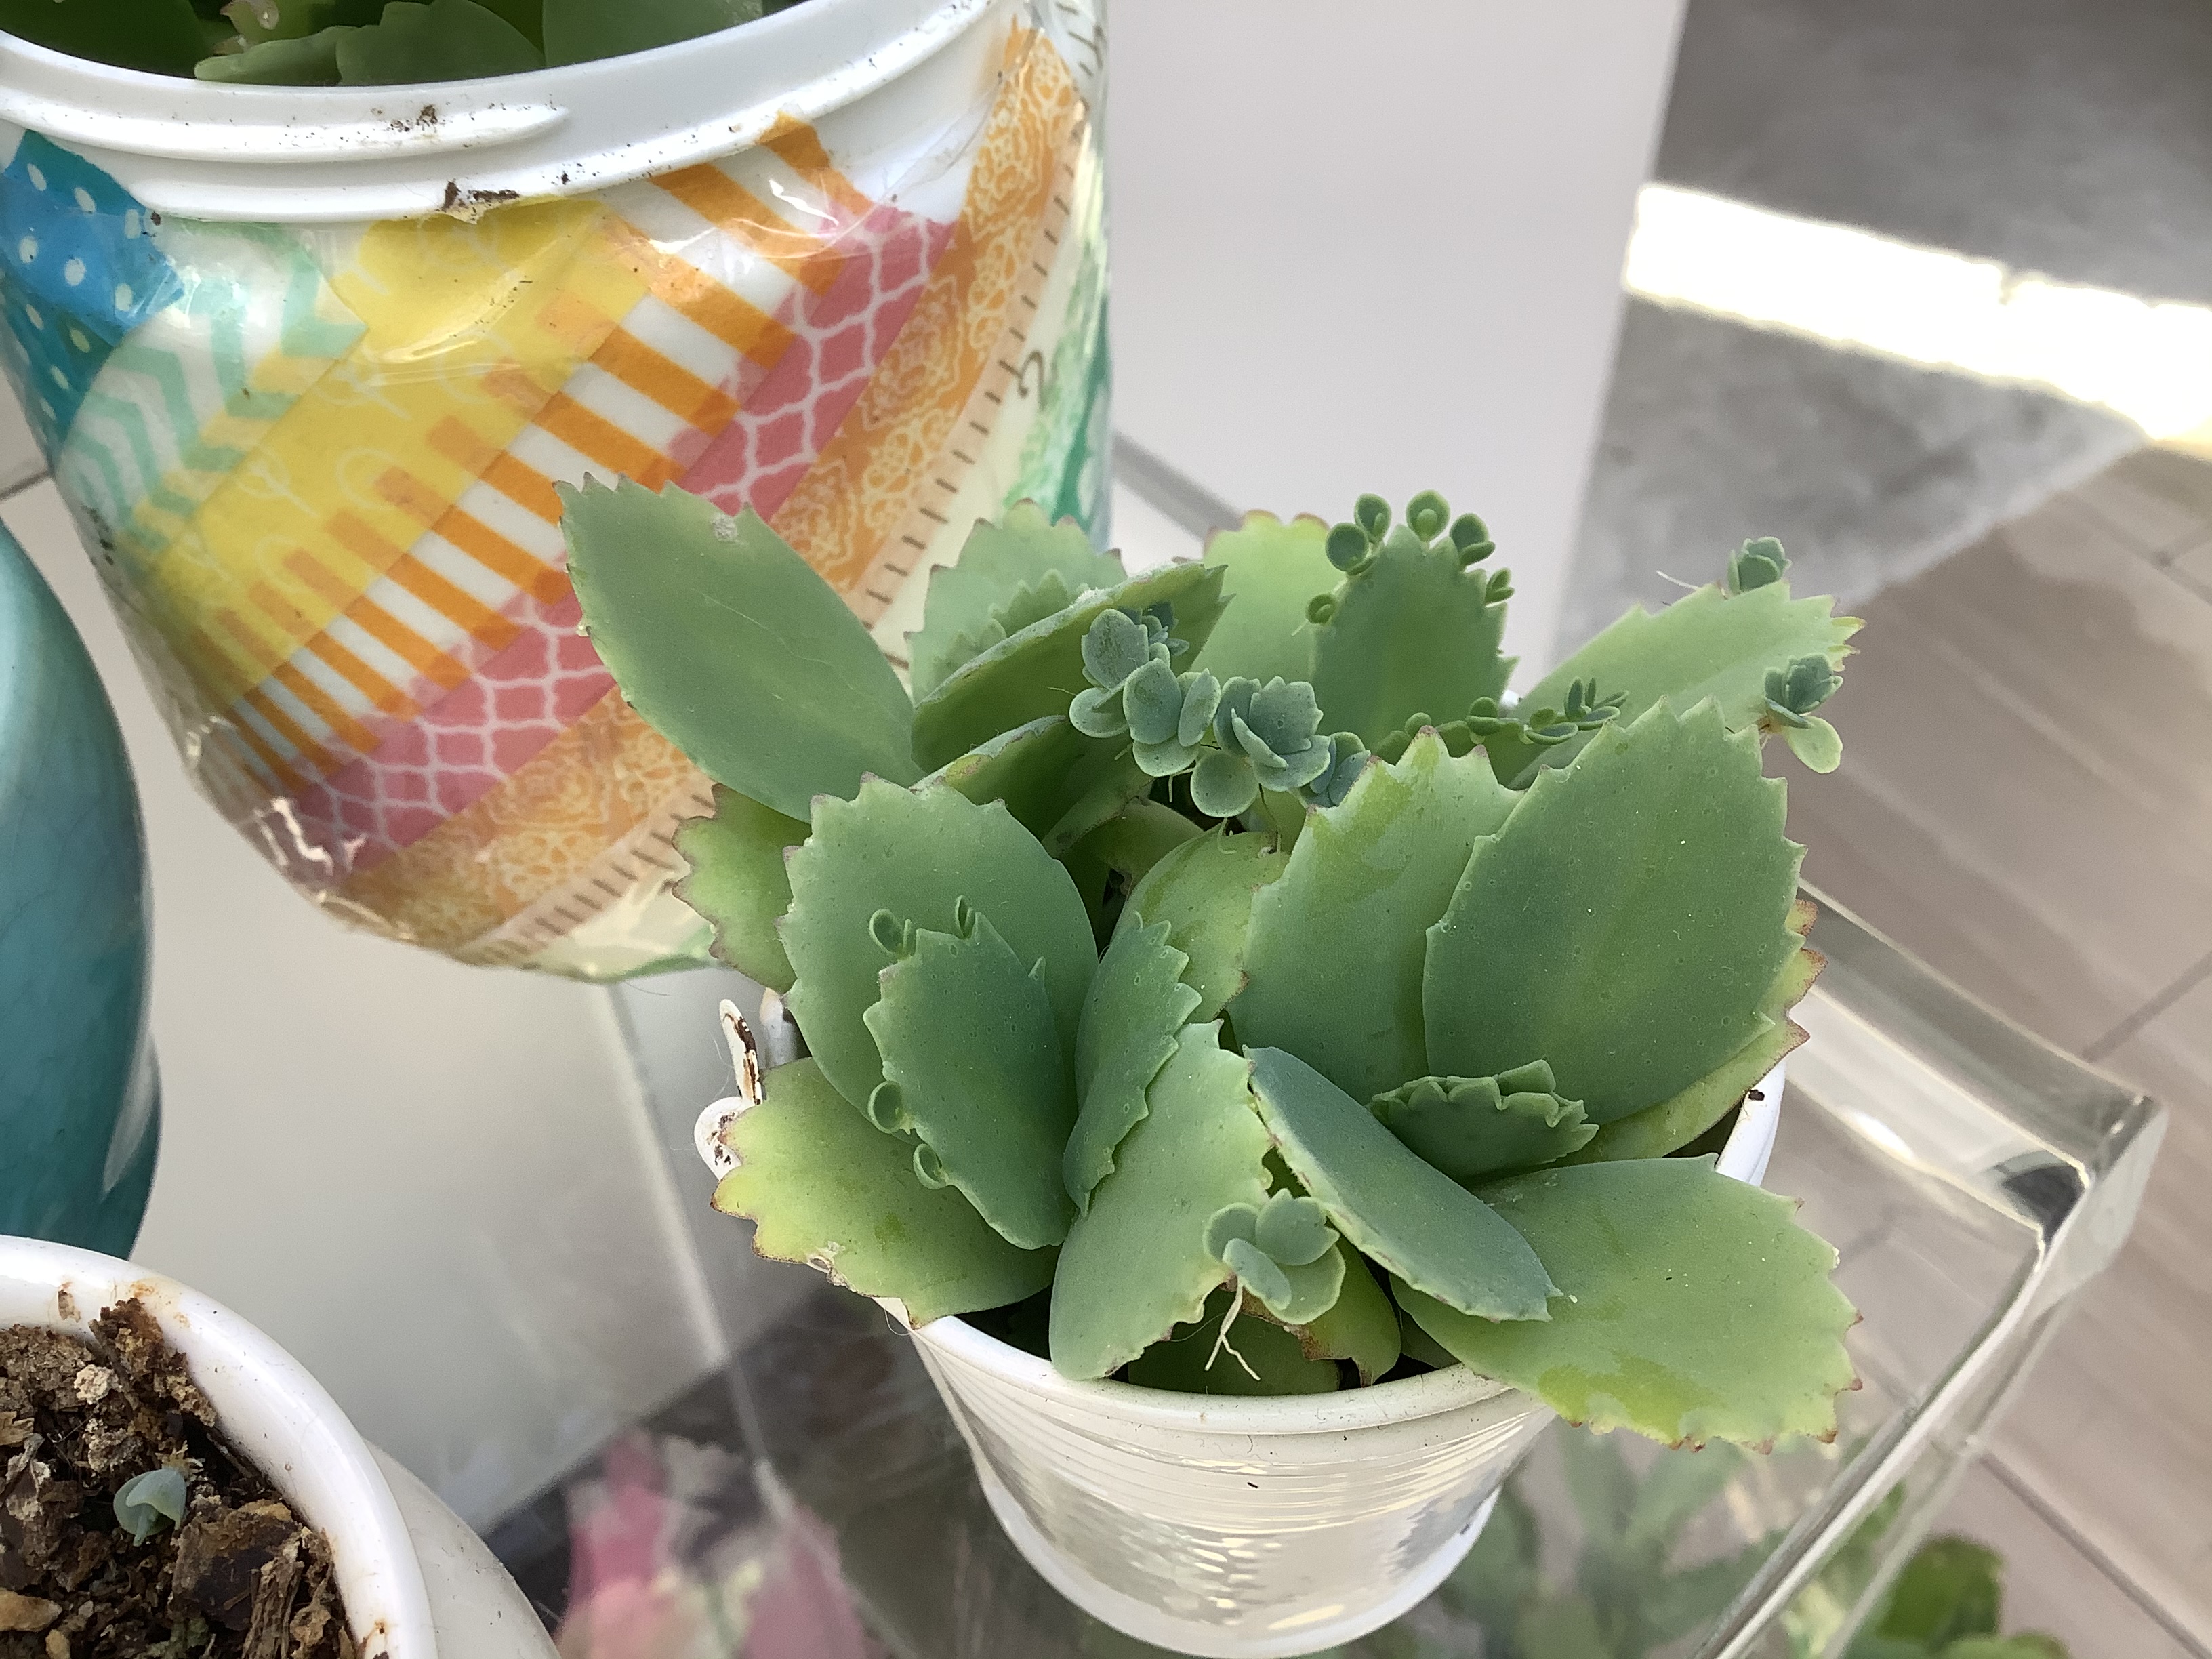
Hi guys! Today I am going to show you how you can multiply the number of succulent plants you have for free! This is also a good option if your succulents are looking old and a bit worse for wear. Let’s get started!
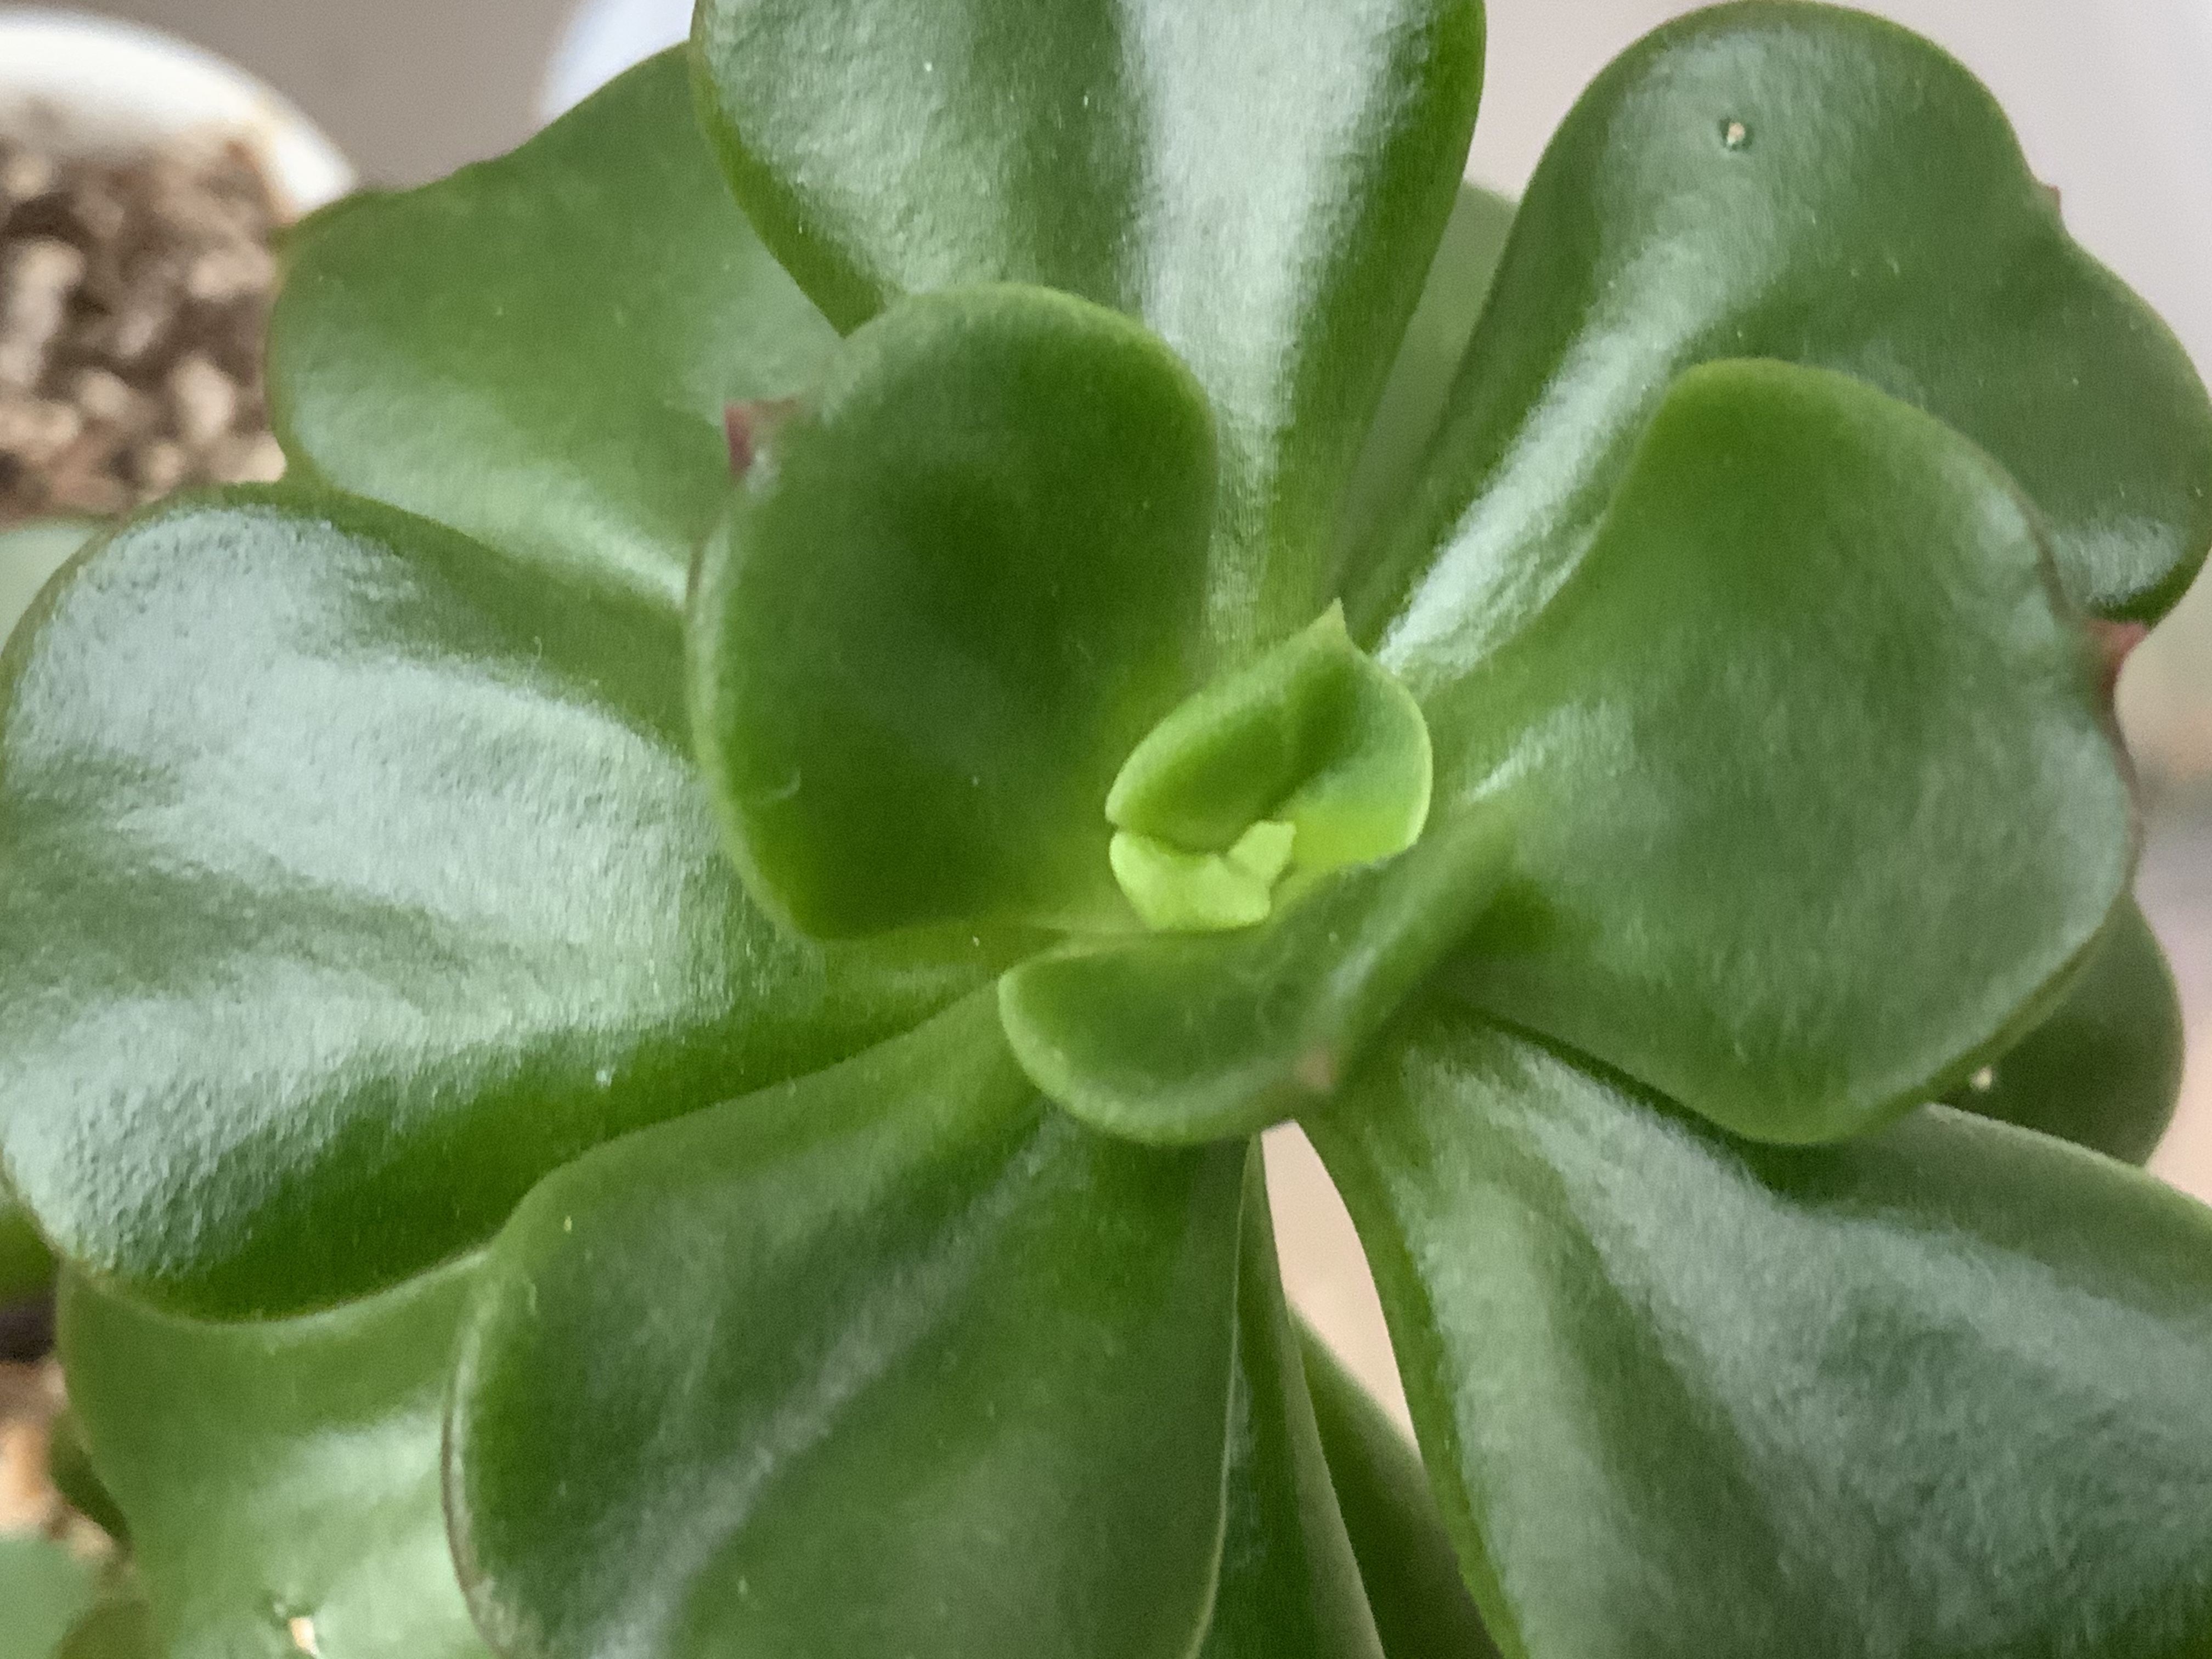
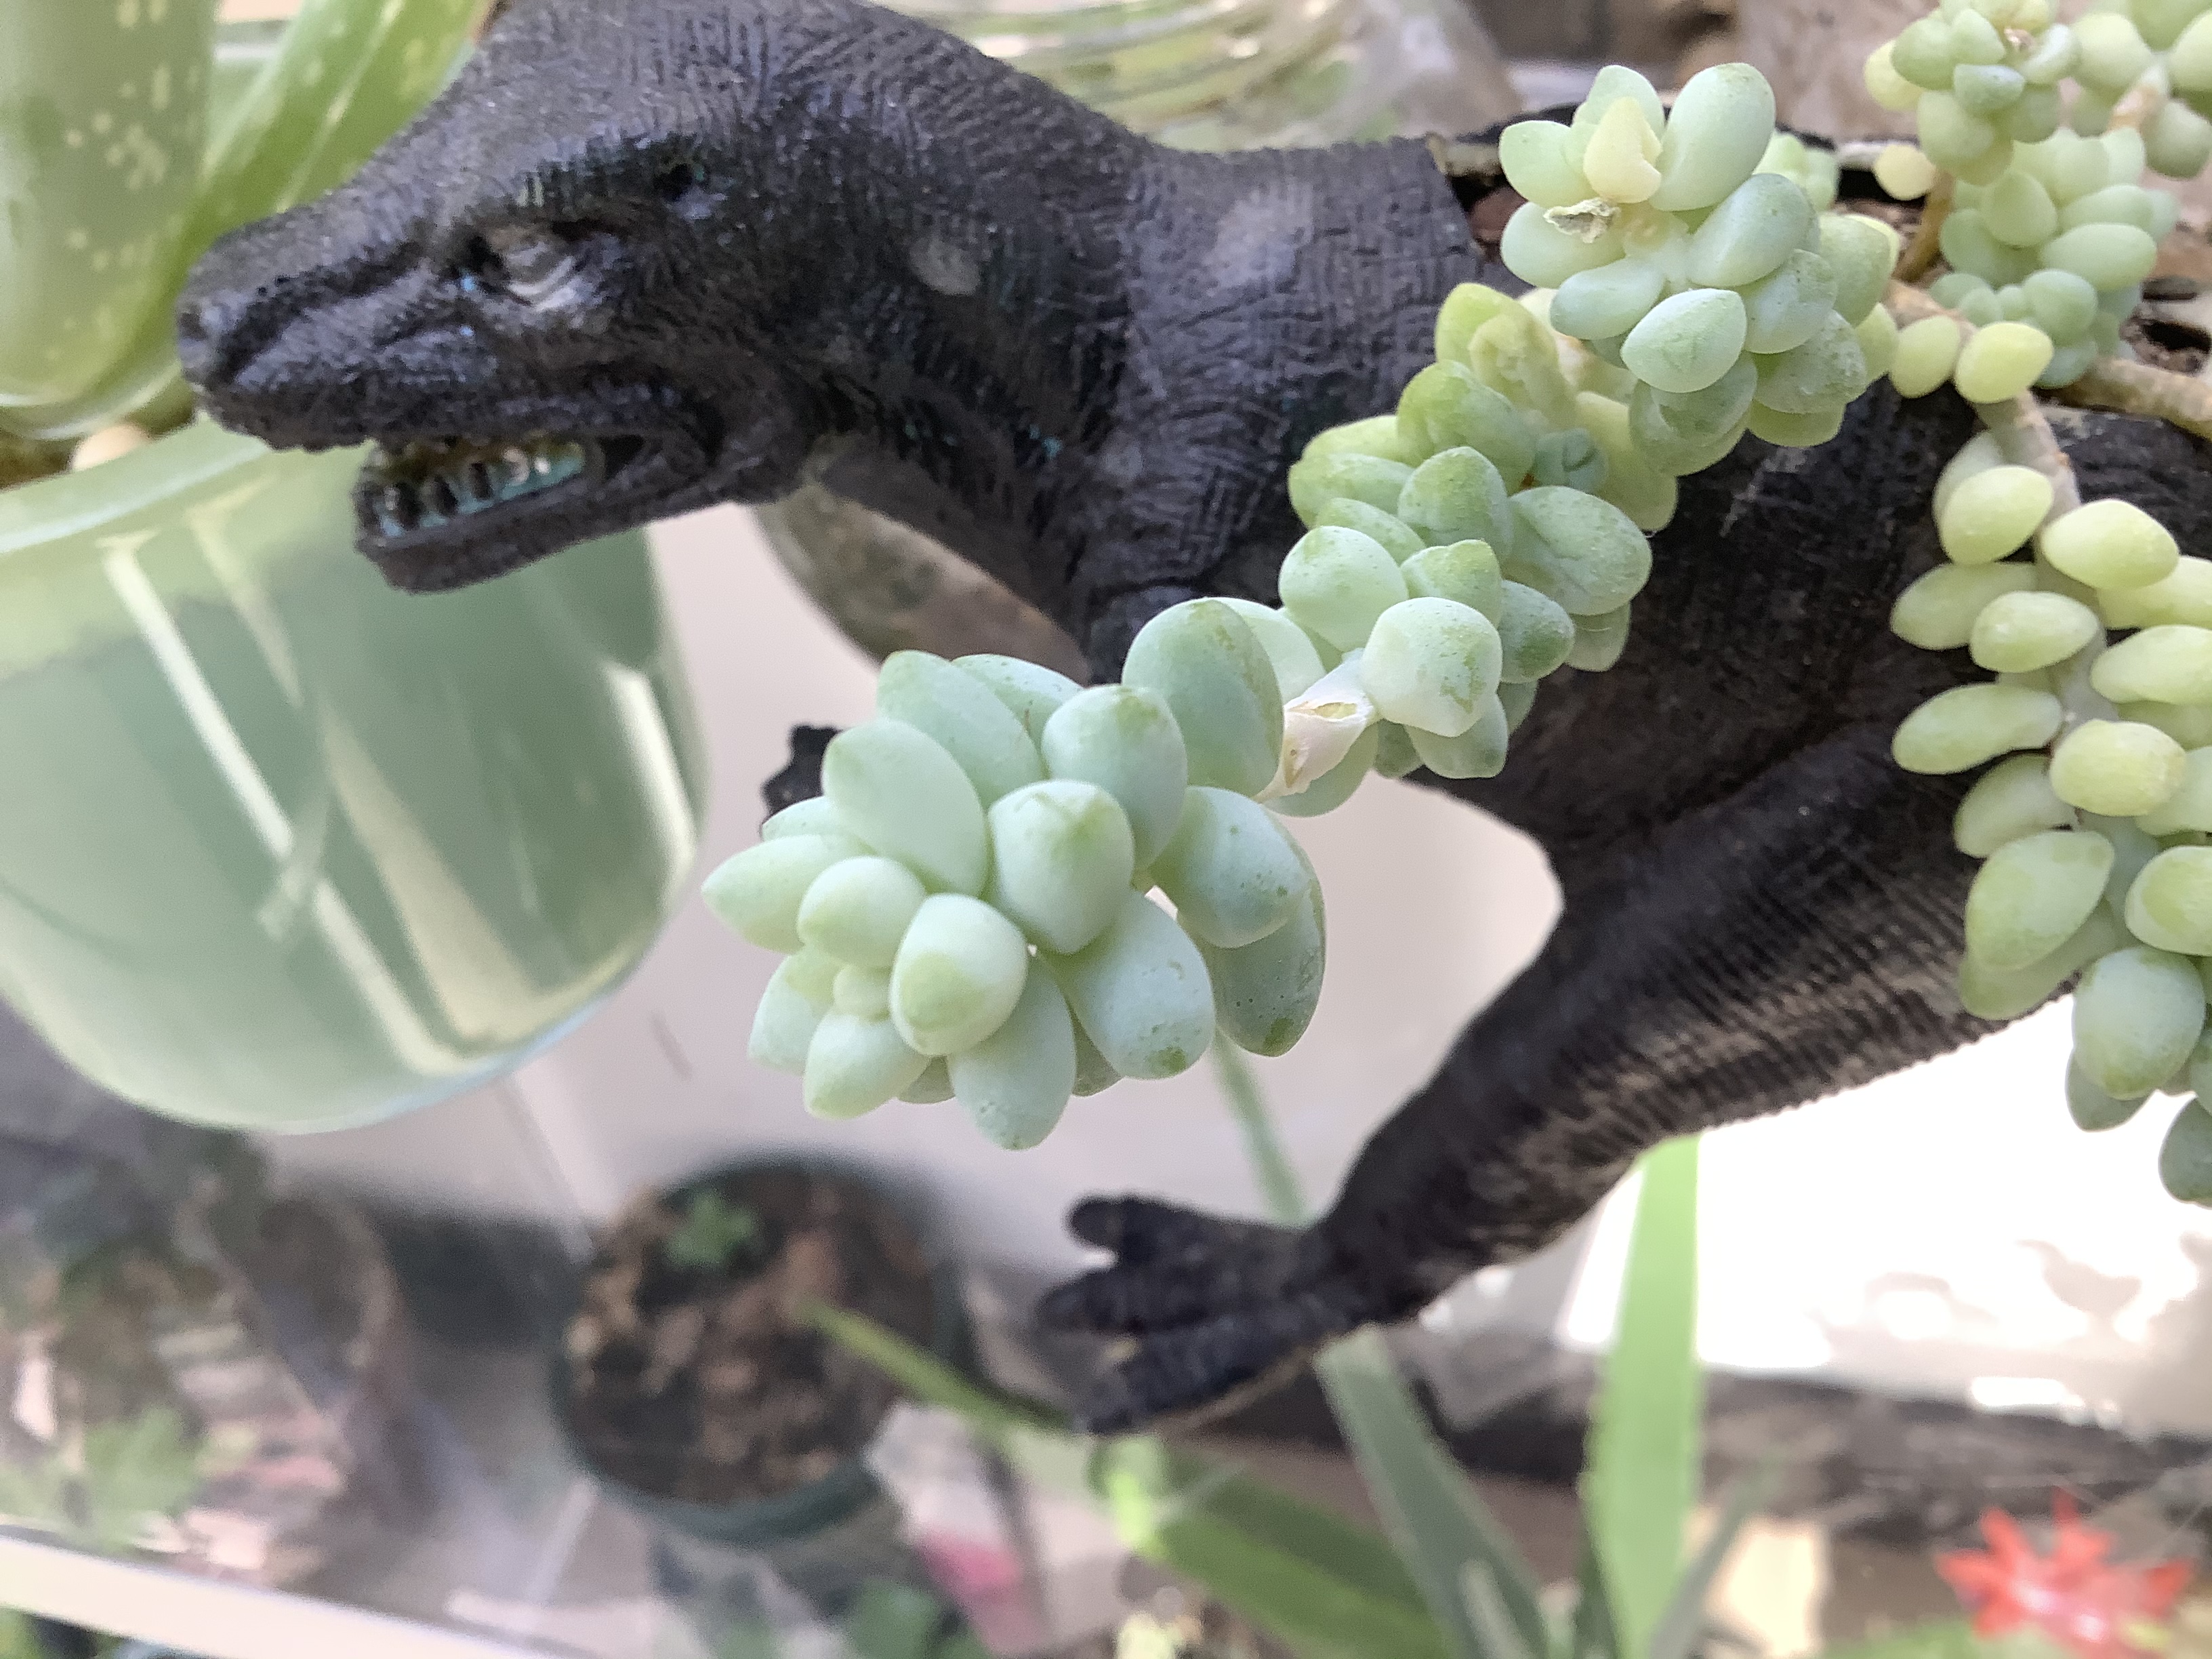
First you need to find out what type of a succulent you have. Some succulents have seeds, and some don’t and instead reproduce through fallen leaves! There are even succulents that don’t produce seeds till you take off their leaf! So here is how you can find out witch type of succulent you have.
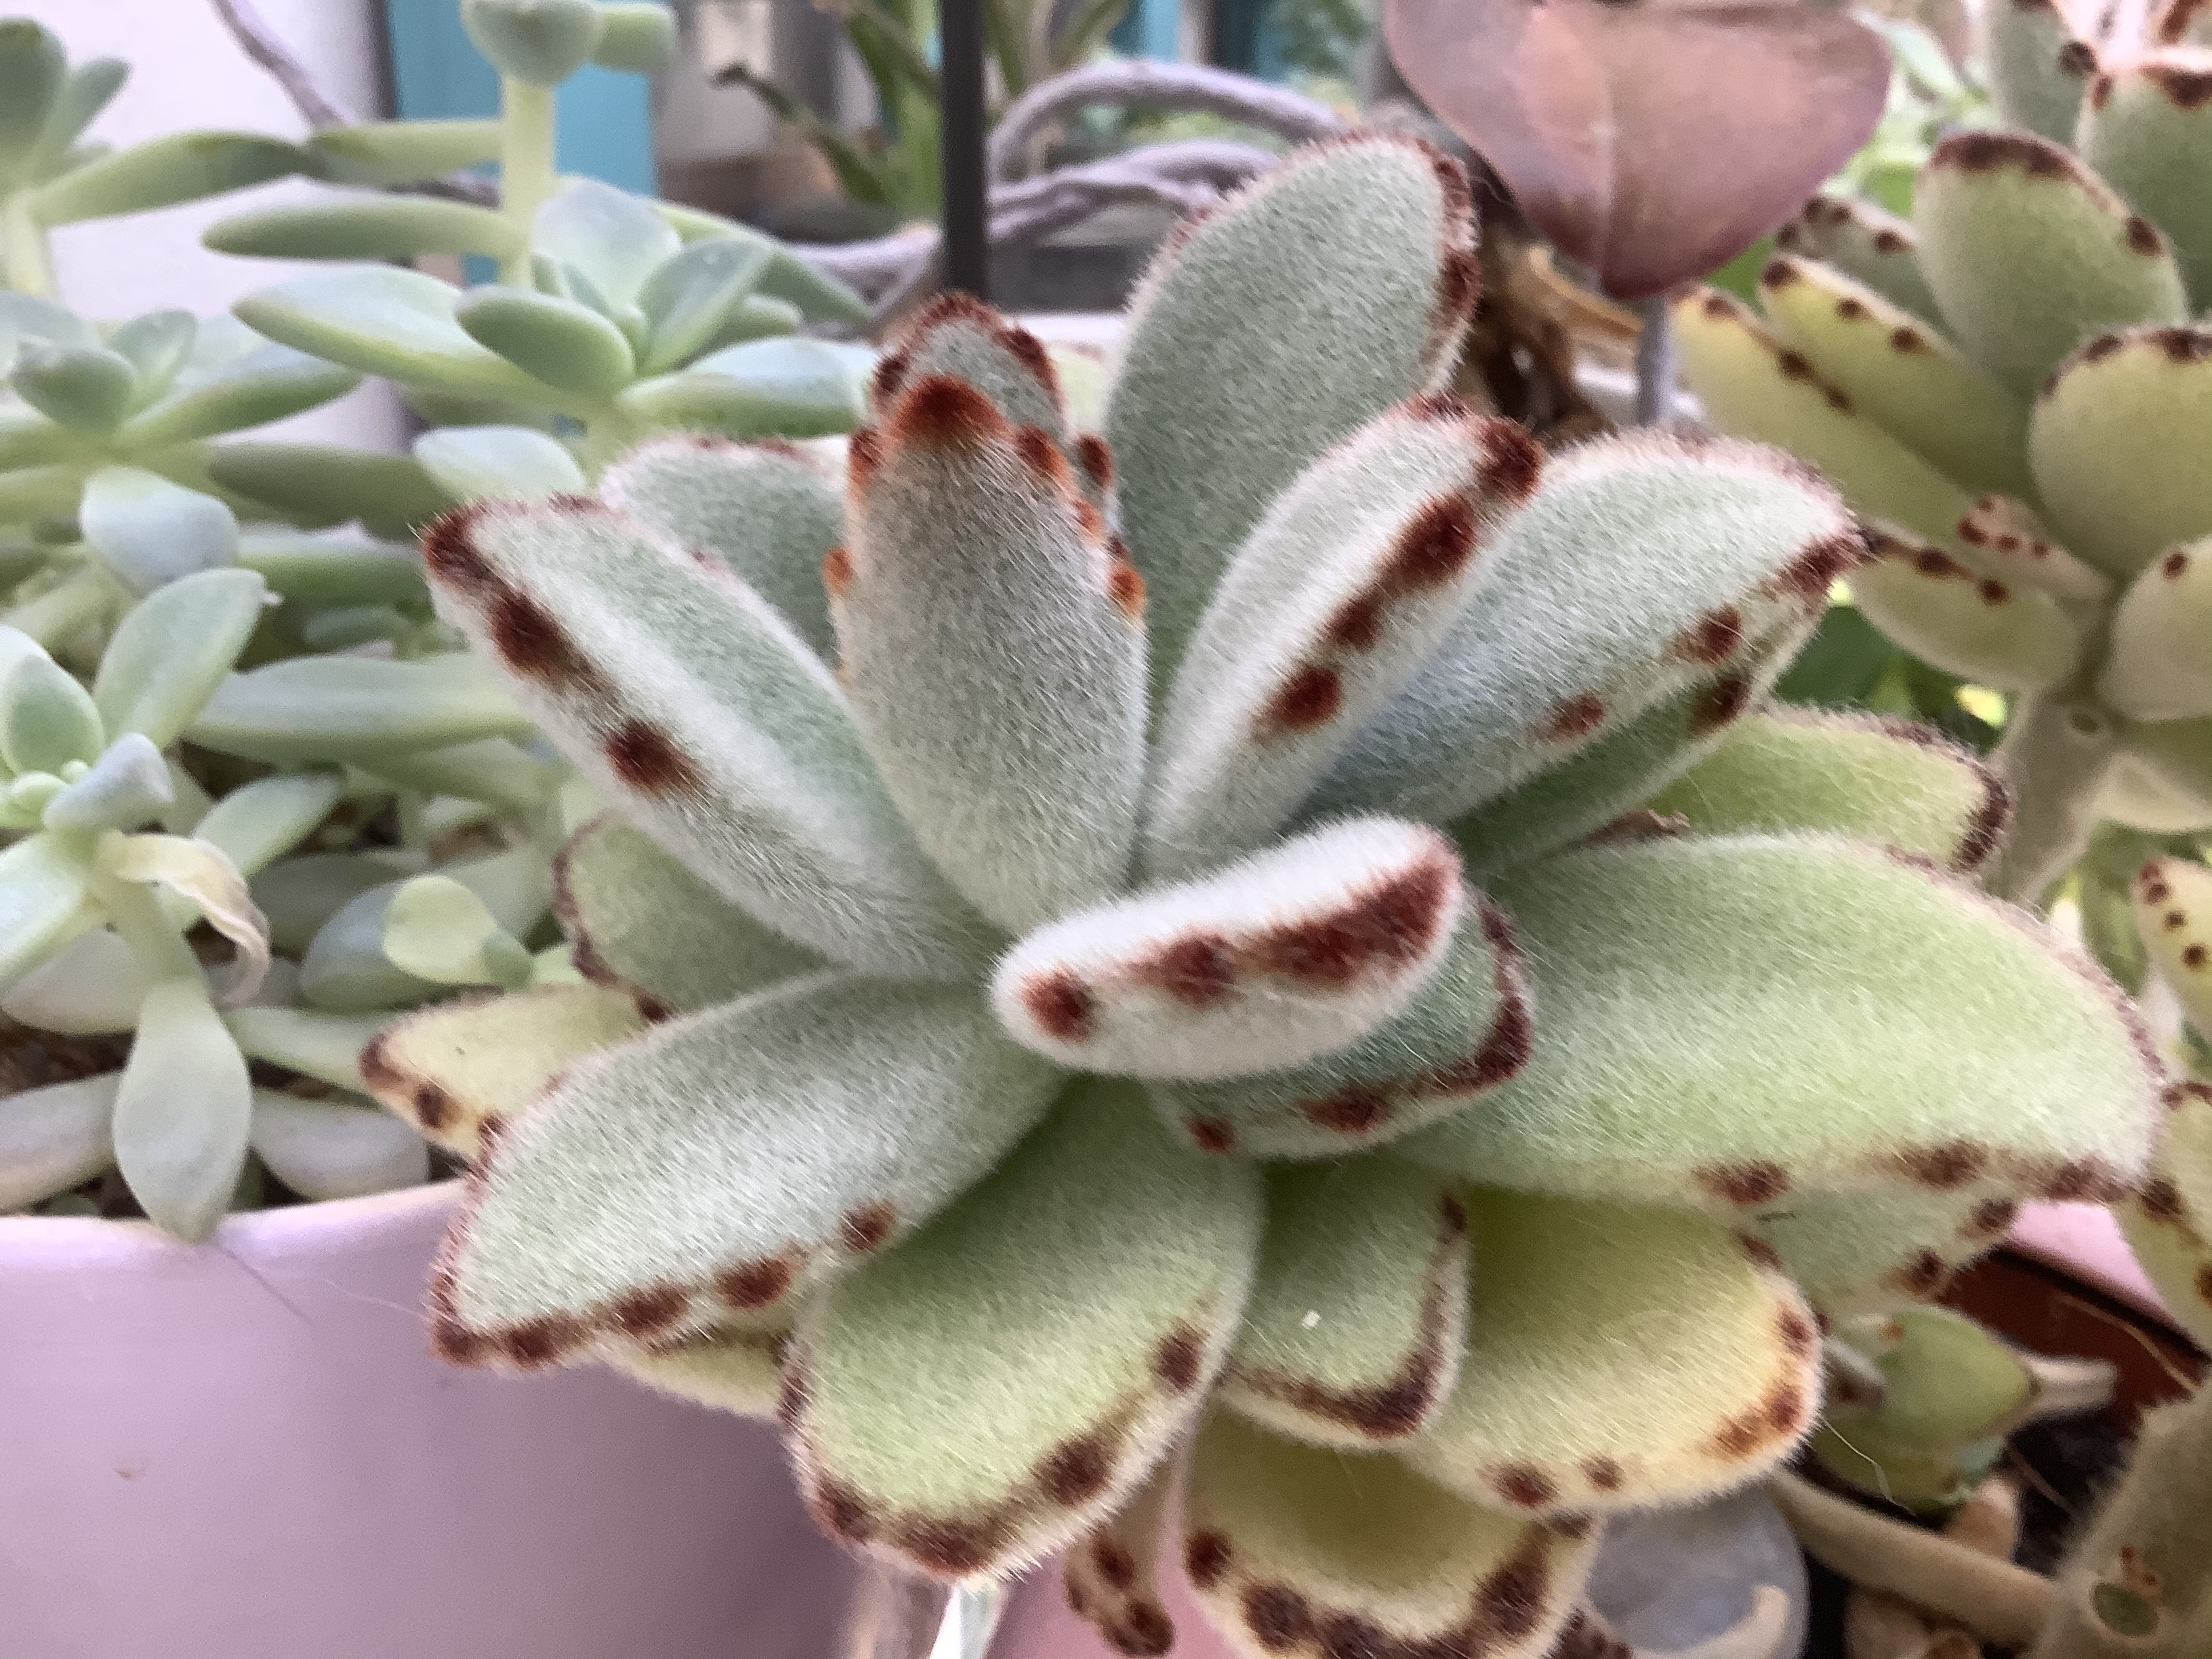
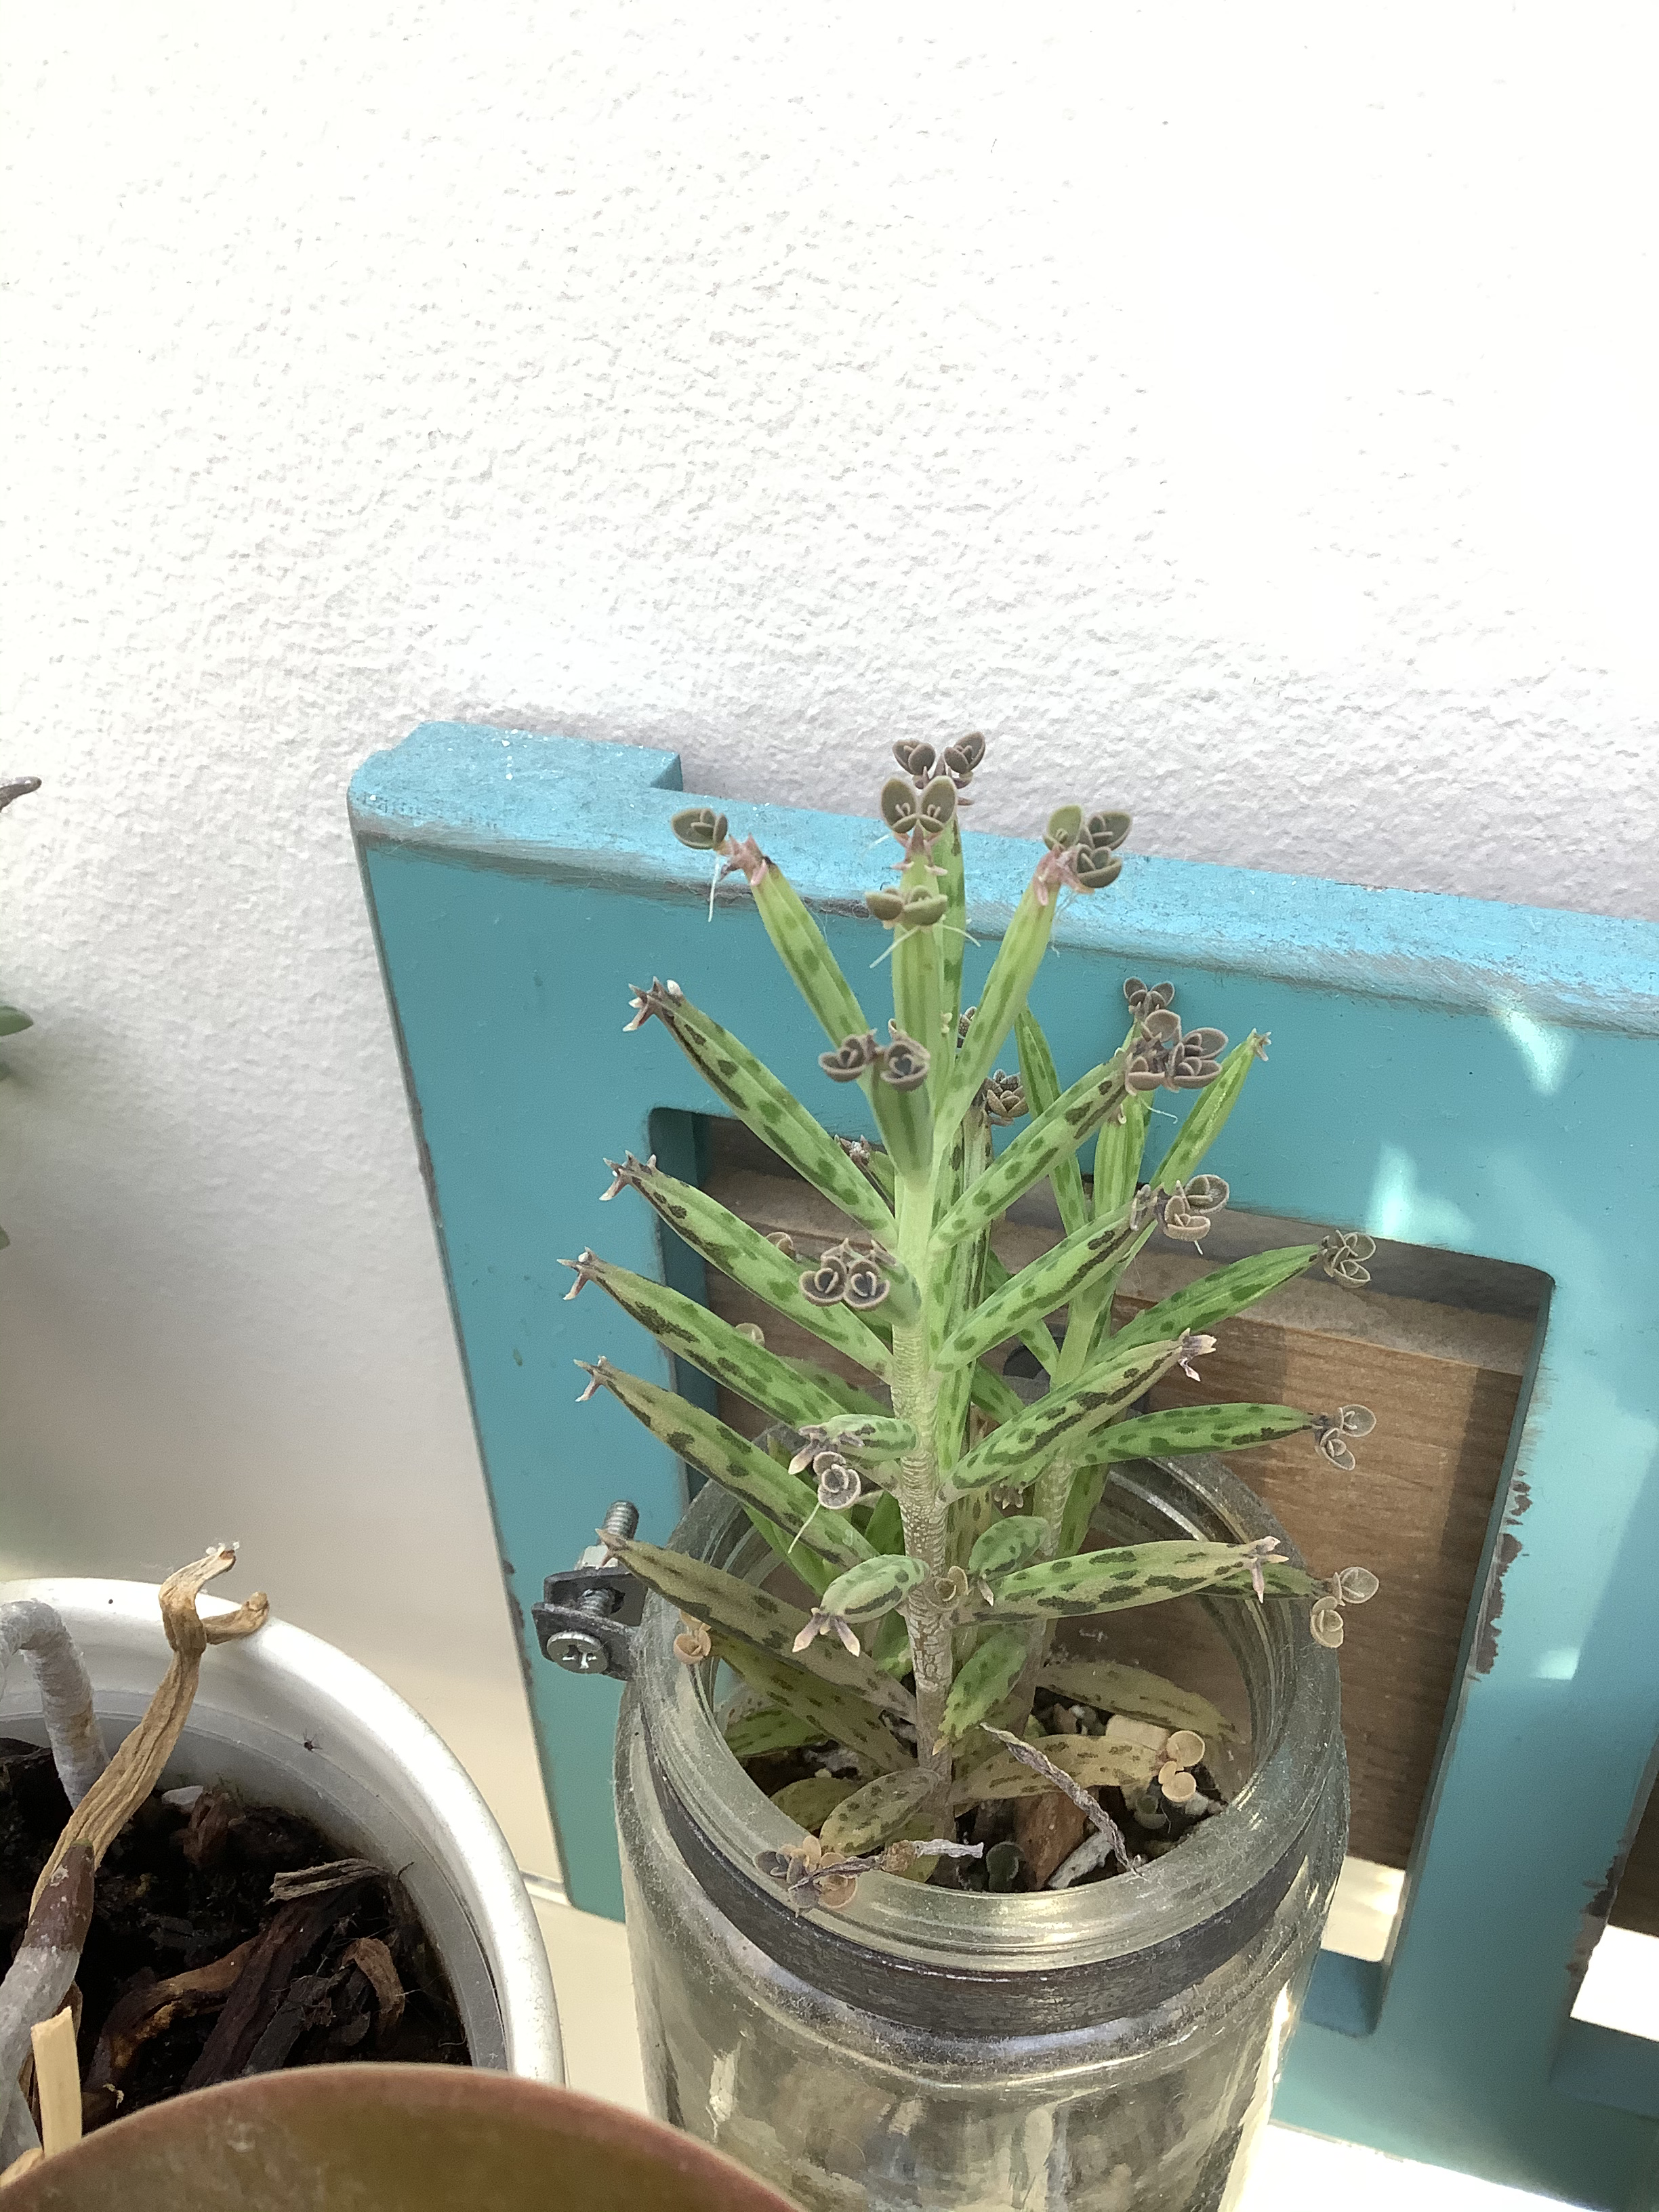
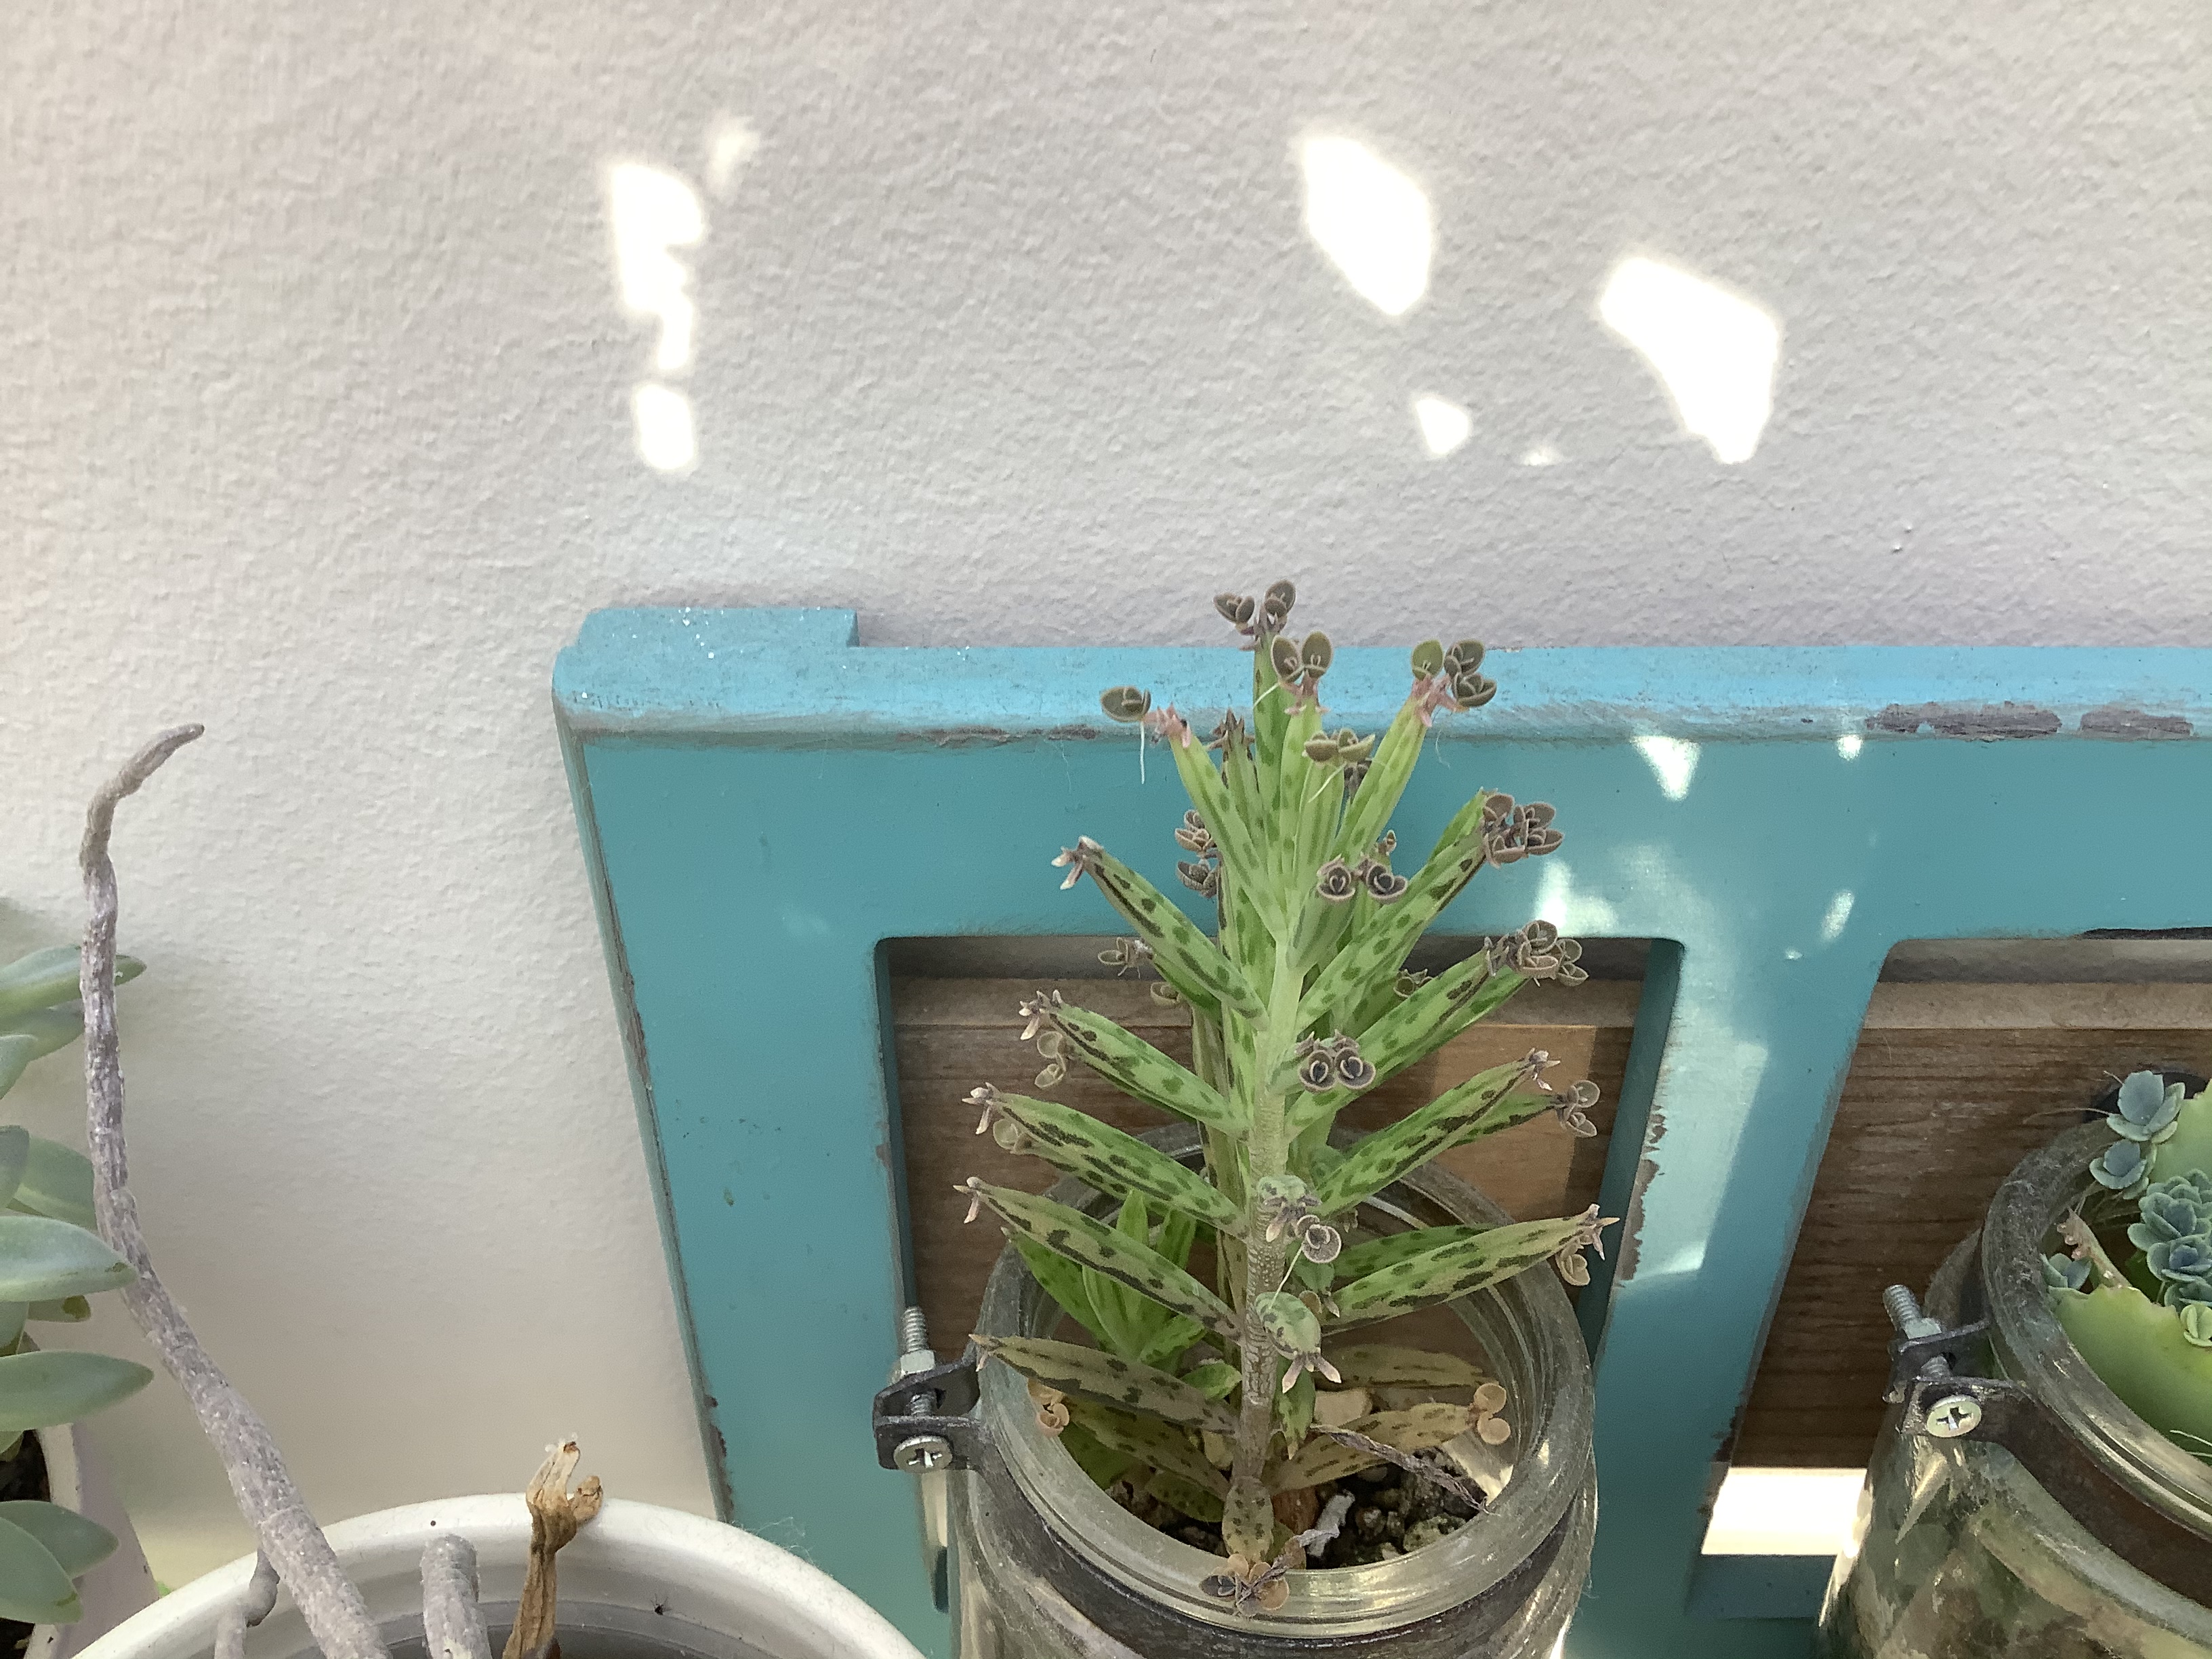
Look at your plant. If it has little seeds forming on the tips of its leaves, it is a seed propagating plant.
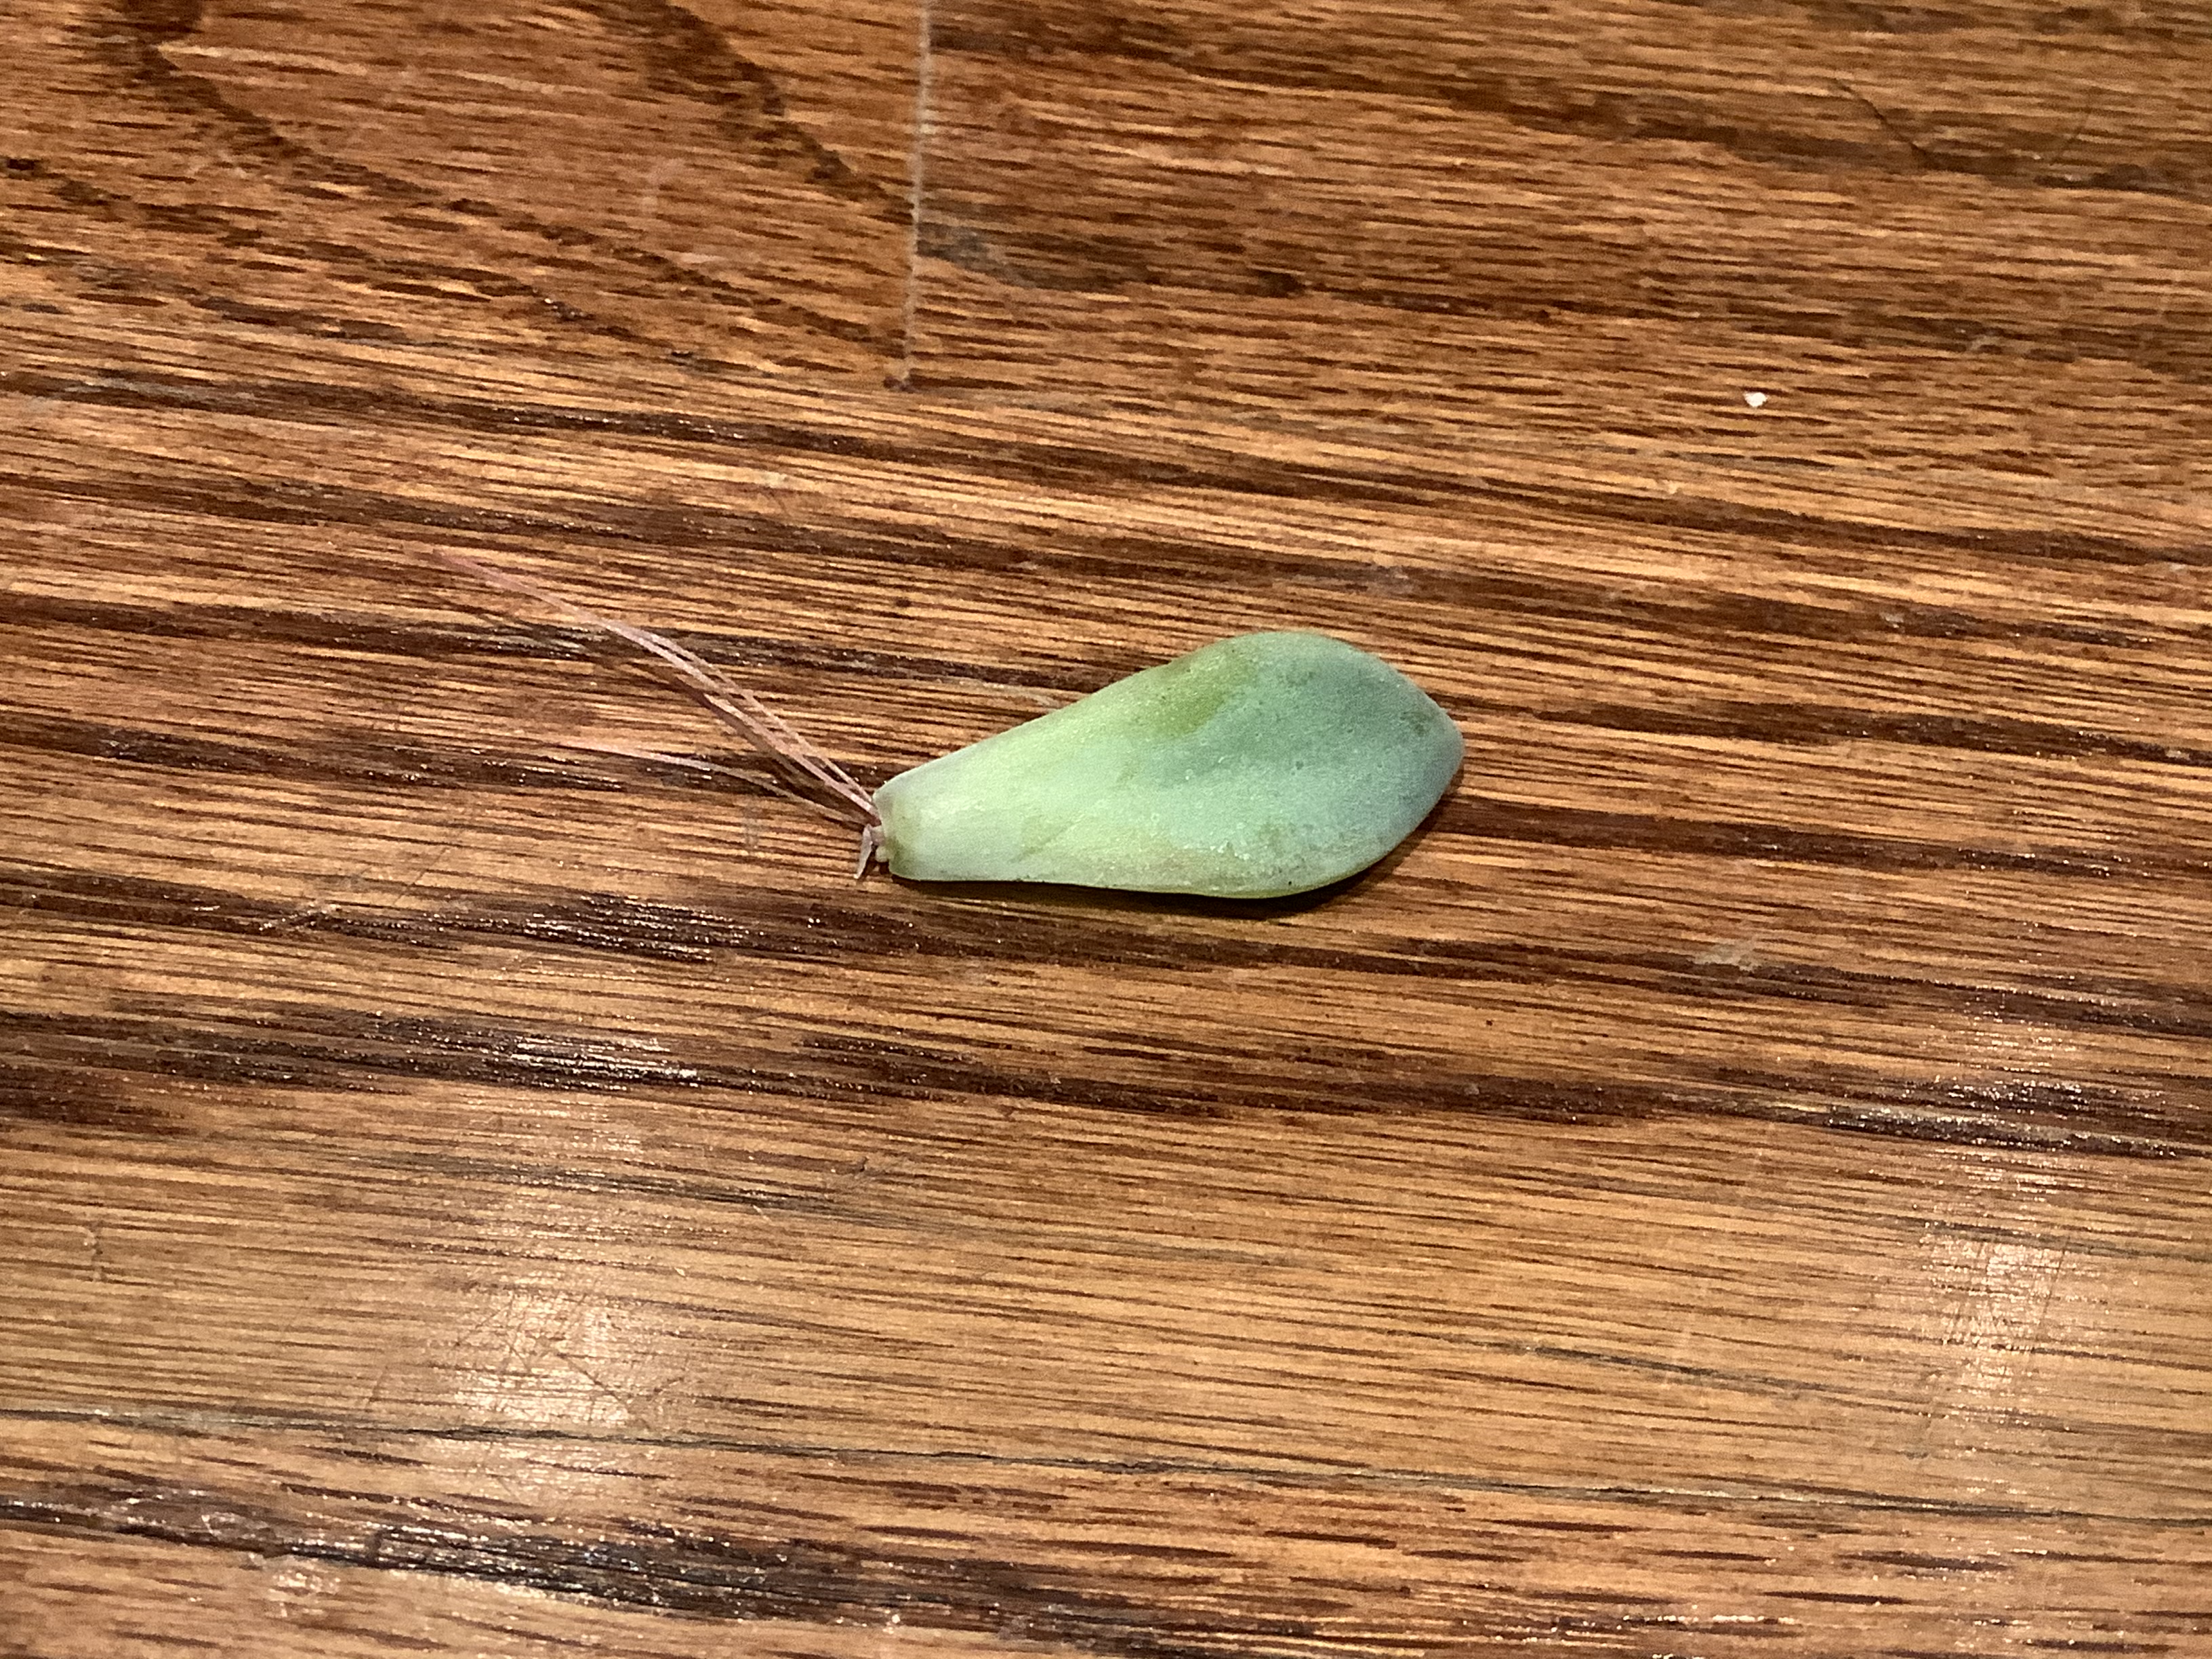
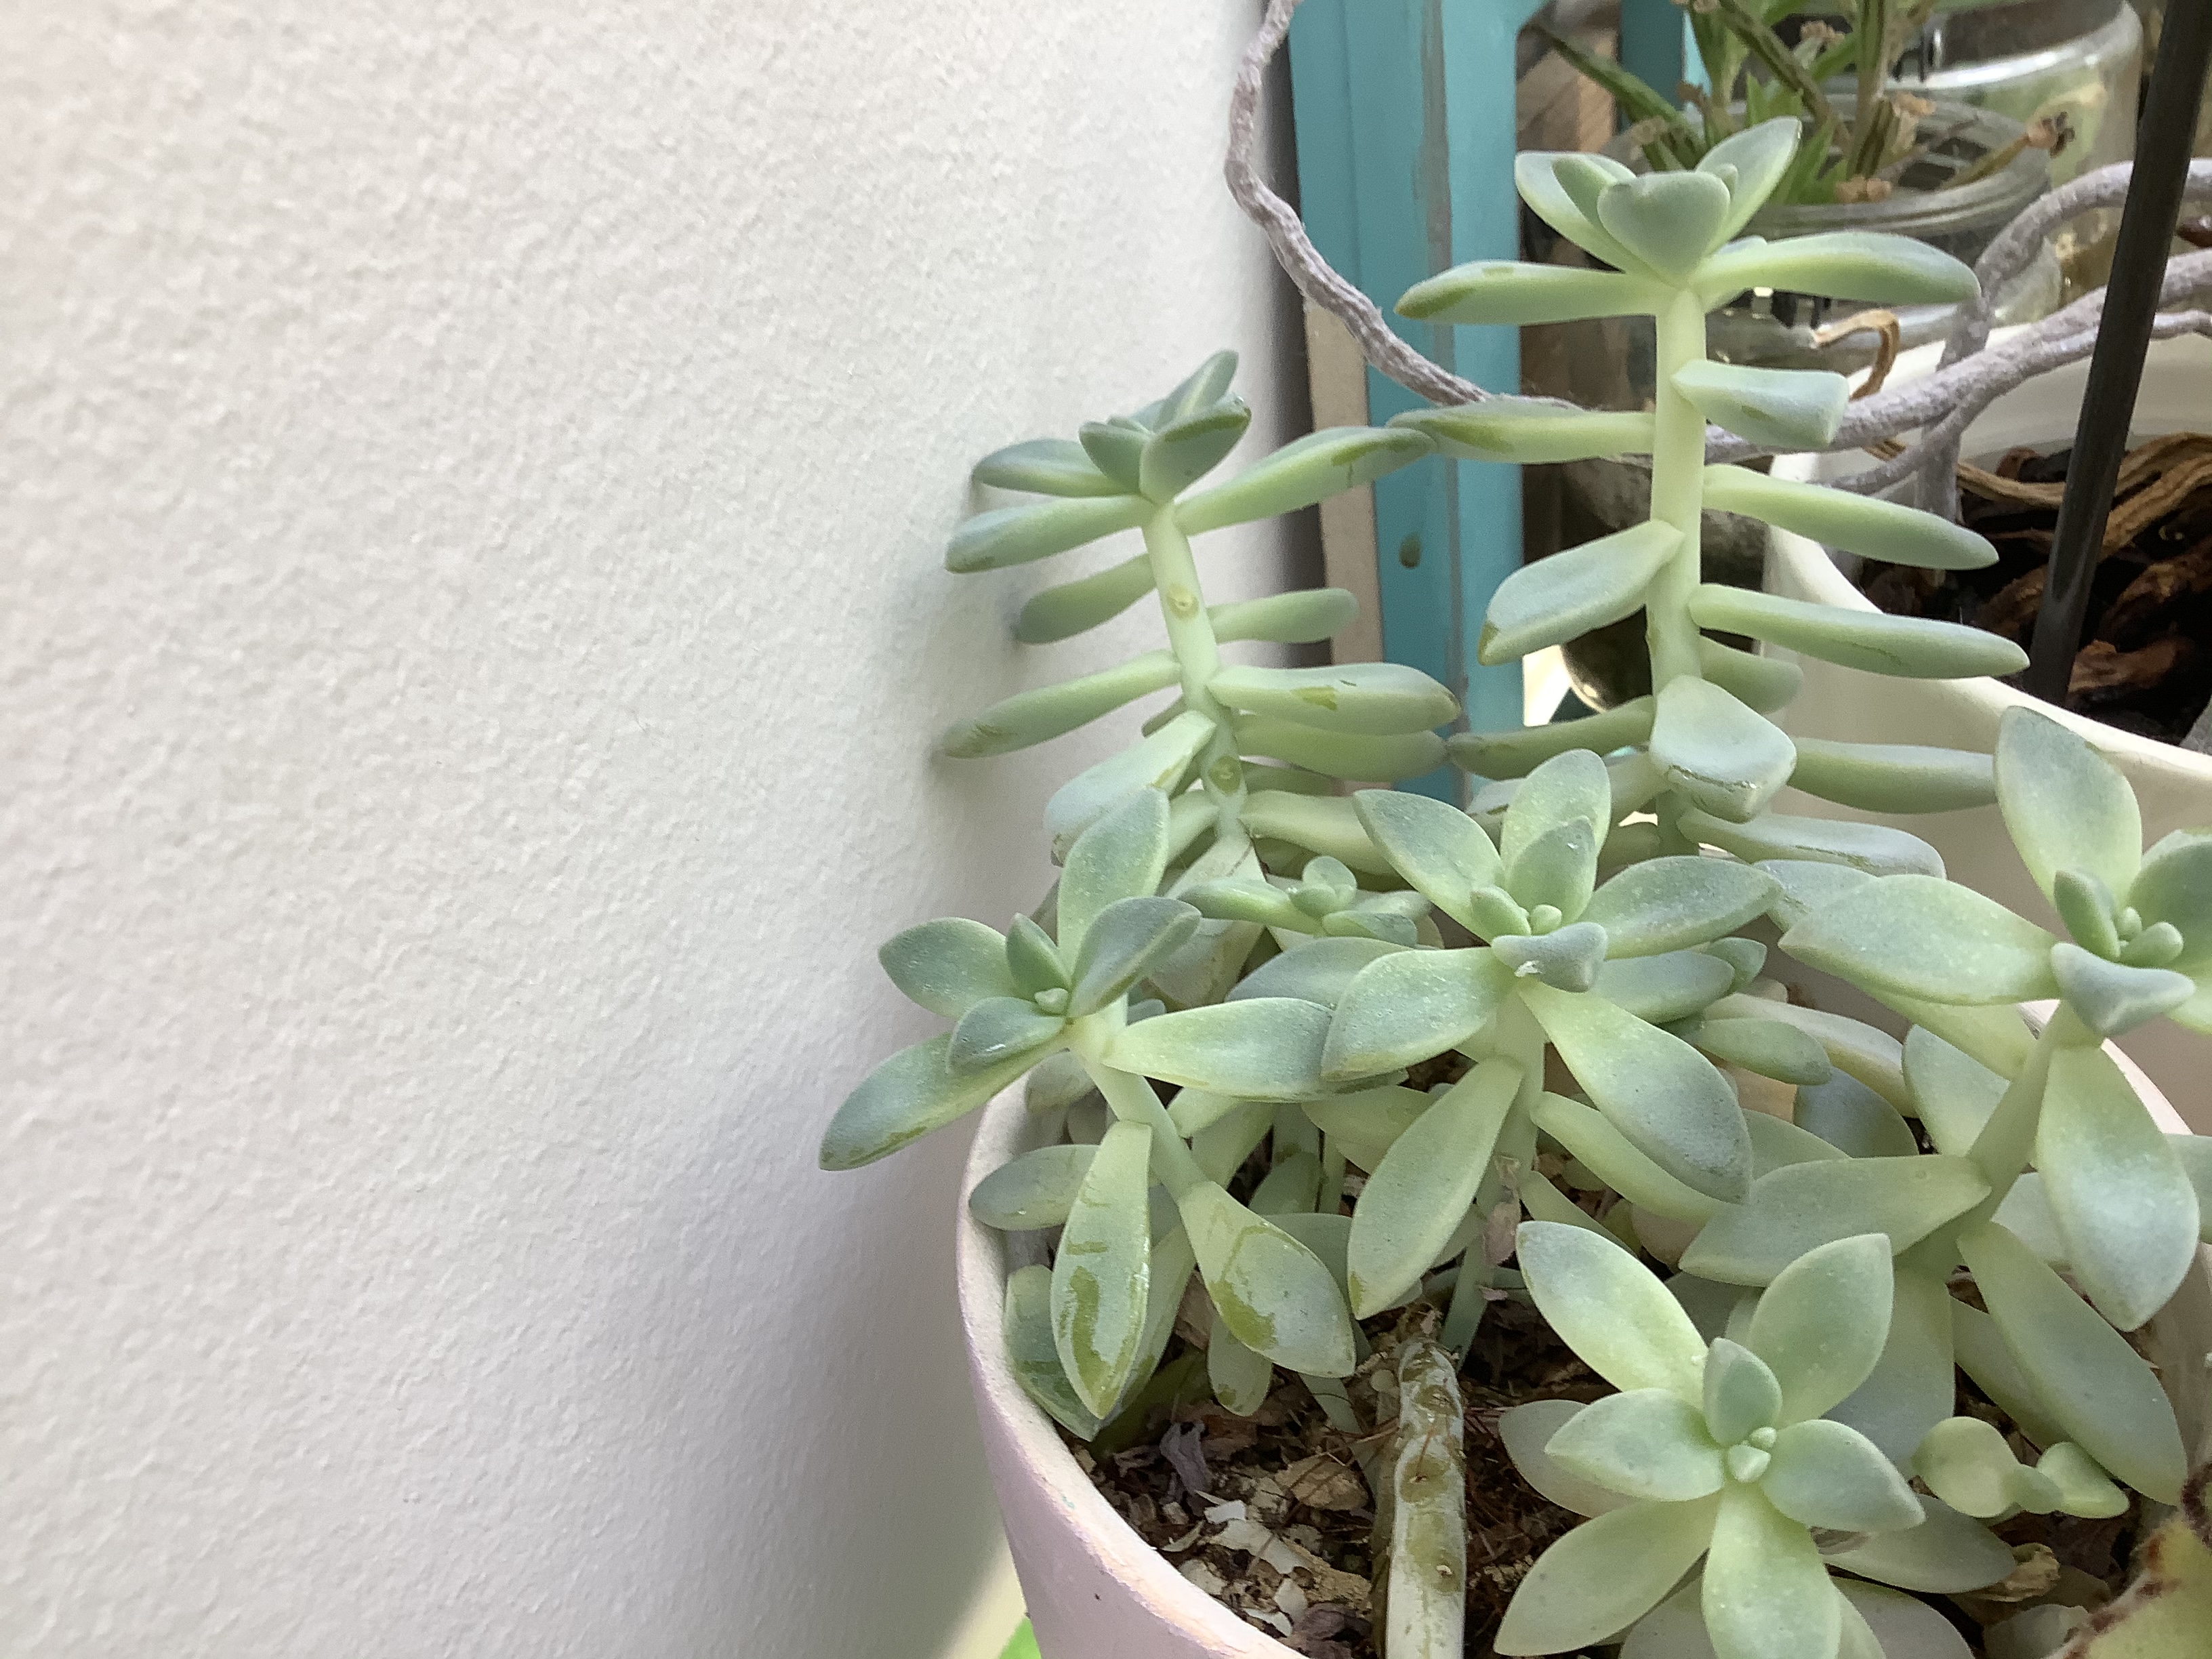
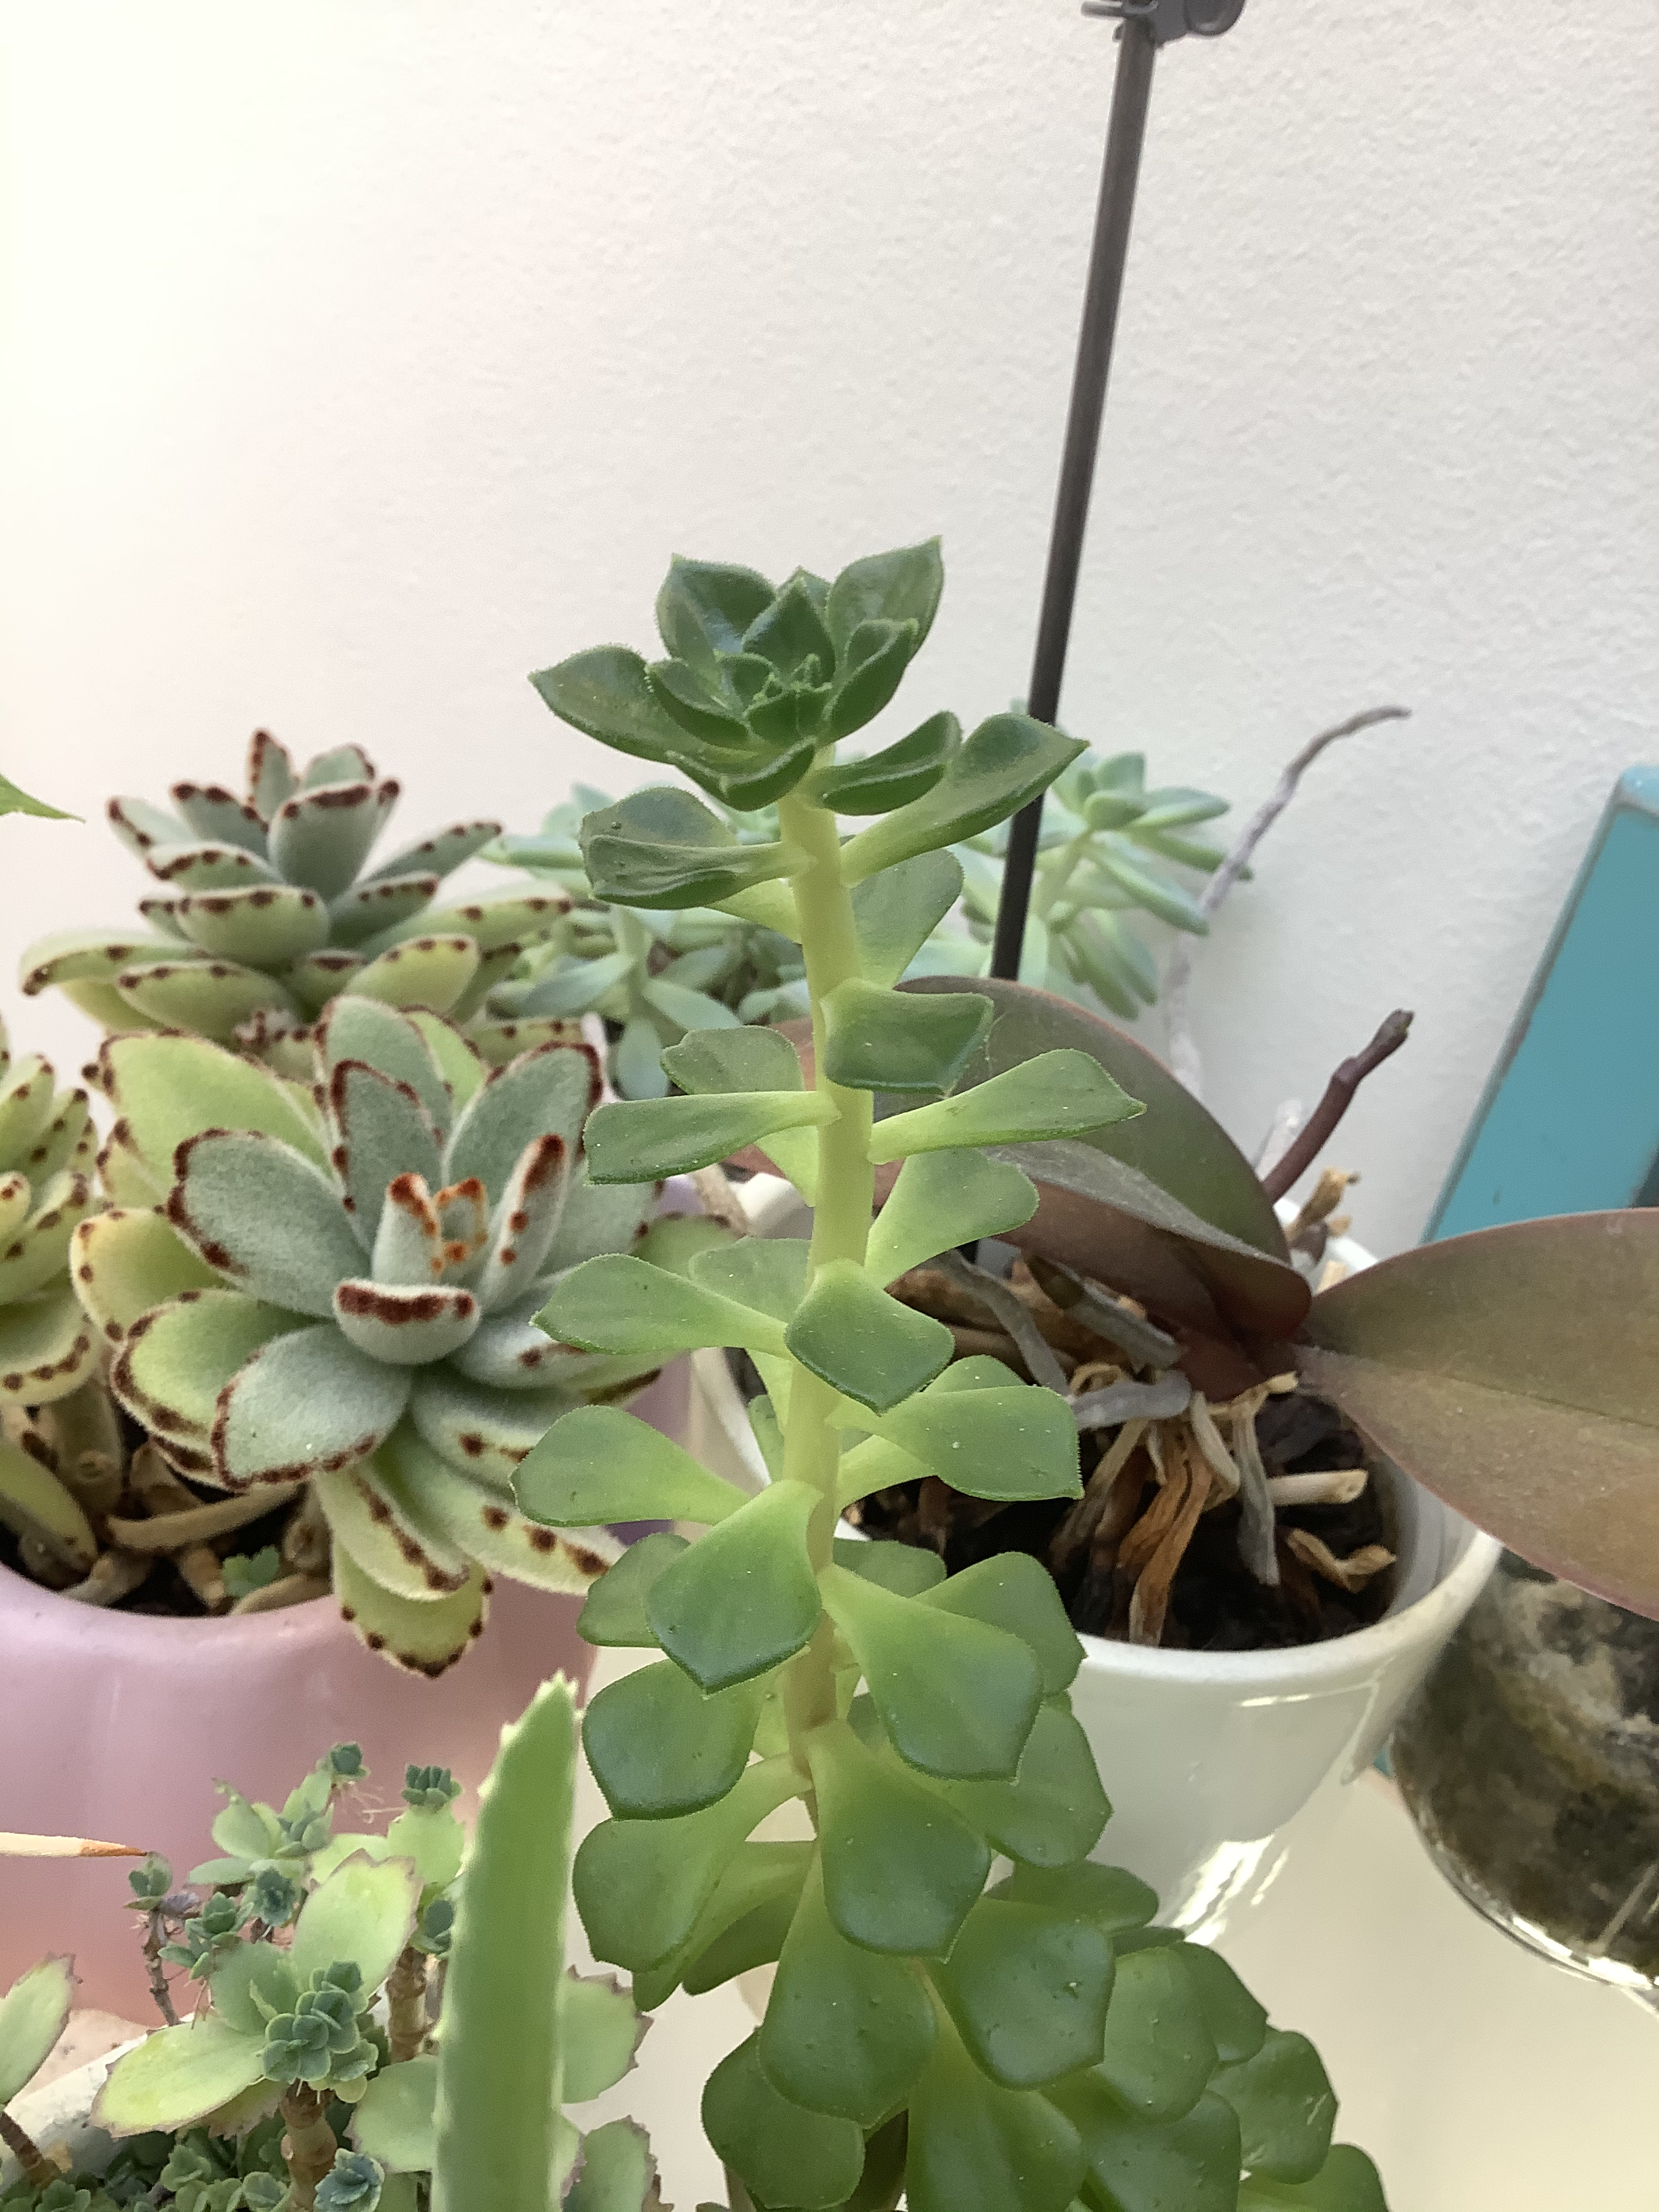
If it does not and it just has leaves and a stem, it is most likely a leaf propagating plant. You can also check the base of the plant and see if there are any roots where a leaf might have fallen off.

Now you actually need to propagate your plant. For a seed reproducing succulent, all you have to do is when you see little roots on the seed, take it off the mother plant and just place it on the surface of the soil. It will do the rest.
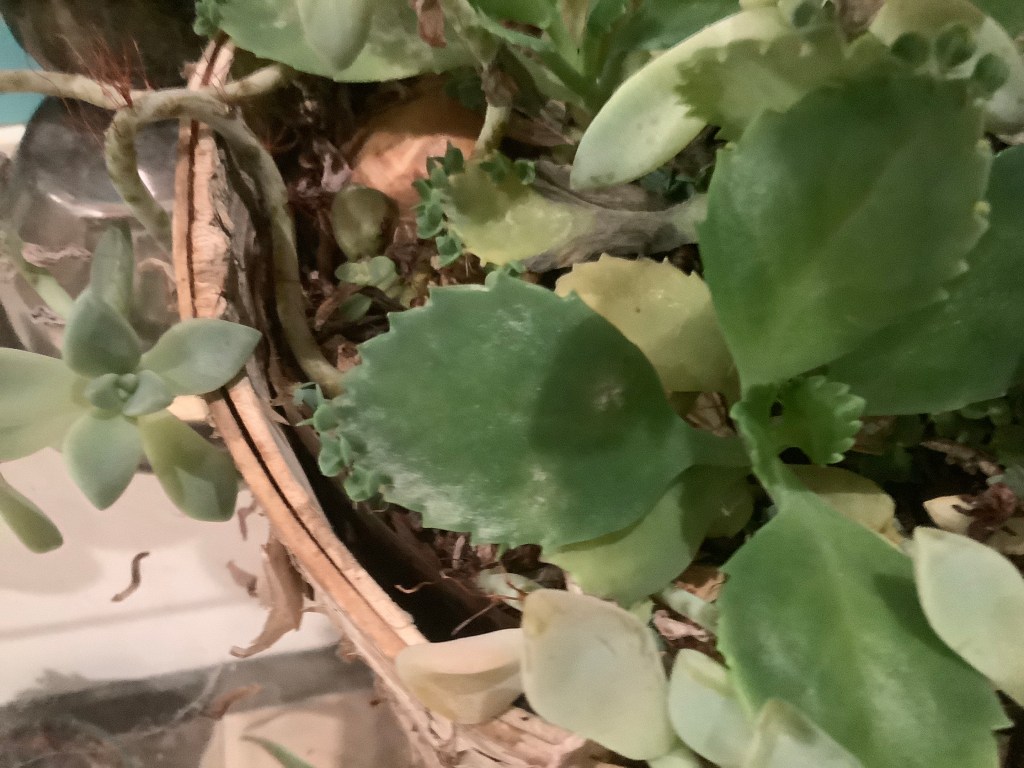
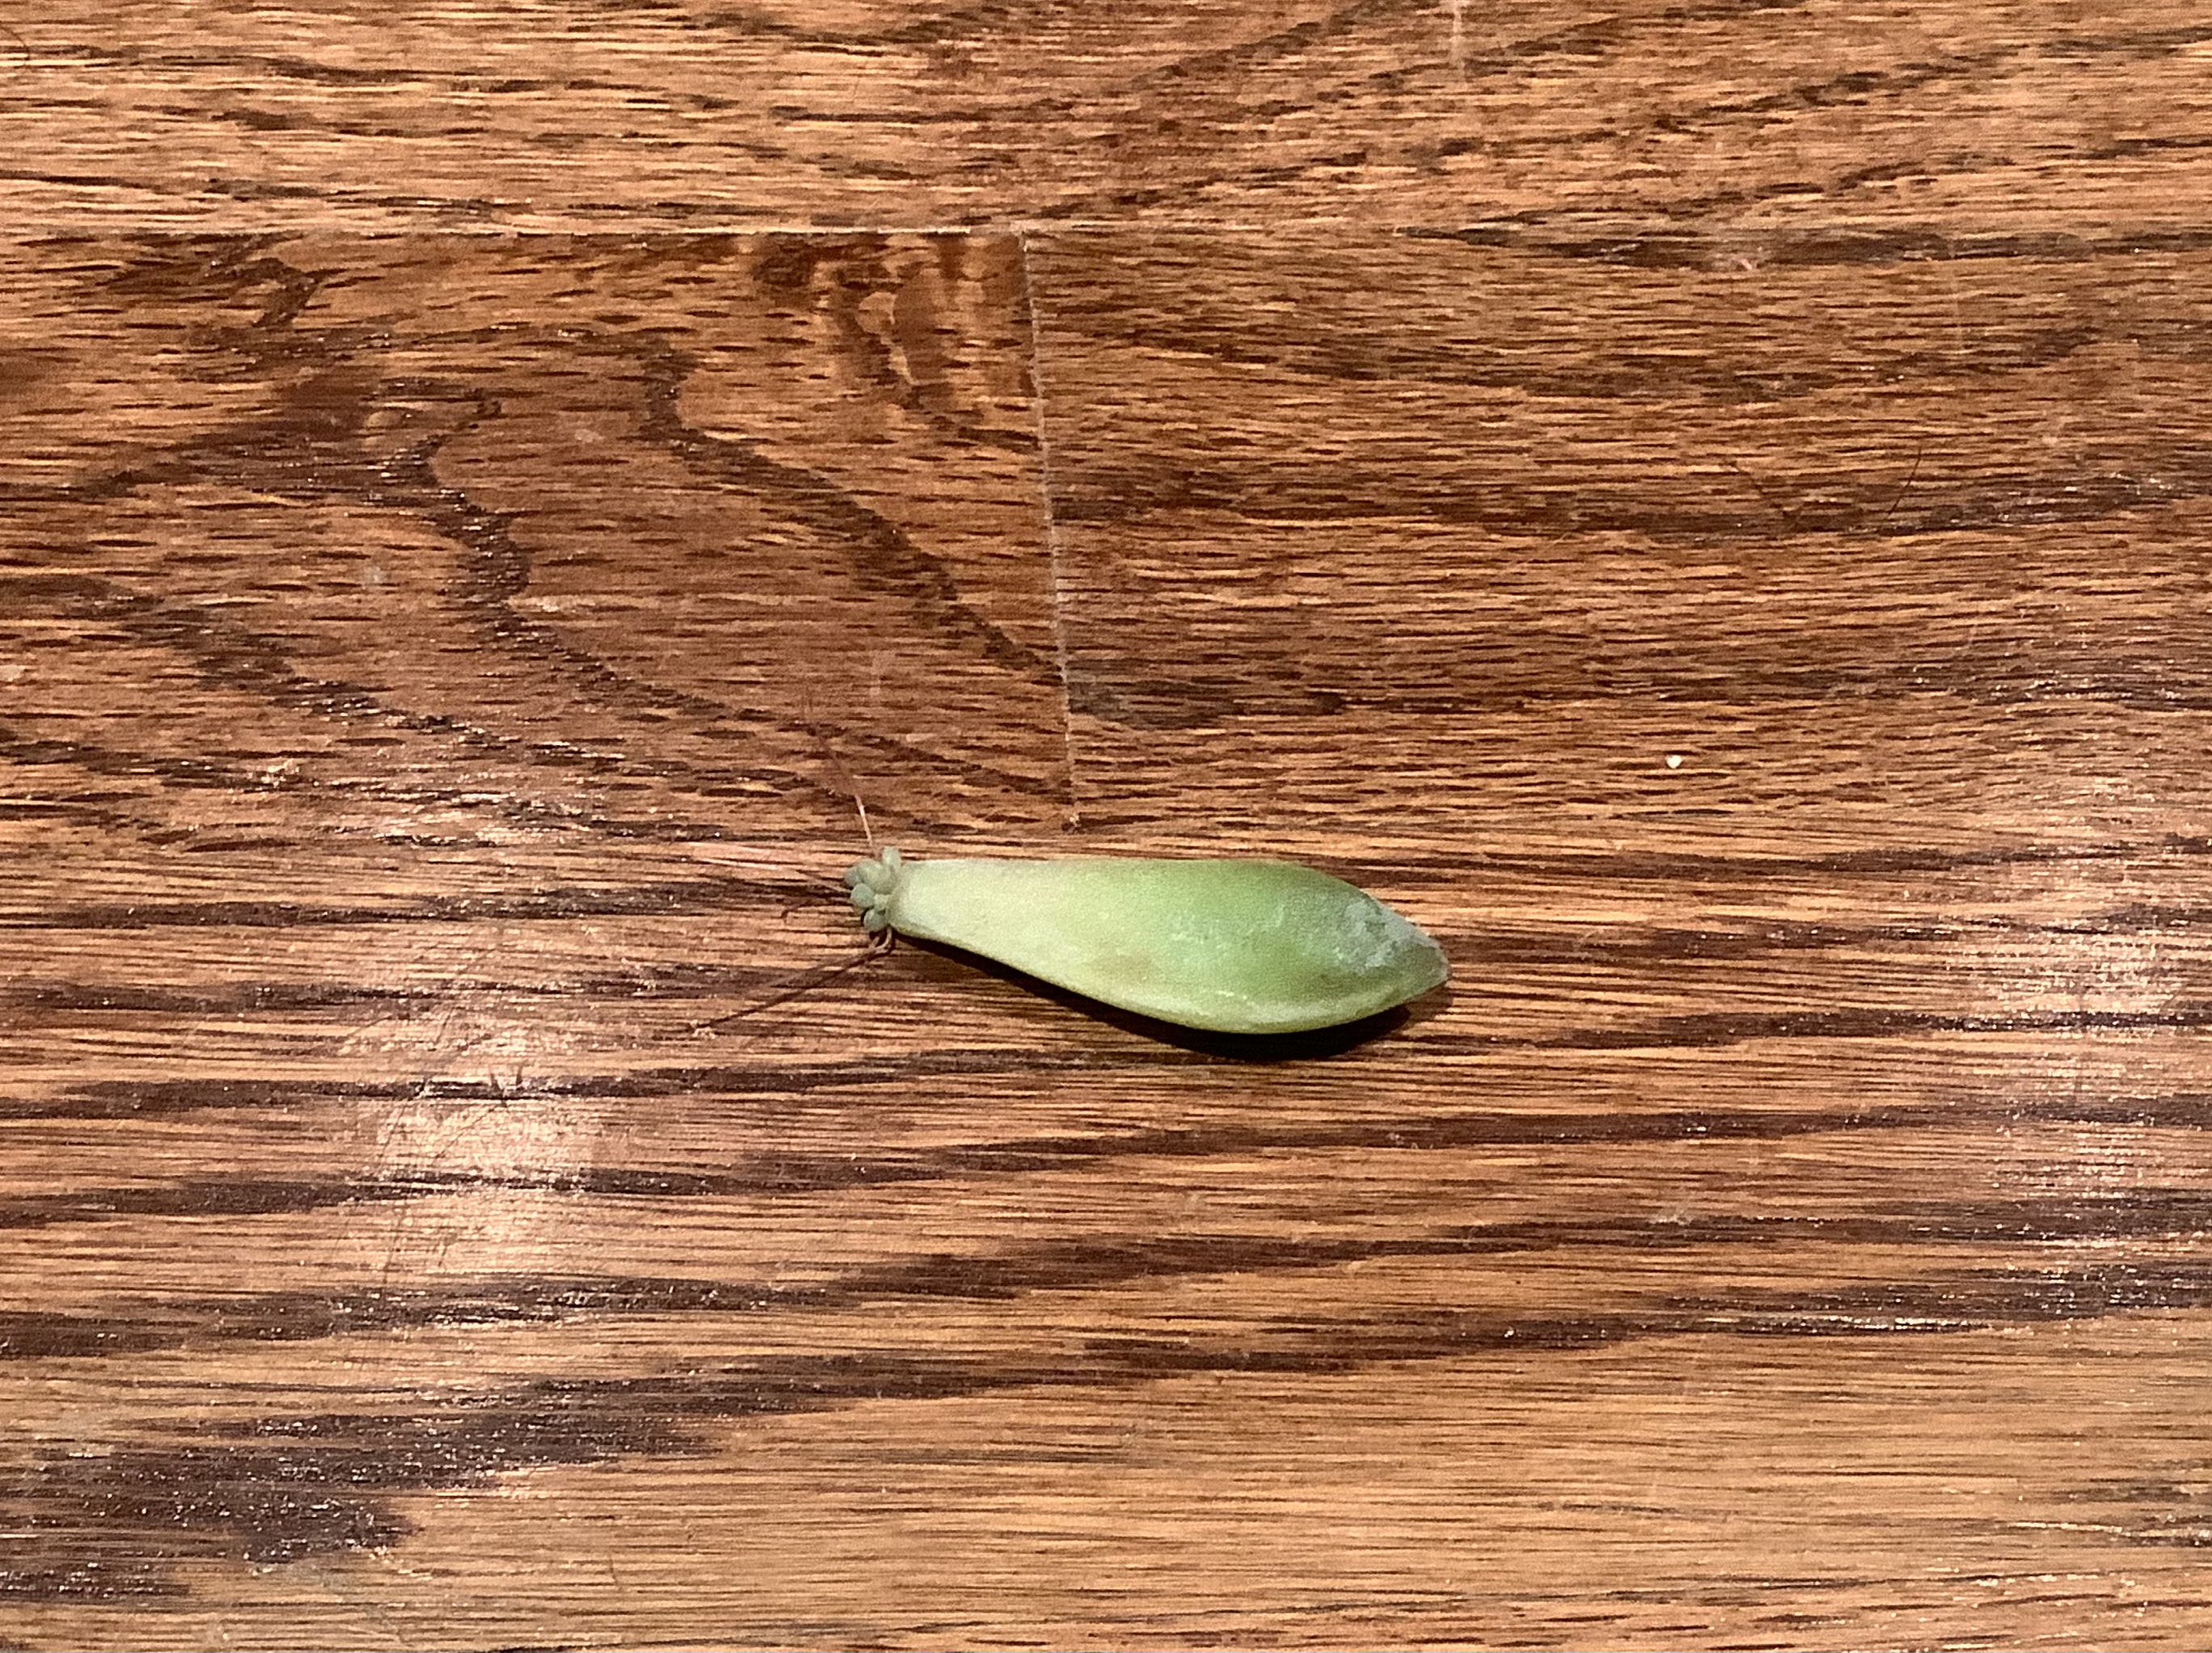
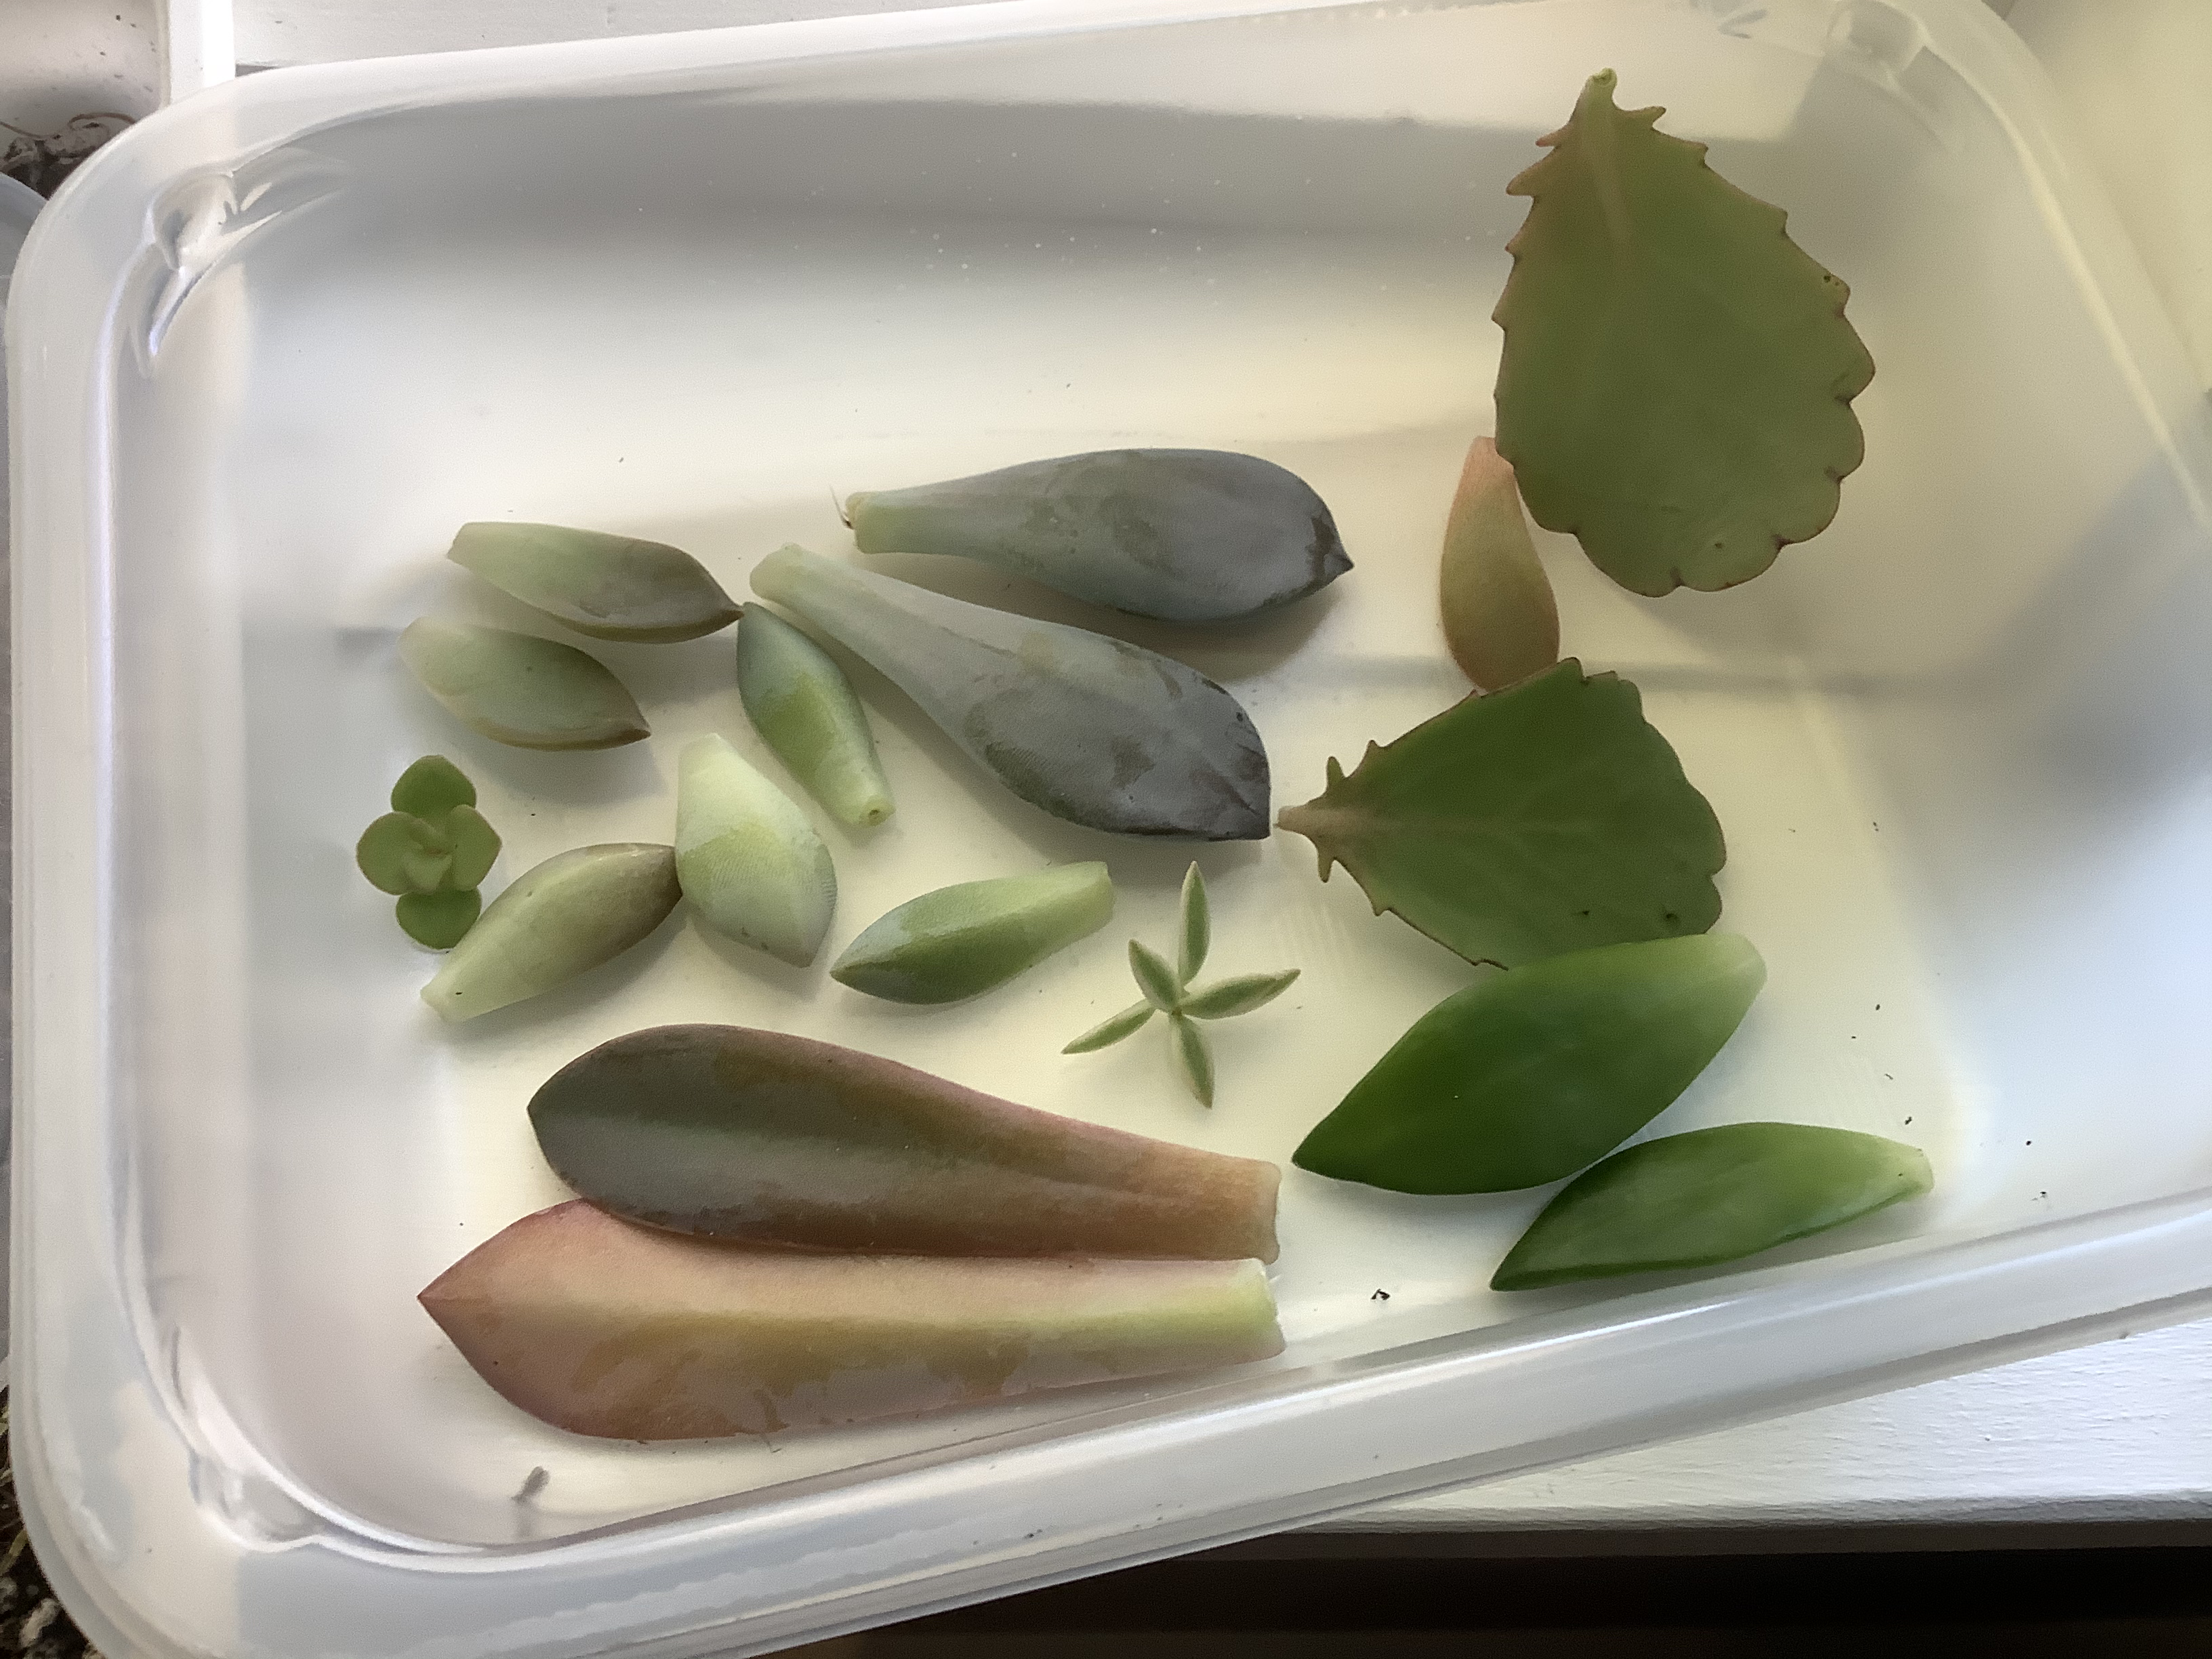
For a leaf propagating succulent, it is a bit more complicated. First you need to take off a fully grown leaf. To do this, gently secure the stem of the succulent with one hand, while the other hand just gently grabs the leaf, and takes it off. It should come off relatively easily.
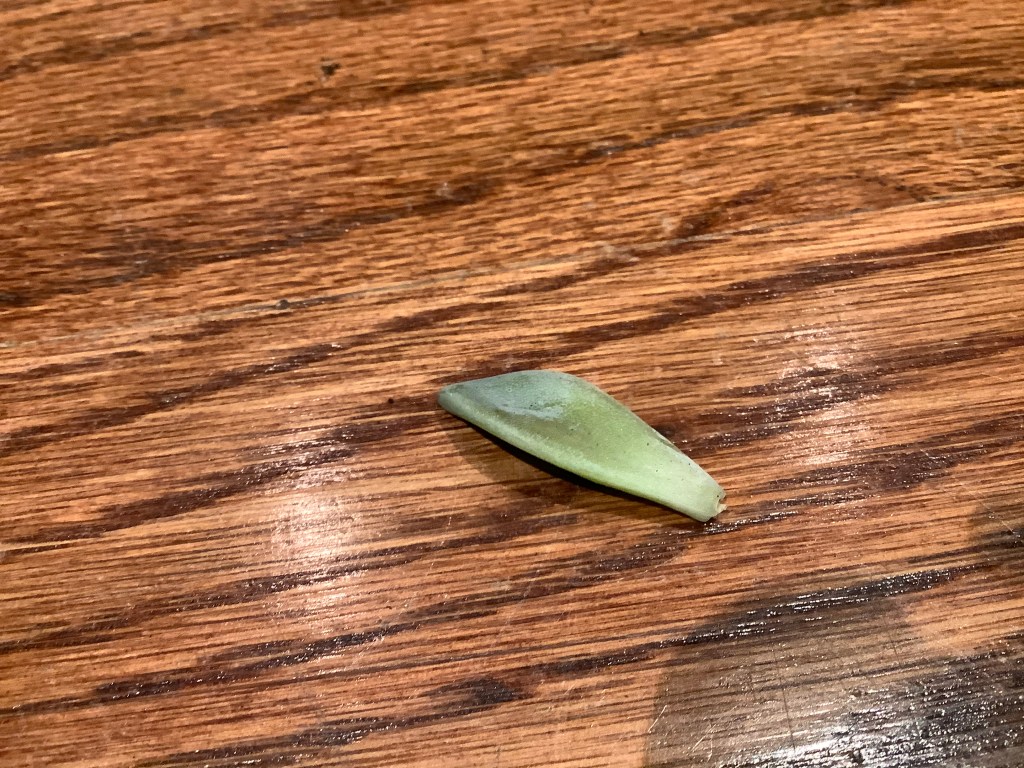
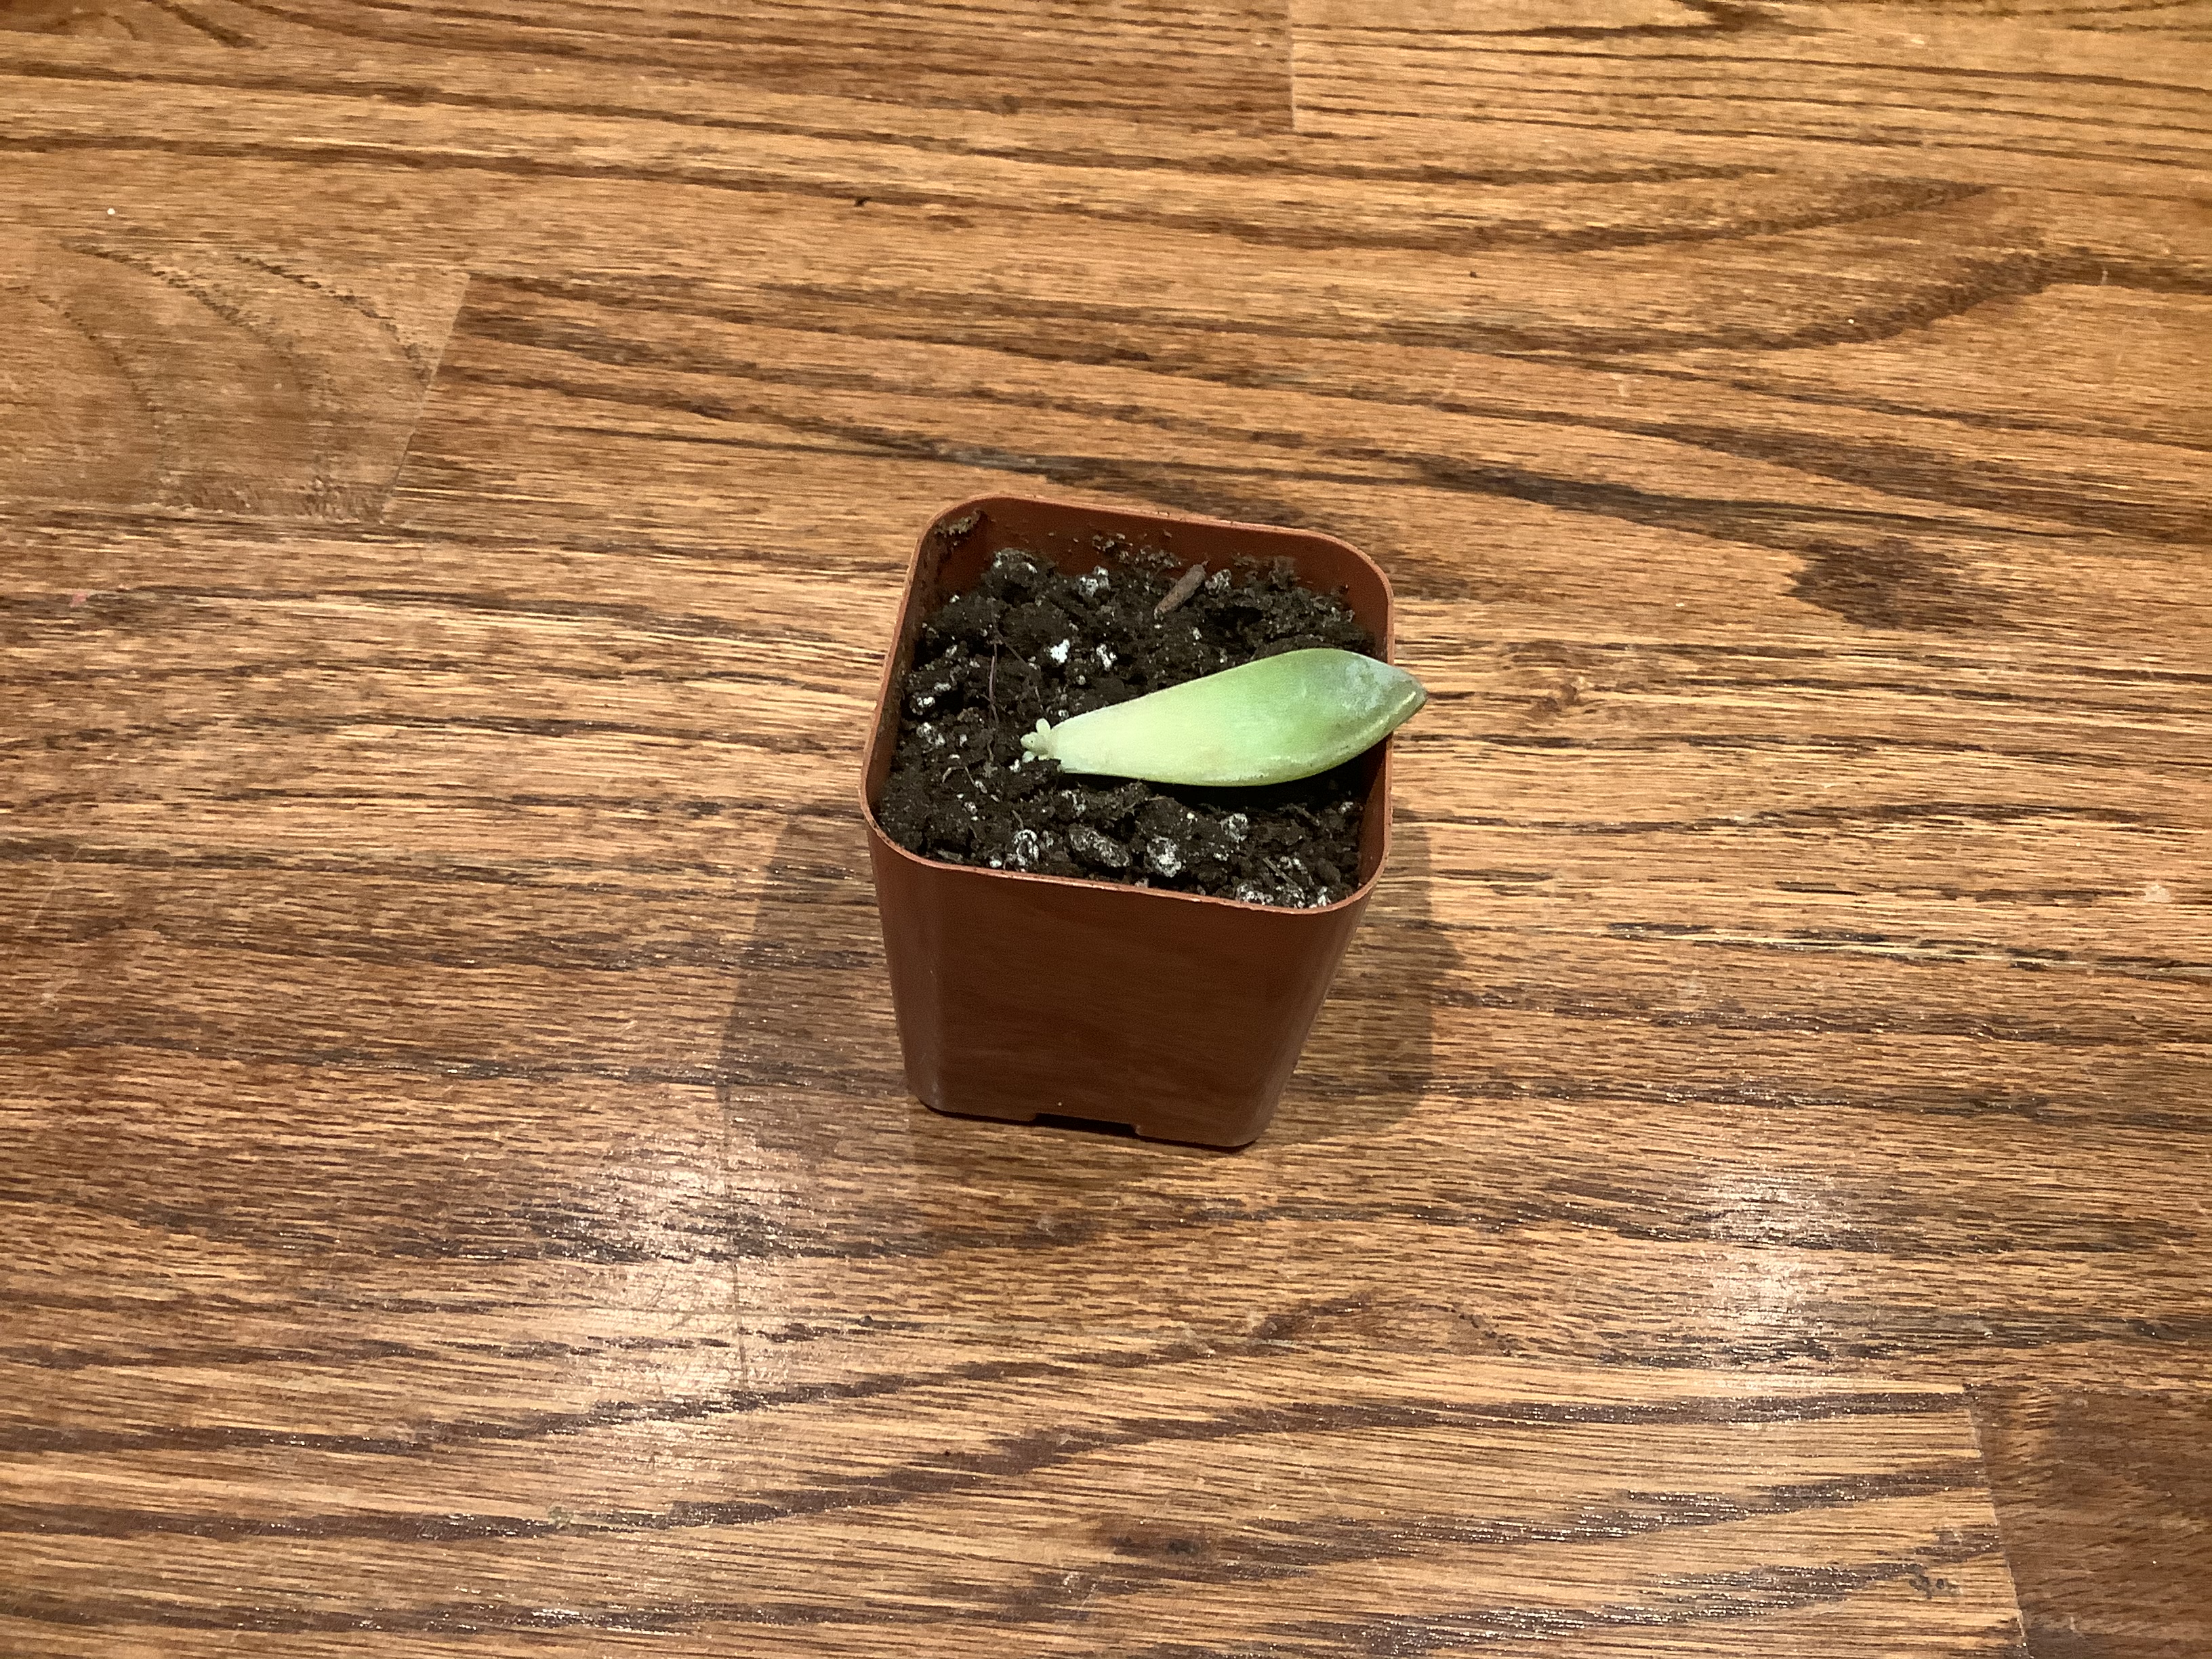
Then, let it sit and callous over for a few days. This way the edge of the leaf is sealed. After a few days, all you have to do is get a pot of soil and place the leaf on top of it. You can also do this when there are some roots and/or a mini plant on the edge of the leaf.
That’s it for today’s post! I hope you enjoyed it! Please check out our other posts! Bye!
Hi guys! This post is #1 of a series for how to save seeds. This one is all about harvesting your seeds and setting them up for storage. Let’s get started.
First you want to chose your plant to take seeds from. If you are worried about cross pollination, (cross pollination is when a pollinator bees, wasps, etc. pollinate one type of a plant and then a different type of the same plant, that fruit is basically a combo of the two types of plants. Remember, you can always search this up) then take seeds from a plant that is far away from another plant like it but not the same.
Second, there are two main types of plants, hybrid and heirloom. The difference between the two is that when you save seeds from a hybrid plant, when you grow the seeds next year, the produce is a little bit different (in a bad way usually) and every tine you keep on saving seeds from a hybrid plant, the produce gets worse and worse. Heirloom plants on the other hand, when you save seeds from them, the seeds (not counting cross pollination) are basically the same produce as the other plant. This principle is usually used for tomato plants, and you can find out whether they are a heirloom or hybrid by looking at the tag, the seed packet, or by searching it up.
Another factor to saving seeds is the dryness/wetness. If it has been raining a lot recently, then you should let the seed pod/seeds dry a bit before you store them. If they are already dry, still let sit for a day or two just to be safe. You don’t want your seeds to rot in storage!
That’s it for today’s post! This post was all about setting up for saving and storing our seeds. In our next post, we will talk about how to do exactly that.
Bye! Please check out our 33 other painstakingly written posts!
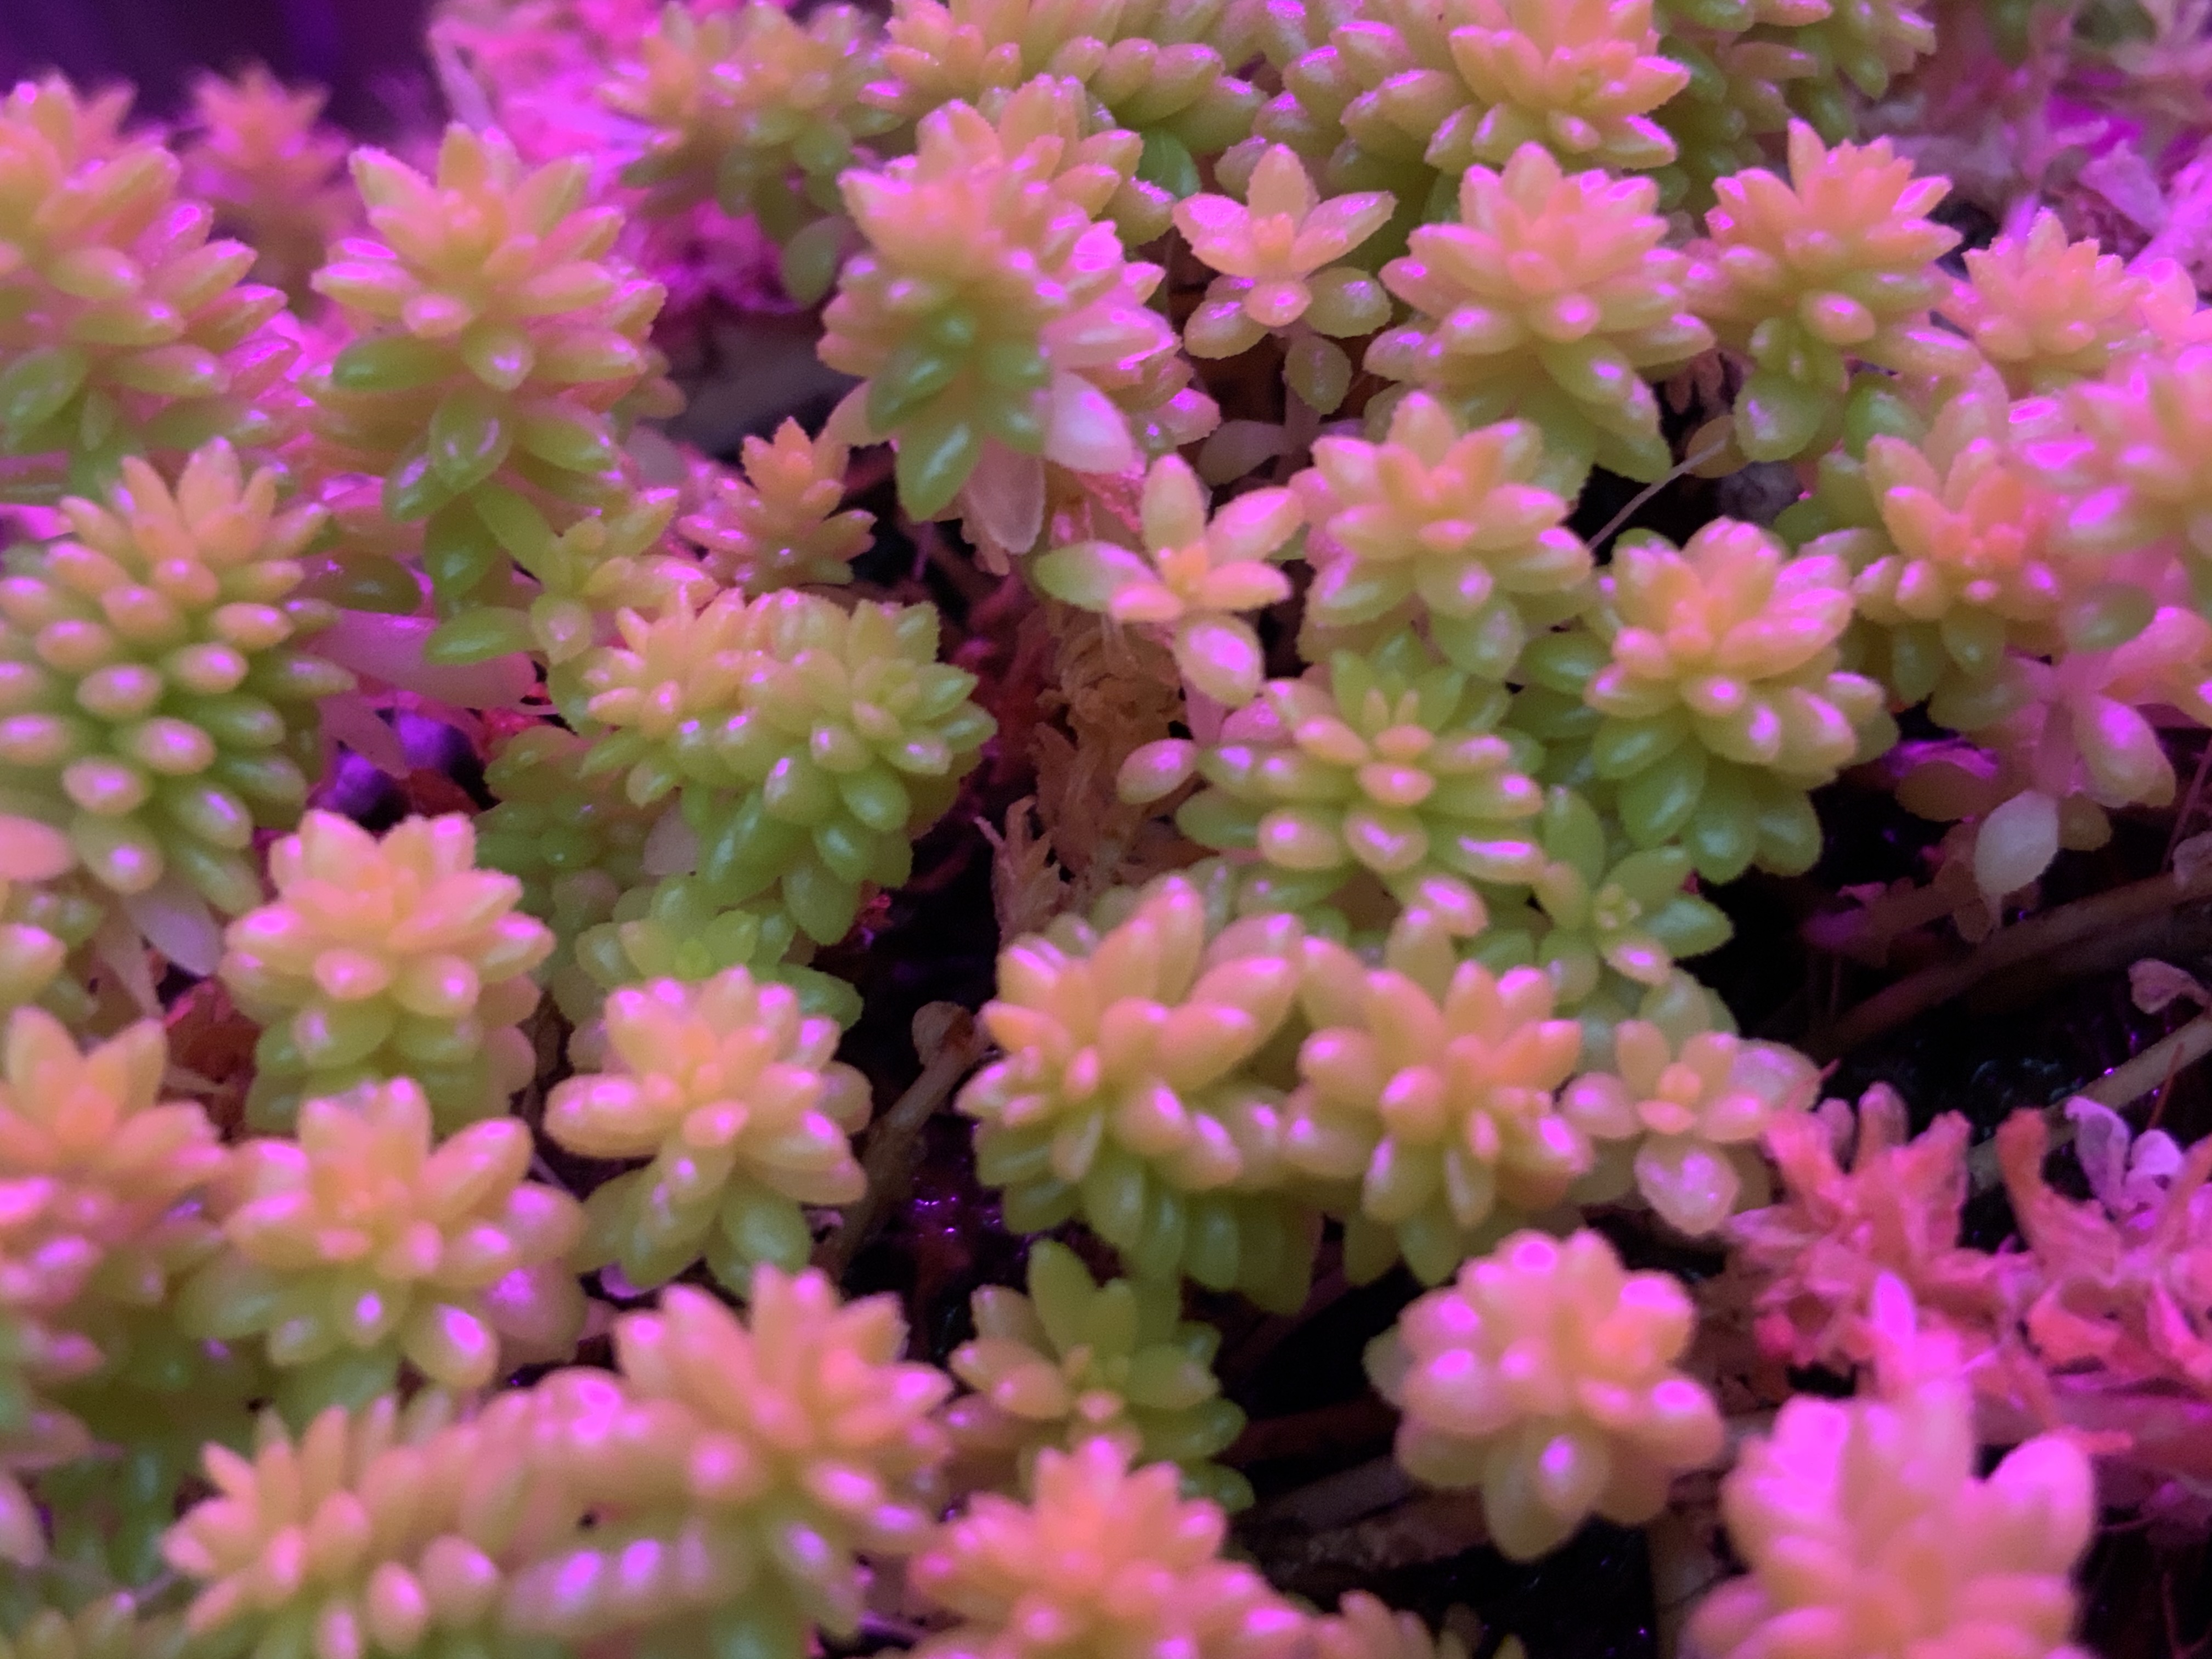
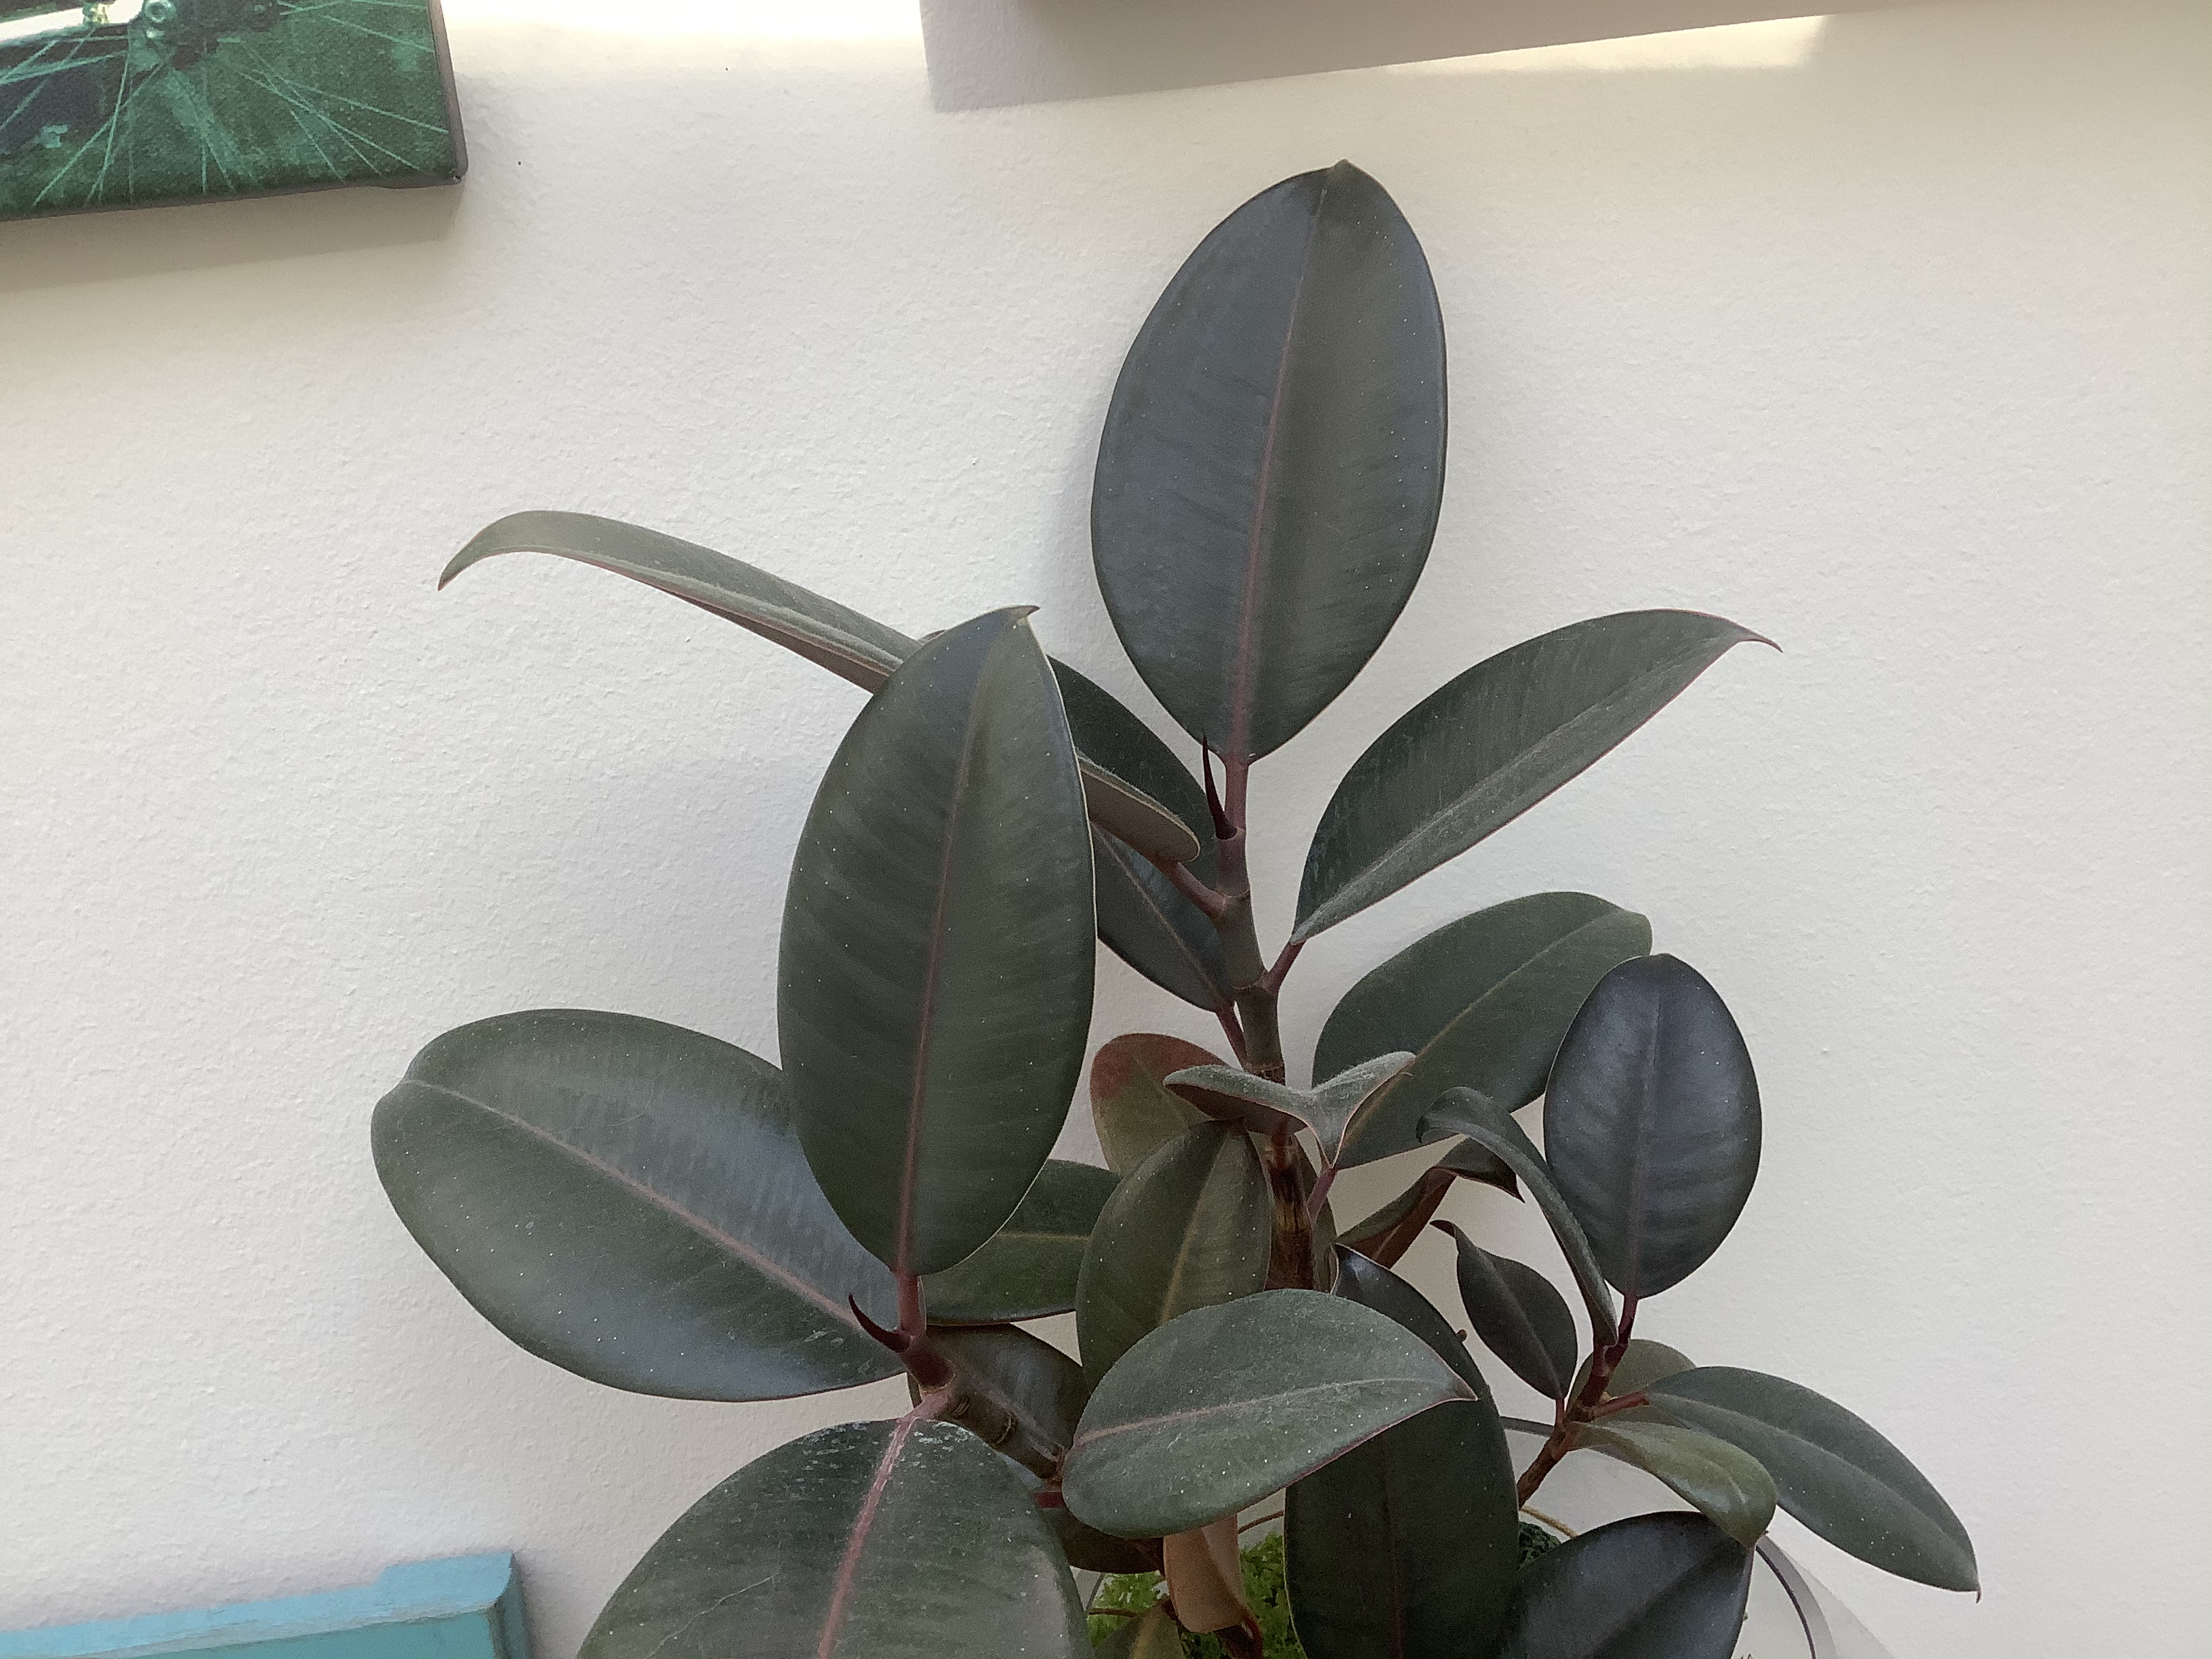
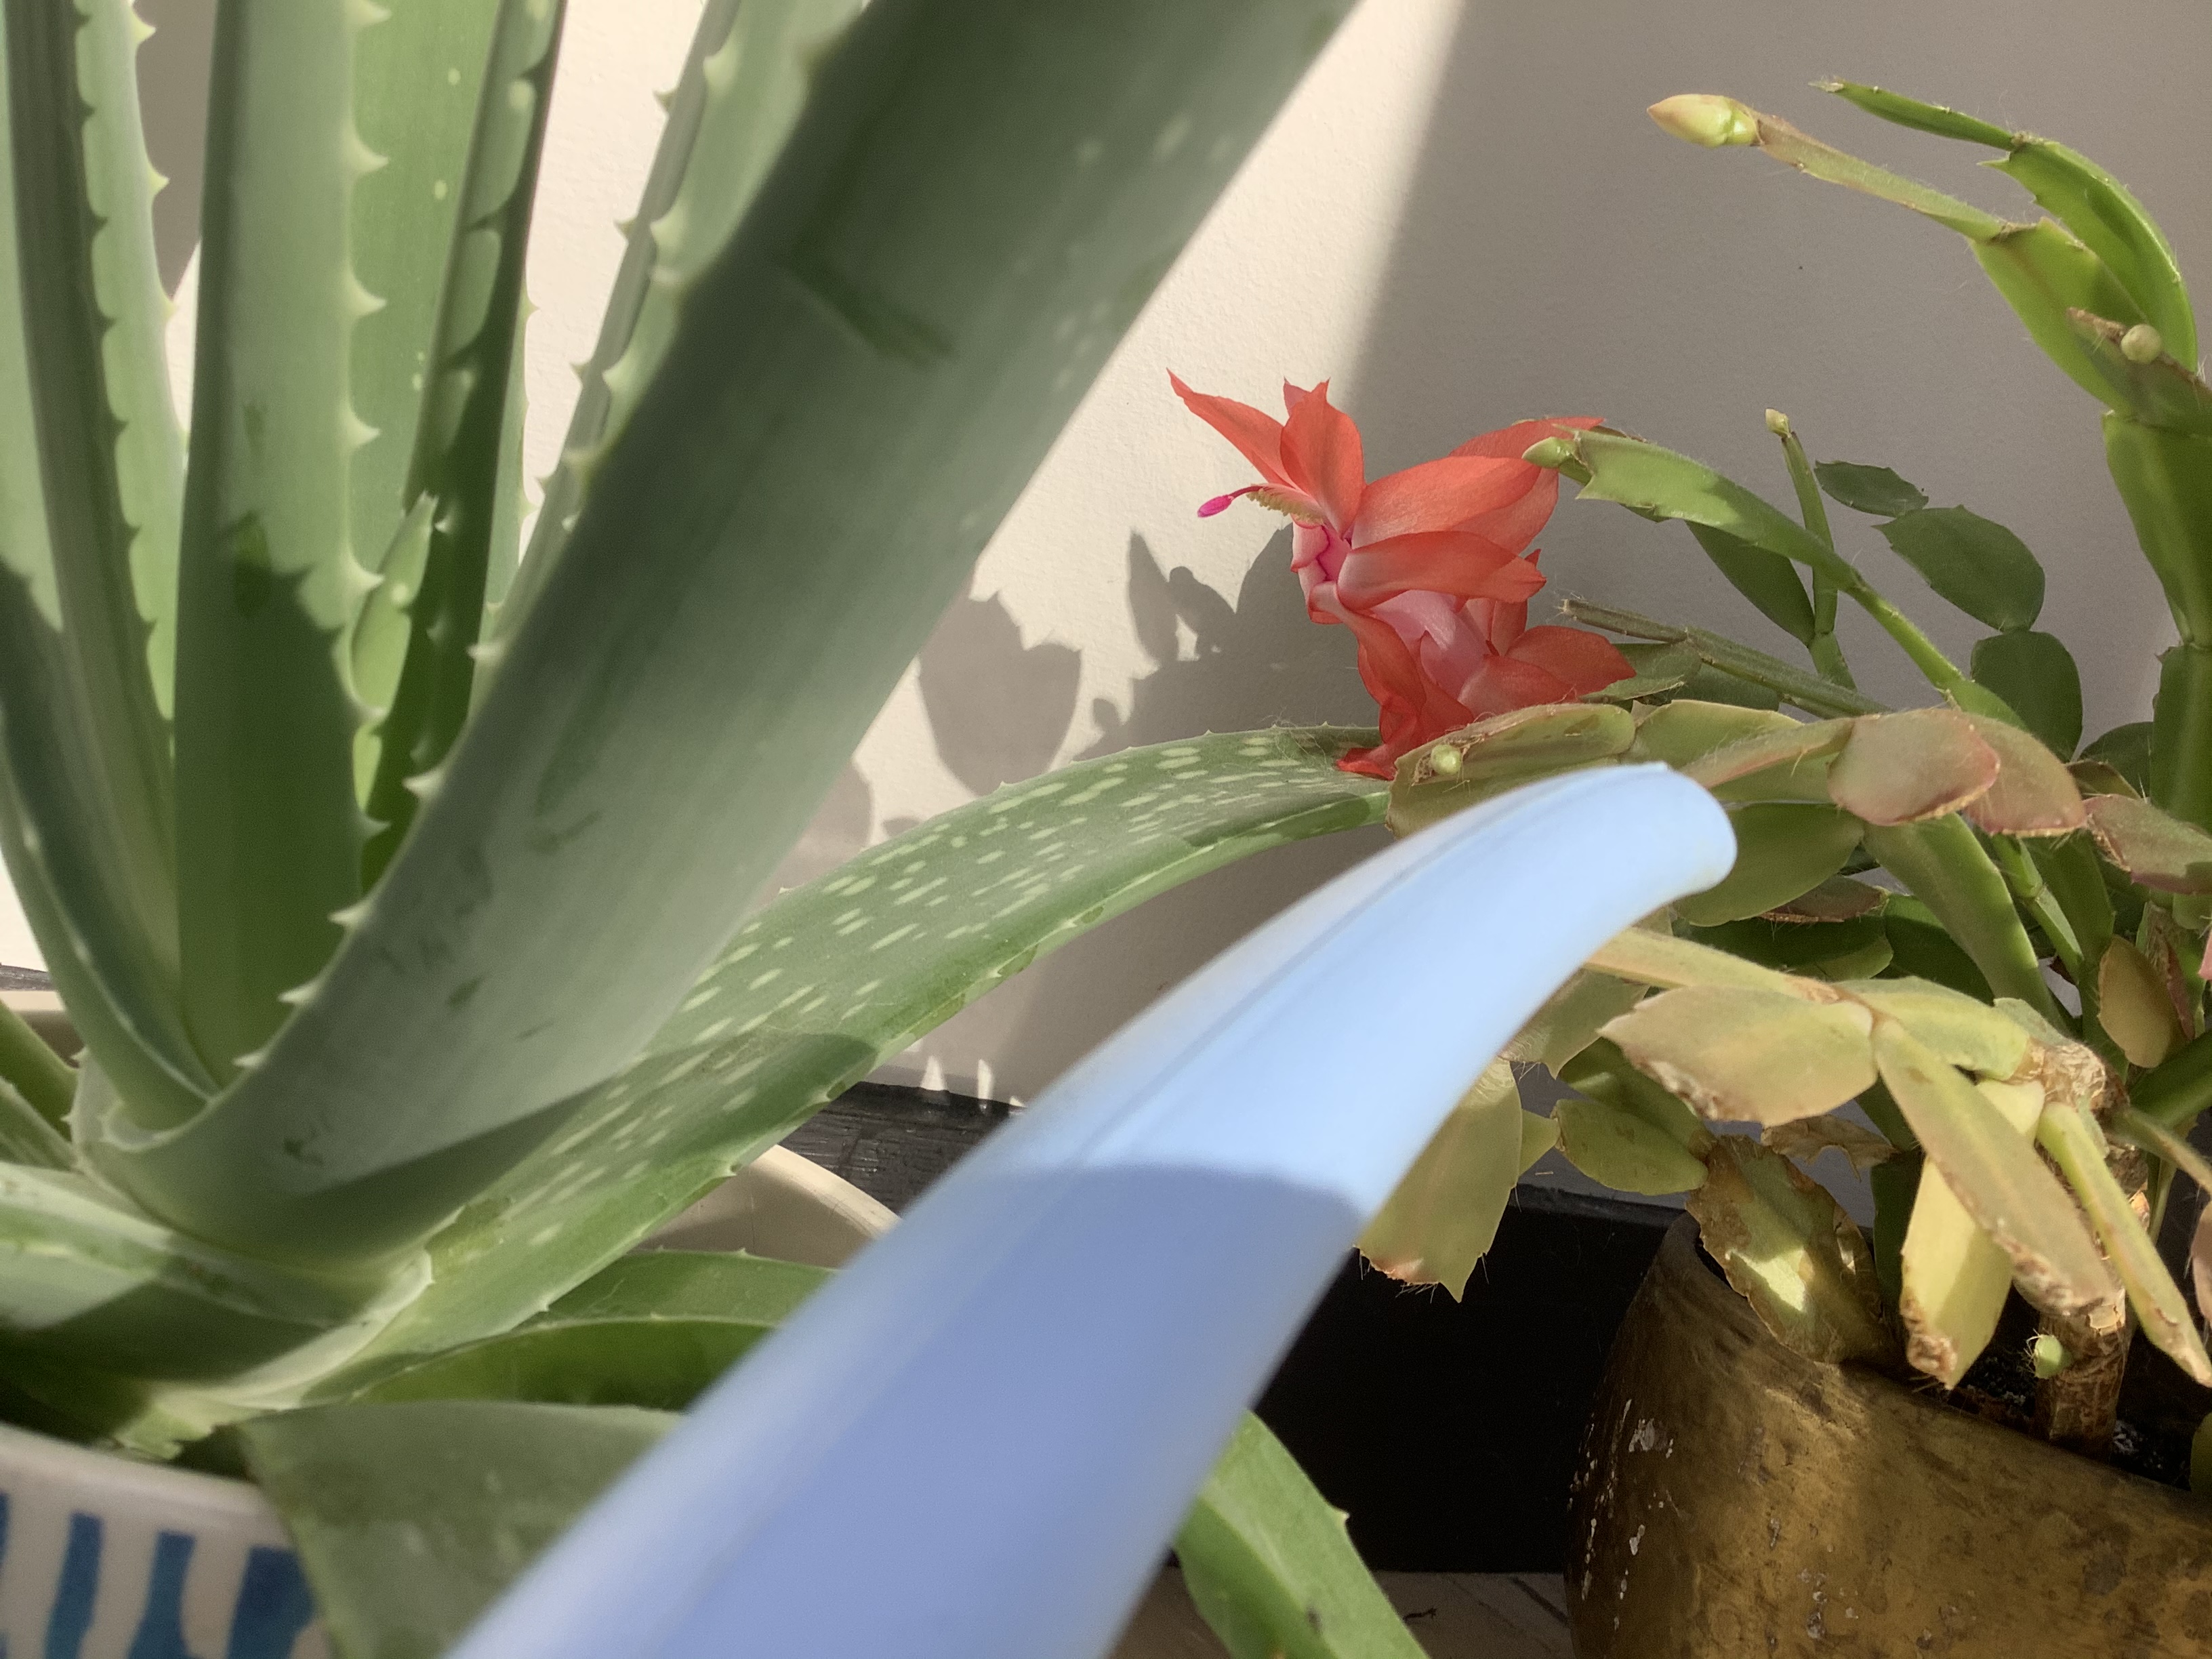
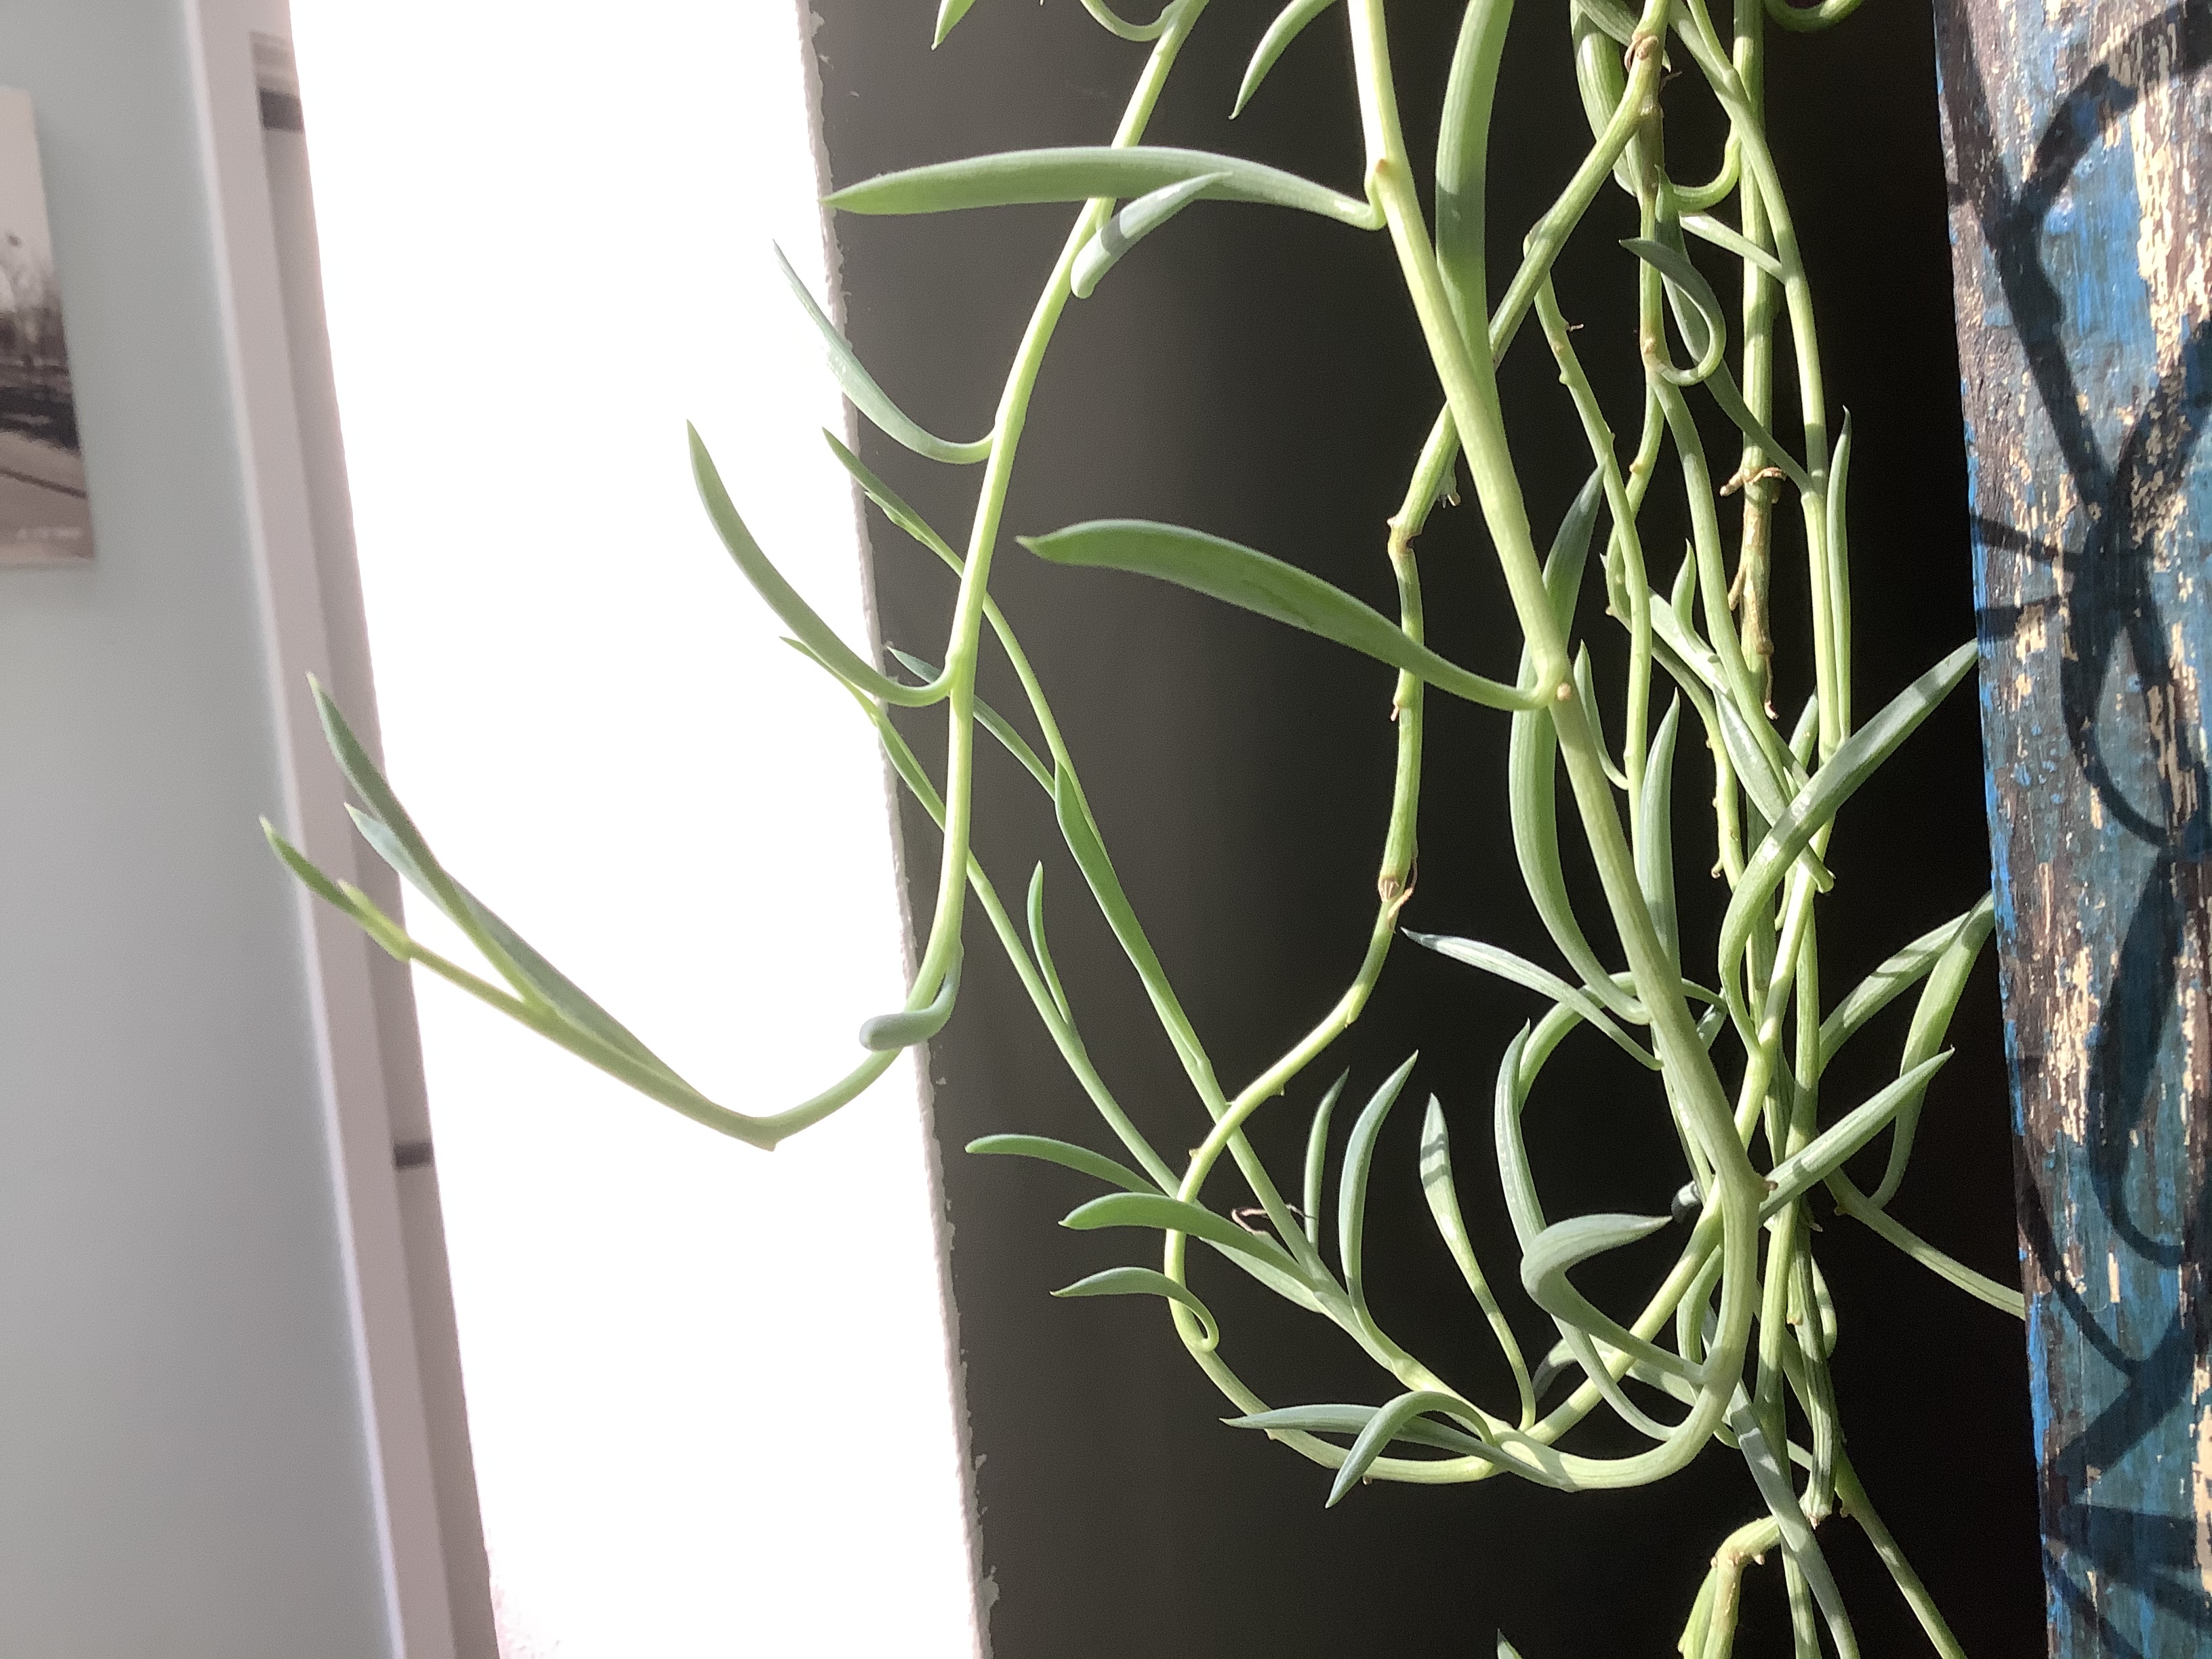
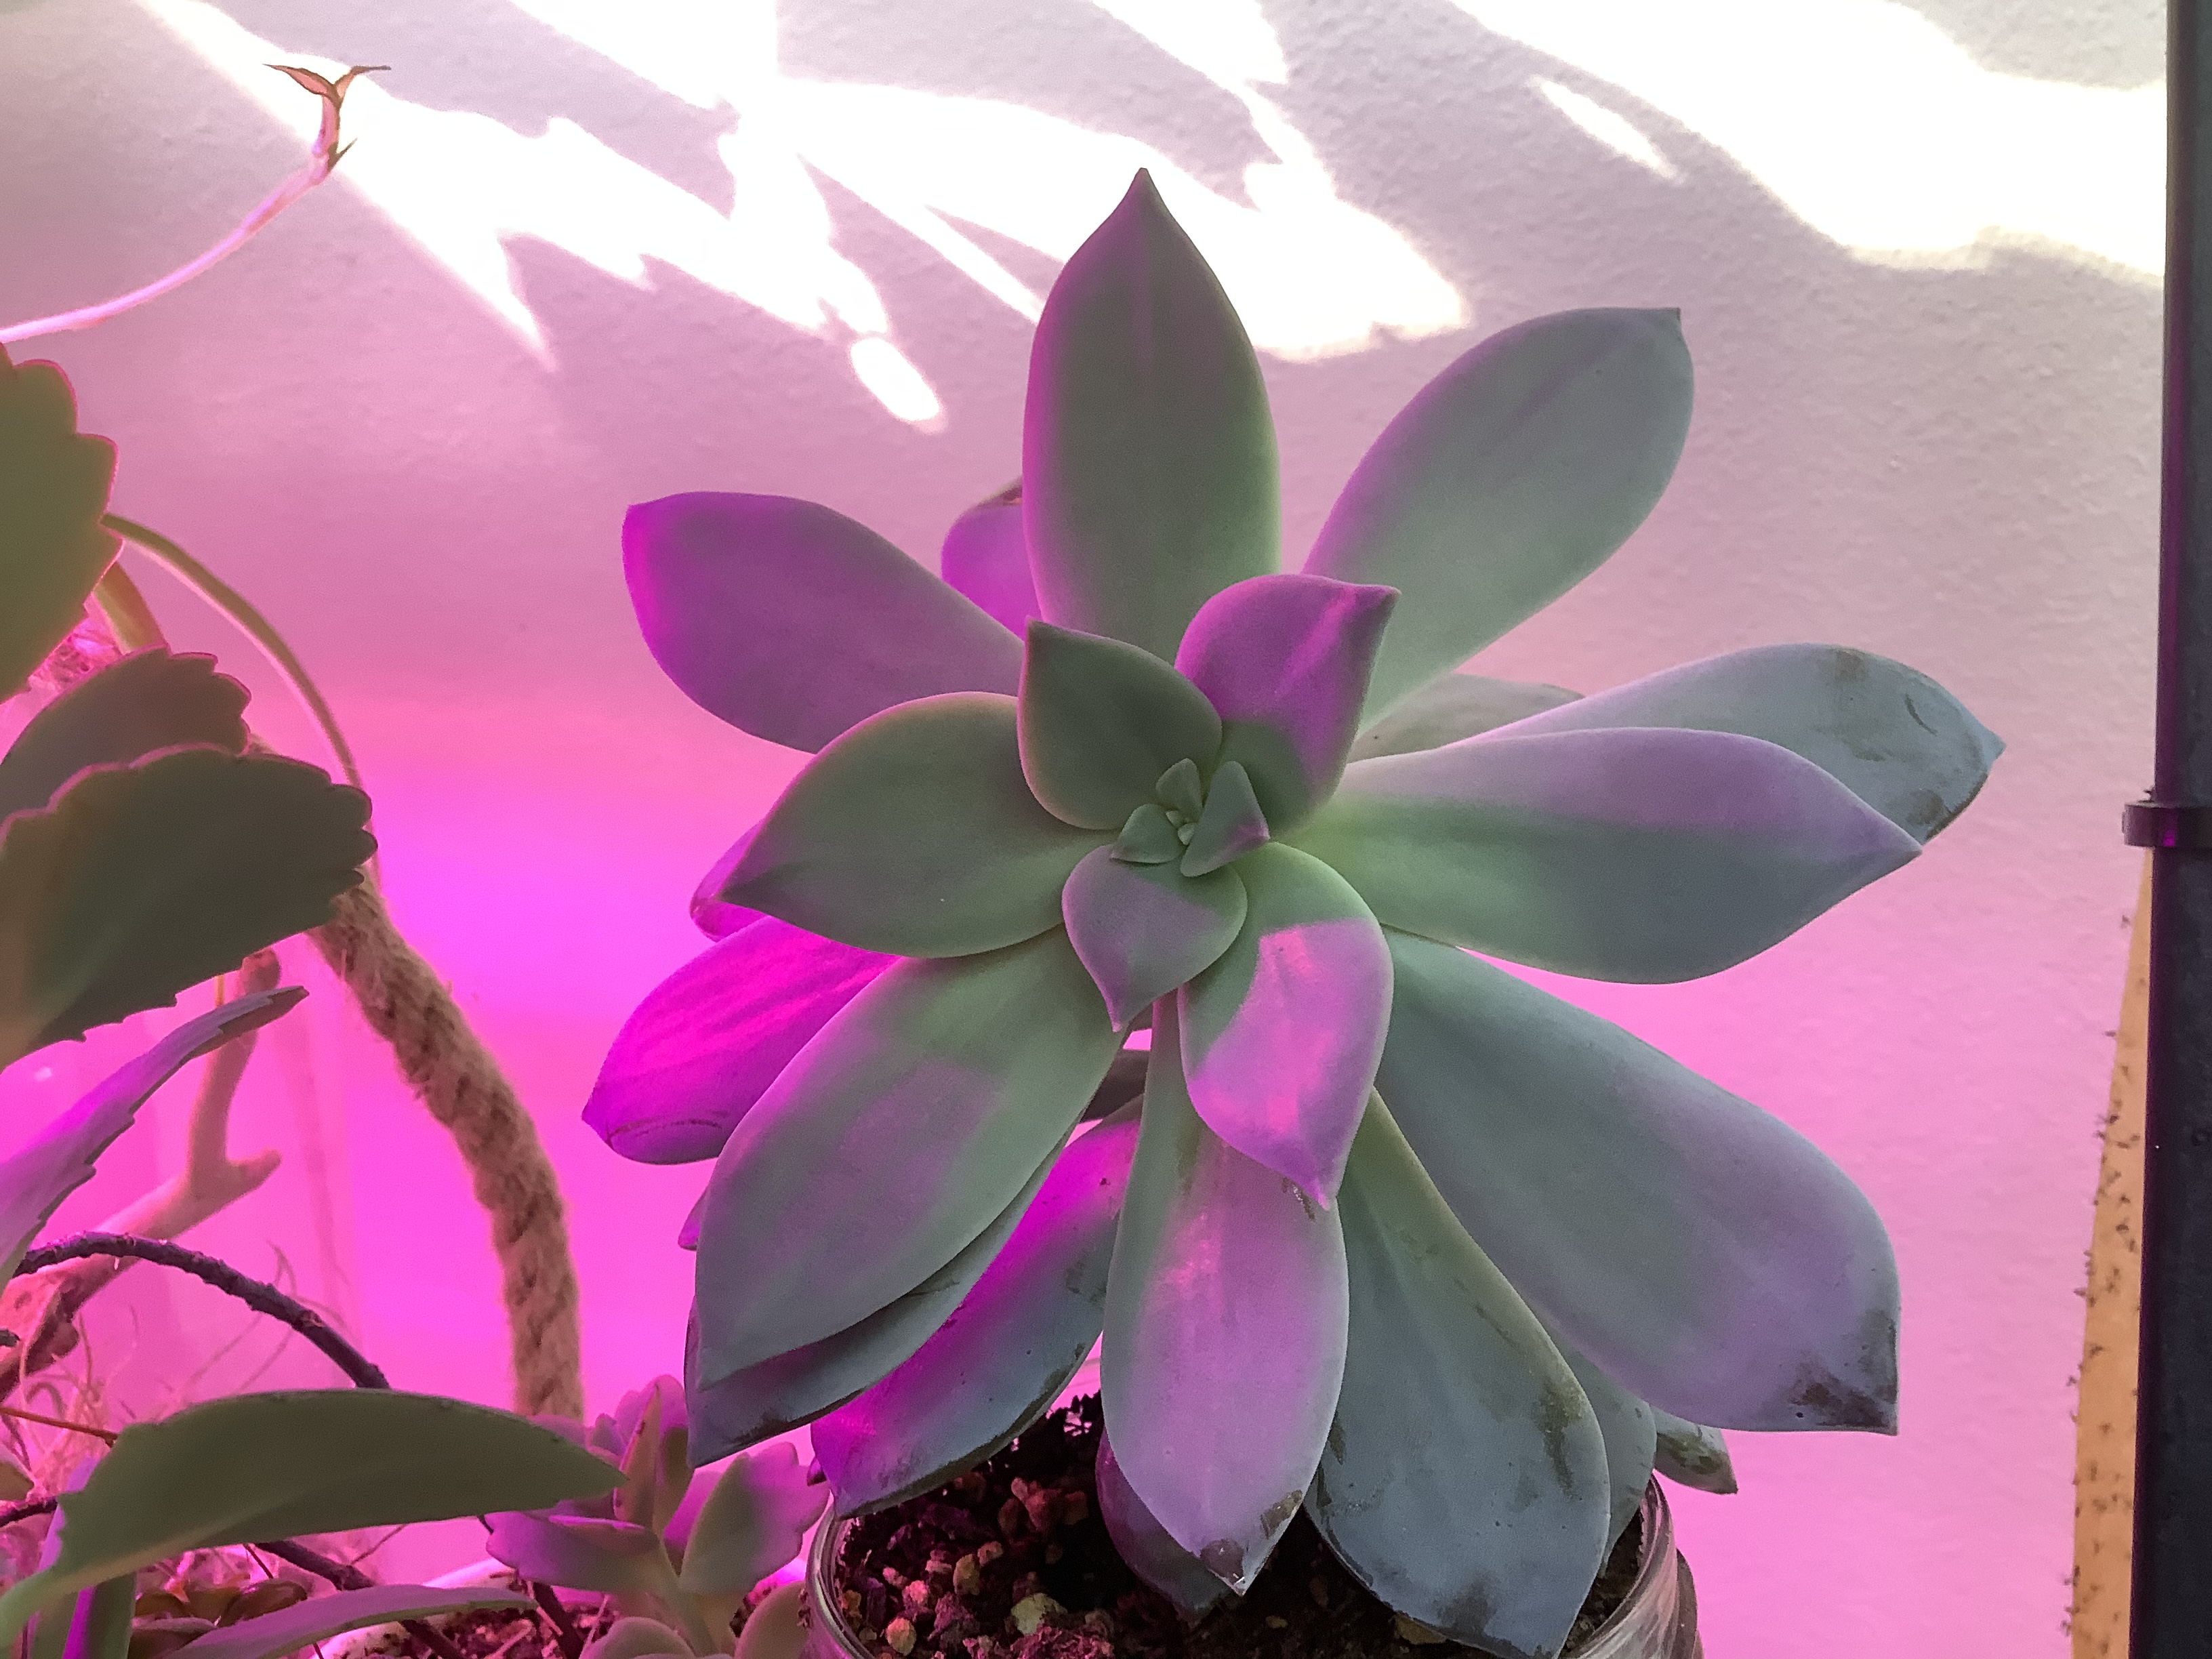
Succulents are fun and beautiful to grow. They are great for beginners and for more experienced gardeners. This post is the beginning of a series that will cover everything you will ever need to know about these wonderful plants. So to start us off, here is a quick tour/introduction to succulents.
Enjoy these pictures!

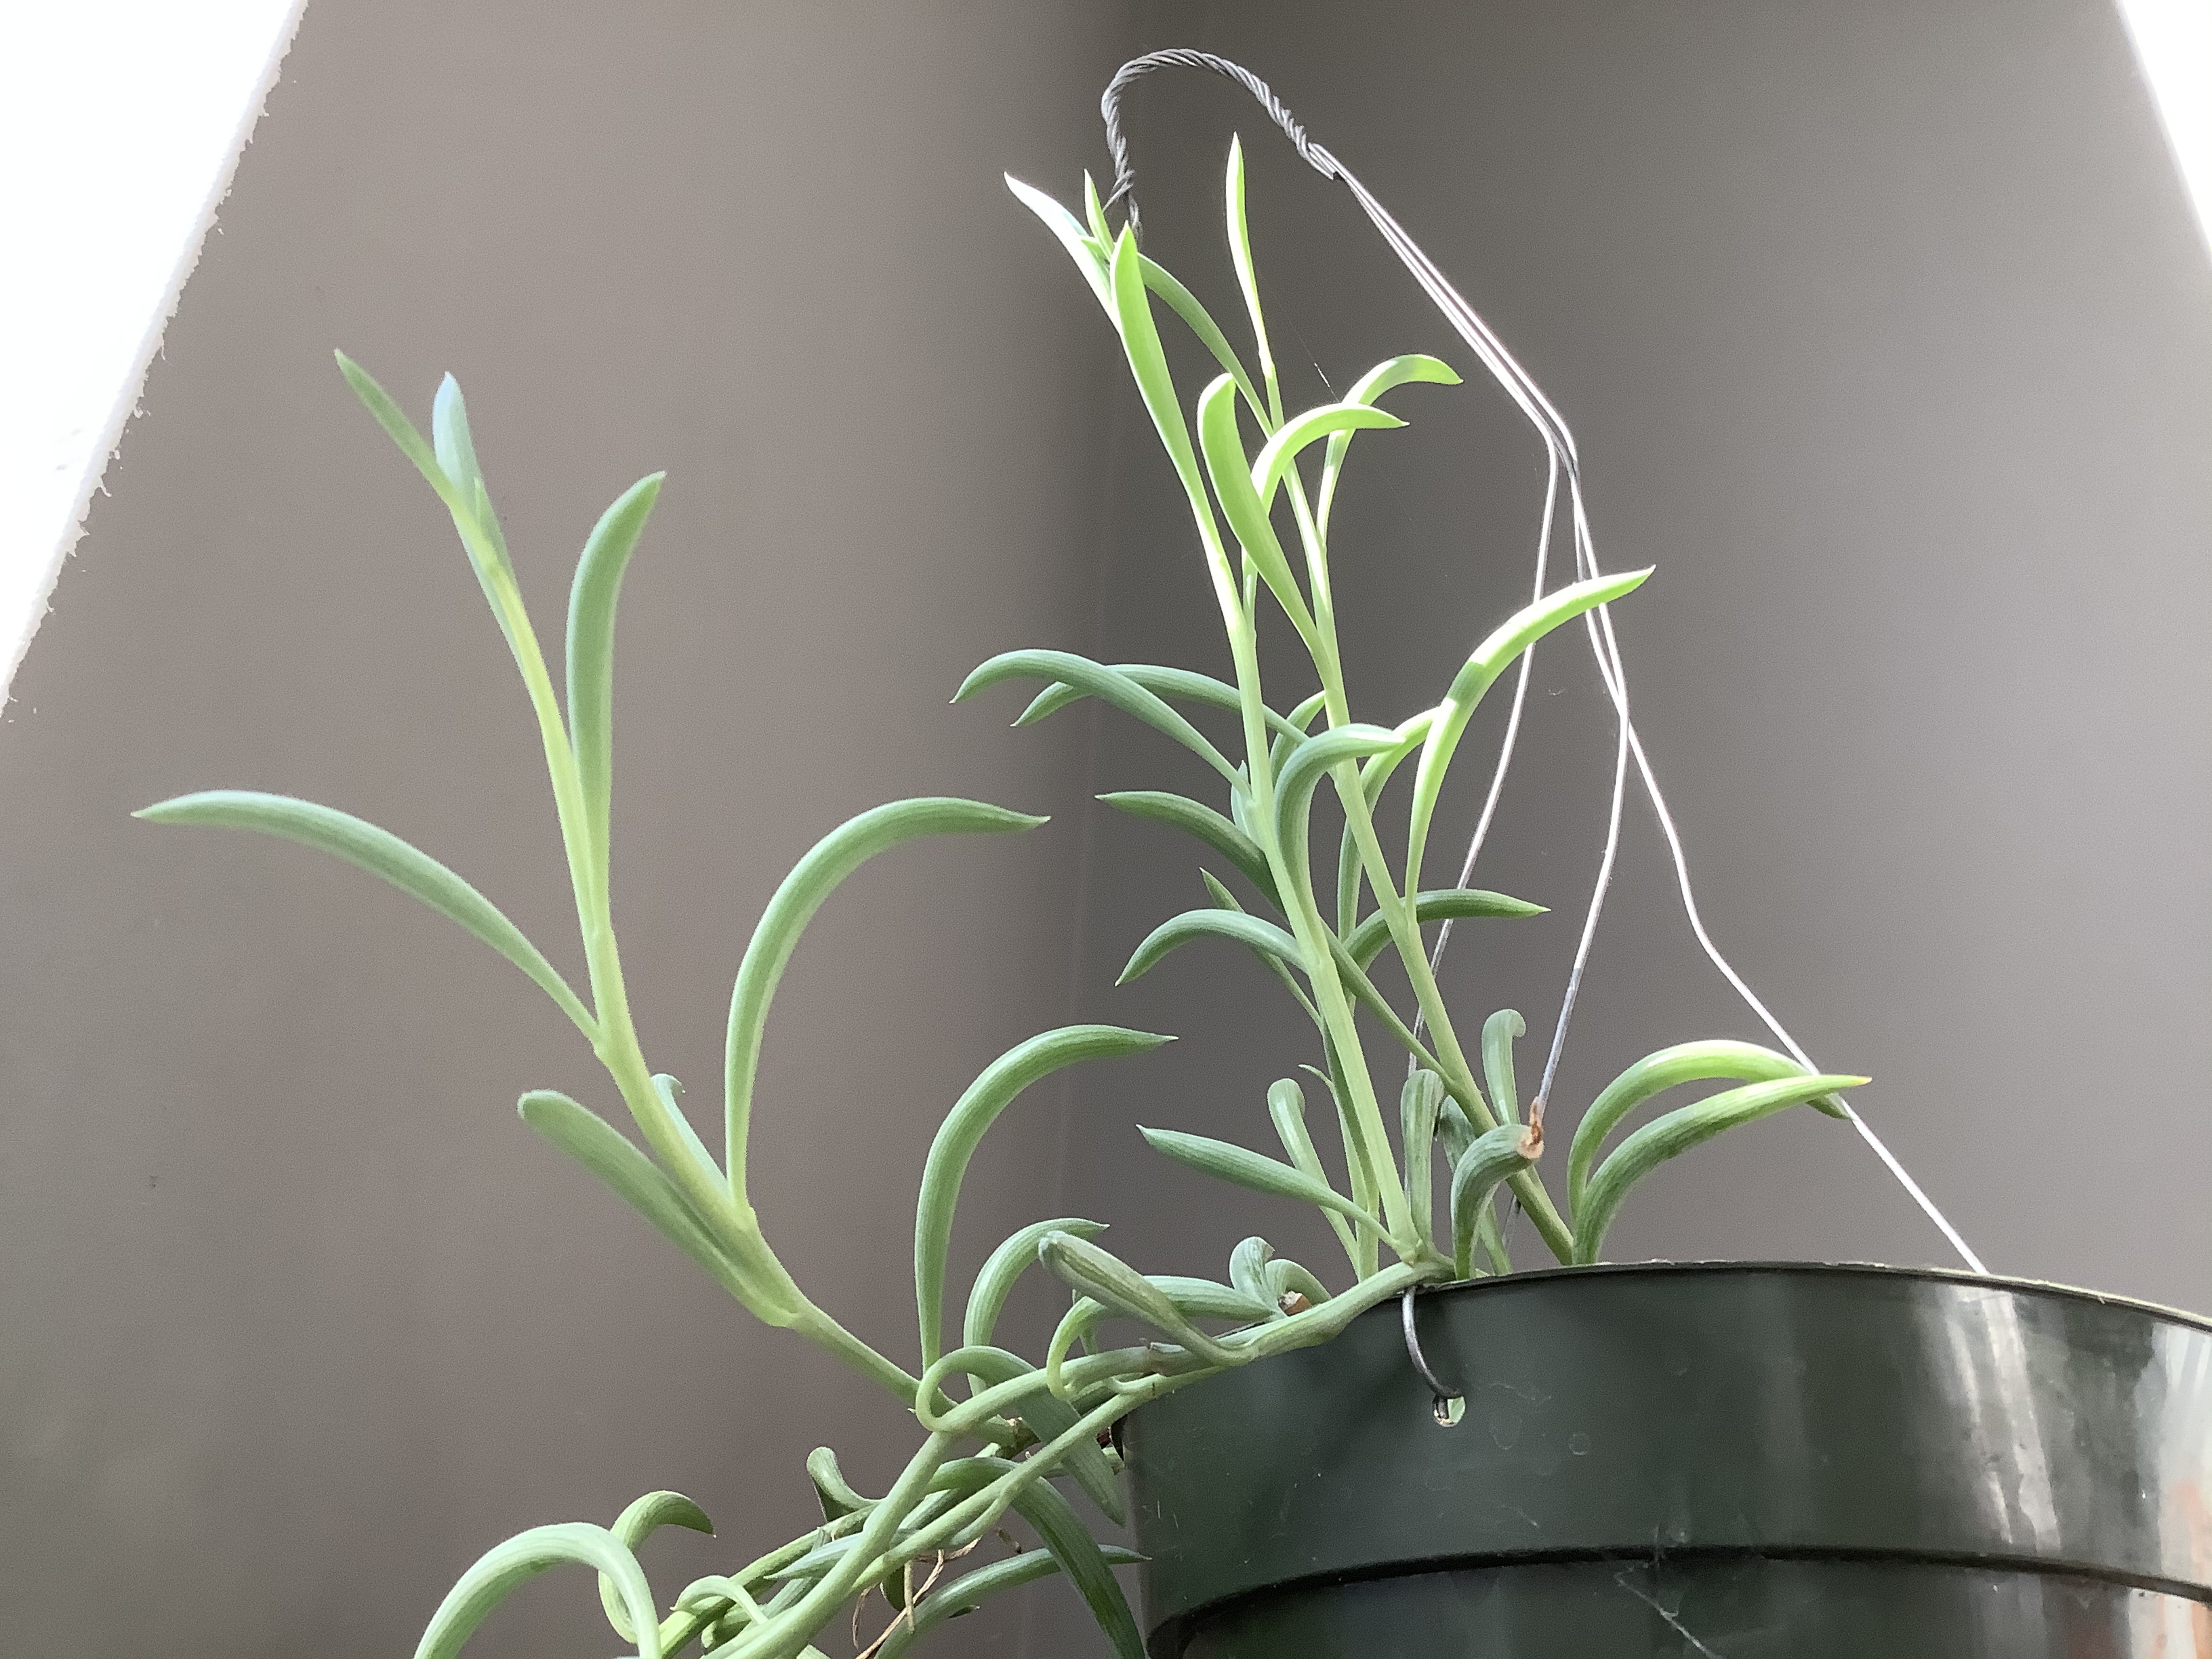


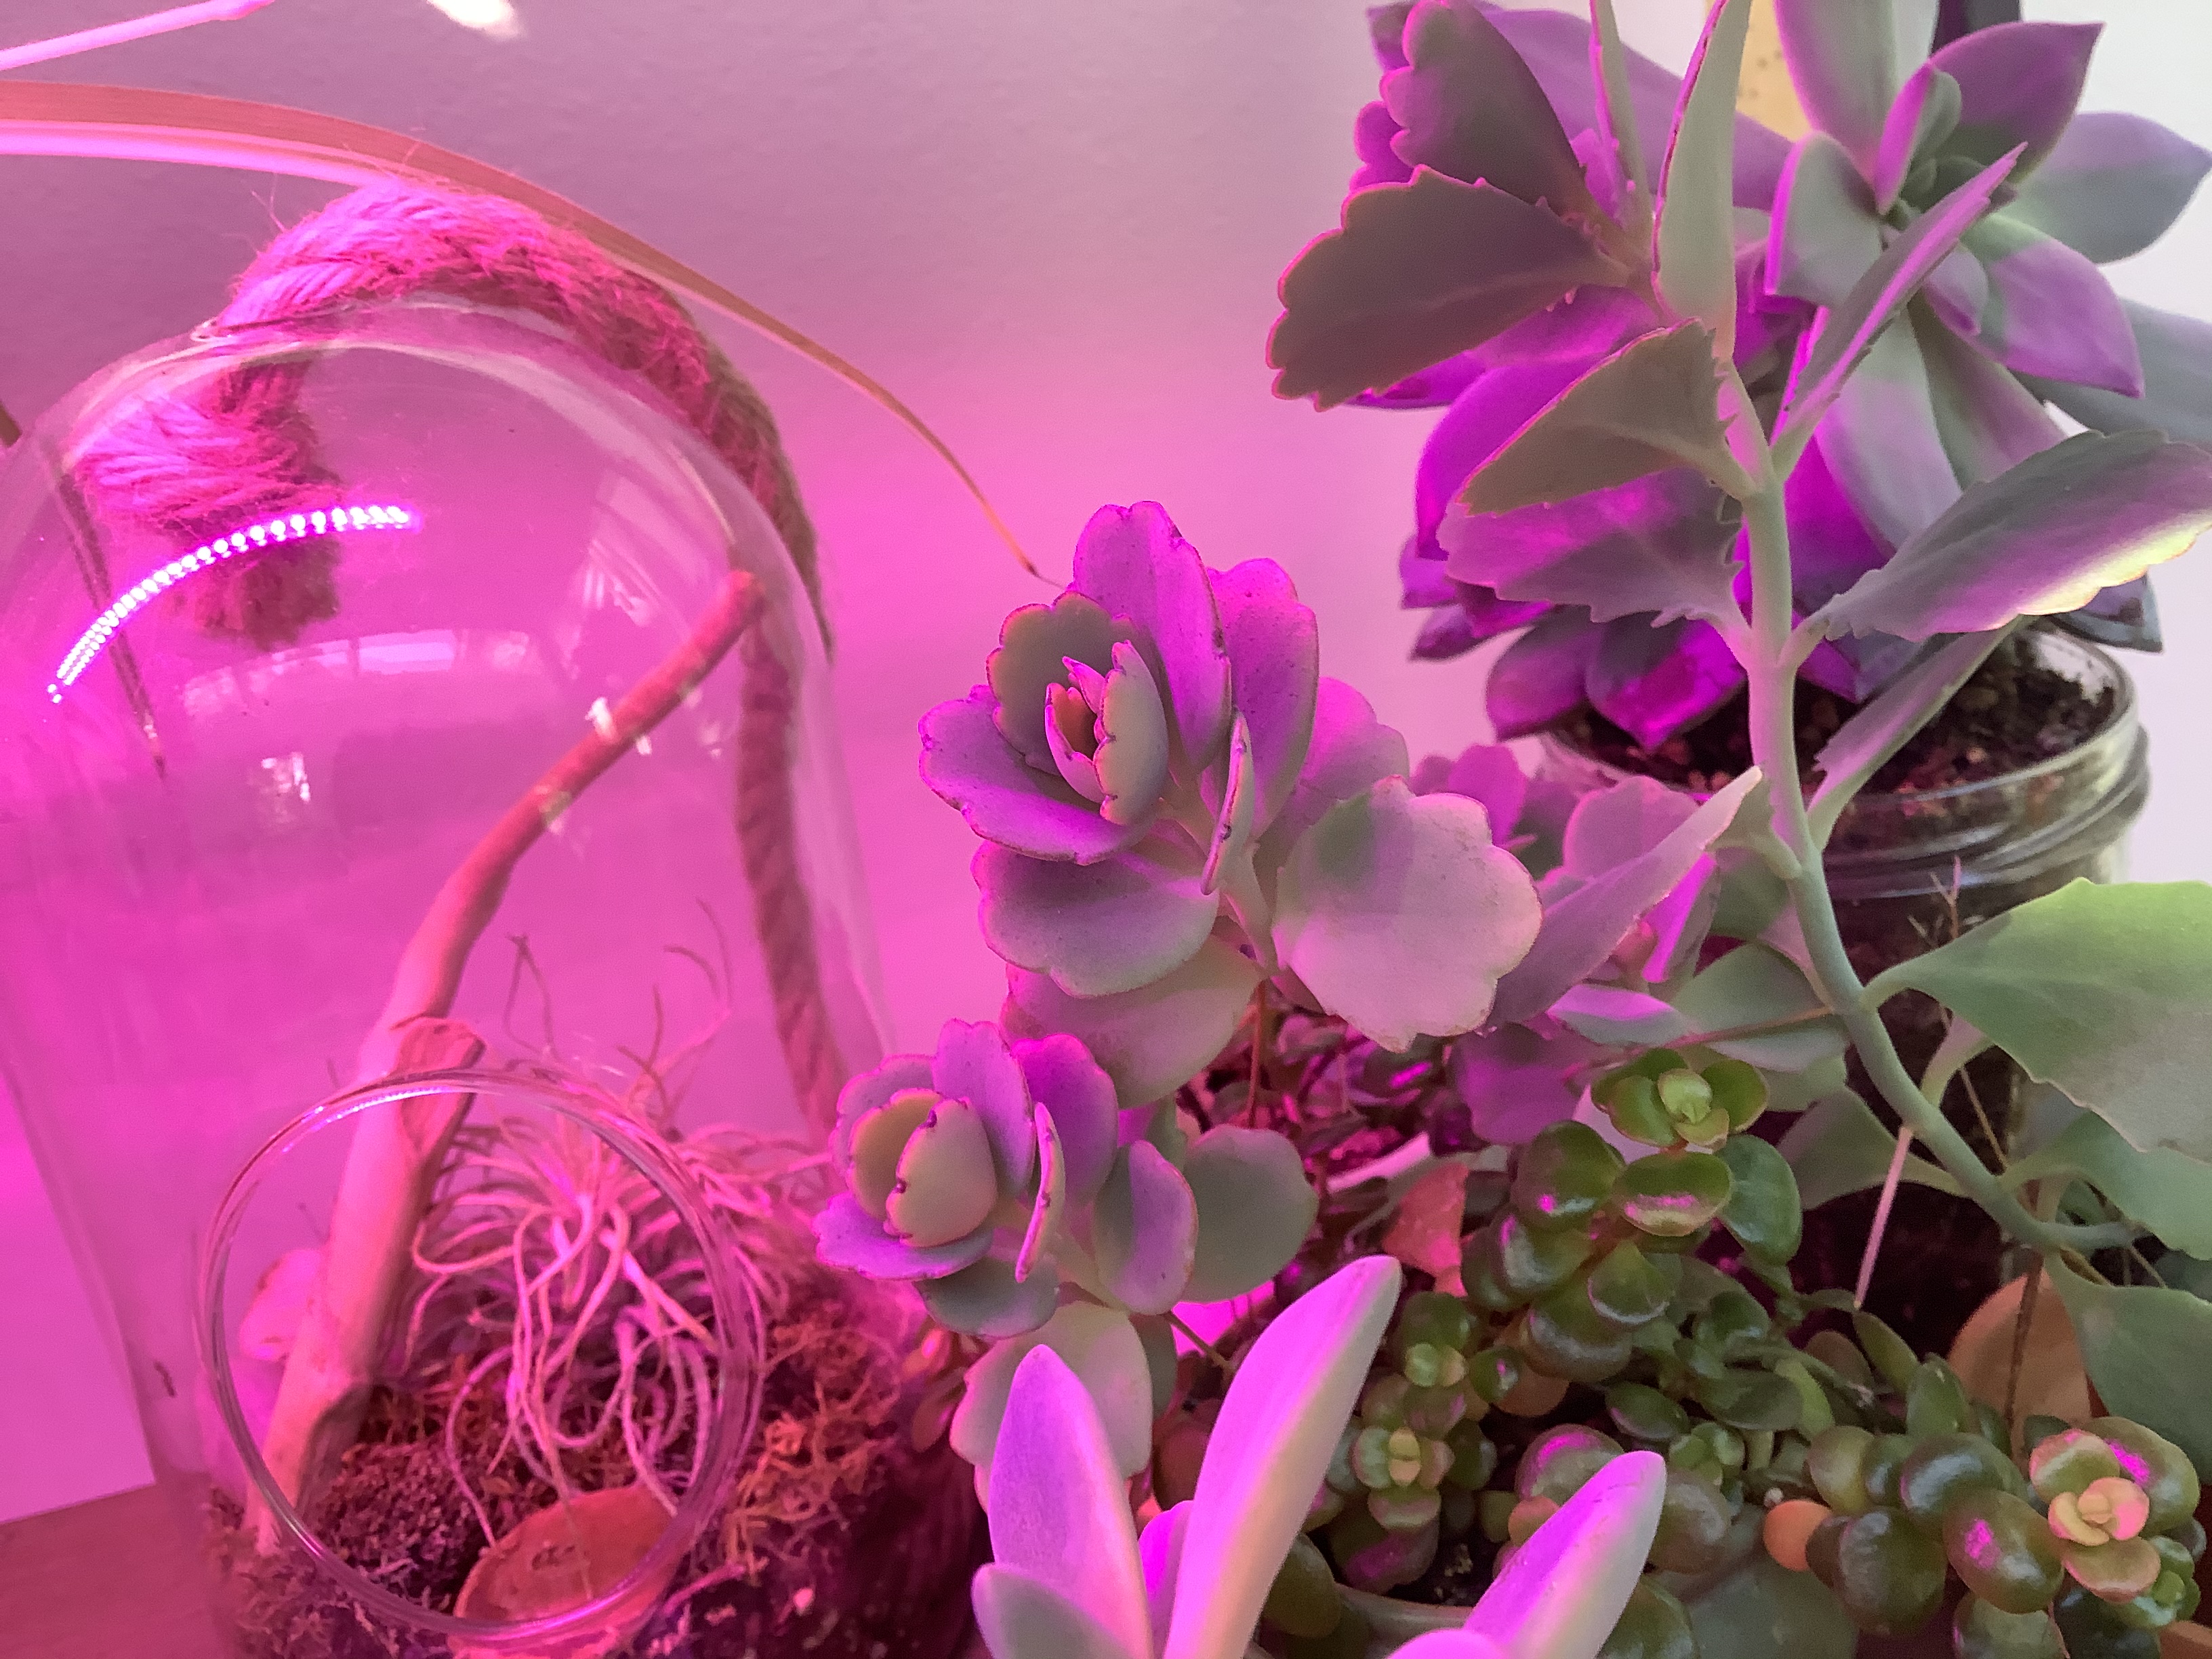
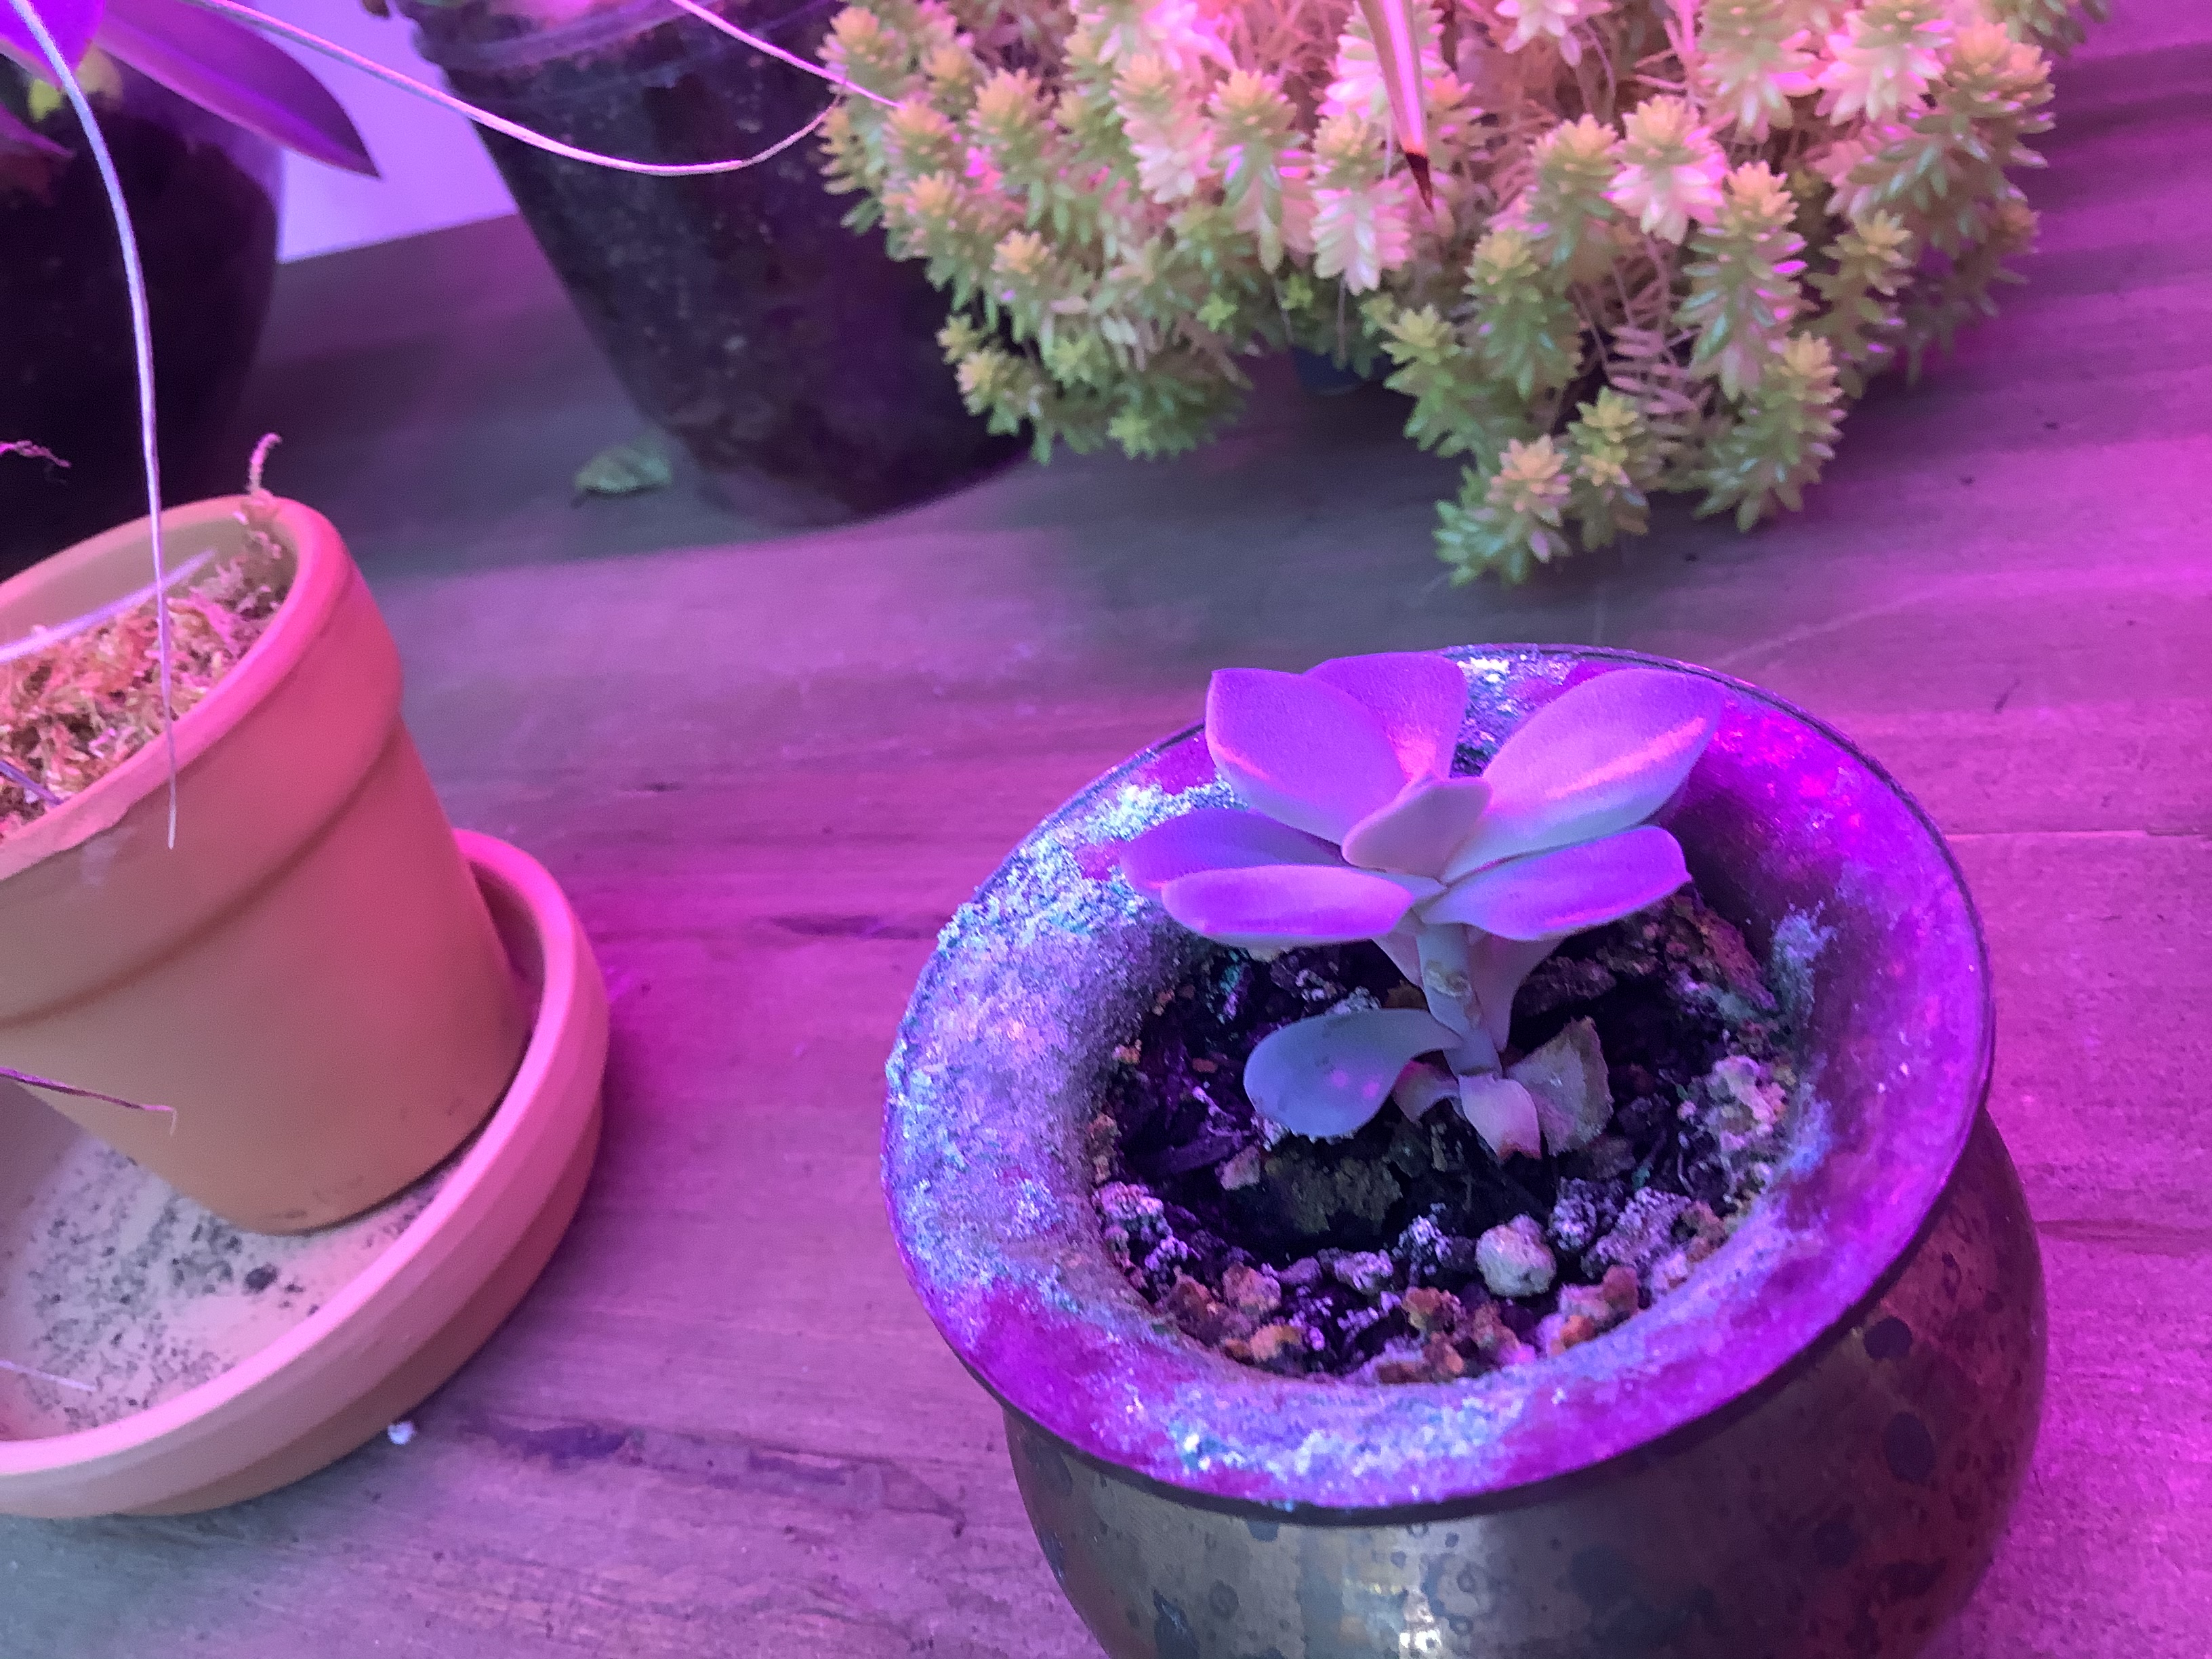

This was the result of lots of hard work and care. You can do it to! Wether it’s in on a window still, or on your desk, or in a windowless room.
Thanks for reading this post! If you liked it give it a like, if you have a question leave a comment, and if you want to see more posts, please follow! Bye!
Hi guys! Today I am going to show you crops that you can still plant RIGHT NOW! Even if your first expected frost is coming up soon you can still plant these! So let’s start!
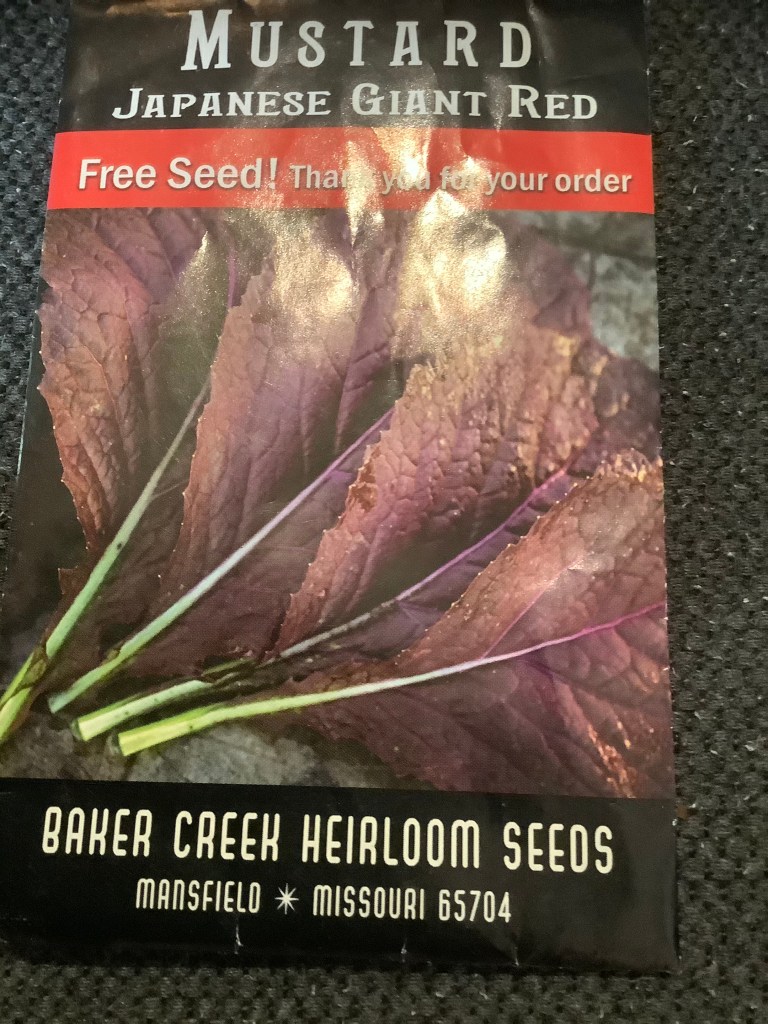
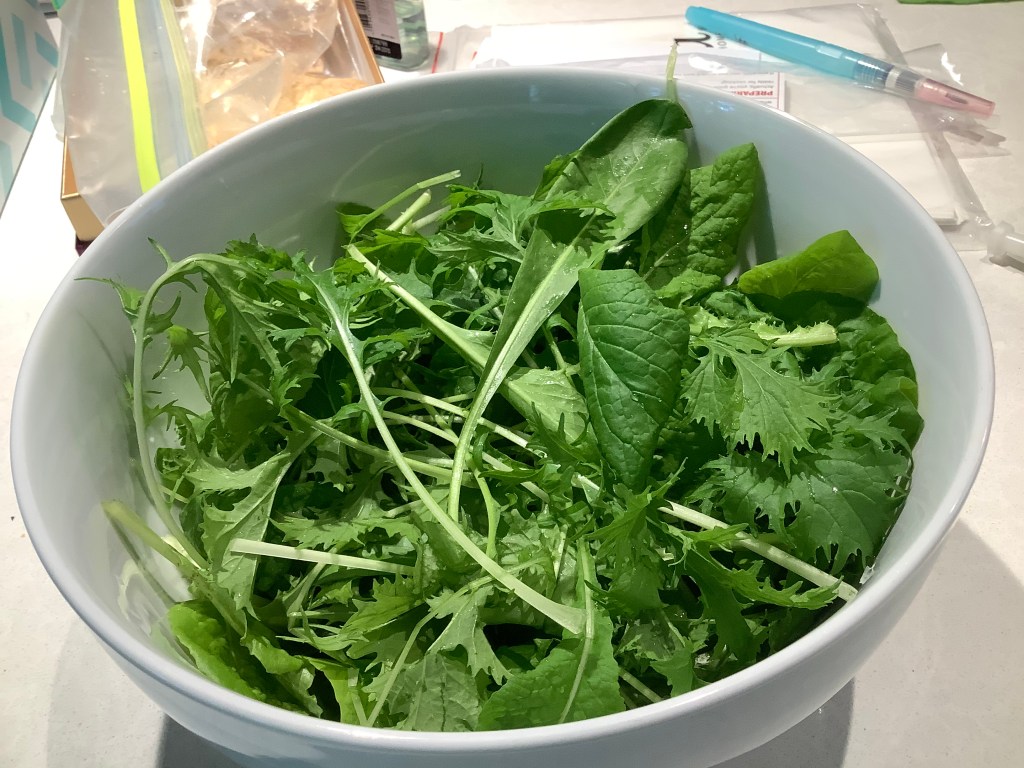
the first crop that you can plant right now is cold or maybe even frost tolerant greens. A good one is mustard greens. I like to grow a certain variety called giant red mustard. It’s really good! Even if you don’t have enough days before frost date for your mustard greens to fully mature, you can harvest their baby leafs as baby lettuce. You can also protect them from the frost by covering them with different materials. Soon I will do a post on that.
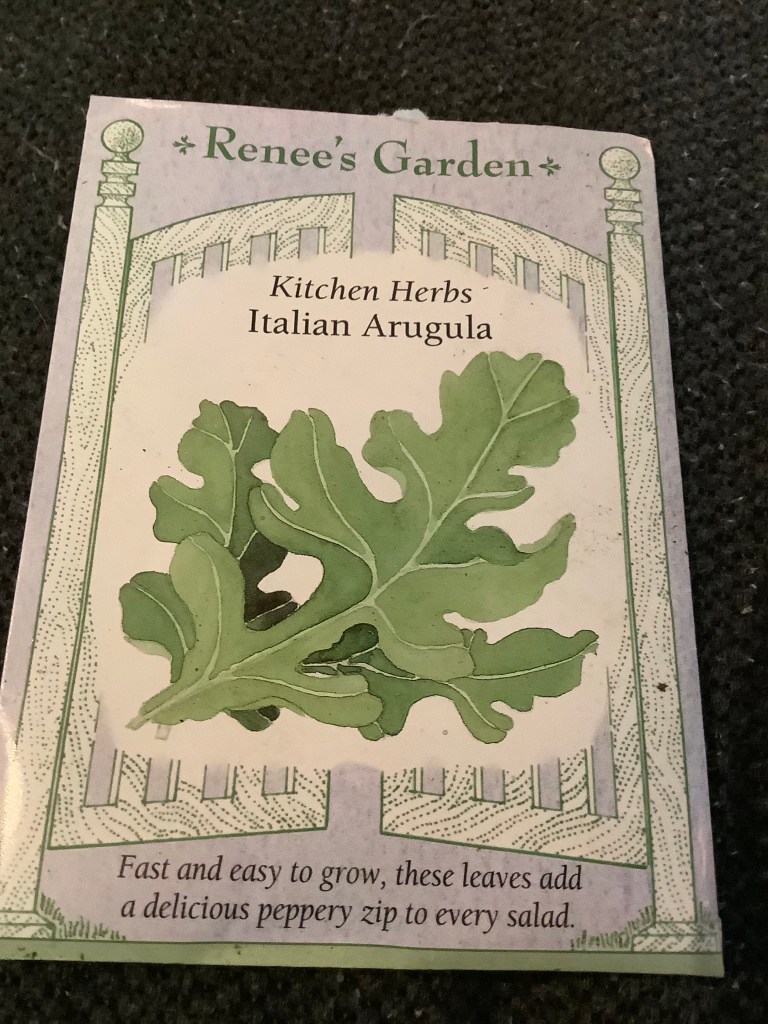
The second crop that you can plant now is arugula. Arugula is another plant grown for its leaves, and is extremely fast growing and loves the cool weather. It might even be able to withstand a light frost.
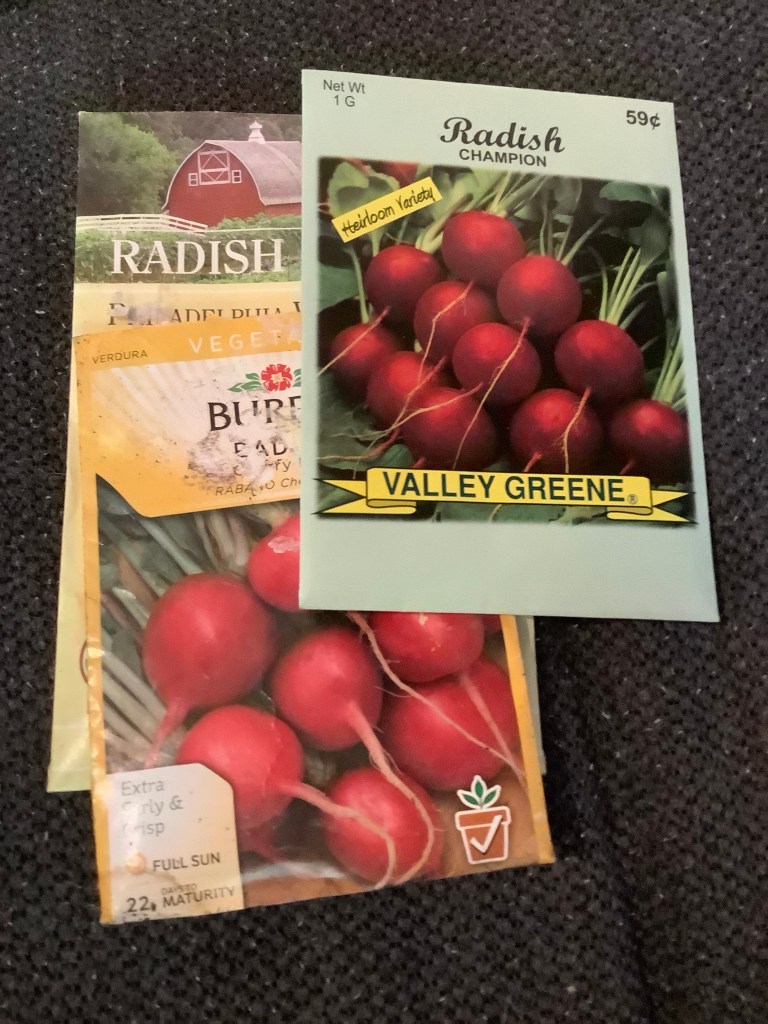
The next crop you can plant are radishes. Some radishes can grow really quickly, and can sometimes tolerate a light frost. And even if your radishes don’t have time to grow their radish parts, you can still eat their greens!
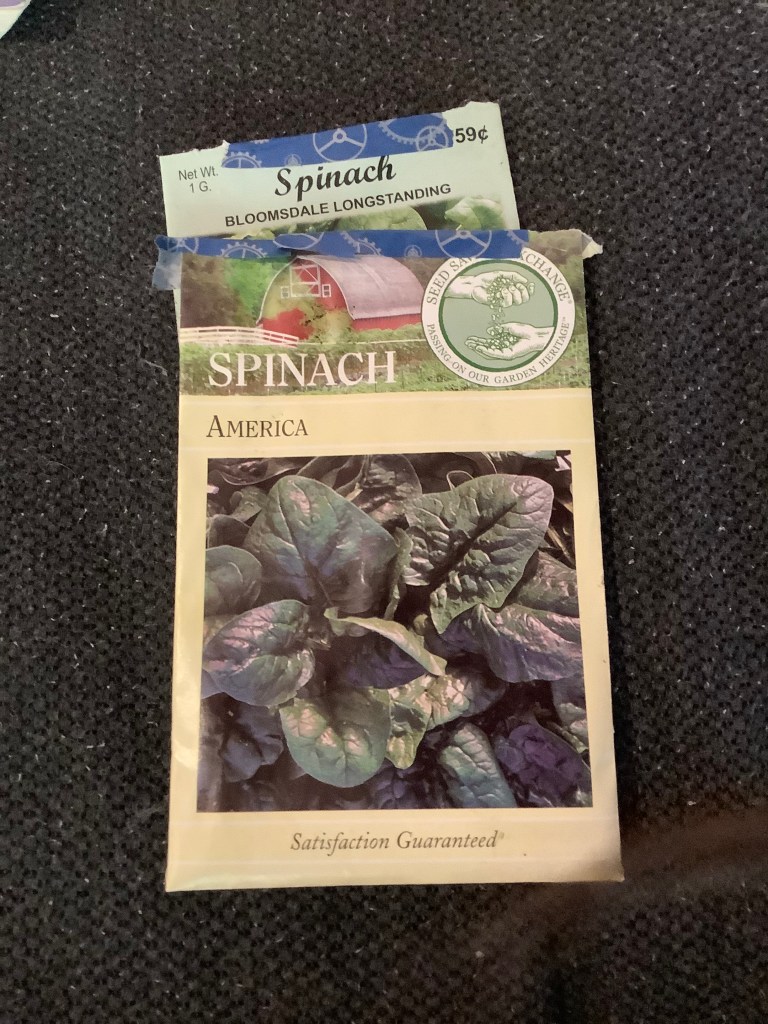
One of the last but not least list of crops that you can plant now is spinach! Spinach is SUPER heat intolerant, and loves the cool weather. Plus, even if your spinach plant doesn’t have enough time to grow it’s full sized leaves before that frost, you can harvest and eat it’s small leaves as baby spinach greens.
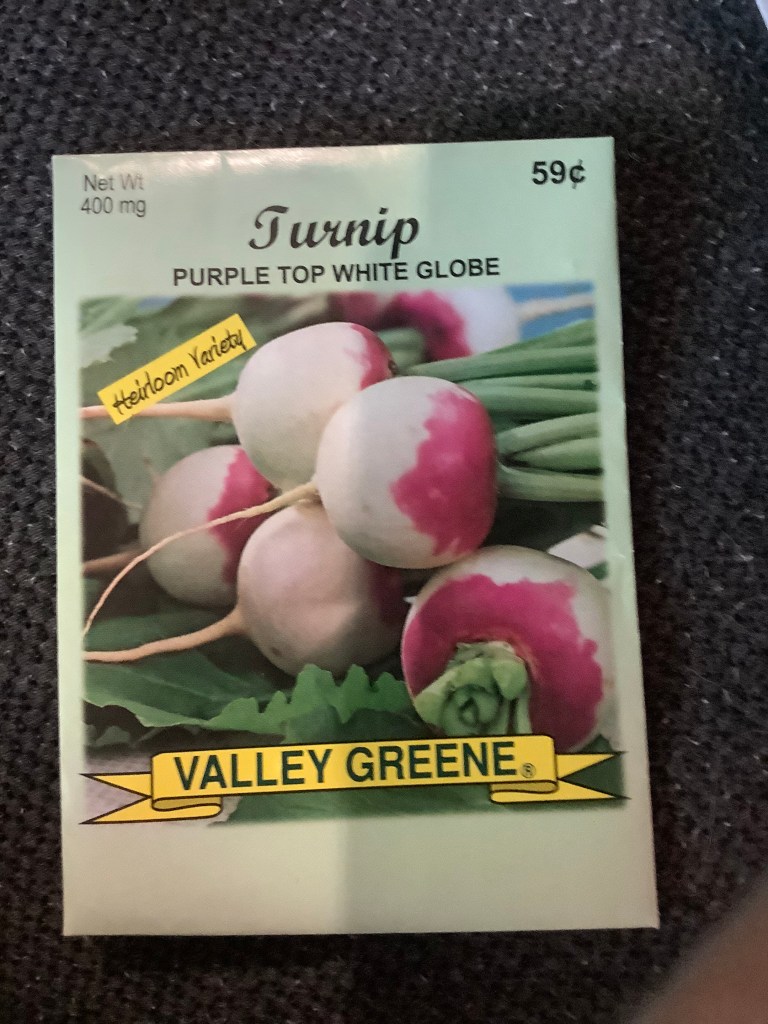
The last crop but definitely not the least, are turnips! Now, if you’ve grown turnips before, you probably know how long they take before they are ready to harvest, but we are growing them for their greens! Many people like to eat their leaves or put them in cooking recipes.
That is it for today’s post! I hope you enjoyed it. I will do another post on how to protect your plants from a light frost soon. If you enjoyed this post leave a like and comment down below what is your favorite crop from this post. Bye!

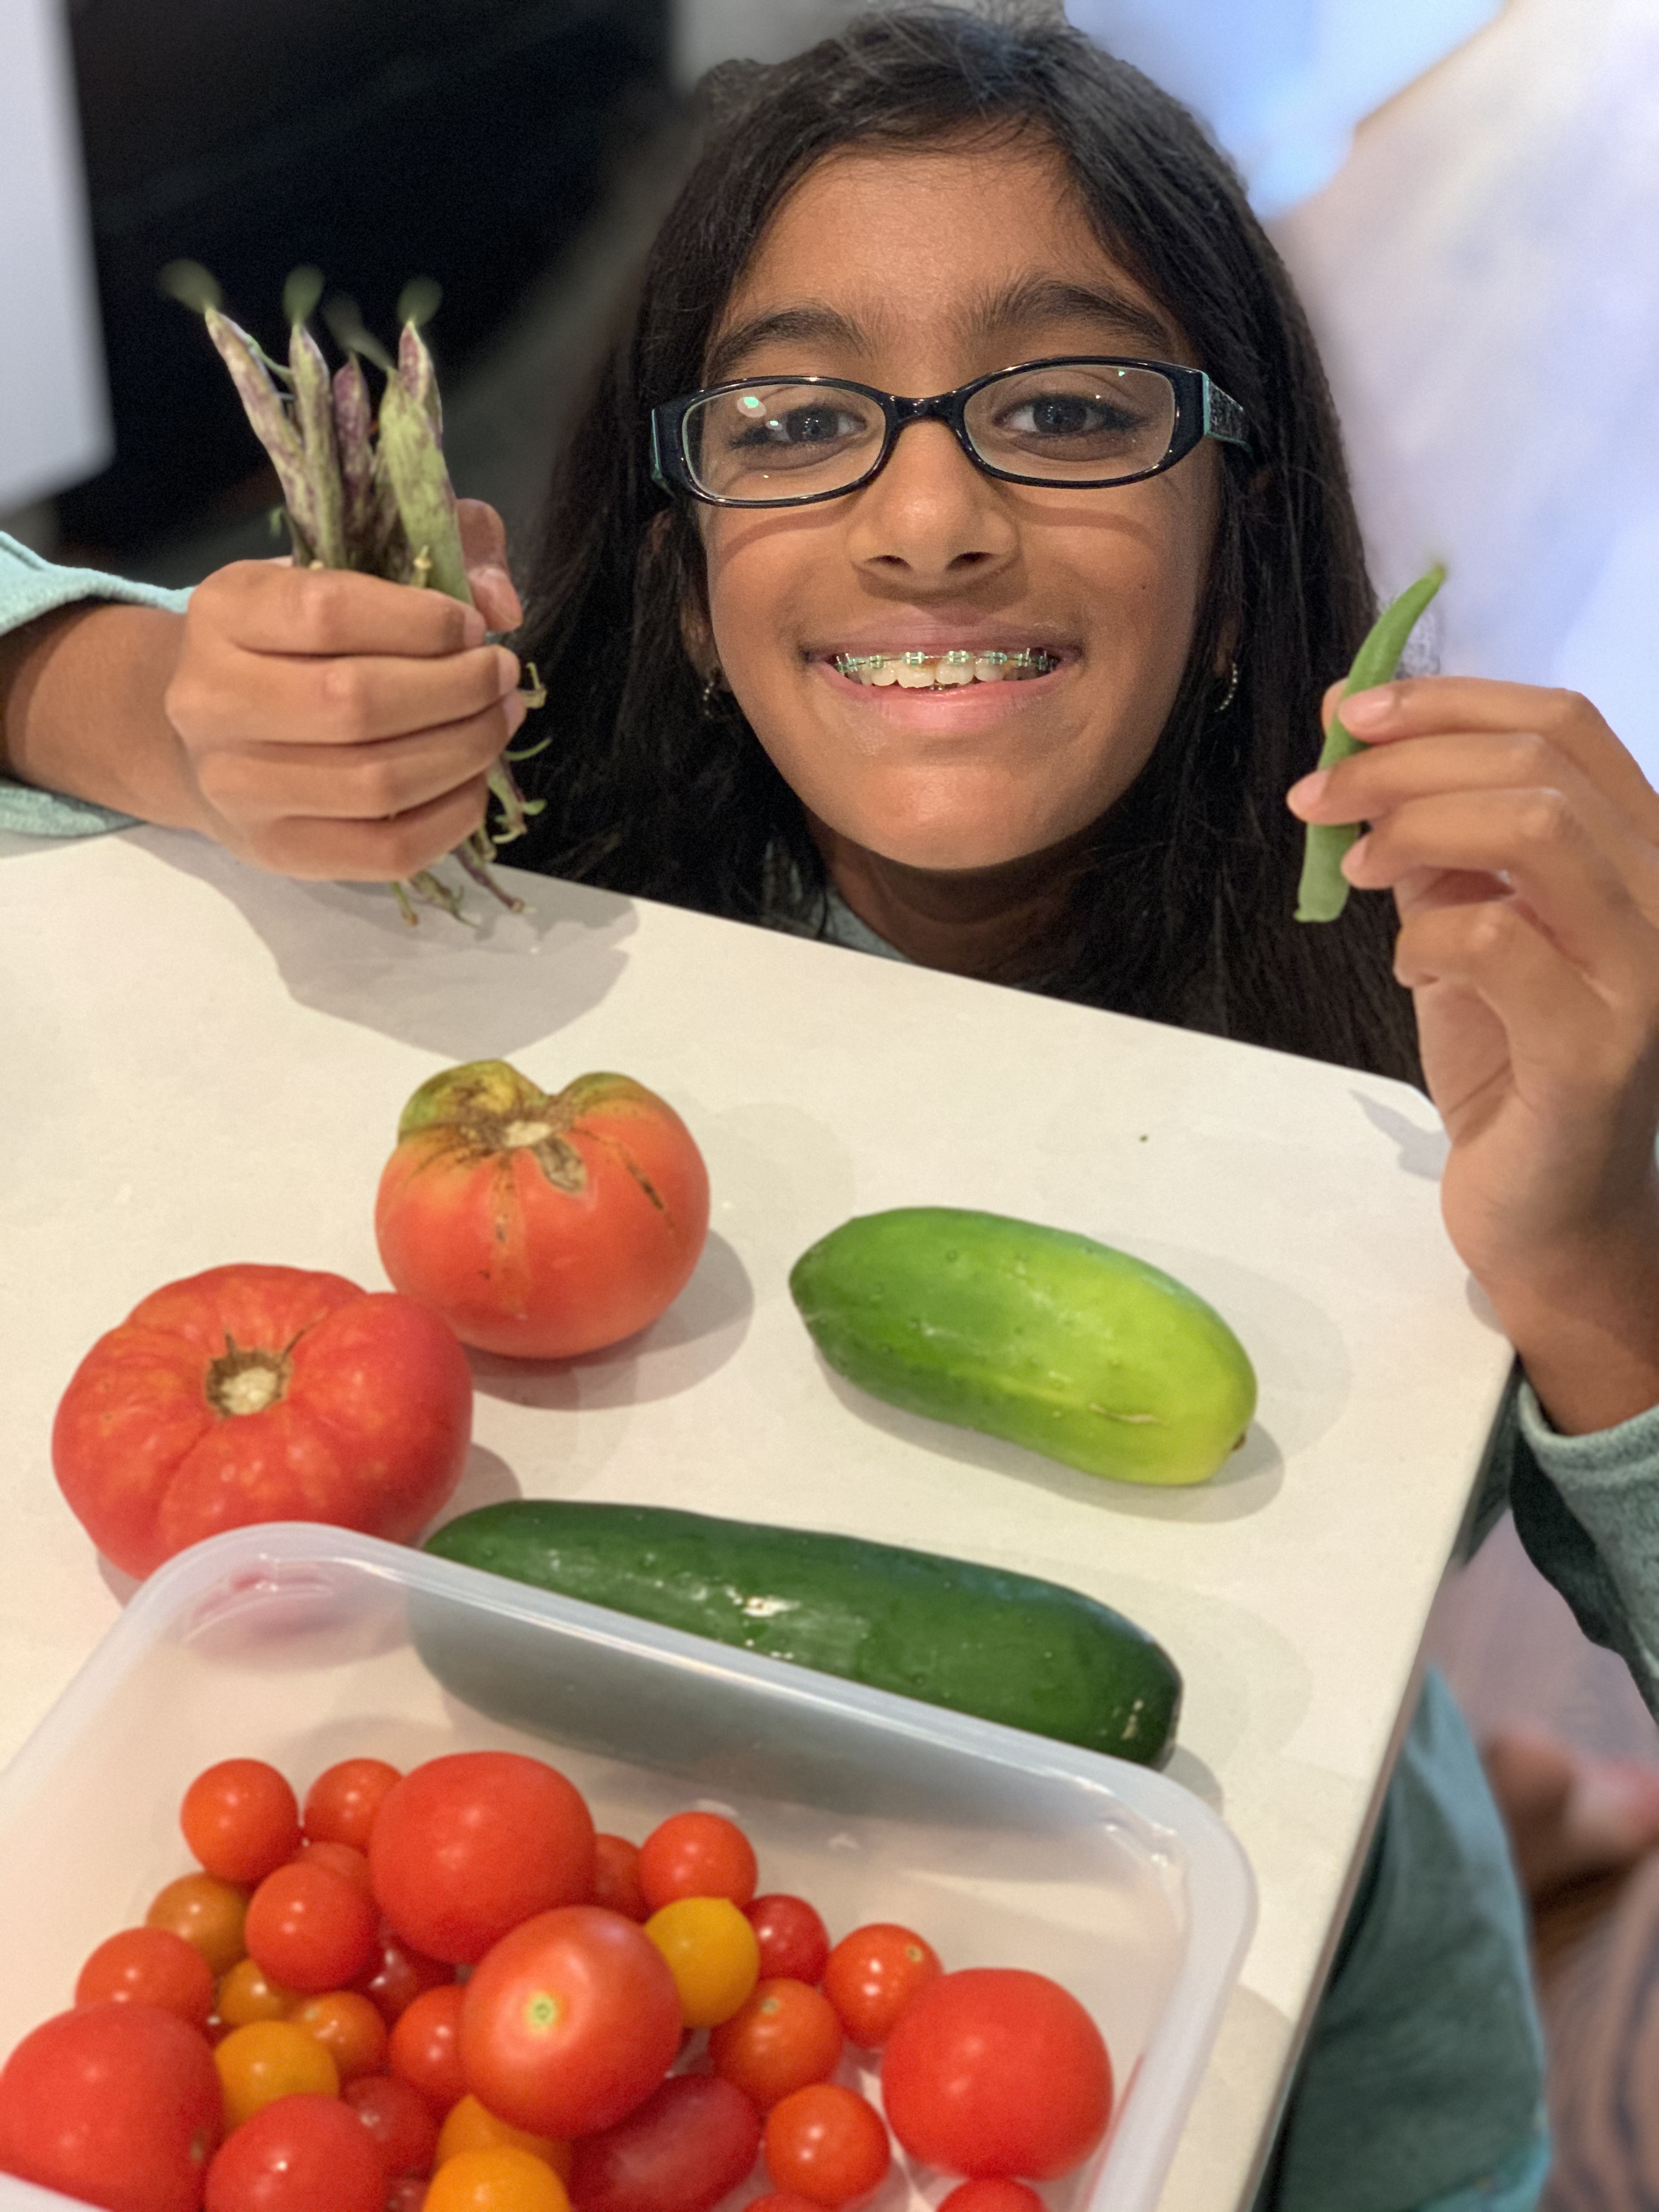
Hi guys! Recently we had our first bean harvest! So in today’s post I am gonna show you guys the harvest and how we cooked them. Let’s get into it!
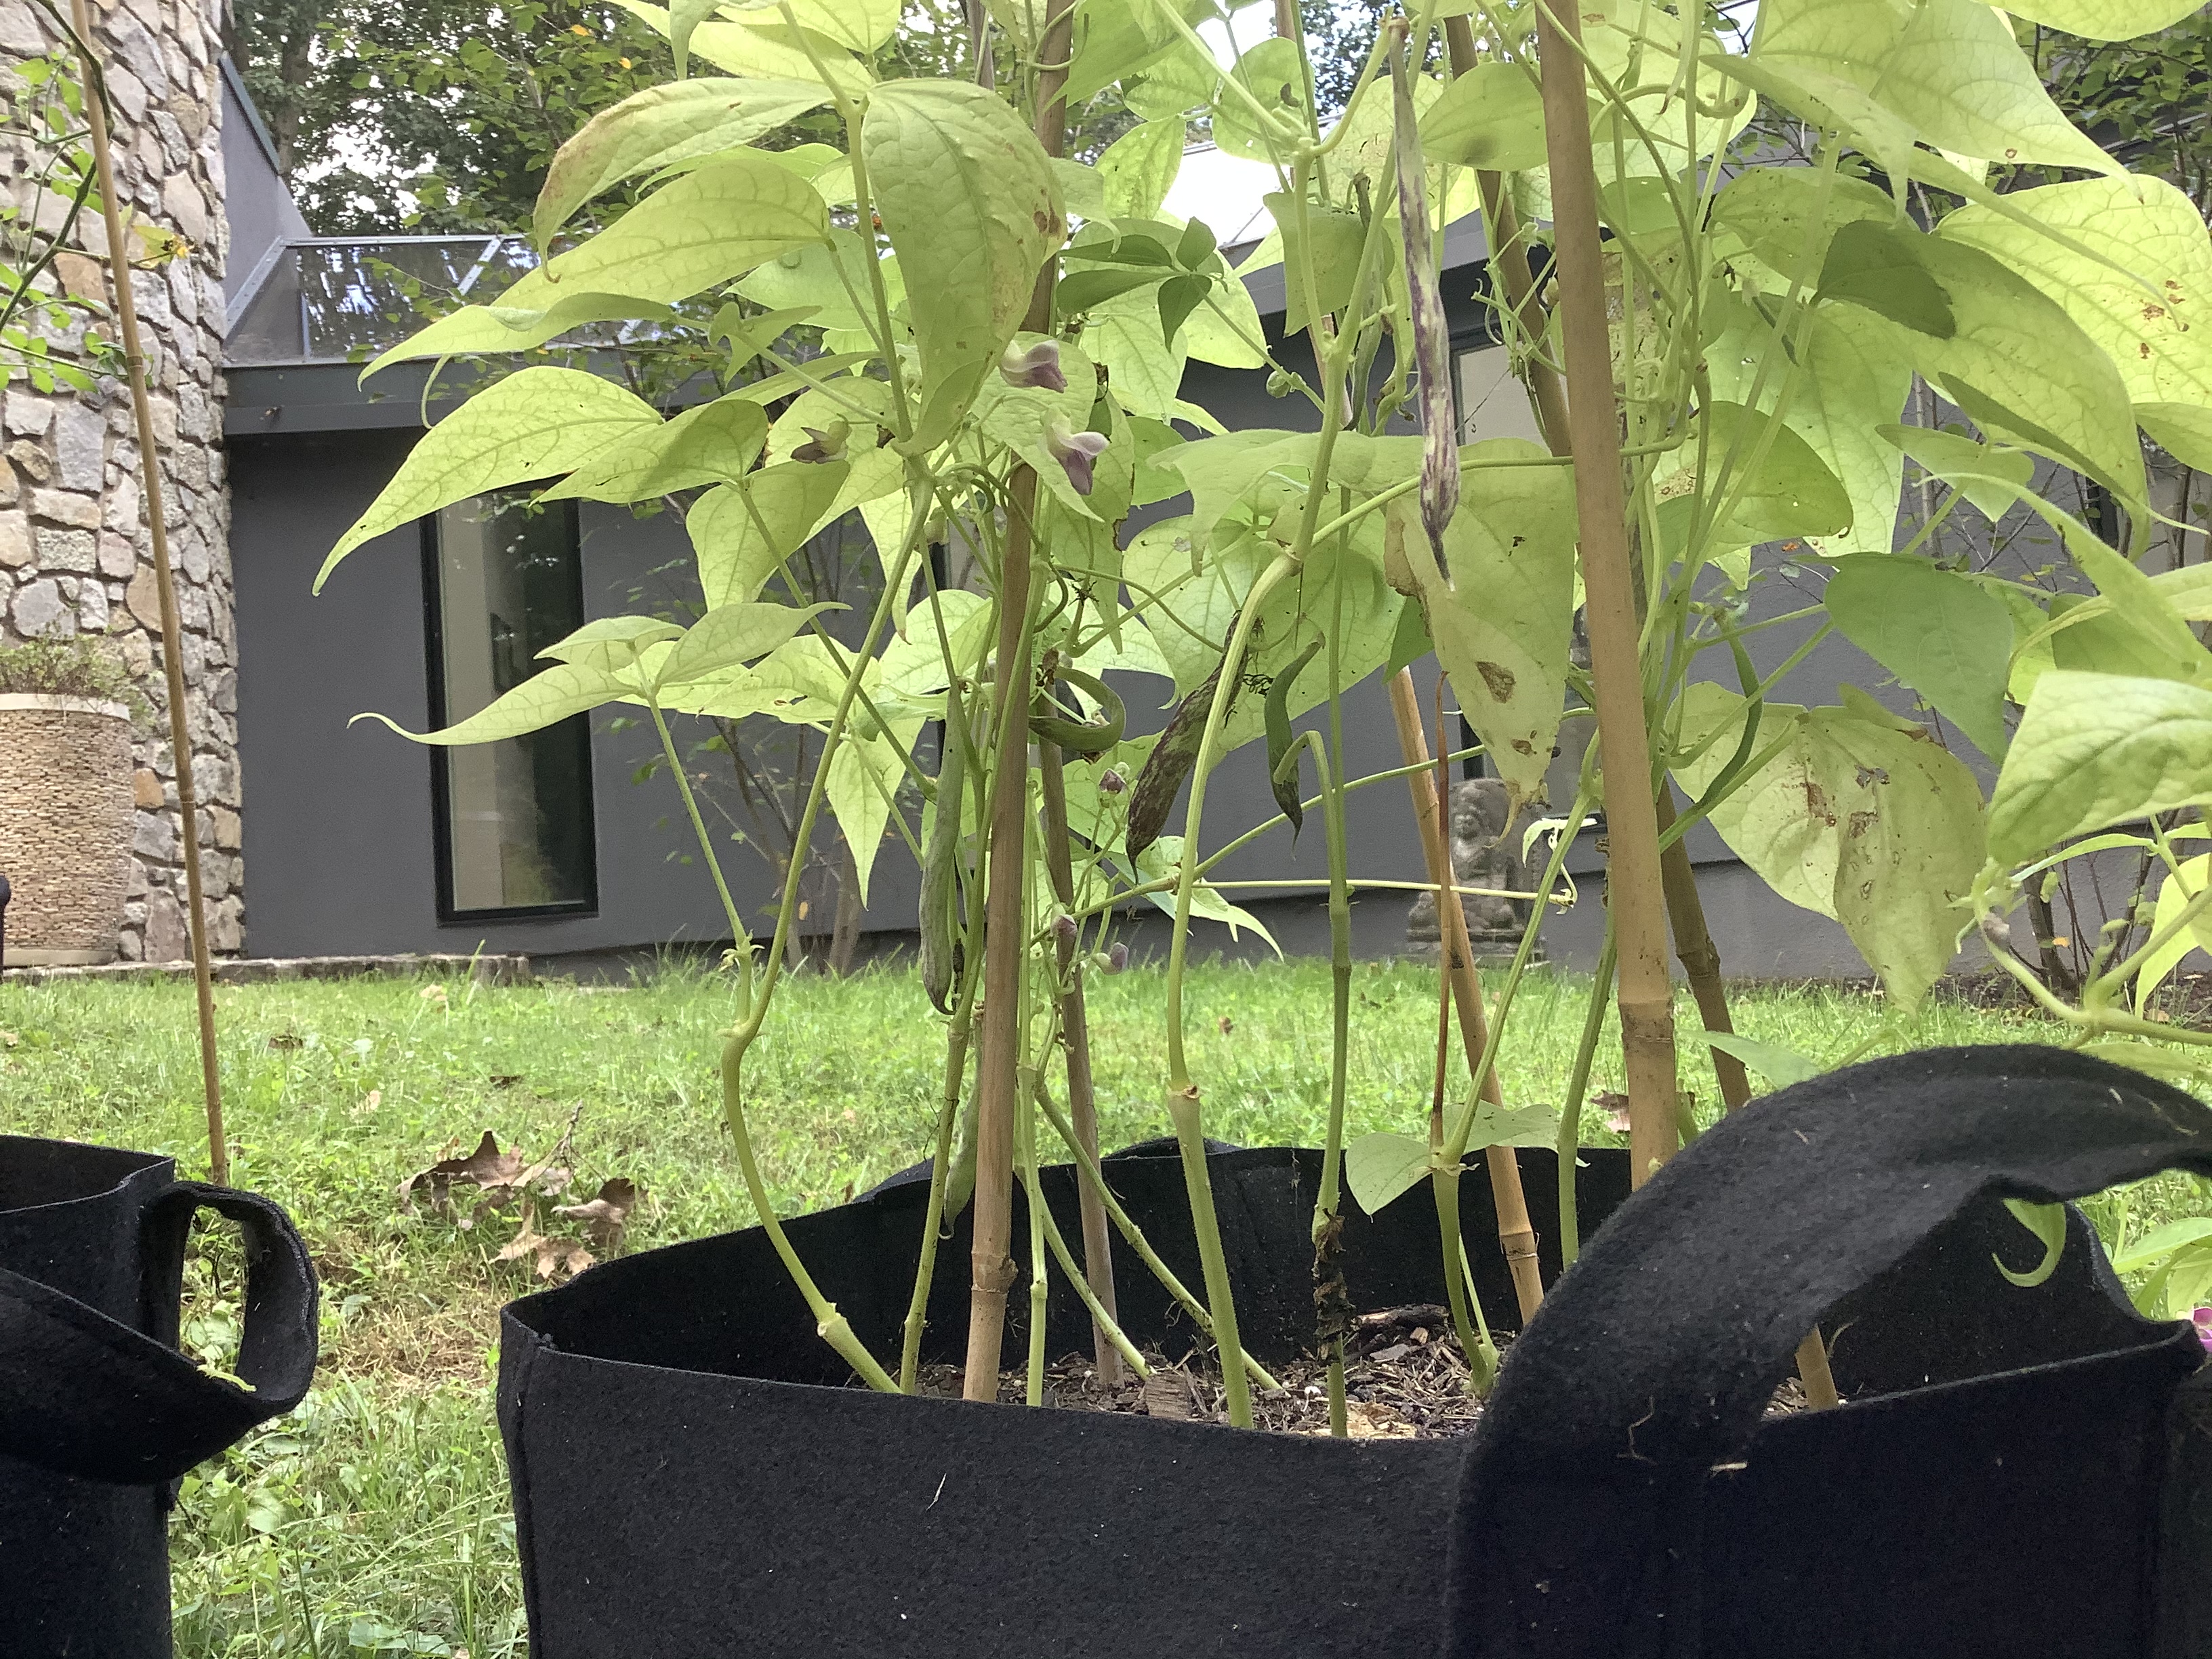
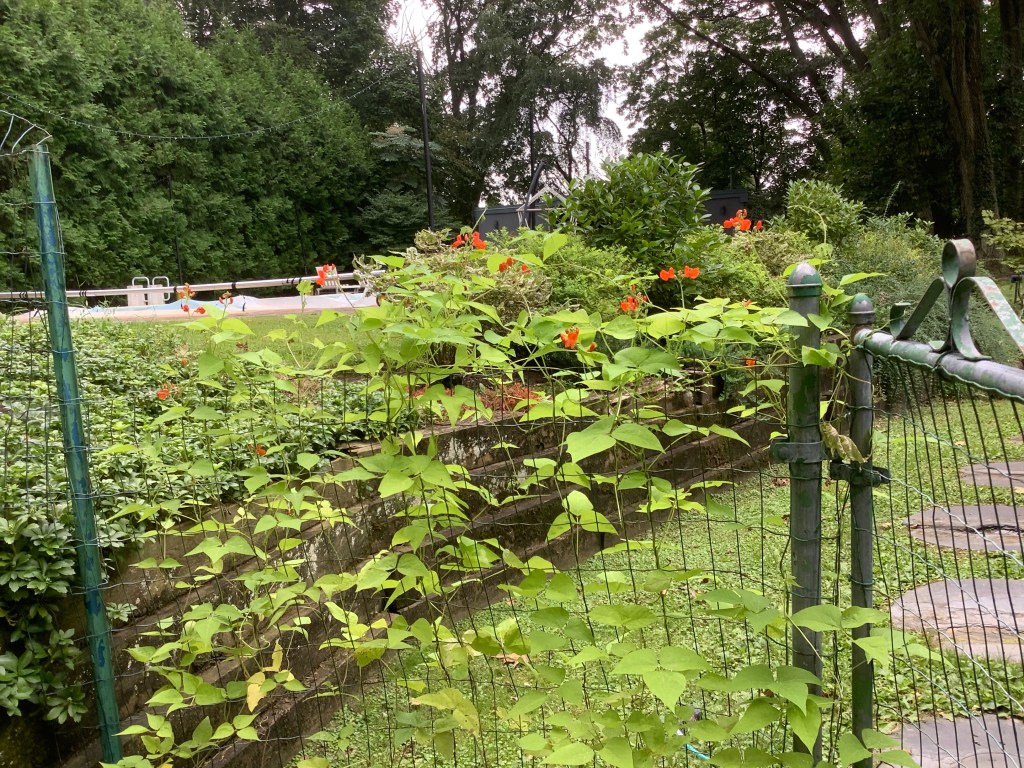
So first the harvest. We got a decent amount out of the two containers of bean plants we have considering this is our first harvest! The type of beans that are in this post are called dragon tongue beans. As you will see, they have a cool purple stripe pattern on creme colored skin. We also harvested one other type of bean. It is called scarlet runner beans. (We only got one tho.)
Here are the pictures of the beans:
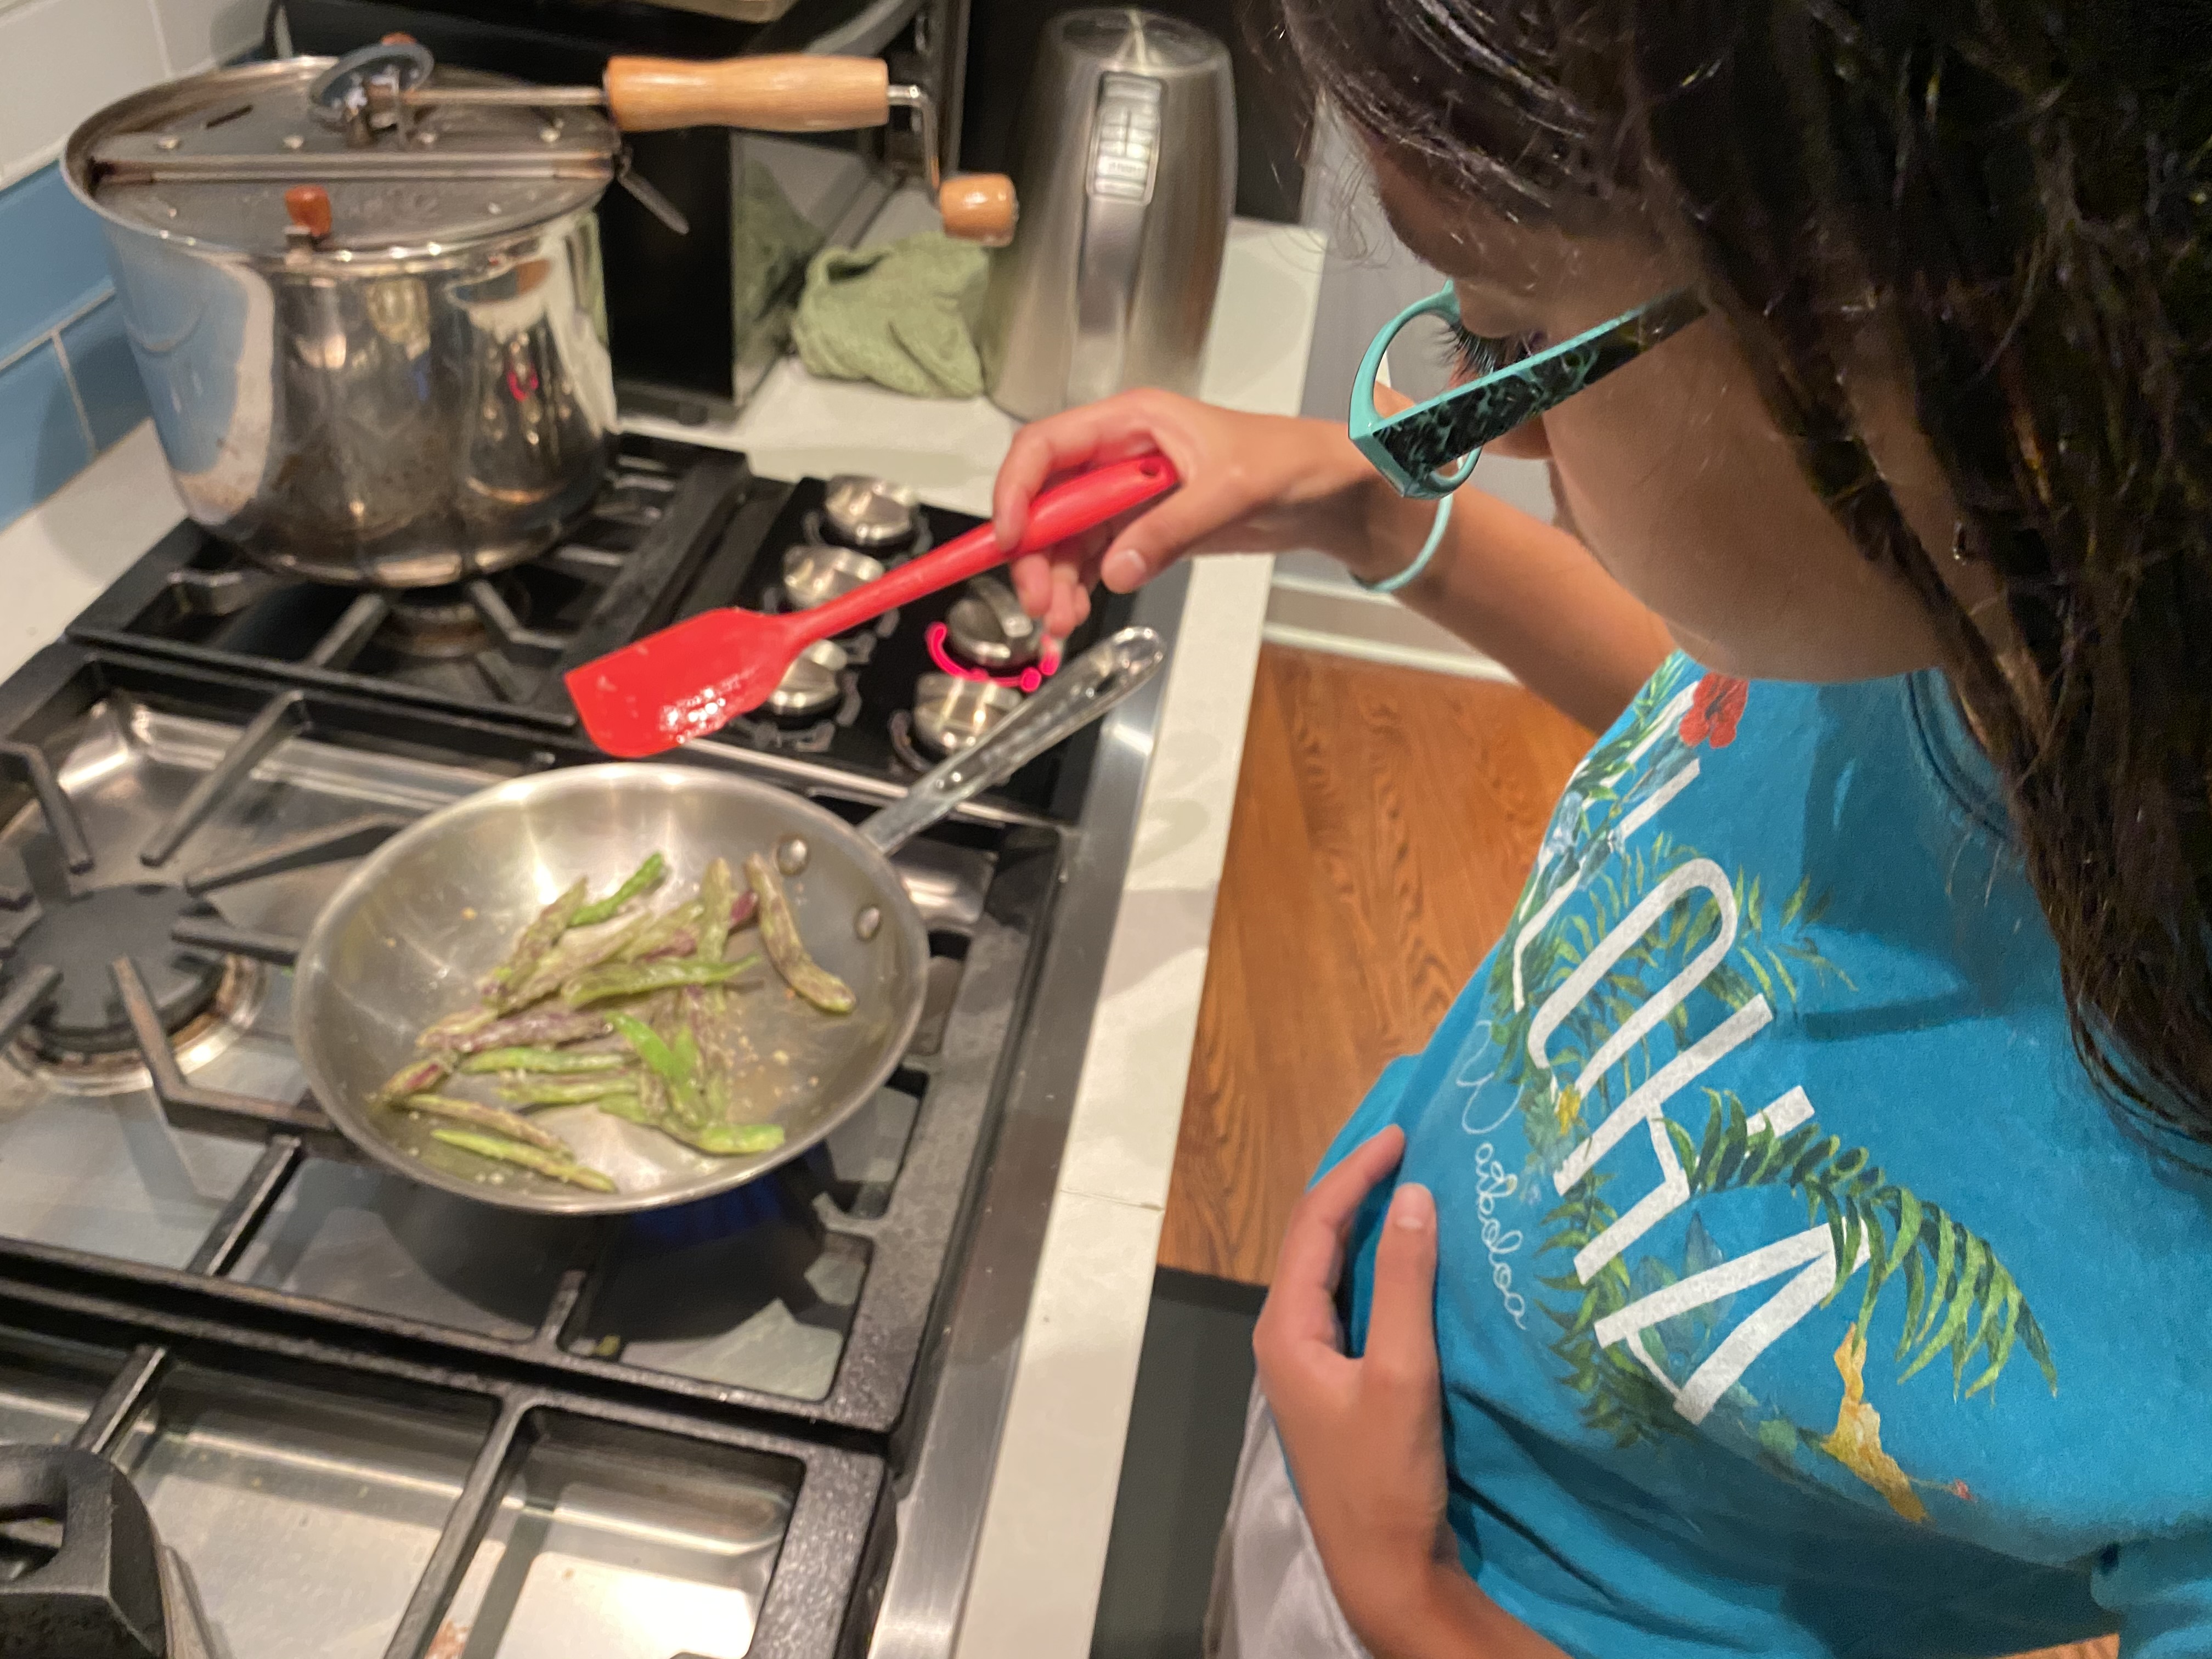
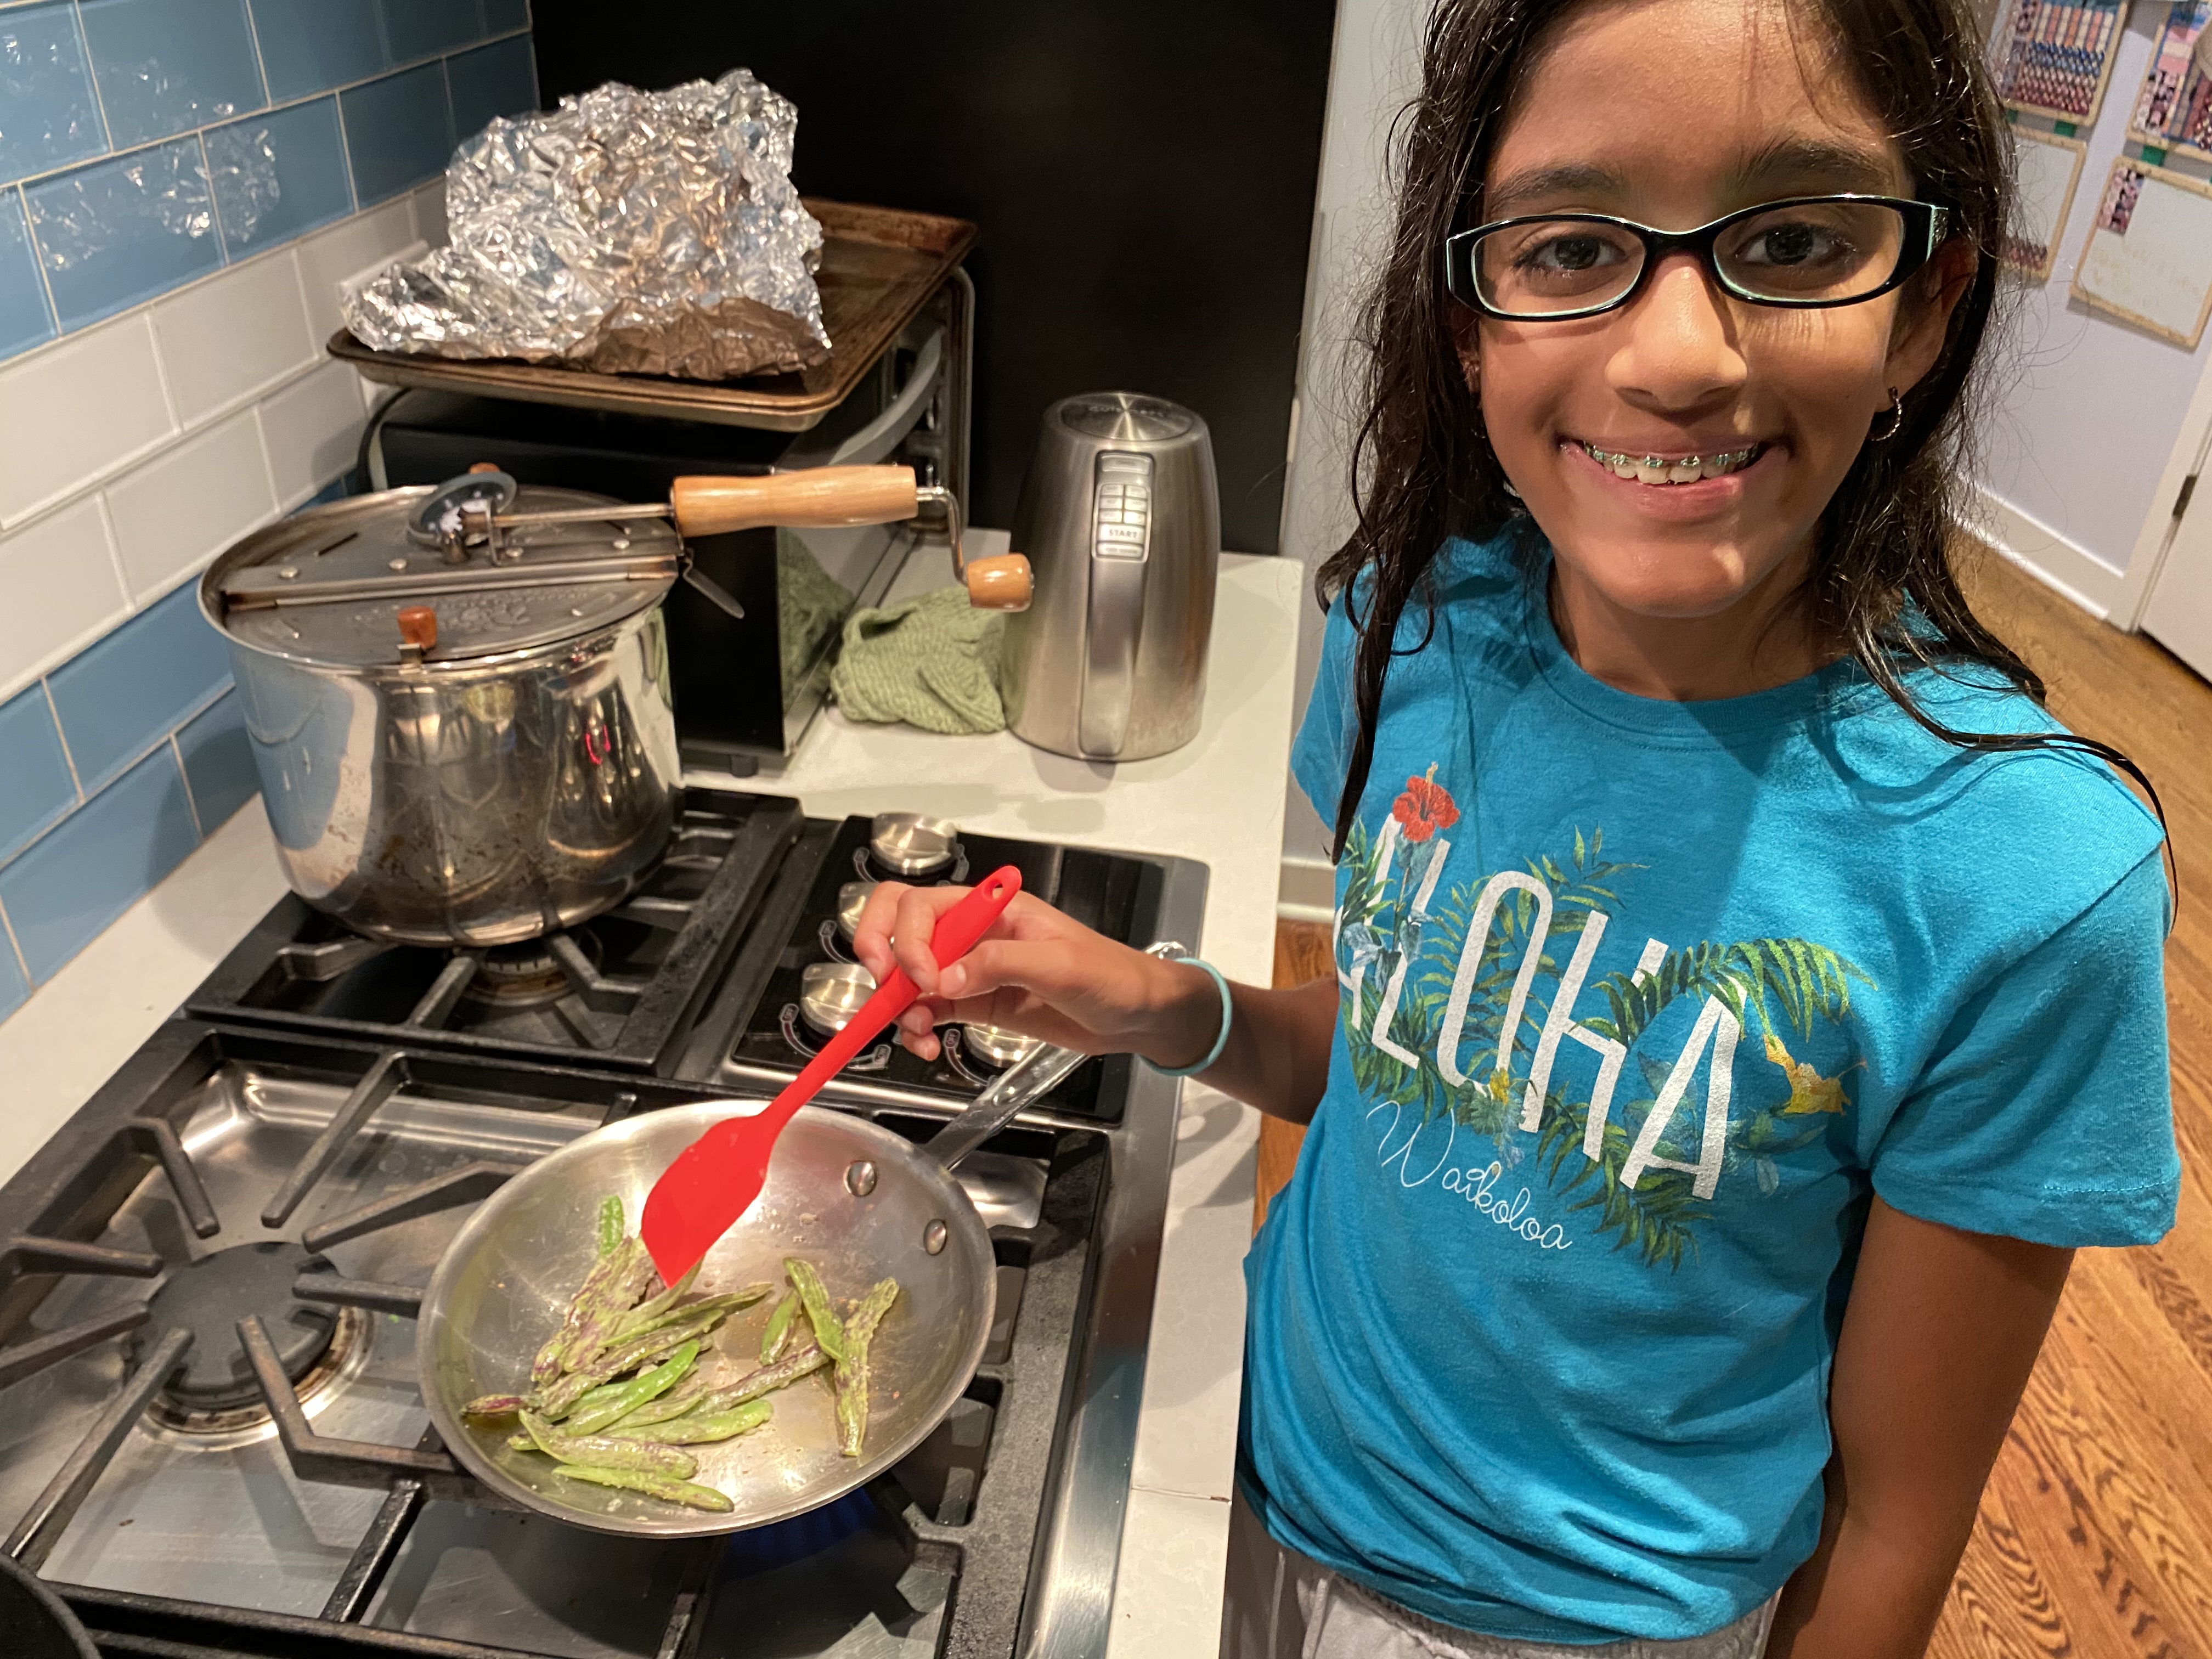
Because the beans didn’t really tase good plain, we fried them with salt, butter and garlic. They were soooo good! Sadly the dragon tounge beans loose their purple coloring when they are cooked. But they tasted like amazing green beans!
Here are some pictures!
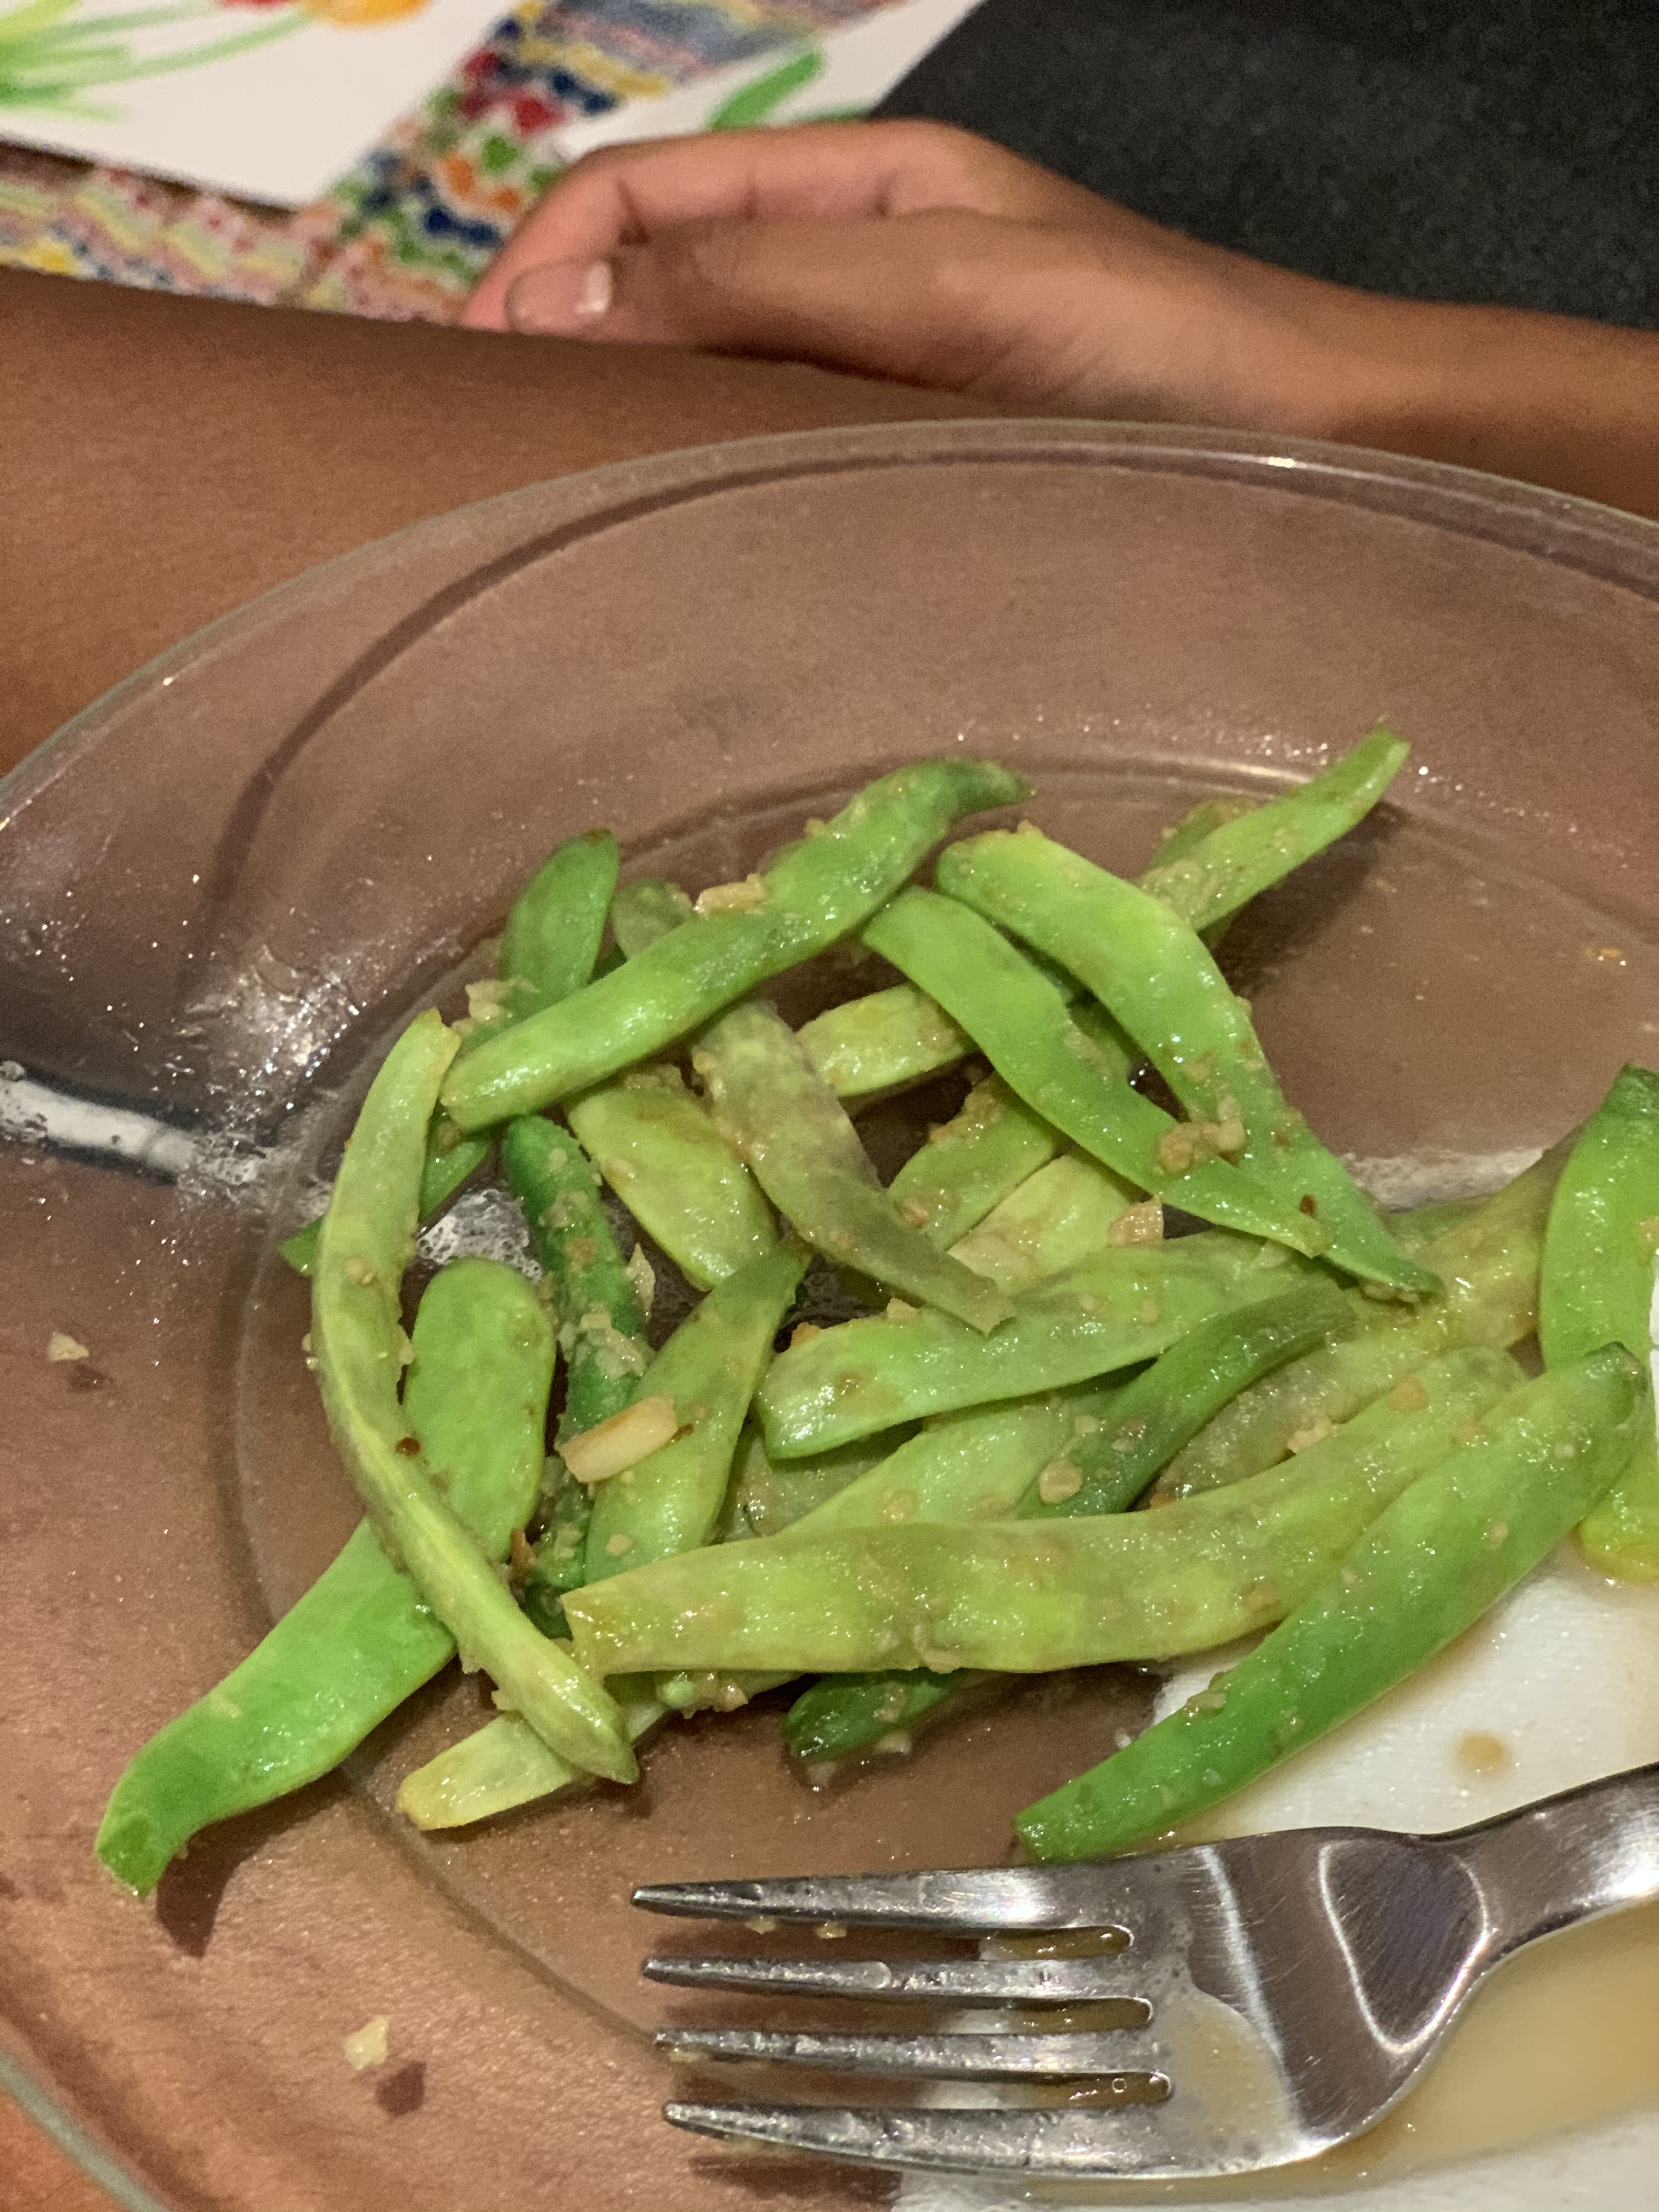
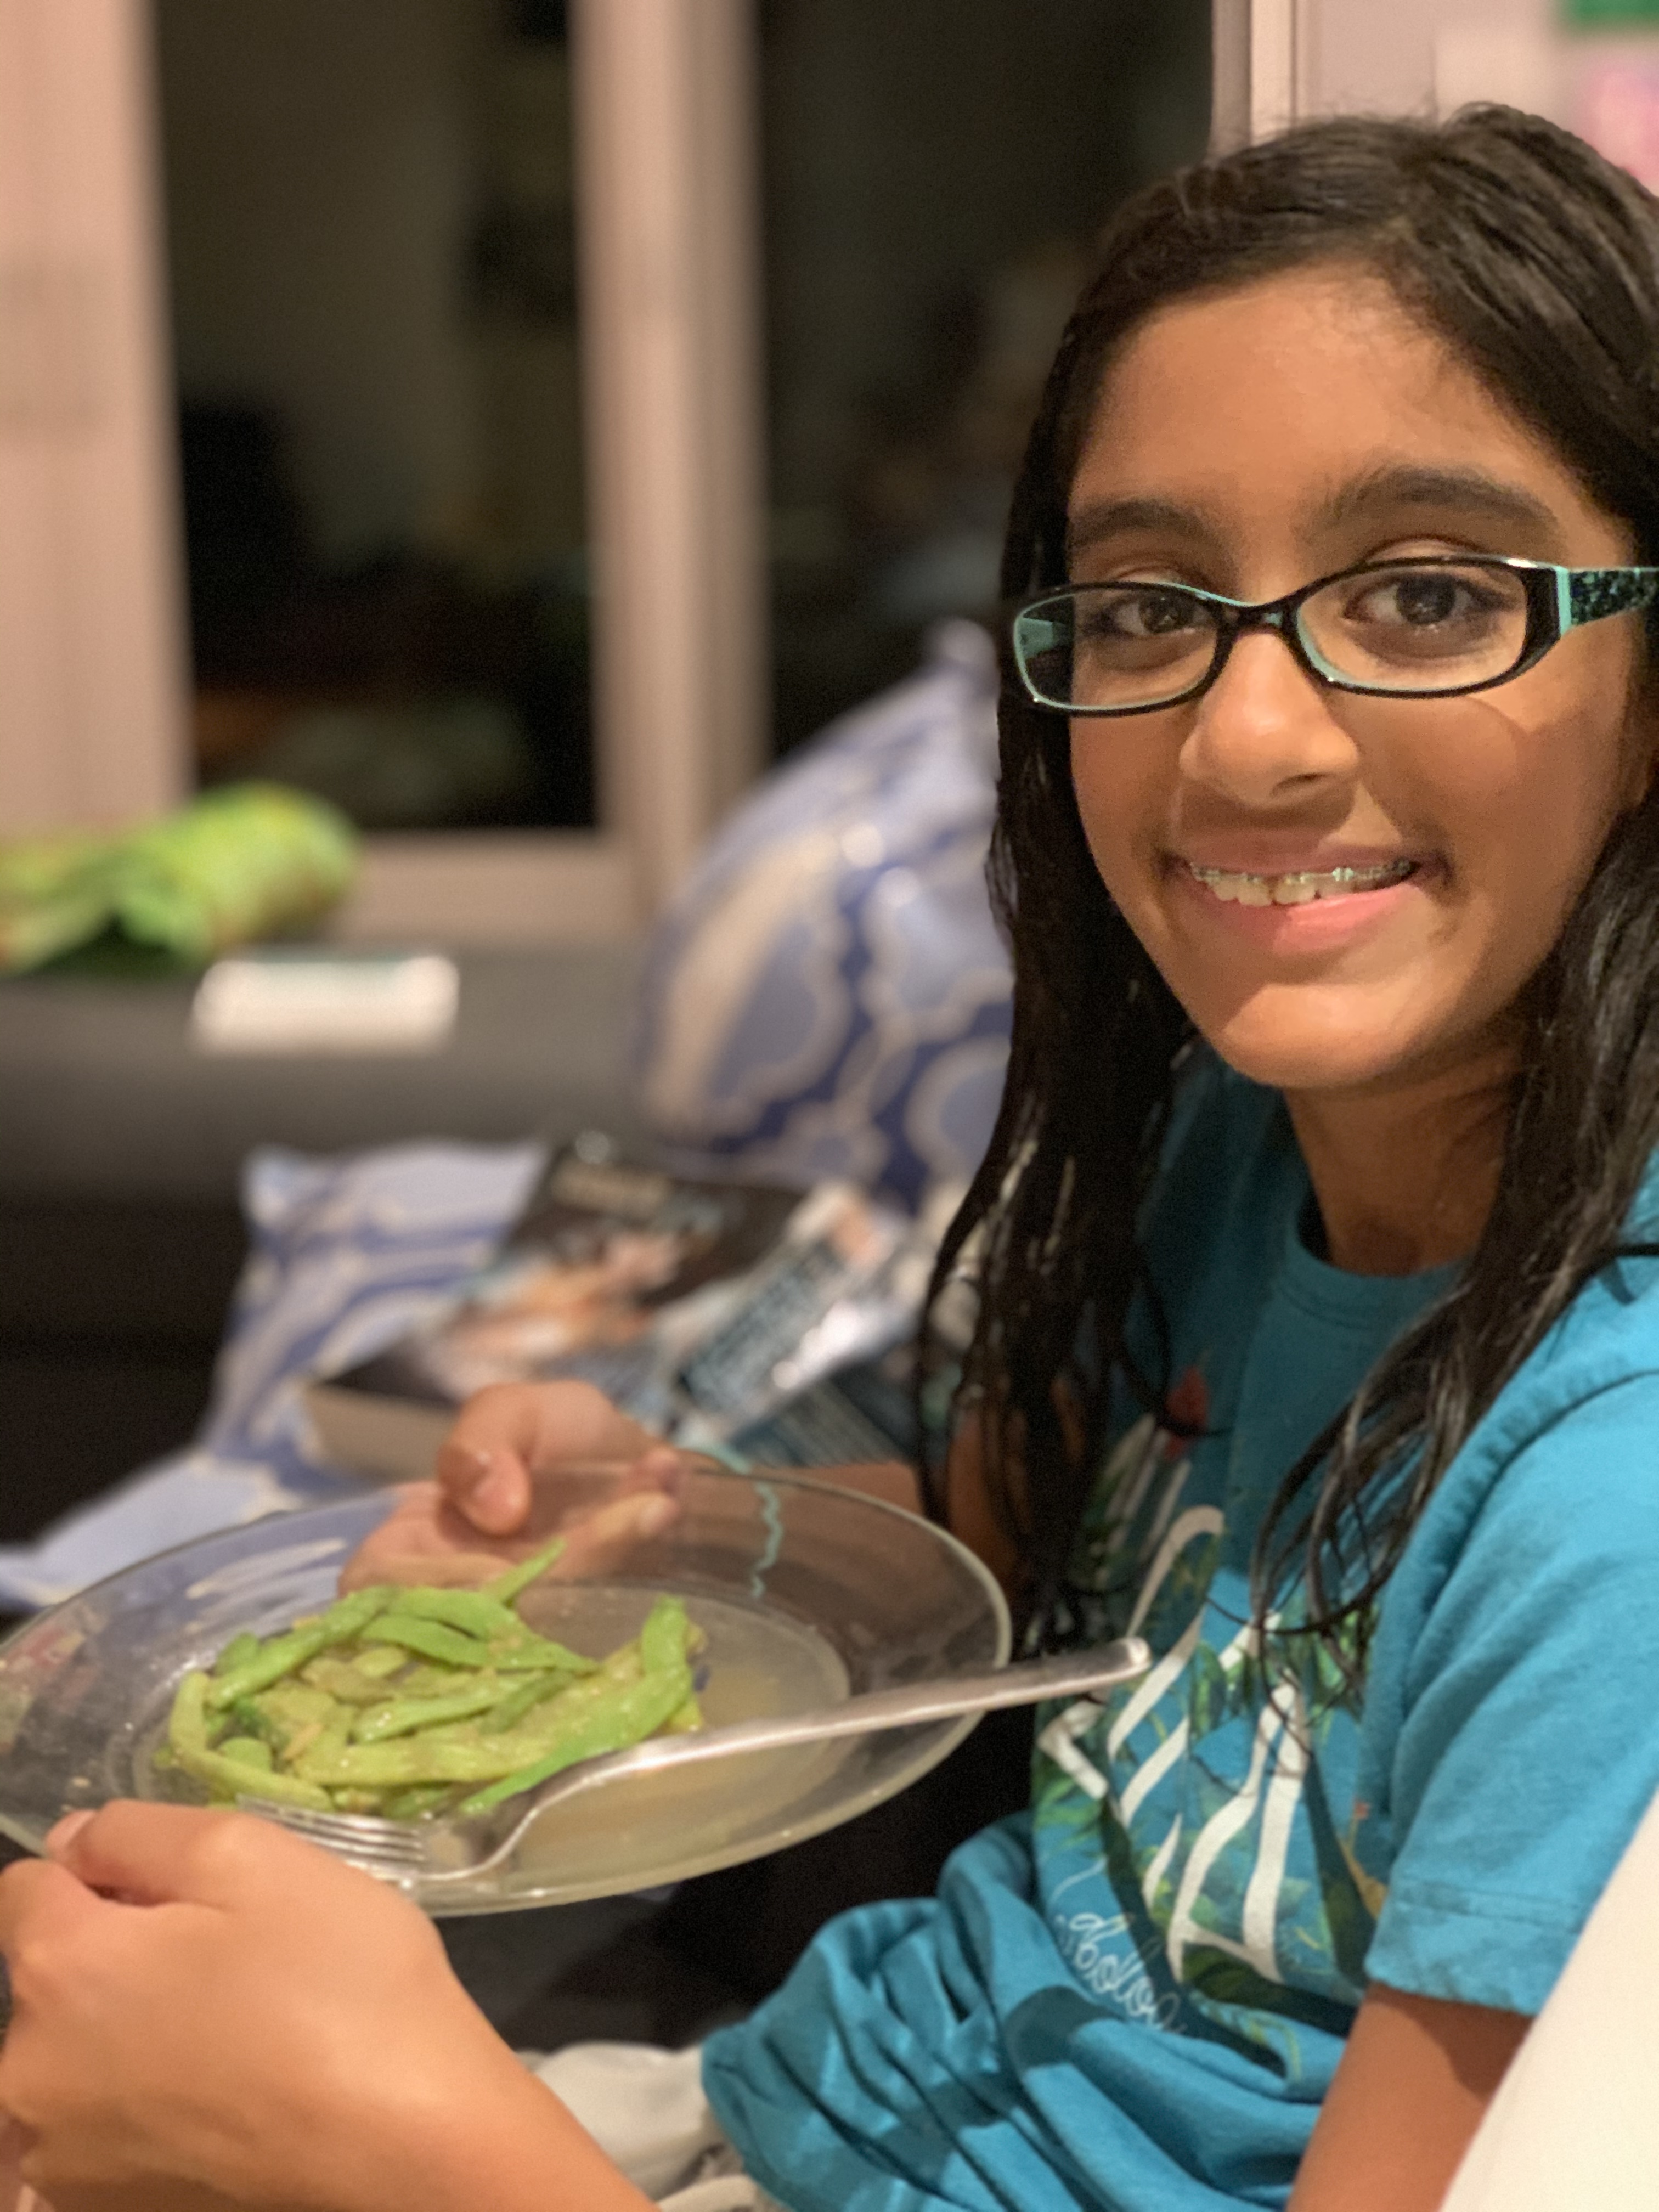
They tasted AMAZING!
Here are some facts about beans:
Most beans usually go from seed to harvest in about six to eight weeks. Witch means that they are pretty fast producers.
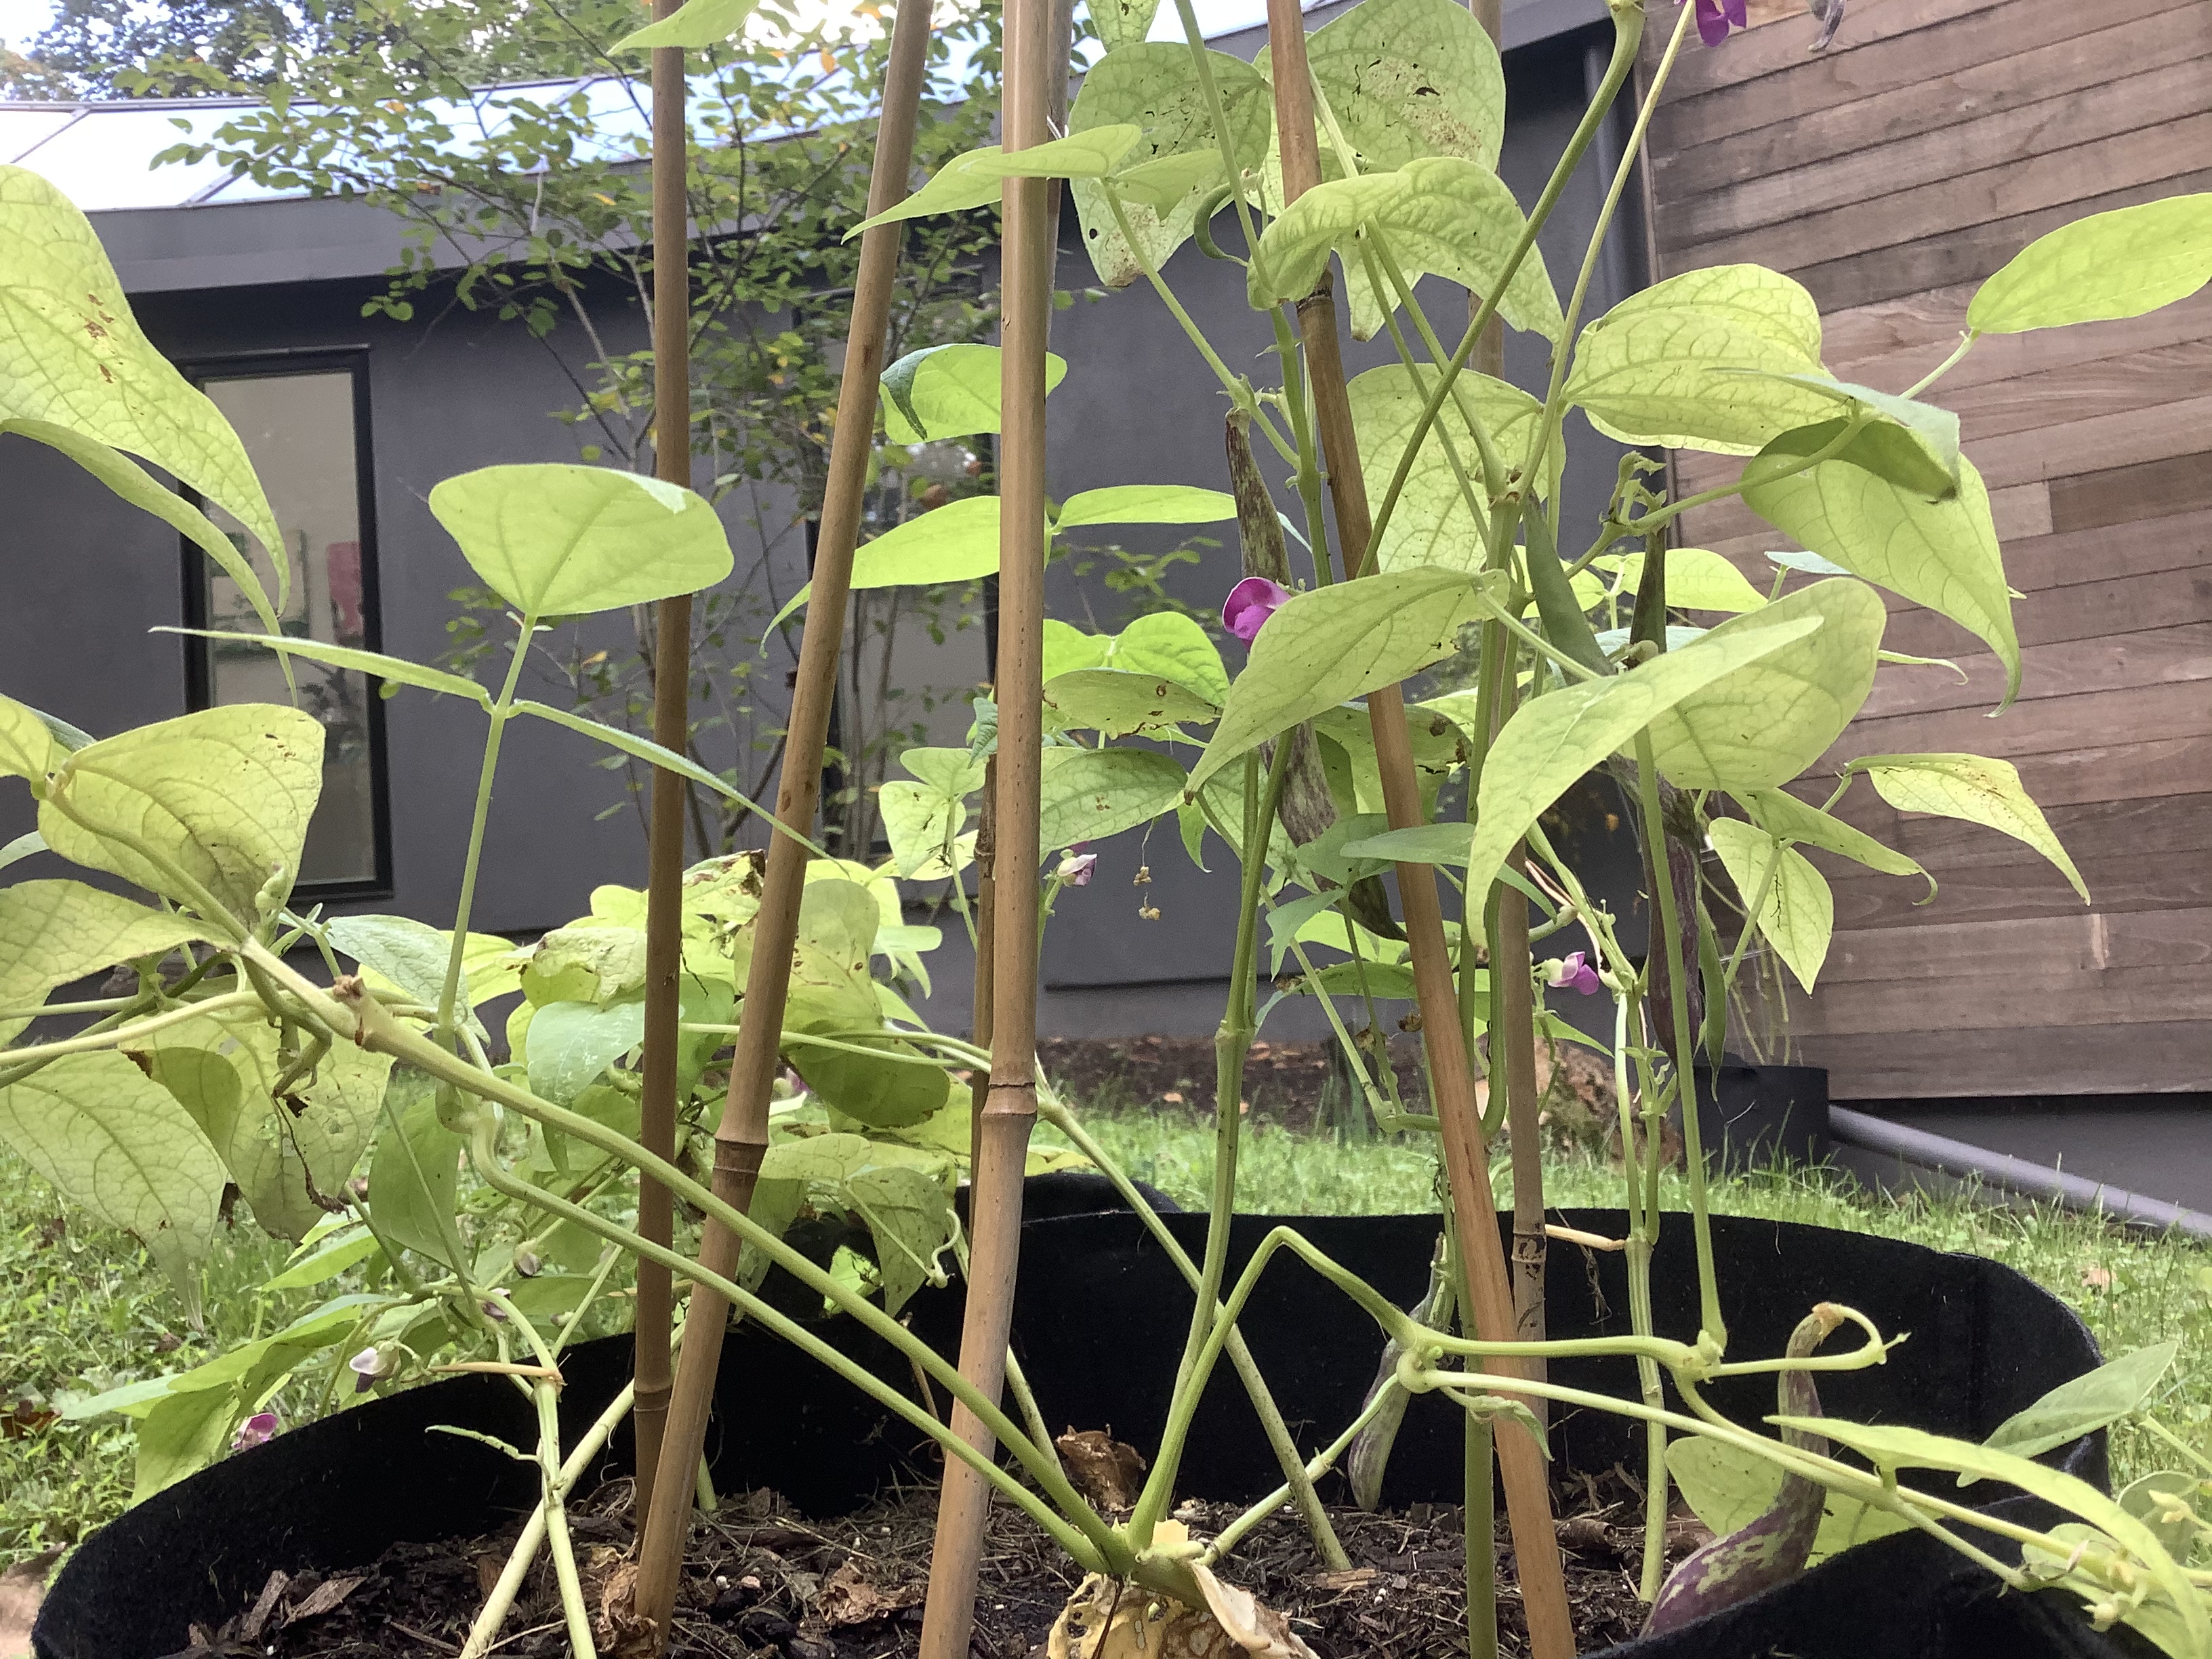
There are two types of beans, vining beans, and bush beans. They are just like their name suggests. Bush beans are bushy, and vining beans are vines and need support like a trellis. These dragon tounge beans are a bushy type bean, (though they still like to send out vines), and the runner beans are a vining bean. Here are some pictures:
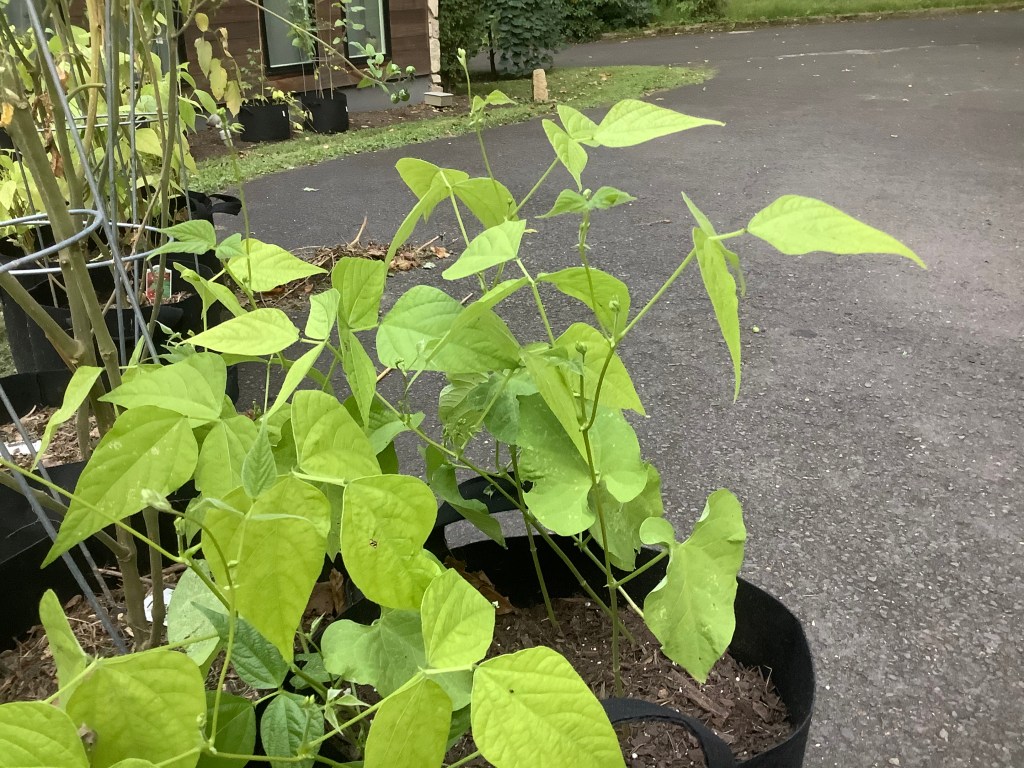
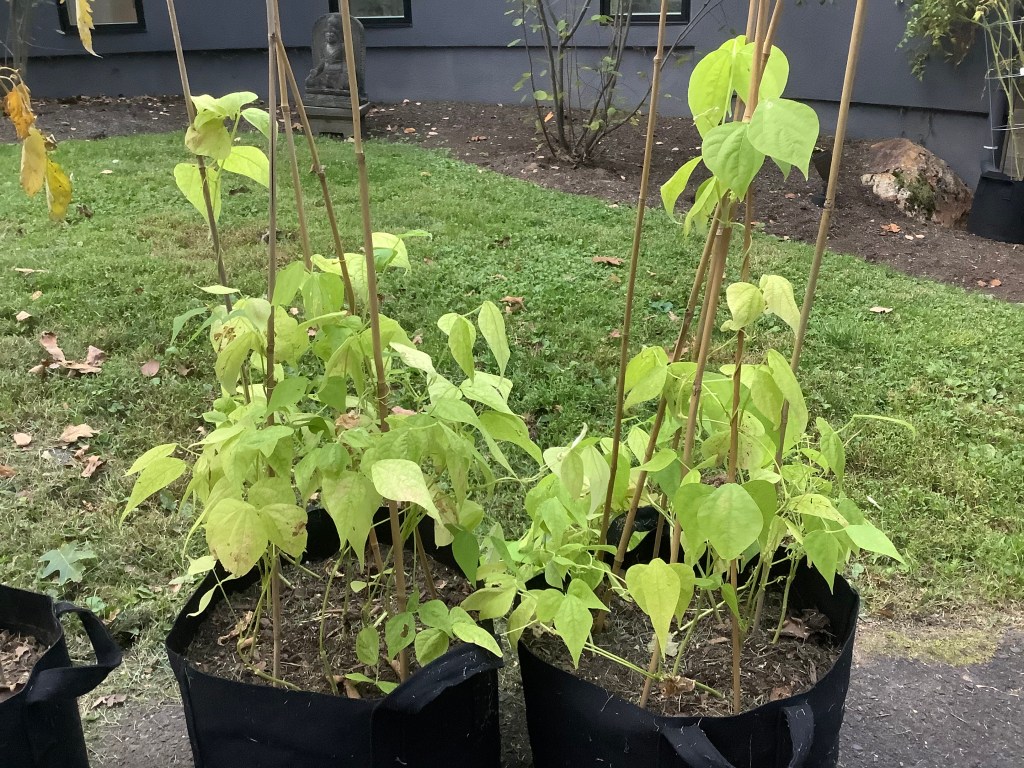
The next fact is also about the different types of beans. It’s how bush beans usually produce their harvest more all at once in a span of a couple weeks, and vining beans usually have a more spread out harvest time.
Well, that is all for today’s post! I hope you enjoyed it and learned something from this post. Stay tuned for my next post soon! Bye!
Hi guys! Today I am gonna go over the crops you can still plant NOW to gat a fall harvest. Let’s get started!
The first crop you can plant is arugula! Arugula cannot stand the heat and loves the cool weather. Arugula or rocket is a SUPER fast growing green and is amazing in salads. Sowing arugula seeds is really easy. All you have to do is grab some seeds and sprinkle them on the soil. Then water.
The second crop you can plant are radishes! Radishes are also a super fast growing root crop and you can also eat their leaves in salads. To start the seeds, use your finger to make a trench in the soil that is about a half inch deep. Then, sprinkle the seeds in the trench. Then water!
The next crop you can plant is lettuce! Lettuce is a great crop that does really well in cool weather and grows pretty darn fast too! Lettuce needs light to germinate so start the seeds like you would arugula.
The last crop is bok Choy! Bok Choy is a Chinese lettuce and is a great fall crop. It loves the cool weather too! Sow bok Choy like any other lettuce.
That is it for today’s post! I hope you enjoyed it and learned something. Now go plant your fall crops! Bye!
Hello! Today I am going do an update on a post about propagating tomato plants. You can check it out here:
The original tomato branch that I propagated got a disease. So around two weeks after I did the first tomato branch, I added another one just in case. So the tomato branch that I added is the one that is being transplanted.
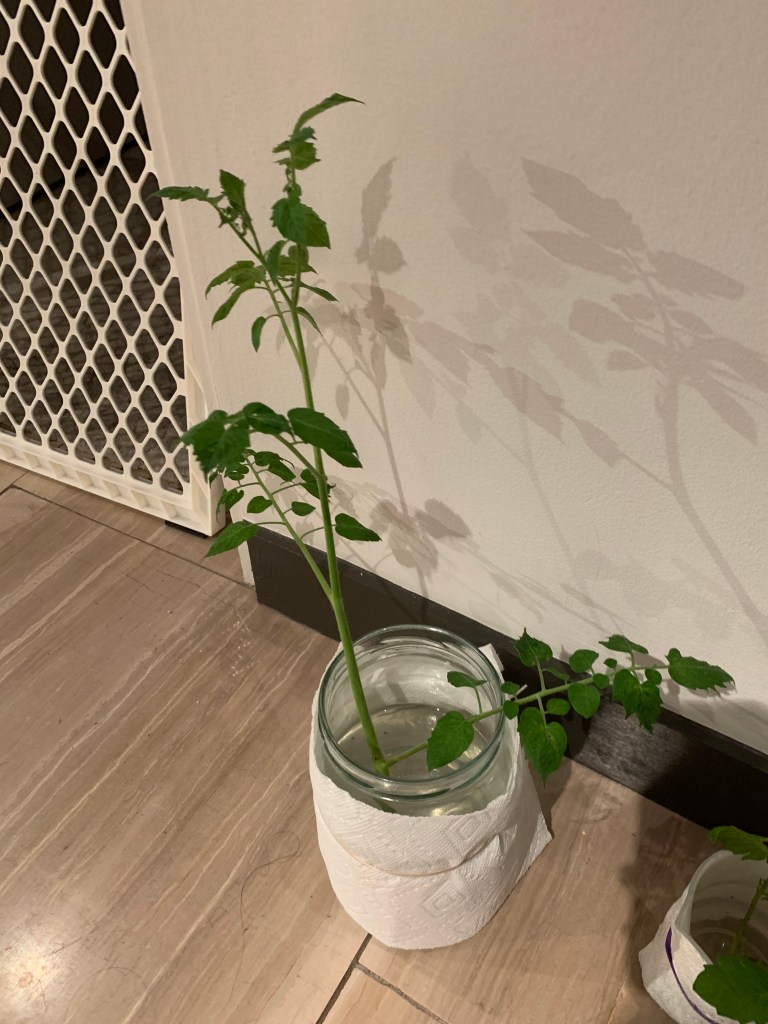
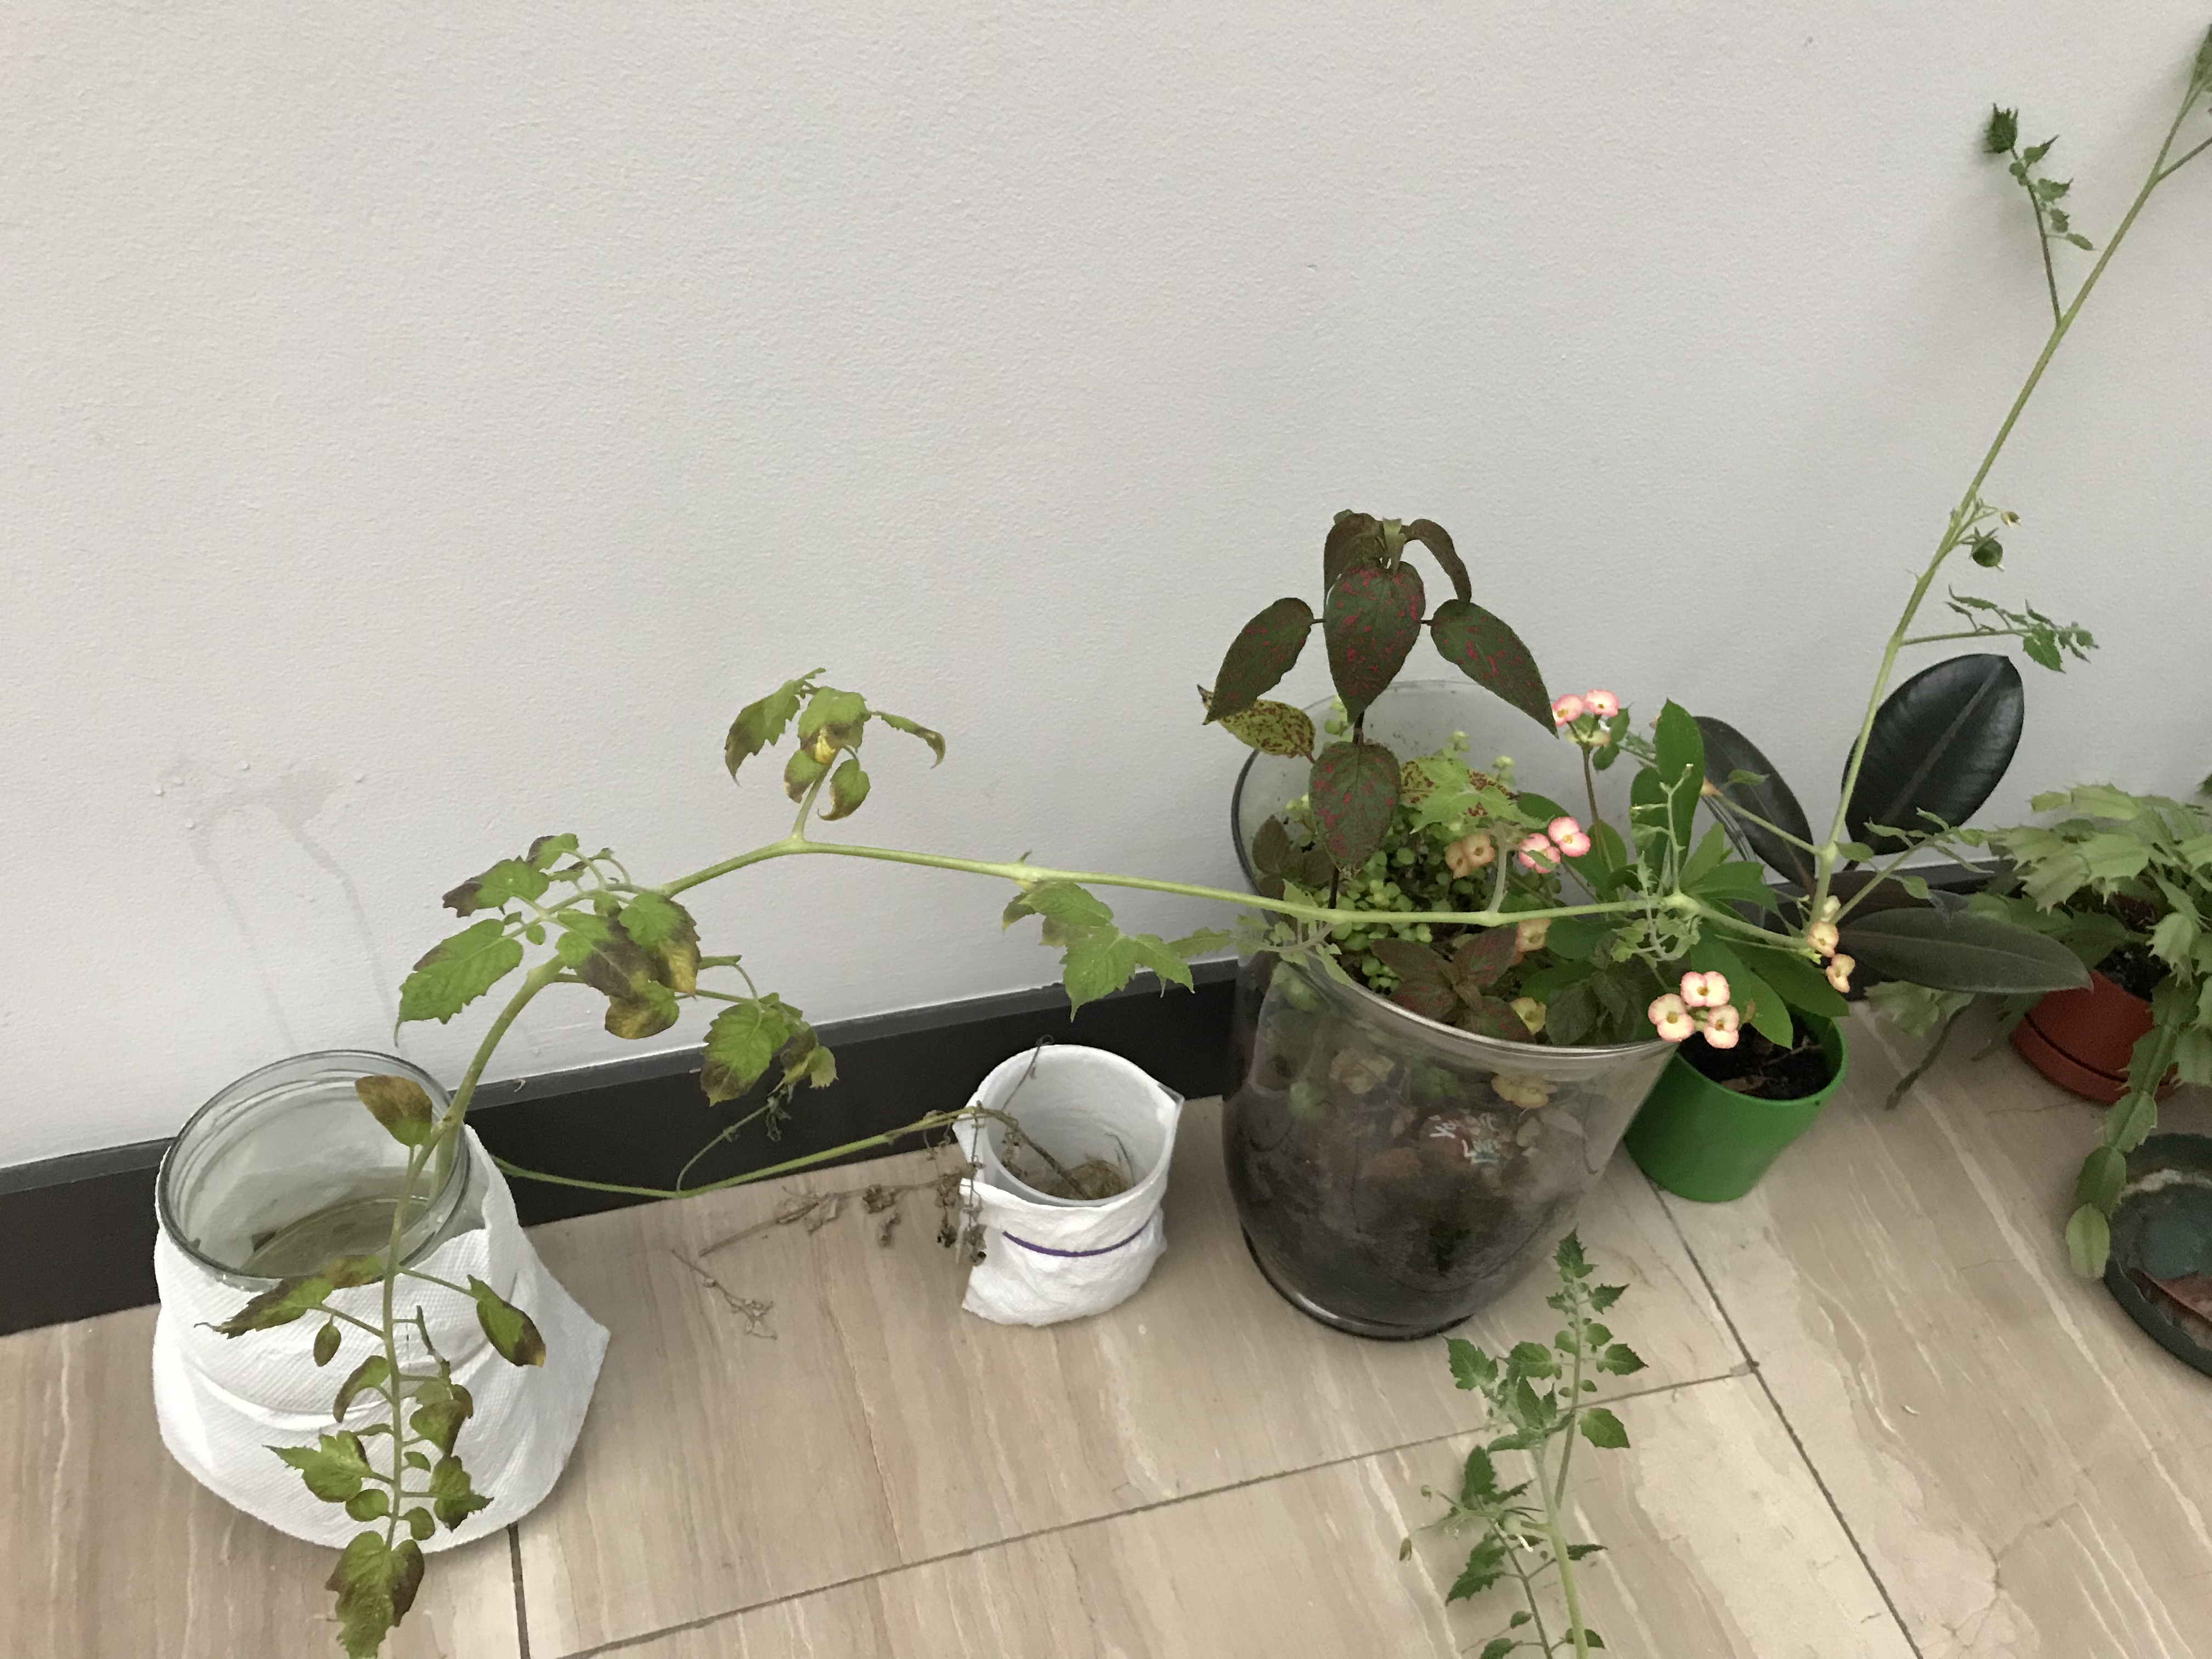
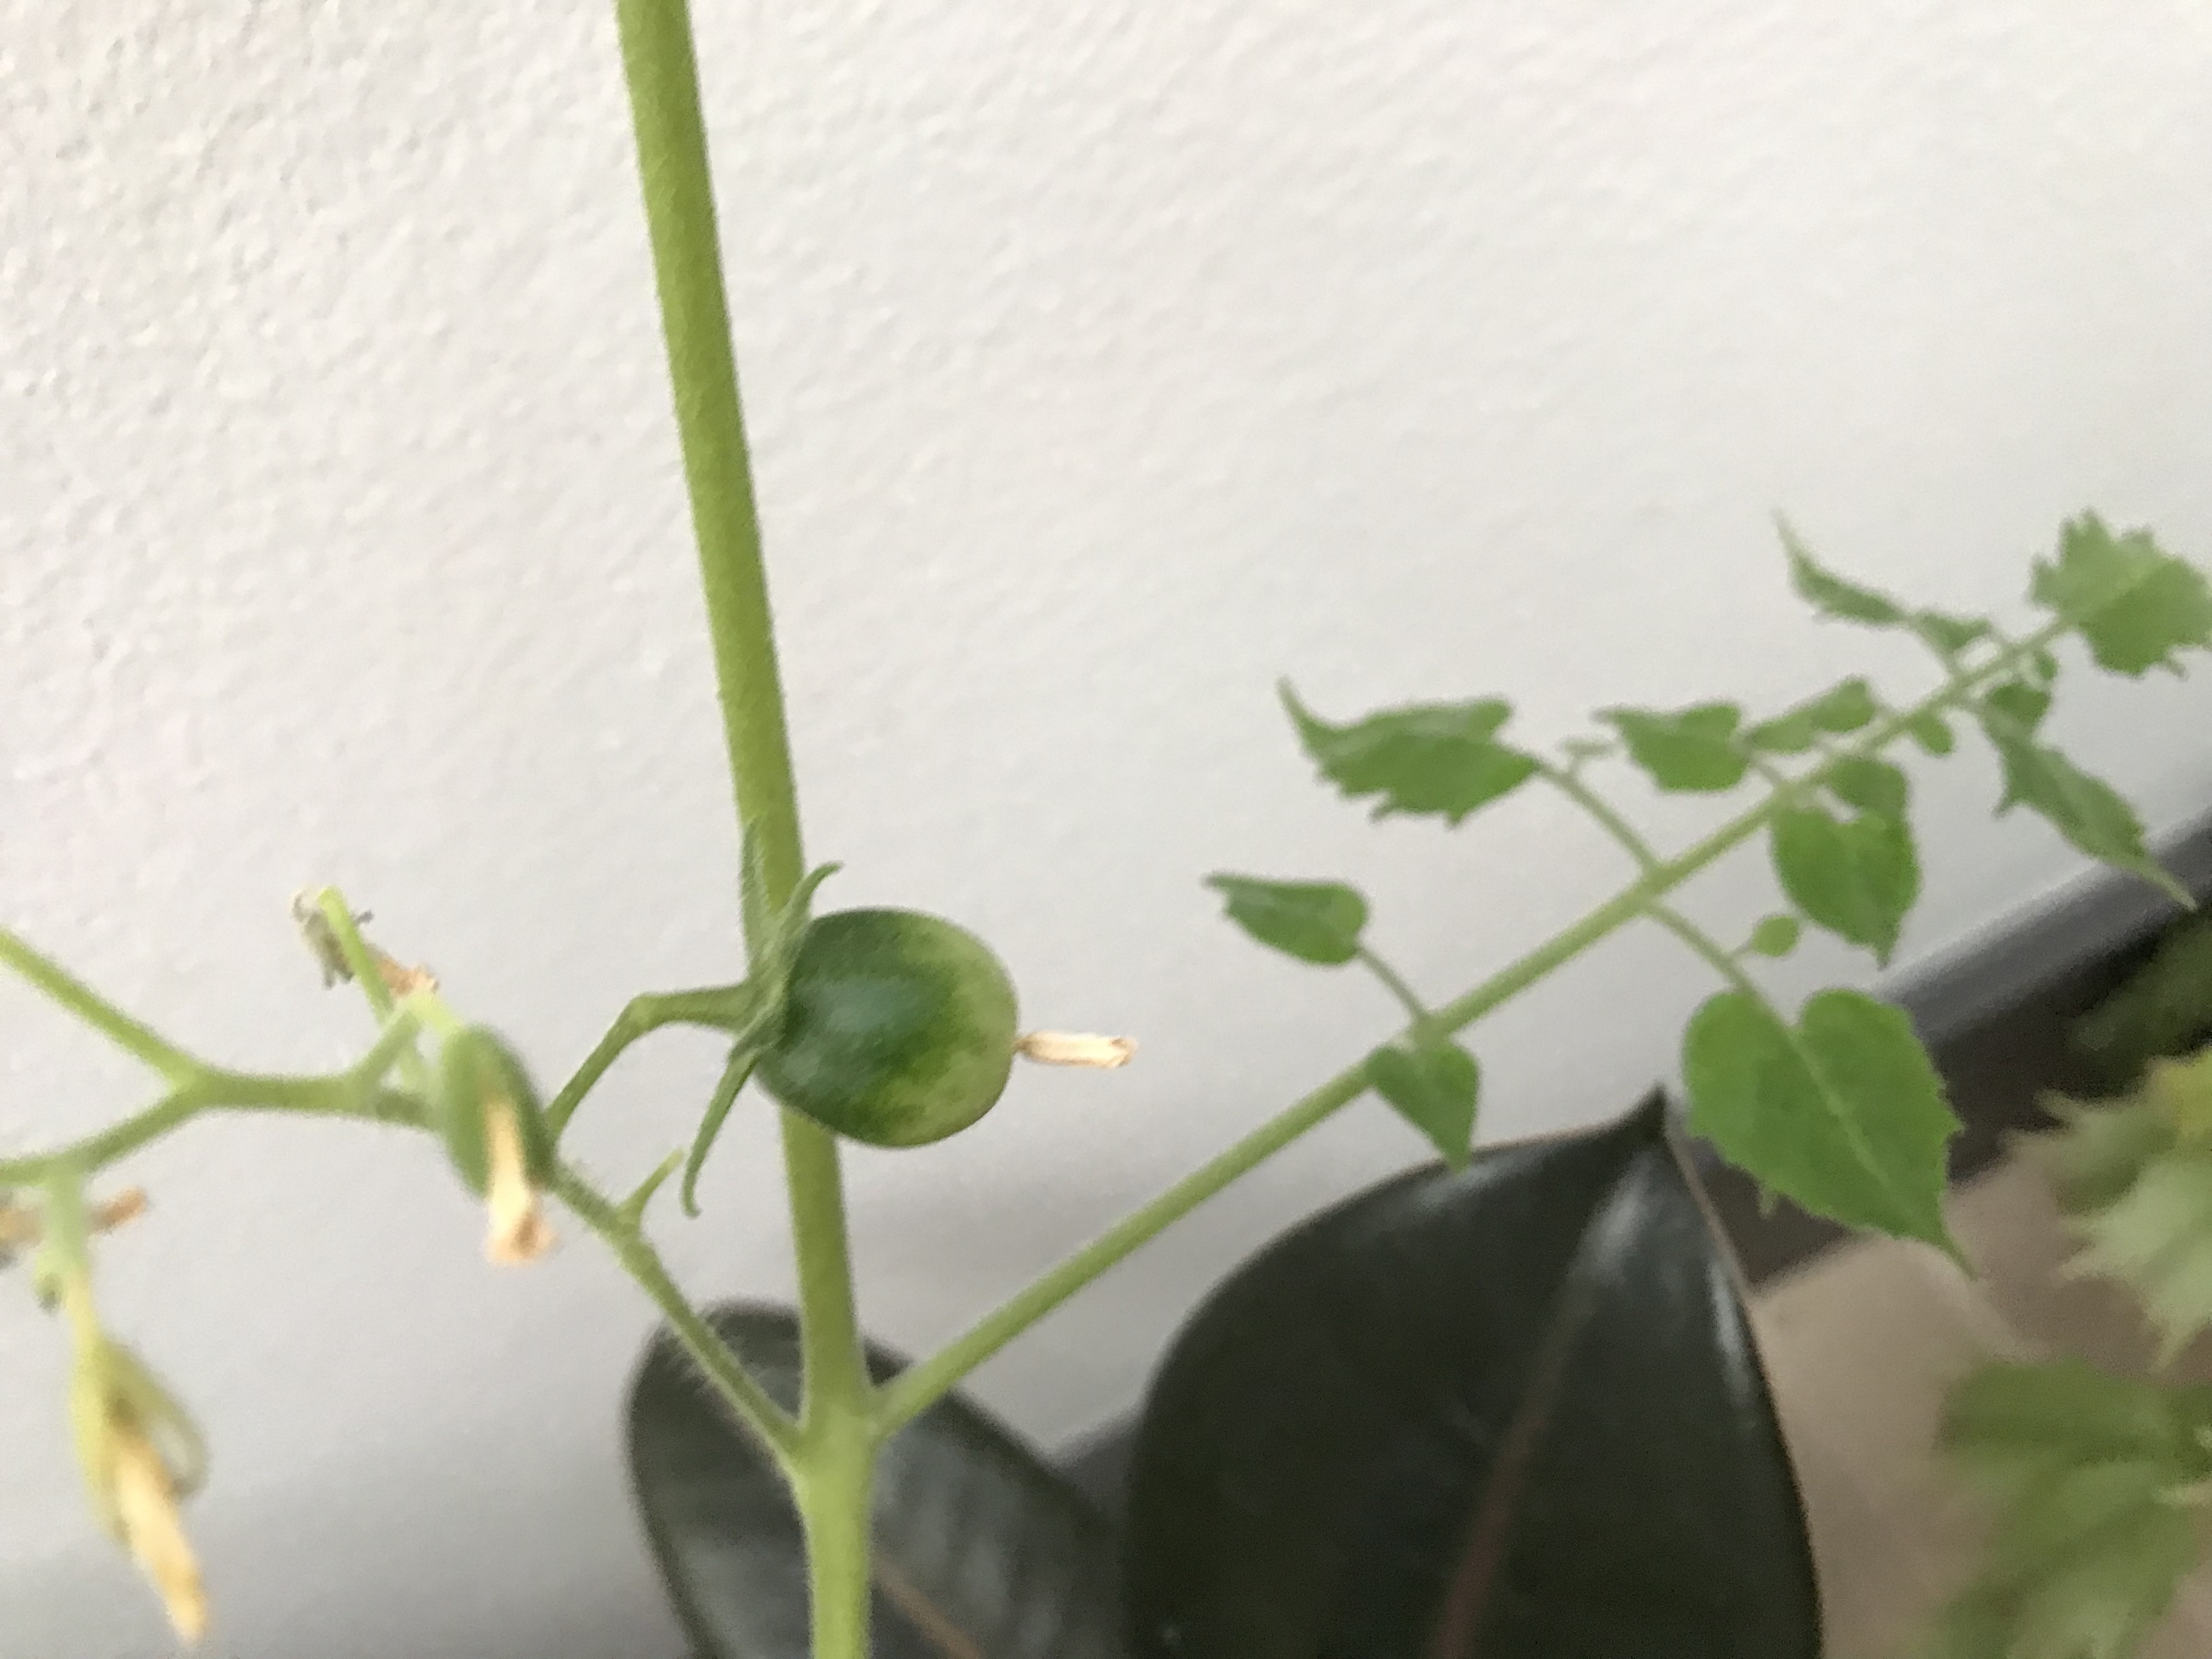
The tomato branch that I transplanted had a healthy amount of roots and already had some mini cherry tomatoes on the vine. So all in all, the tomato plant transplanted pretty well.
here is the tomato plant a couple days after transplanting.

As you can see, it is a little bit shocked, but it will recover!
That is it for today’s post! I hope you enjoyed it. Bye!
The tomato branch and leaves after 7 days:
Here is the tomato branch after a little over two weeks:
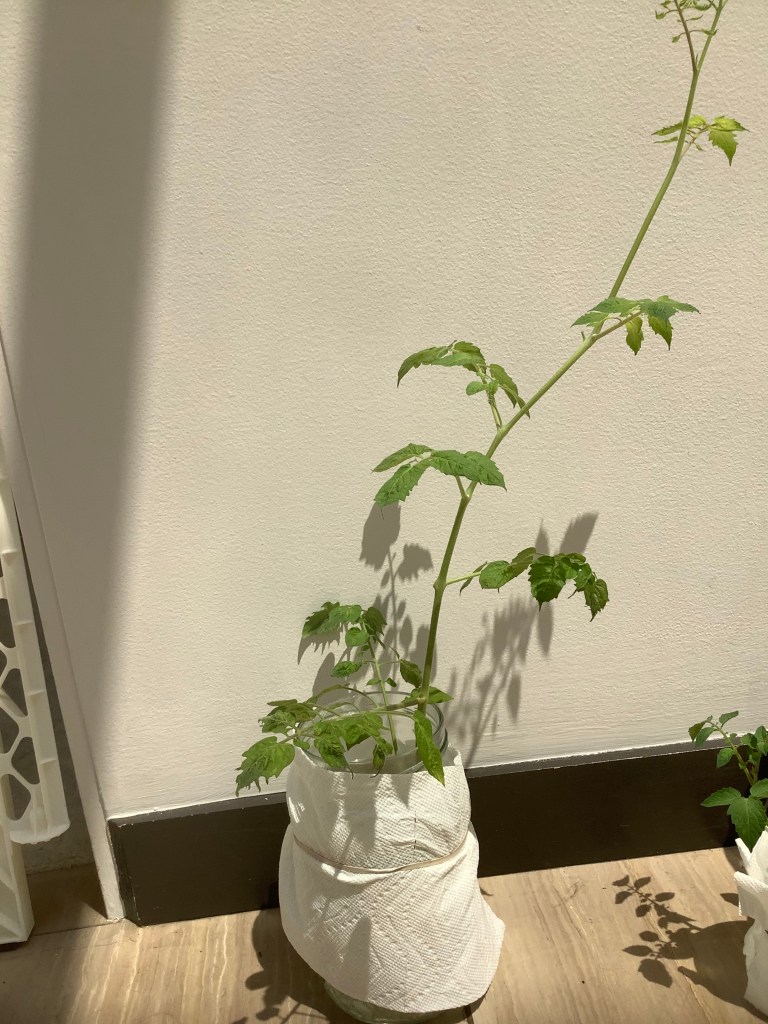

And finally, here is the tomato branch after about a month:

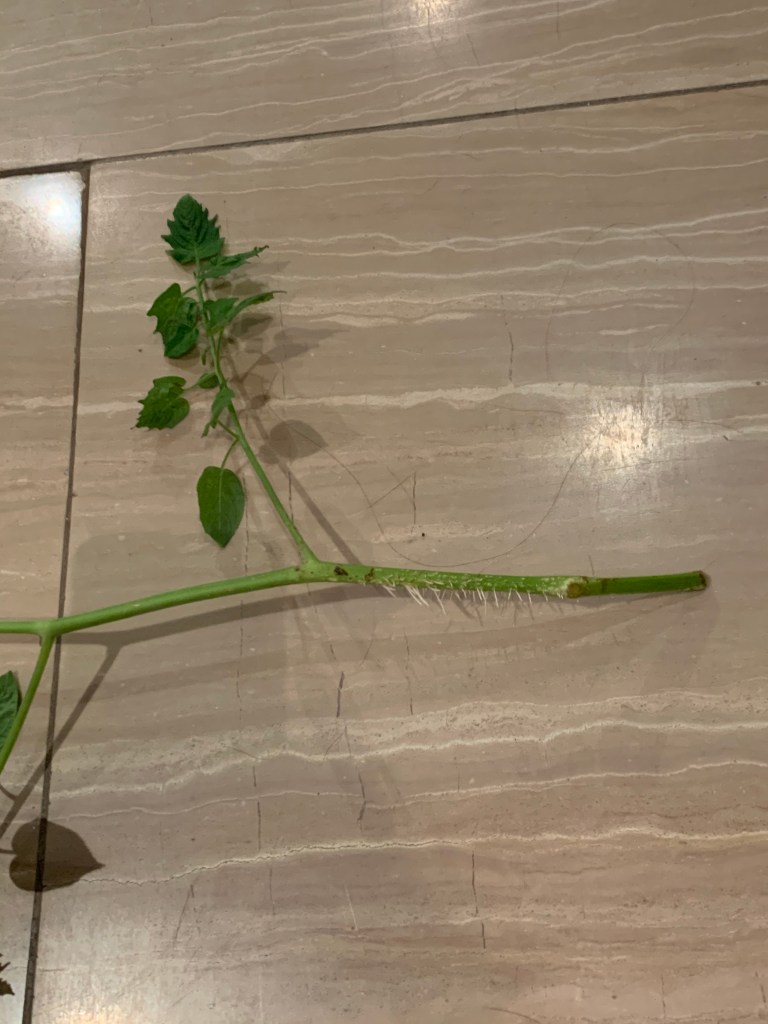
Propagating tomato tips:
-Change the water out every couple days. This is because the water doesn’t really have a lot of nutrients for your tomato plant. So changing the water out makes sure that your tomato branch grows roots.
-When I propagated my tomato plant, I left it in the water for a pretty long time. When you are propagating your tomato branch you do so that have to wait a whole month. You can plant your tomato branch after two to three weeks.
That is today’s post! I hope you learned something. Stay tuned for my next post, Bye!
