Decorating our herb drying rack! (Herb drying part 3)

Today, we will be decorating our herb drying rack that we made last time and look at different ways to decorate it. (This is optional)

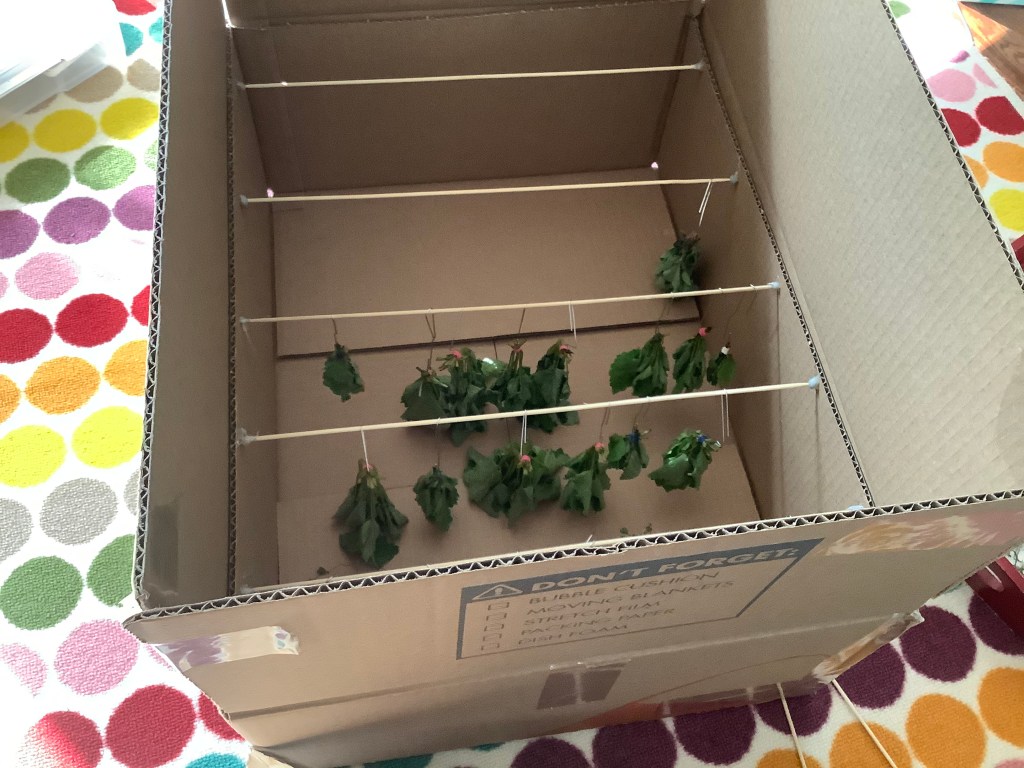
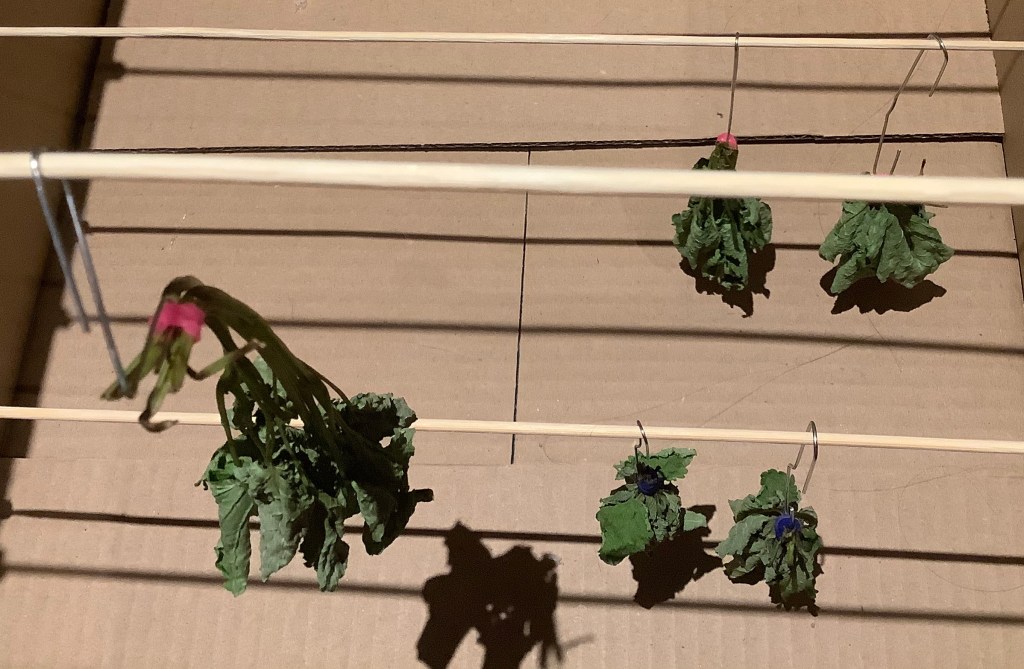
Before we start, I recommend that you take out any herbs you might have hanging in it. This way your herbs will stay nice and clean while you decorate.

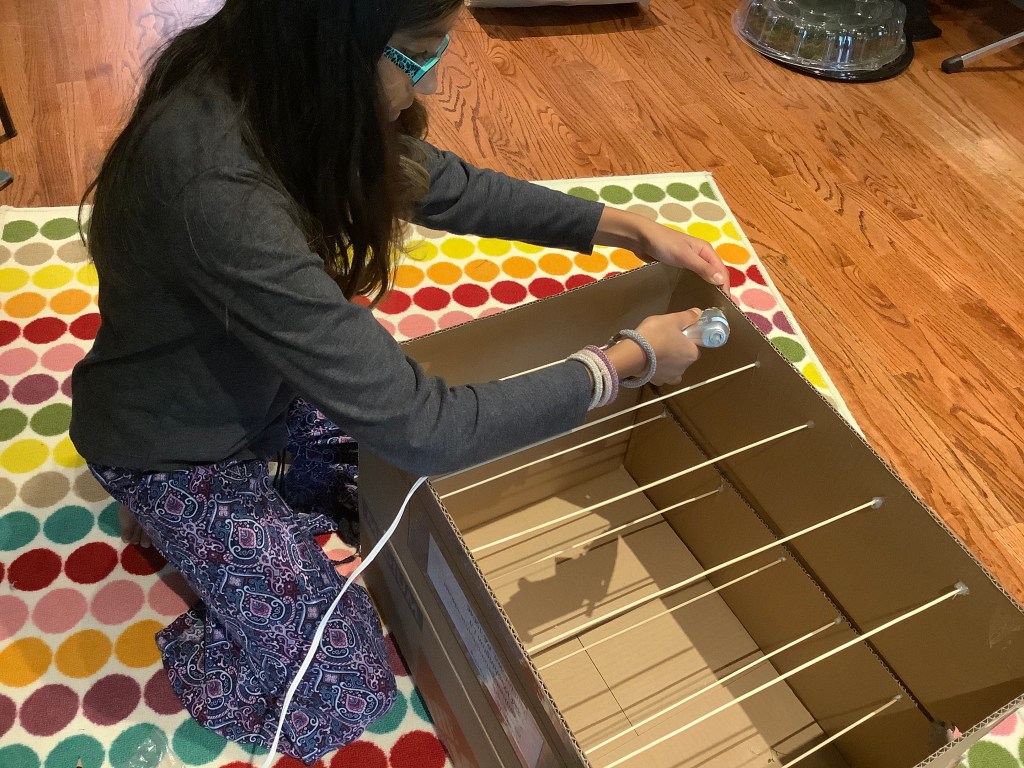
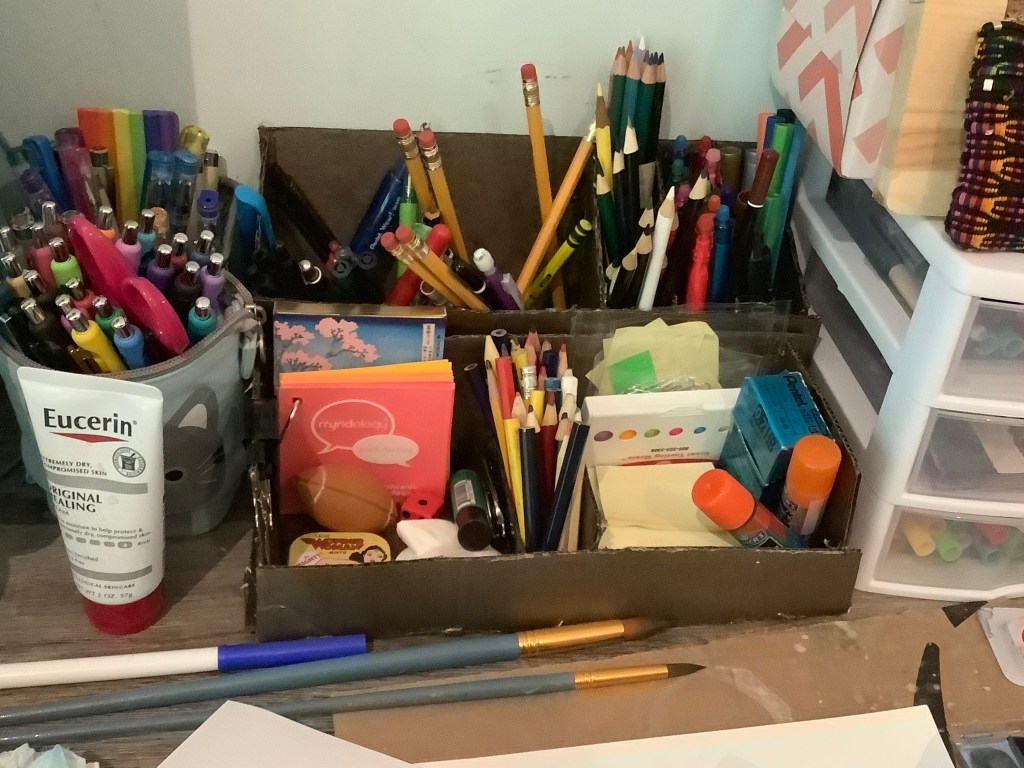
One of the best and easiest ways to decorate your herb drying rack is to spray paint the outside. When you spray paint it is best to do it outside on another piece of cardboard or a tarp and making sure to cover up the inside part of the box because that is where your herbs will hang. This is mostly important if you’re going to use your dried herbs for seasoning in your food. FUN(ish) FACT! Usually when you are spray painting your herb drying rack, you want to add multiple coats of your spray paint until you cannot see any of the marks from your box under it. Here is a picture of a desk organizer I spray painted:

That desk organizer is cardboard!

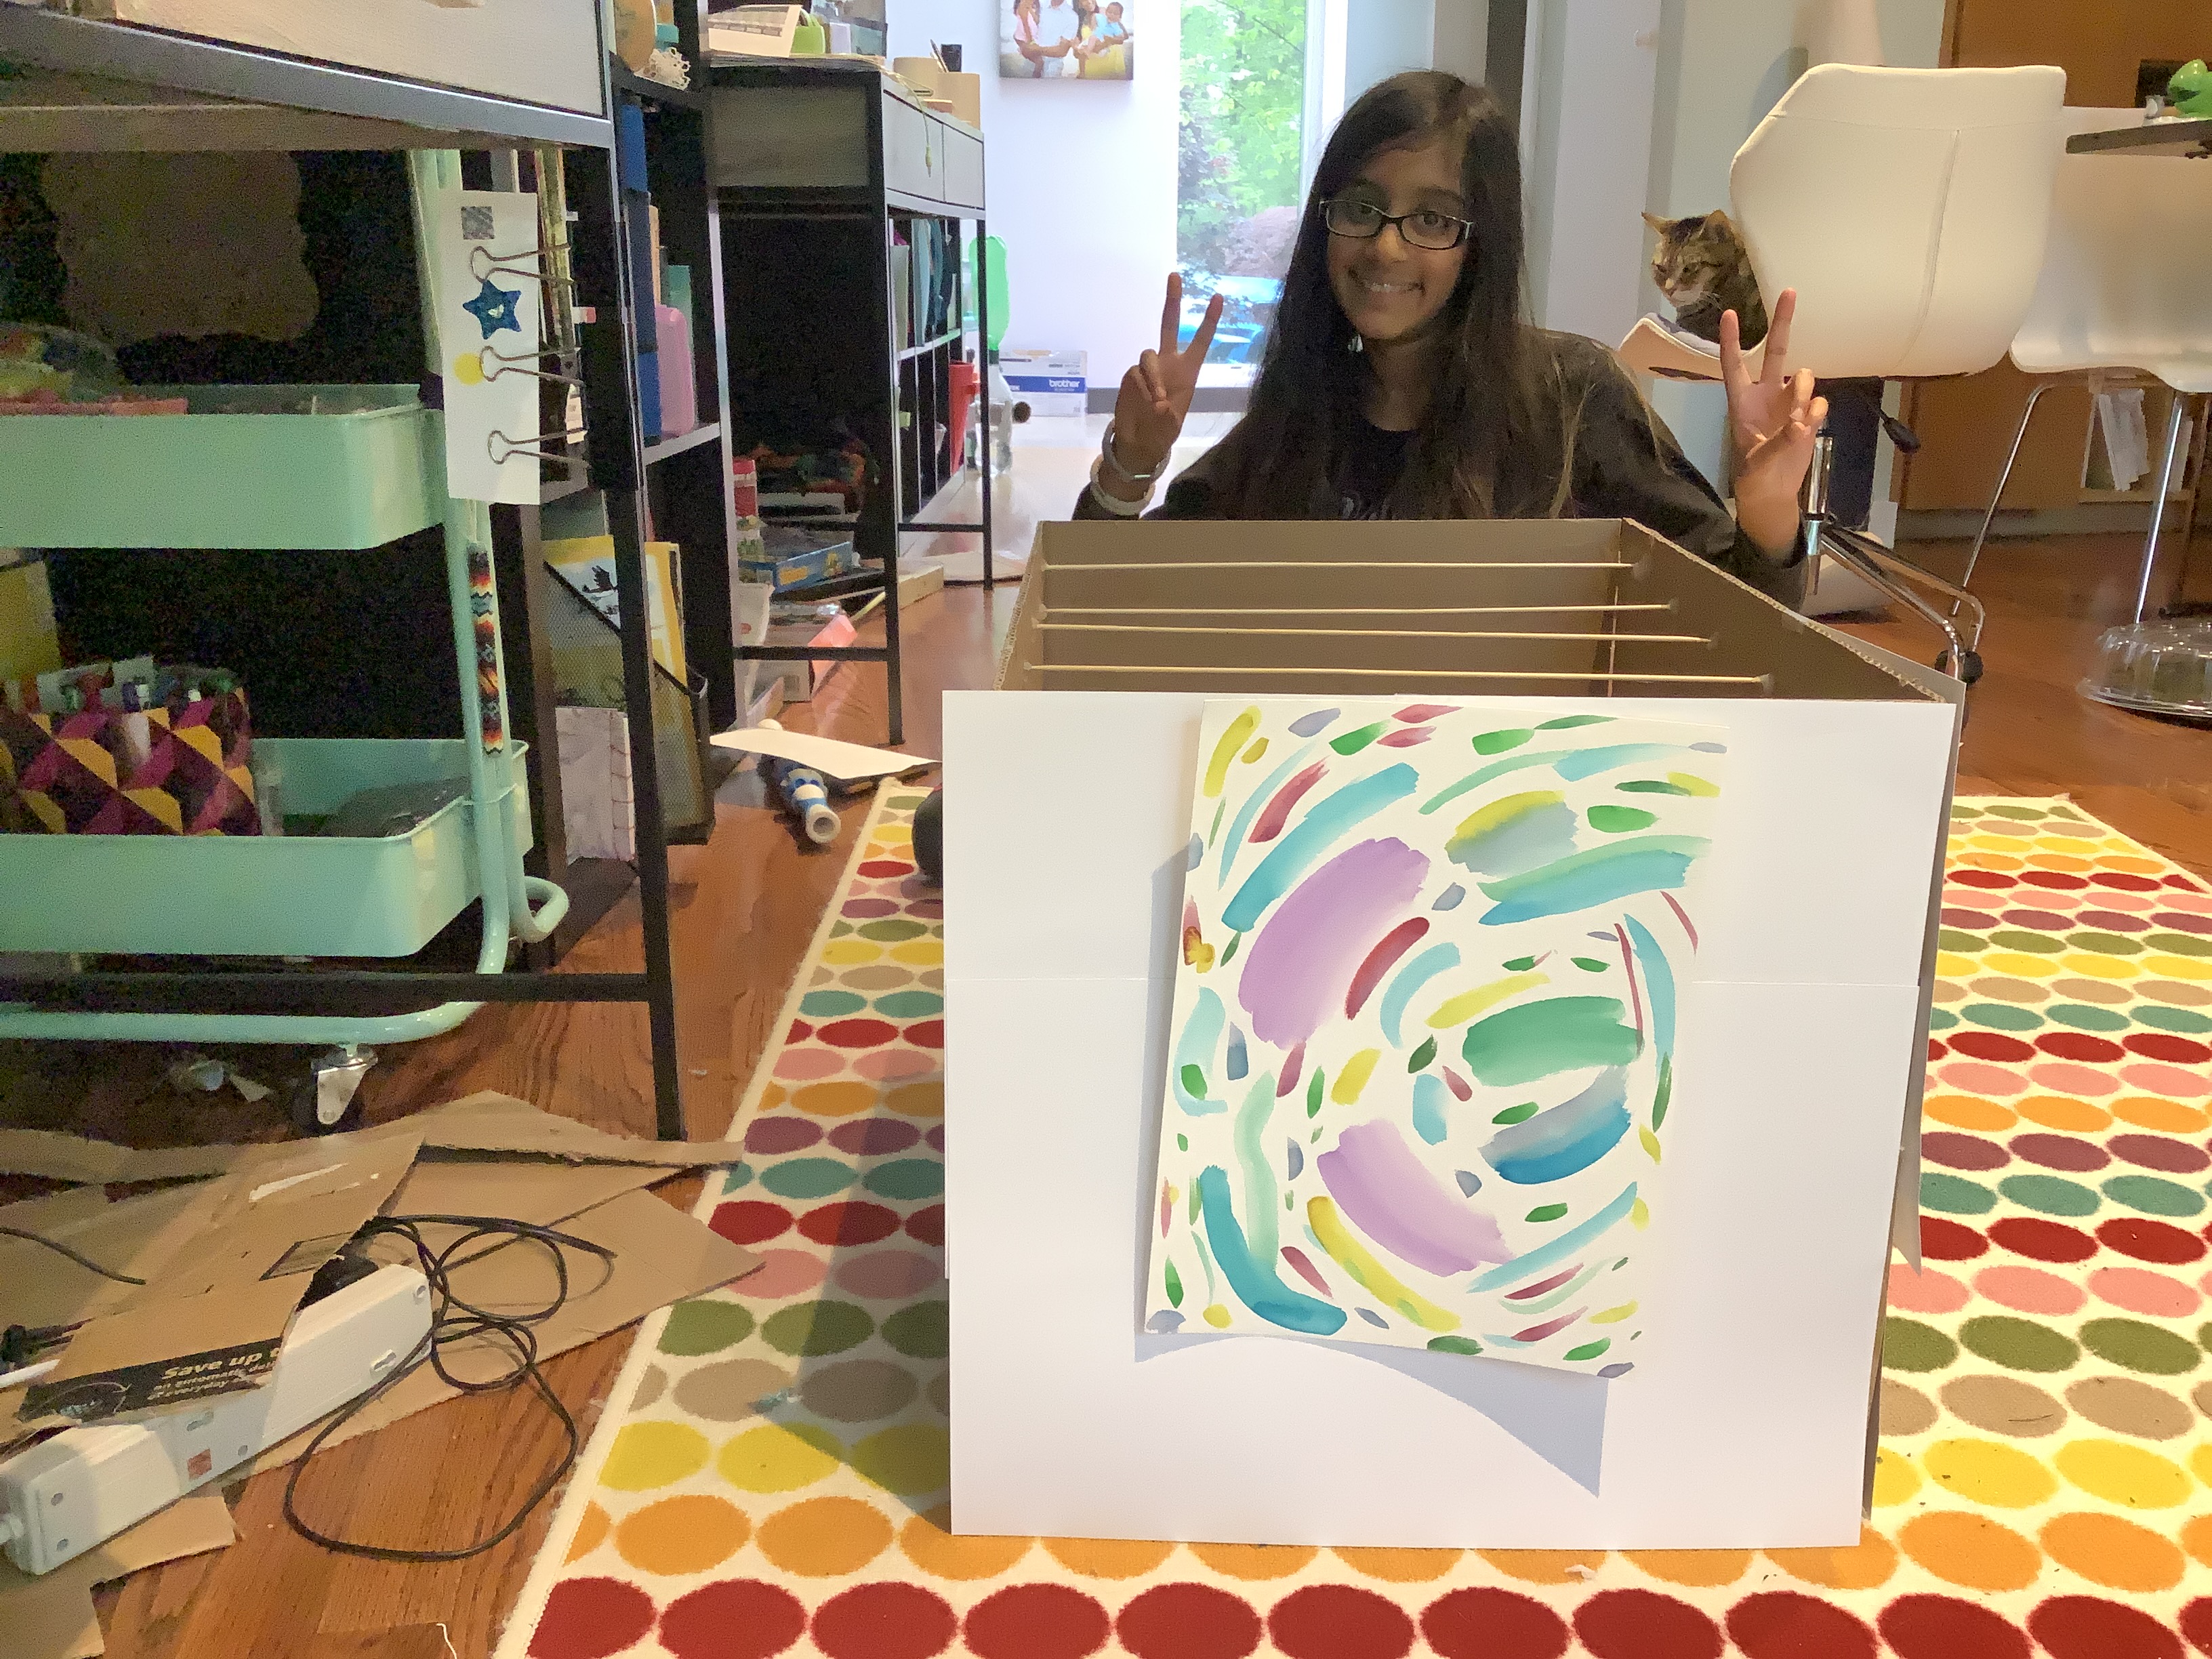
Another way to decorate your box instead of spray painting is to tape or glue paper around the outside of your box. This is better if you are going to collage or paint the outside of your box. FUN FACT! There are also MANY other ways to decorate the paper you are gluing/taping on! Here is how I did it: (Make sure you decorate your paper before you glue/tape it onto your herb drying rack!)

The last way to decorate your herb drying rack ( That I am showing you, there are definitely other ways) is to use washi tape. In my opinion, washi tape is amazing for this project. You can use it around the edges, you can make stripes, and honestly you can even go crazy with it if you wanted! Here is how I used my washi tape:

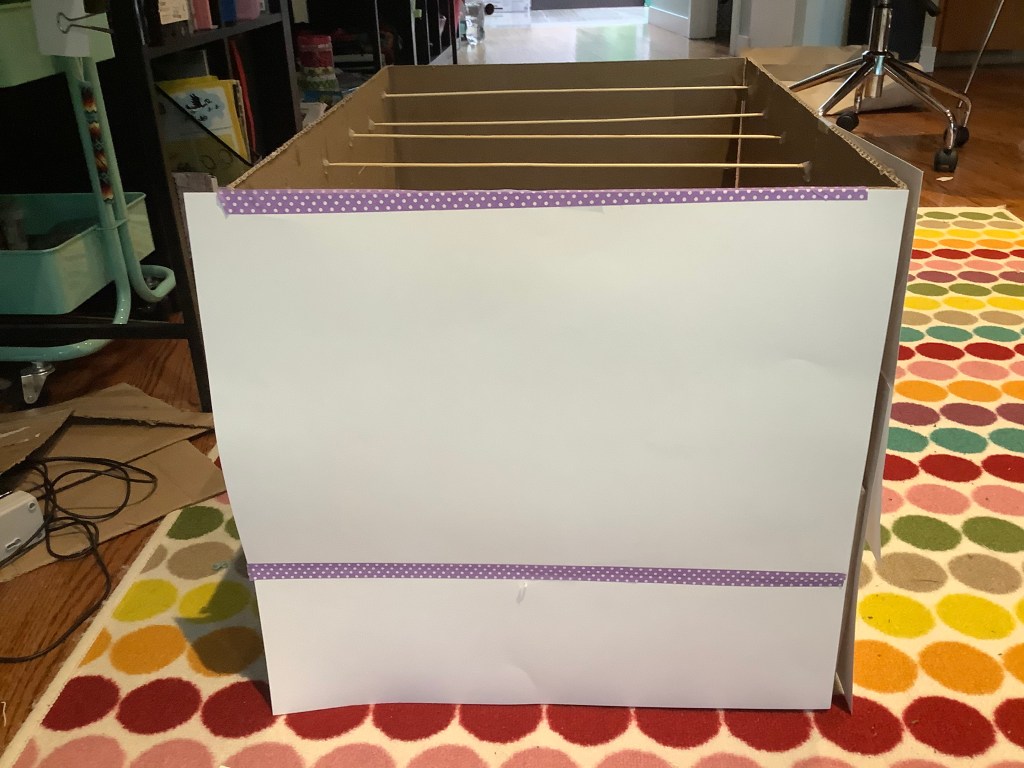
Something you might want to do after you put your washi tape down is you might want to either mod podge over it, or put packing tape over it. This way it will keep your washi tape lasting longer and sticking longer. Also it gives a bonus shine! Something you might want to do after you put your washi tape down is that you might want to either mod podge over it, or put packing tape over it. This way it will keep your washi tape lasting longer and sticking longer. Also it gives a bonus shine! Stay tuned for my Flower&Leaf pressing tutorial tomorrow, and my tips and tricks for your decorated new herb drying rack on Friday!

DIY Herb Rack! (Herb Drying Part 2)

Herb Drying part 2

Today we are going to make a drying rack for the herbs we bundled last time! This activity is fun, useful, and can finally give a use to that big cardboard box sitting in your house that you don’t have the heart to throw away.

To dry herbs for their flavor and aroma, you have to make sure that you do not dry your herbs in the sun. Otherwise, the herbs that you are drying might lose their taste and scent. 
Fun(ish) FACT! Some herbs can take up to 3 to 4 weeks to completely dry!

Here is how I made my herb rack:

Taking inspiration from paper bag ideas, I took a big cardboard box, and hot glued bamboo skewers (you could use most sticks) across the bottom half of the box to hang my herbs from. FUN FACT! One of the best ways to dry herbs is to hang them because it allows good air flow between the herbs. Next, I taped the top flaps of the box to provide more shade on the drying herbs.

To make a good use of the extra space, I decided to make a second row at the top of the box with my bamboo skewers. This could also help if you are drying longer herbs. (remember, you can use basically any type of sticks). To start, I made marks where I wanted my sticks to go. Then I started gluing.

While I was hot gluing, I had to make sure that the bamboo skewers were secured firmly at the ends. This is important because if your sticks fall down, all of your drying herbs could get crushed. You can see here that I ran out of normal hot glue so I ended up using some decorative silver hot glue.

Close up of one end of a hot glued stick.

Once I was done gluing all of my sticks in place, I gave them 1 minute to make sure all the glue had dried. After that, all the important parts of the herb drying rack are done!

Now you can put your herbs out to dry on your new herb drying rack that you made yourself!


Keep a lookout for my next post about how to decorate your new herb drying rack tomorrow!

Drying herbs! (Herb Drying Part 1)

Lemon Balm bundle

Yesterday, it was good weather outside, so I decided to harvest and trim some of our lemon balm. To make sure that the cuttings would keep, they had to be dried. FUN FACT! many herbs taste stronger when they are dried! Here I am using lemon balm as an example, but most herbs can be dried like this. 

First, I washed the lemon balm cuttings to get rid of any dirt. Then, after they were dry, I made Bunches of lemon balm cuttings that were about the same size. FUN FACT! Lemon balm is a good herb for making tea! 😋 After that, I took a rubber band (I have leftover rainbow loom bands from craft projects so I used those), and tightly wound them around the top stems of the lemon balm cuttings.

Making bundles using rainbow loom

Next, I took some spare paper clips and unfolded them like this:

( you can use big ones or small ones)

After I had prepared the paper clips, I took one the smaller end of one of the paper clips and slipped it in the rubber band that was holding the steps together, and there you go! Some Lemon balm cuttings (or most other herb cuttings) ready to dry! FUN FACT! Lots of herbs like the mint family, rosemary, etc, like to be trimmed and grow even better with proper pruning! Stay tuned for a post about trimming/pruning herbs!

Keep a lookout for my DIY herb drying rack post tomorrow!