How to press flowers and leaves

Today we are going to learn how to press flowers. Pressed leaves and flowers are good for cards and crafts because if you press them properly, most flowers and leaves will keep their color for some time.

The first step to pressing flowers and leaves, is to (obviously) choose your leaves/flowers.

FUN FACT! You can press more than just flowers and leaves, but today I’m gonna show you how to press these. …..haha, get it? 🙂

The time in the day you pick your leaves and flowers is important. Make sure when you take your leaves/flowers, they are dry. Like after the sun has evaporated the morning dew, but before the evening rain shower. Also the leaves or flowers you take, should be relatively thin and not super thick. It’s OK if the flowers or leaves are thin and they’re in a 3-D shape, but the big, thick. Leaves and flowers just do not press well.

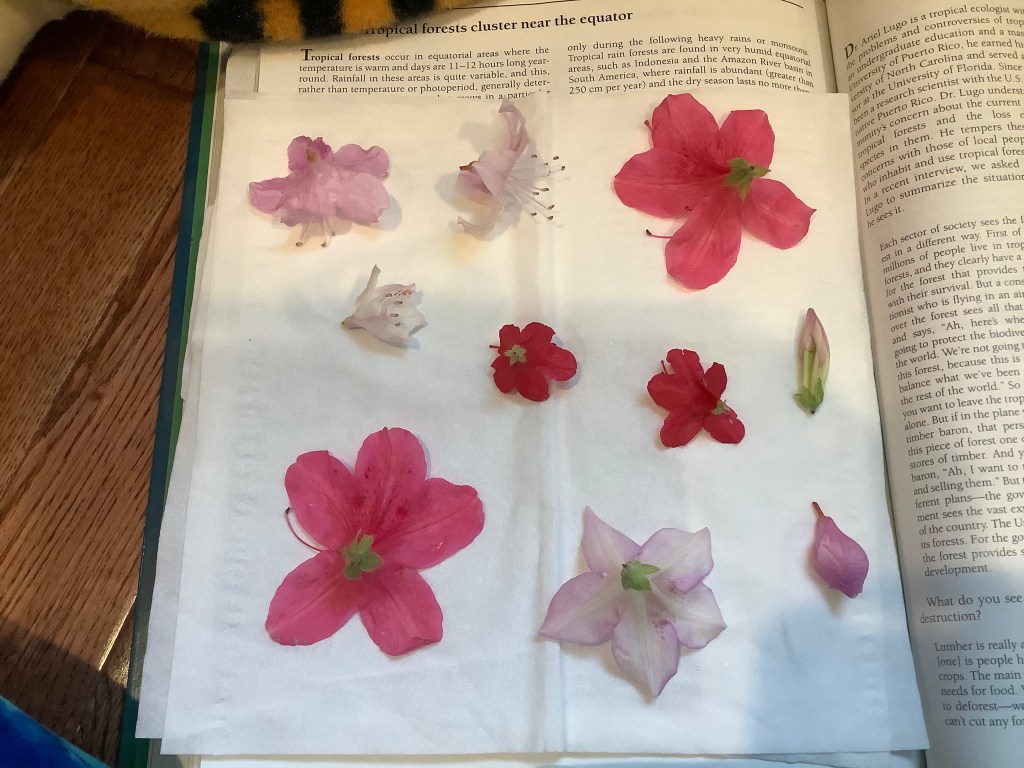
Once you have your things to press, take a heavy, thick book that is not important to you, (you can use multiple) and open up to the very last pages. Then, grab two tissues and place the first one on the page that you’ve opened up to. Once you’ve done that, you can take your flowers and leaves that you’ve decided to press and arrange them on the tissue in the way that you would like them to be dried. FUN FACT! Once they are pressed, most leaves and flowers are as thin, or thinner than paper! Here is how I laid my flowers out. The way you lay them out is how they are going to look once they’re finished pressing.

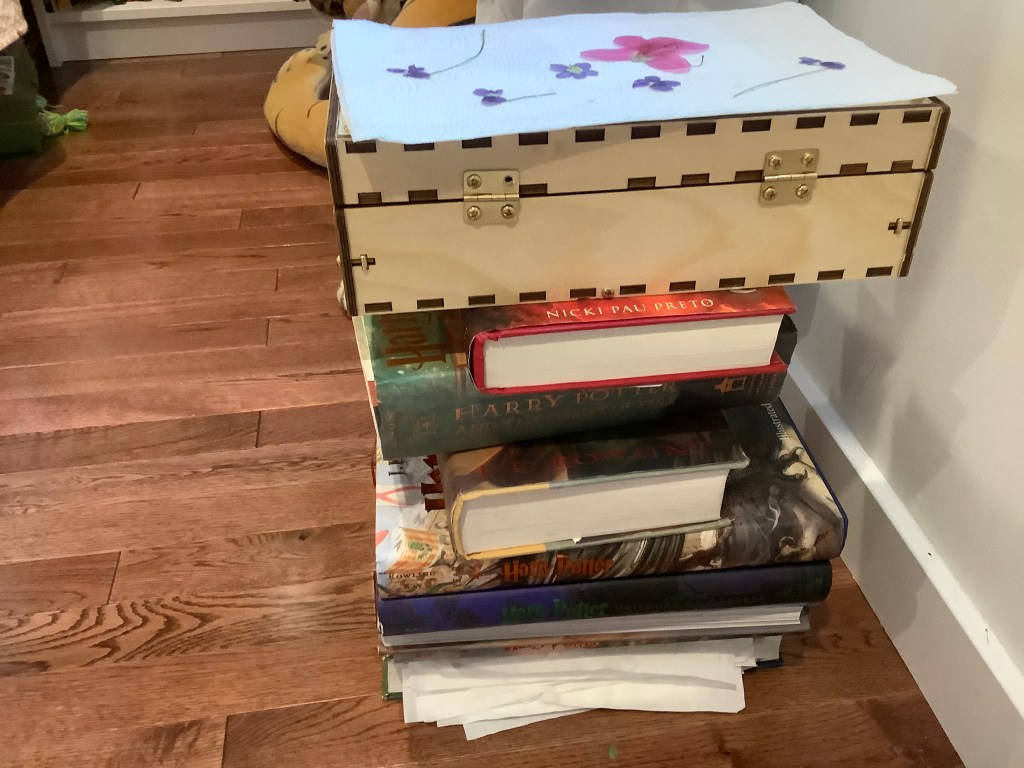
After you’ve laid out all of your flowers and leaves, gently place your second tissue on top of them and quickly close the book. If you have more heavy books, immediately put them on top of the book that you have your leaves or flowers in.

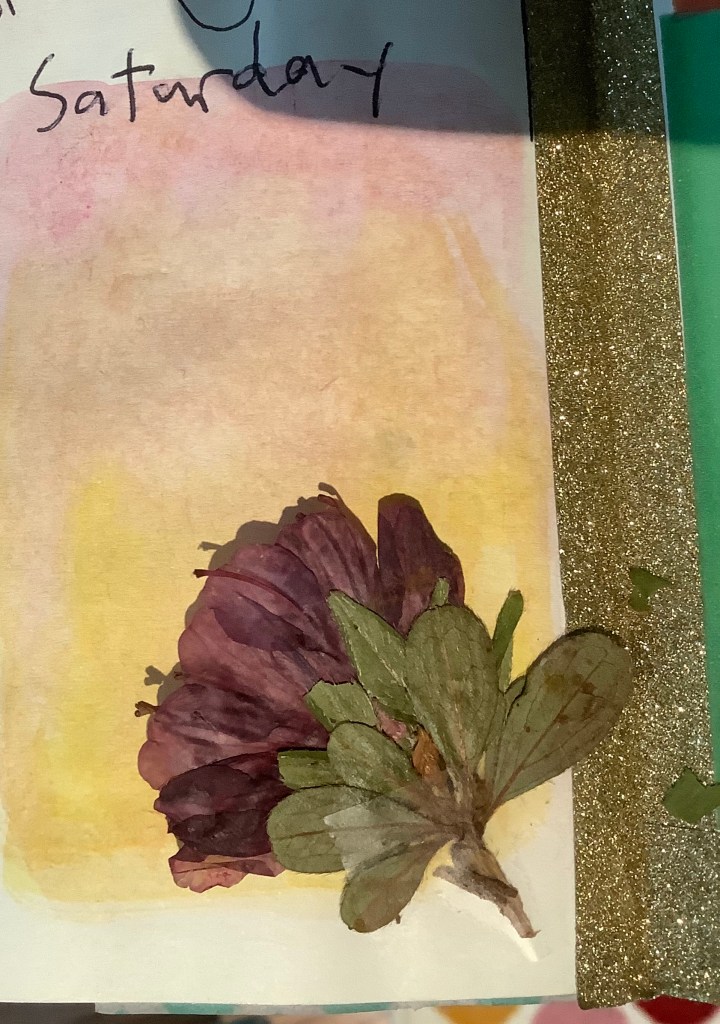
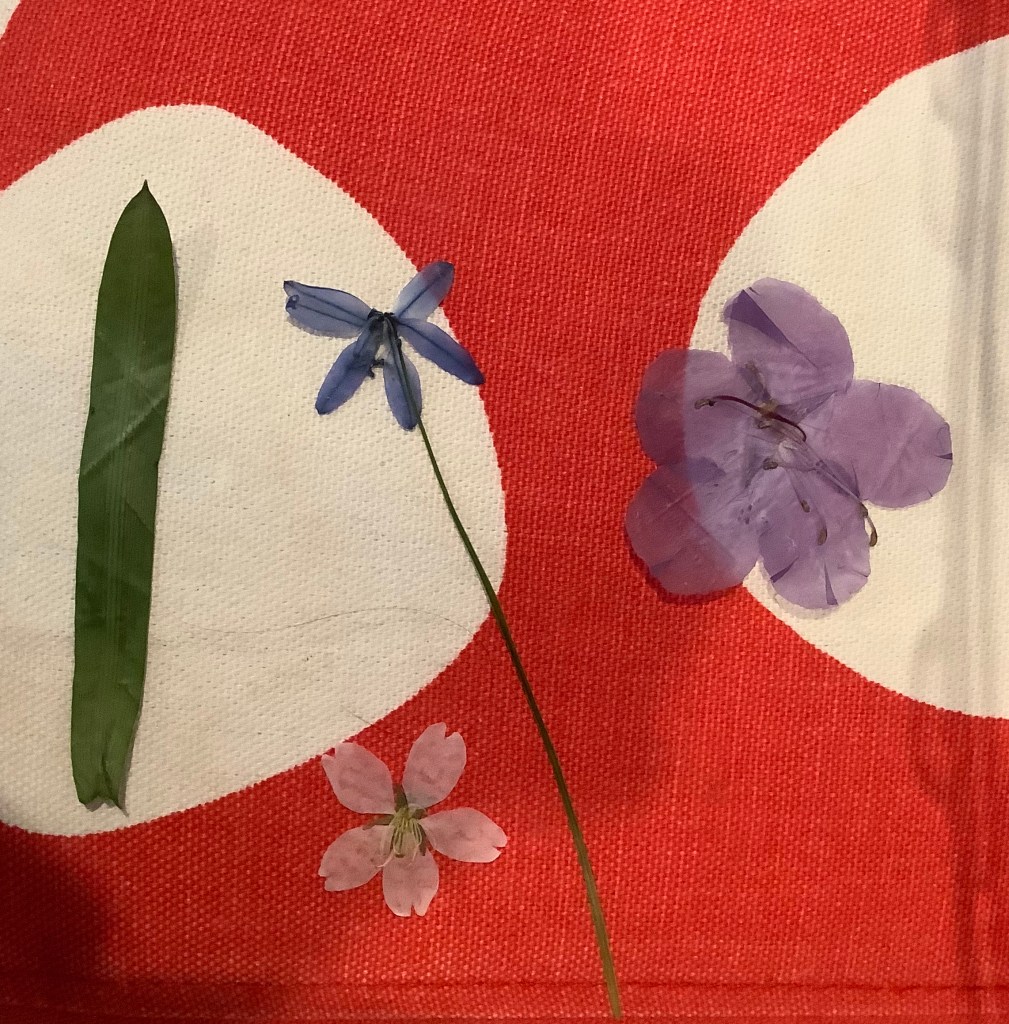
Most leaves and flowers take up to two weeks to a month to dry. It’s best to check on your leaves and flowers every week by opening the book and gently peeling them off the tissue to make sure they don’t stick. Once your flowers and or leaves are paper dry and paper thin, they are finished pressing! Here is how some of my flowers looked once they were pressed.

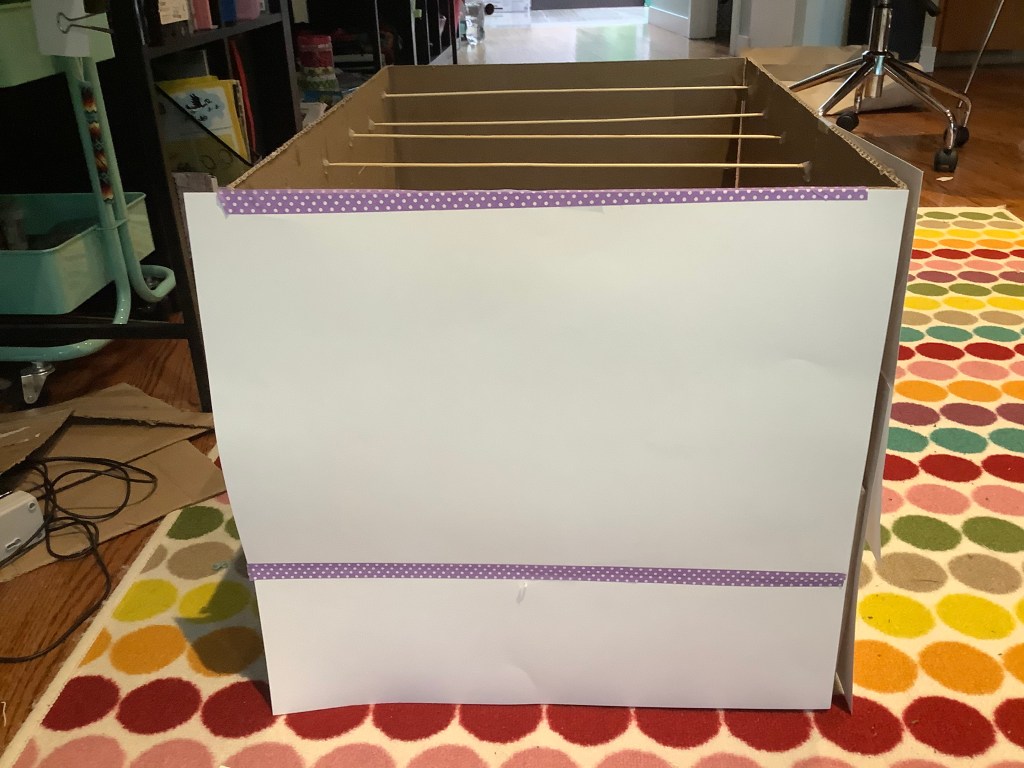
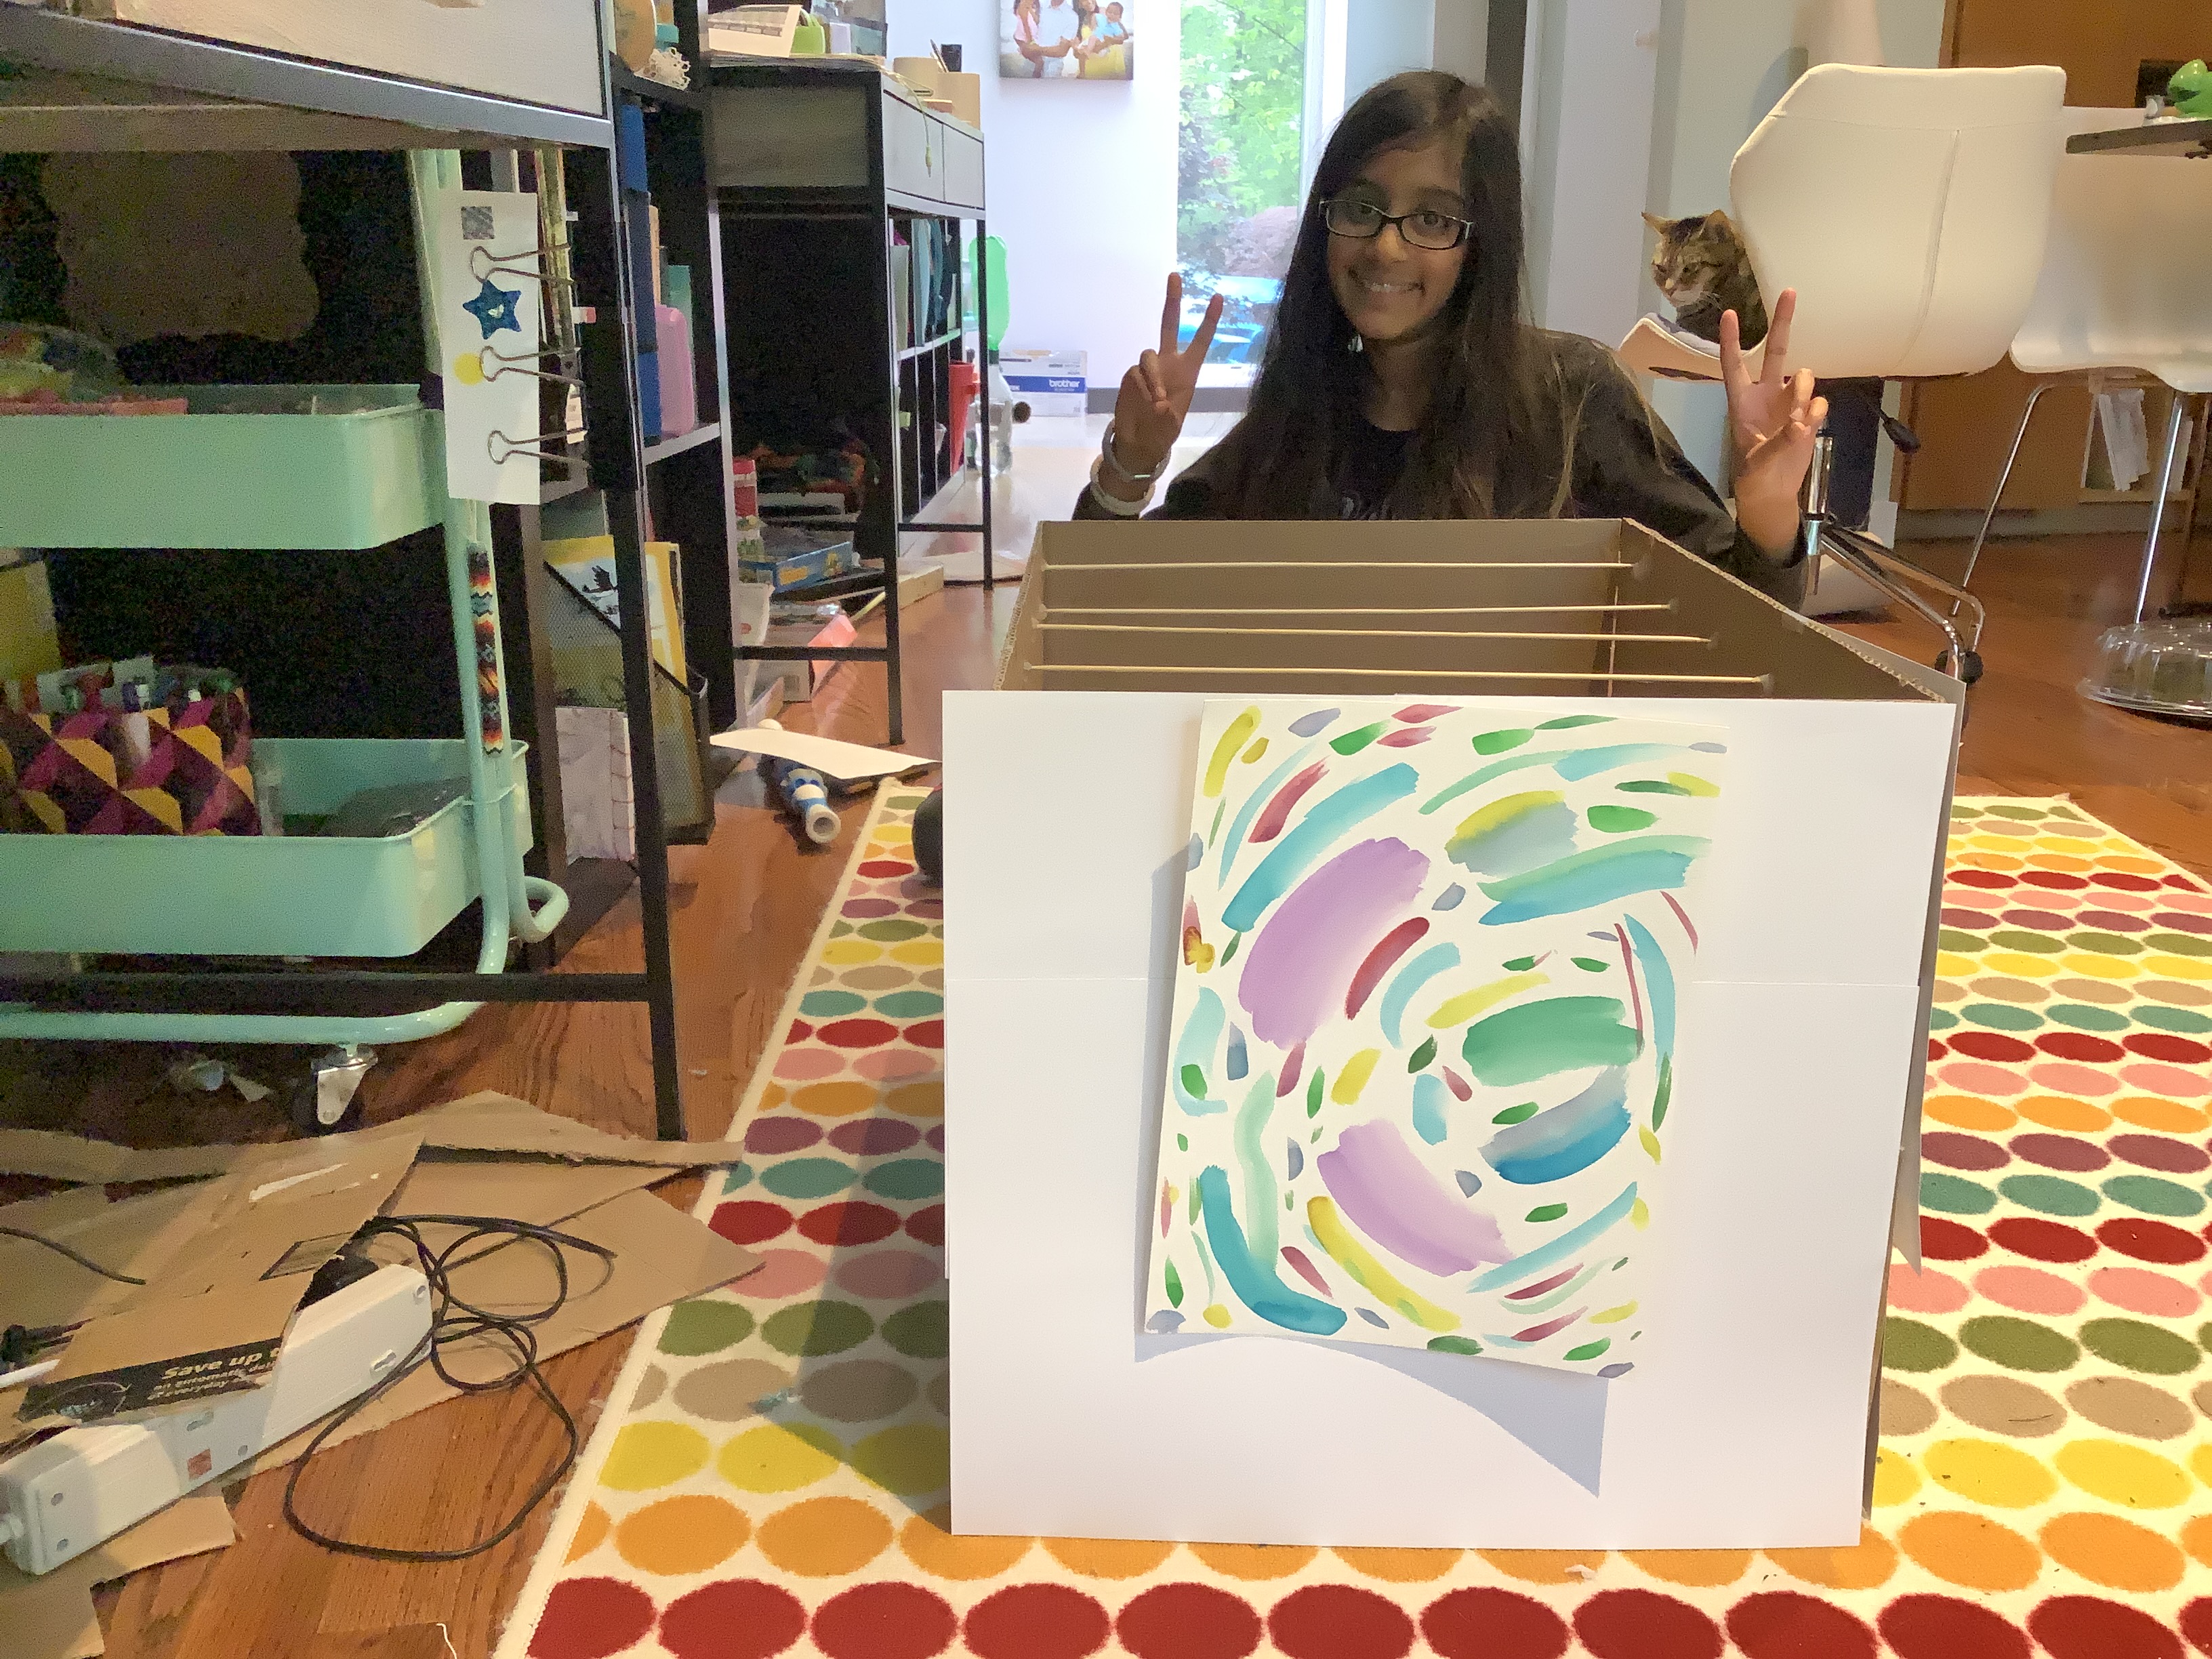
I hope you enjoyed today’s post! Keep a lookout for my herb drying rack tips and tricks coming soon!

You can use pressed flowers and leaves to decorate journal pages like I did here. You can also use them on cards which can be useful especially because Mother’s and Father’s Days are coming up!


Decorating our herb drying rack! (Herb drying part 3)

Today, we will be decorating our herb drying rack that we made last time and look at different ways to decorate it. (This is optional)

Before we start, I recommend that you take out any herbs you might have hanging in it. This way your herbs will stay nice and clean while you decorate.

One of the best and easiest ways to decorate your herb drying rack is to spray paint the outside. When you spray paint it is best to do it outside on another piece of cardboard or a tarp and making sure to cover up the inside part of the box because that is where your herbs will hang. This is mostly important if you’re going to use your dried herbs for seasoning in your food. FUN(ish) FACT! Usually when you are spray painting your herb drying rack, you want to add multiple coats of your spray paint until you cannot see any of the marks from your box under it. Here is a picture of a desk organizer I spray painted:

That desk organizer is cardboard!

Another way to decorate your box instead of spray painting is to tape or glue paper around the outside of your box. This is better if you are going to collage or paint the outside of your box. FUN FACT! There are also MANY other ways to decorate the paper you are gluing/taping on! Here is how I did it: (Make sure you decorate your paper before you glue/tape it onto your herb drying rack!)

The last way to decorate your herb drying rack ( That I am showing you, there are definitely other ways) is to use washi tape. In my opinion, washi tape is amazing for this project. You can use it around the edges, you can make stripes, and honestly you can even go crazy with it if you wanted! Here is how I used my washi tape:

Something you might want to do after you put your washi tape down is you might want to either mod podge over it, or put packing tape over it. This way it will keep your washi tape lasting longer and sticking longer. Also it gives a bonus shine! Something you might want to do after you put your washi tape down is that you might want to either mod podge over it, or put packing tape over it. This way it will keep your washi tape lasting longer and sticking longer. Also it gives a bonus shine! Stay tuned for my Flower&Leaf pressing tutorial tomorrow, and my tips and tricks for your decorated new herb drying rack on Friday!