How to Take Care of a New Plant

When you bring home a new plant, it is important to treat them carefully to avoid accidentally spreading pests or deseases they might carry to your other plants. Read on to find out exactly how you can make your new plant happy while keeping your existing collection safe.

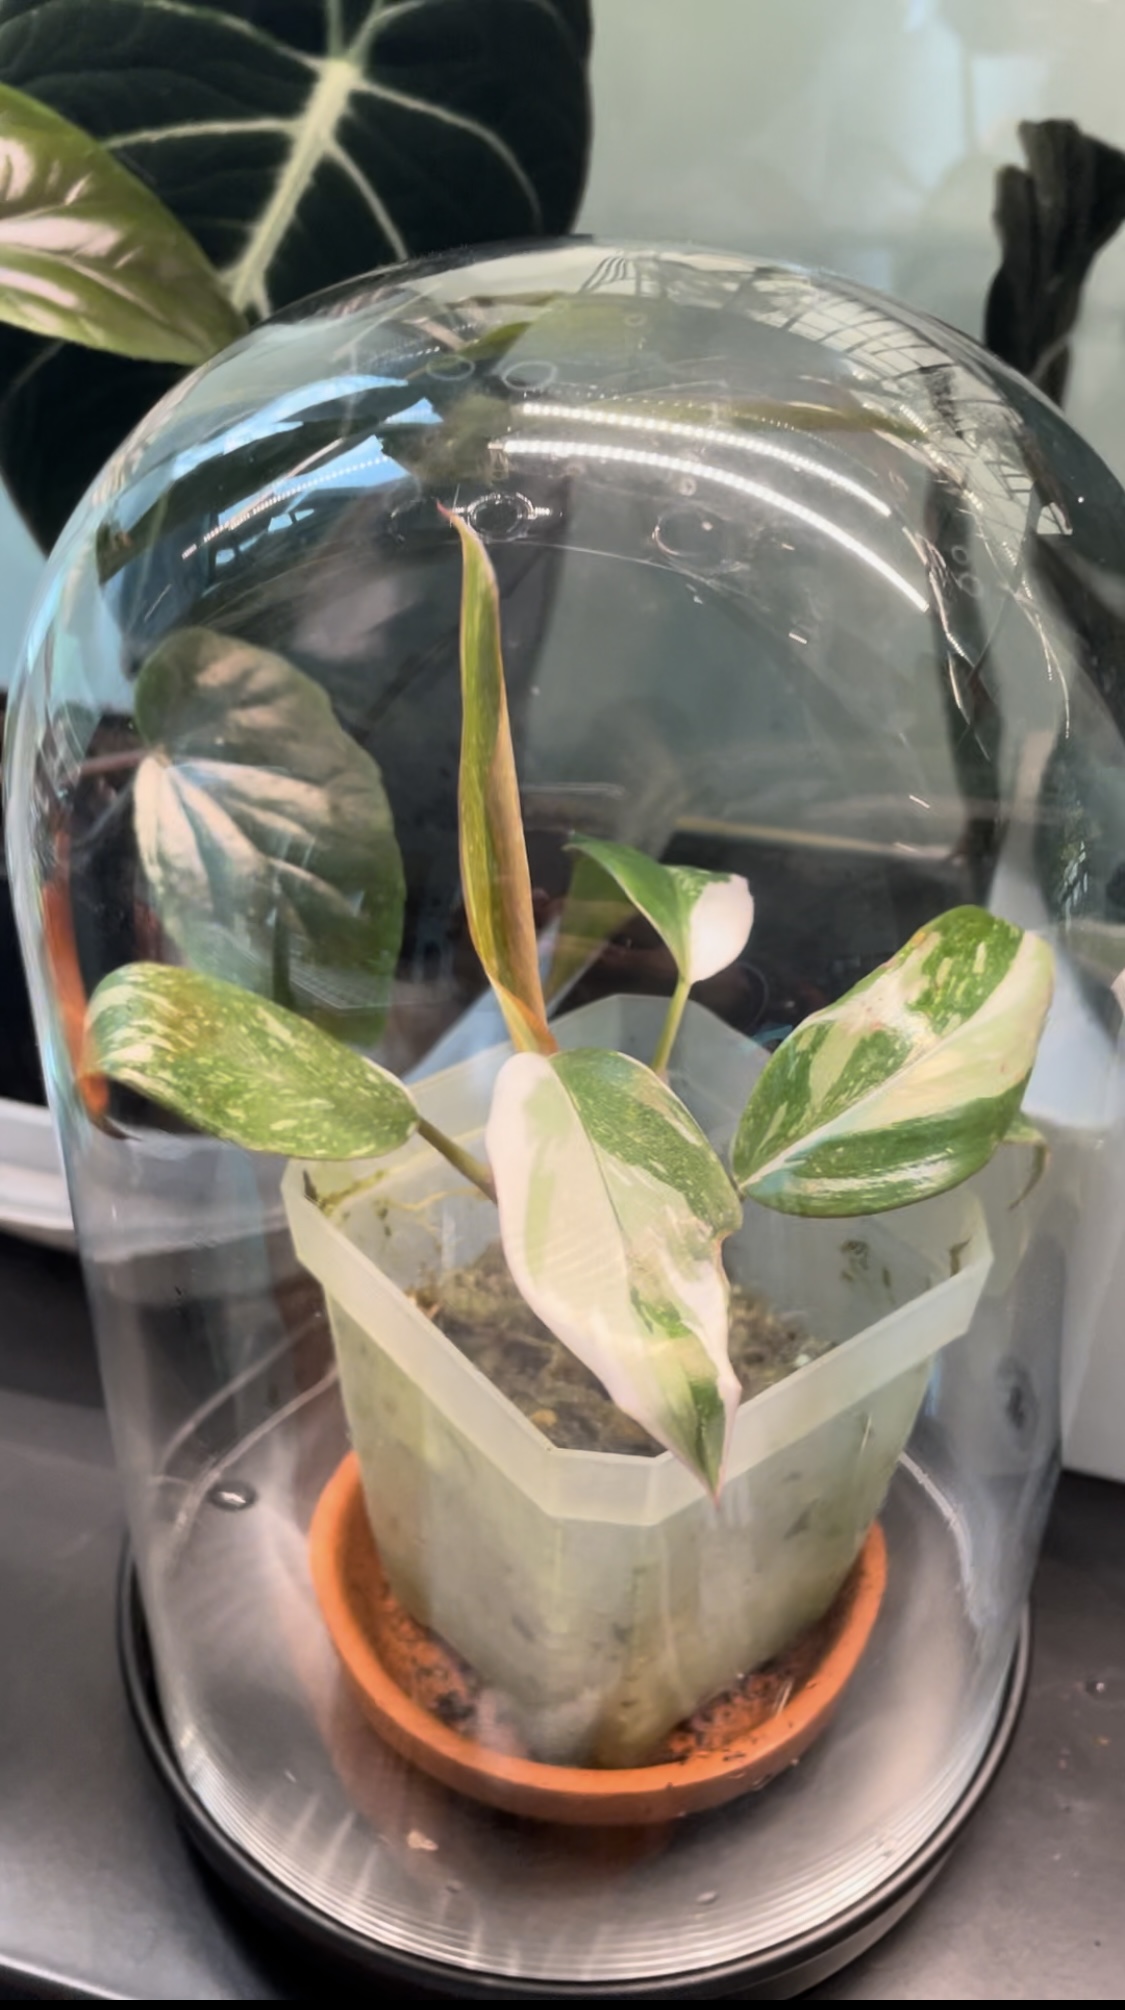
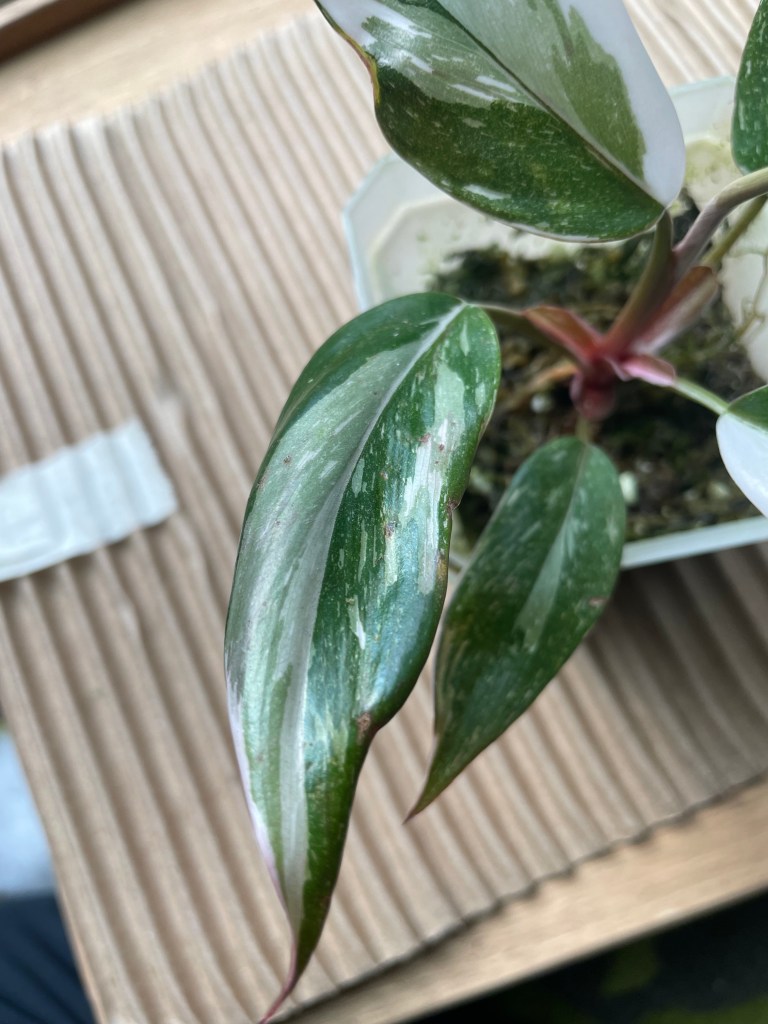
This plant is called “Philodendron Red Anderson”. I bought it online from Etsy. I love buying plants from Etsy as it is a great platform for finding plants at a reasonable and affordable price.

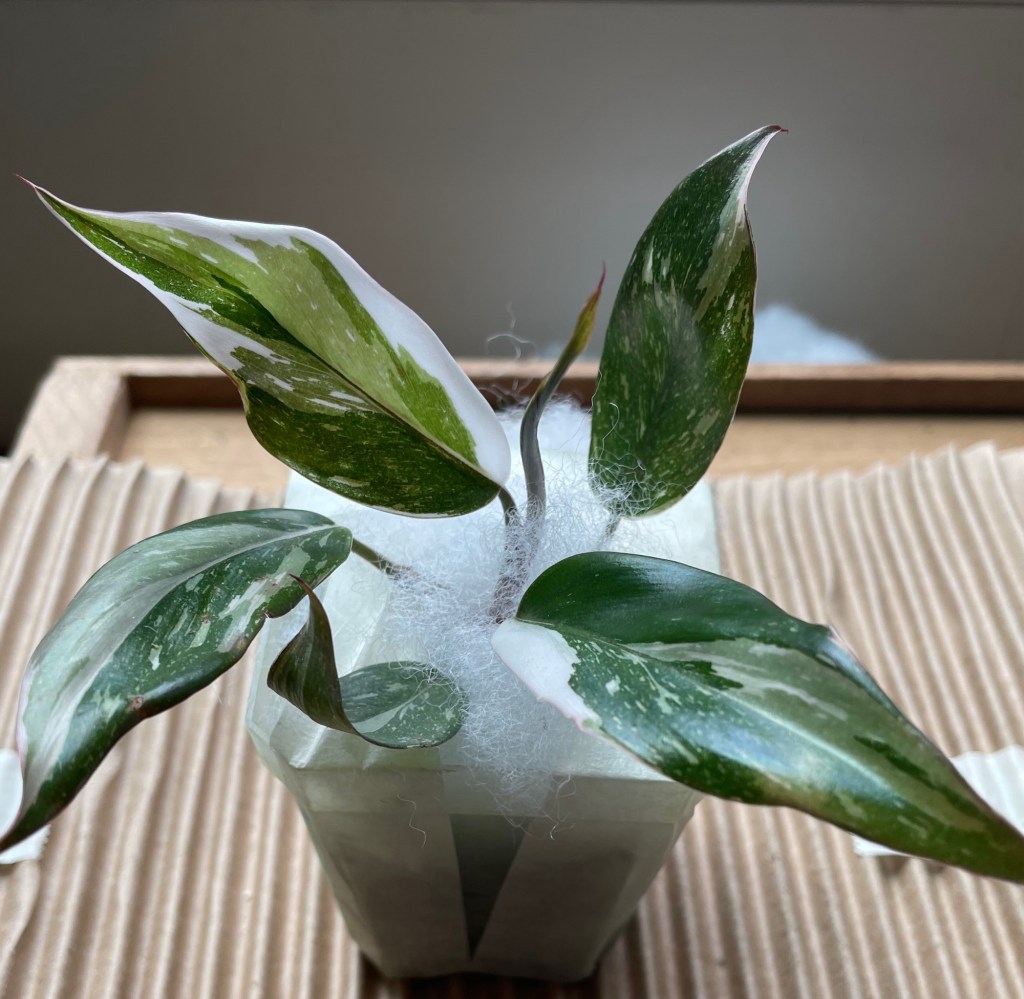
The first thing to do with a new plant is to check the leaves for pests.

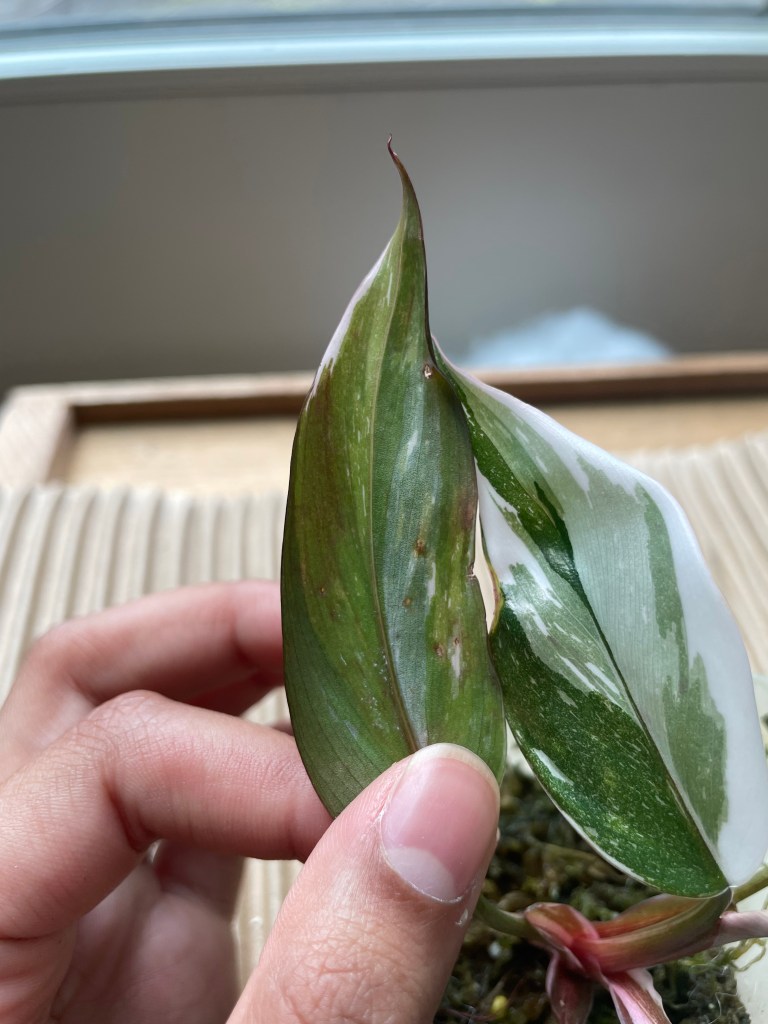
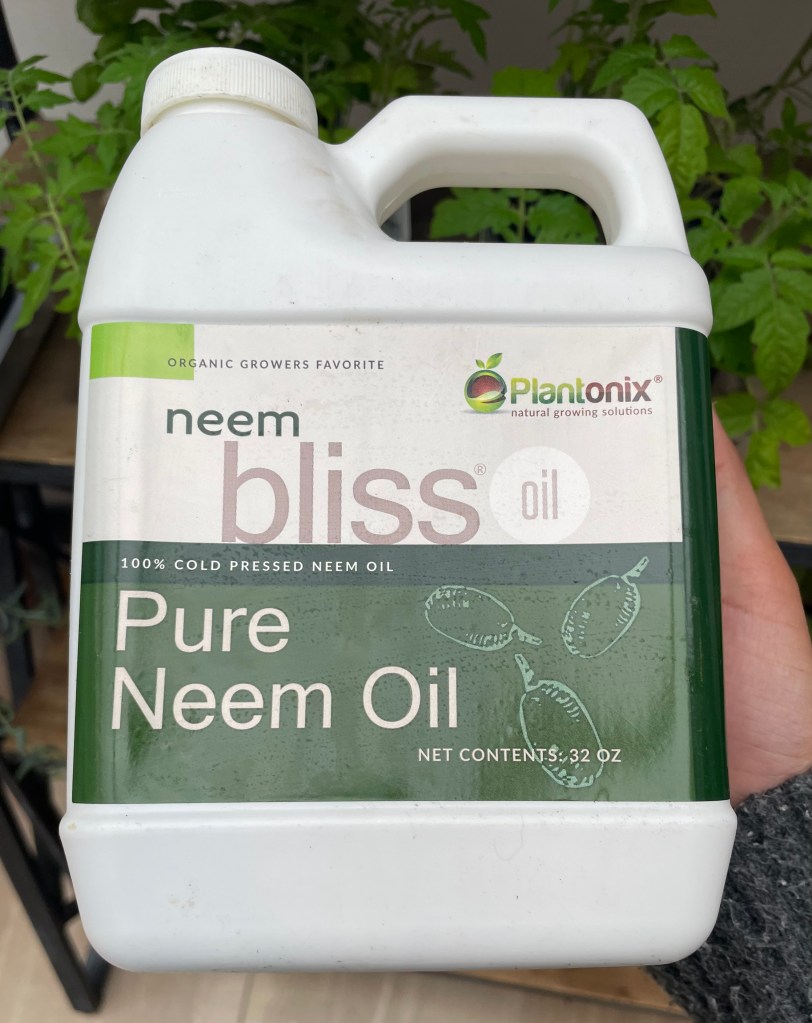
I always treat all new plants for pests just in case. Even if I do not find anything in a preliminary search. For this plant, I wiped the leaves with a neem oil solution. Neem oil is a natural pest prevention/treatment for plants! Check out my post about how to make a neem oil solution here!

If your plant is from a big box store or is in a very poor potting mix, I recommend repotting it as soon as possible to get it into a better soil mix. The soil from commercial nurseries is often poor and can lead to drainage problems.

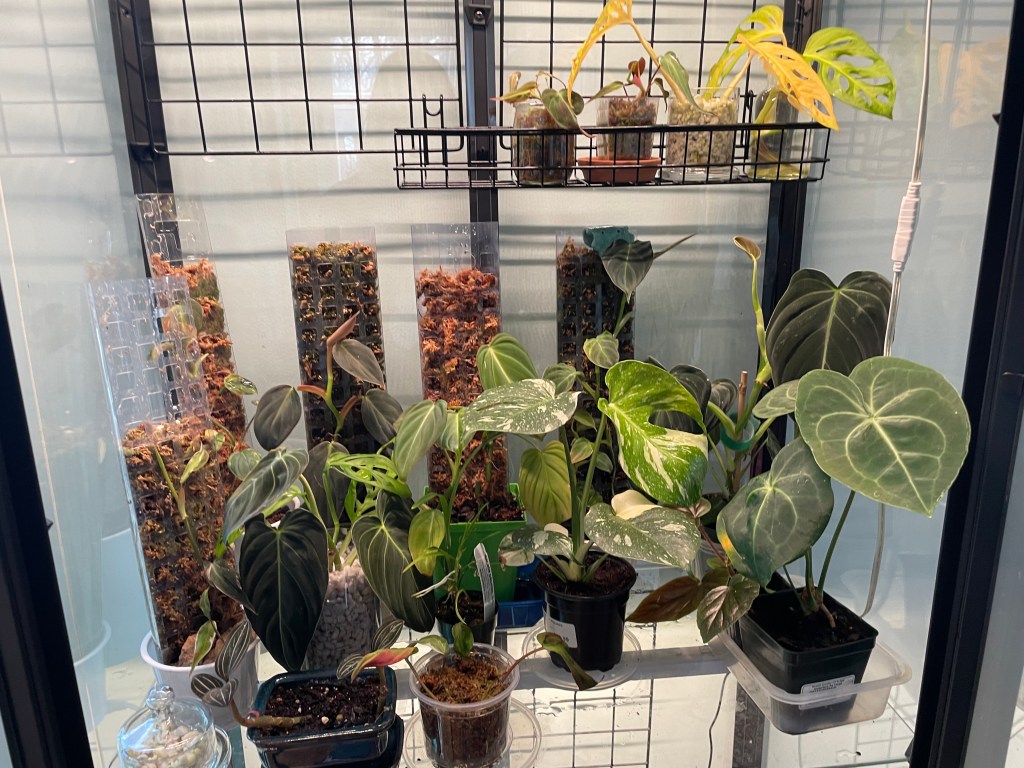
The last step is to isolate your plant. This step is not strictly necessary, but I like to keep my new plants separate for a week or so to make sure there are no pests that survived that could be passed on to the rest of my plants.

Those are all the steps to take for bringing a new plant into your plant collection. Comment your planty questions down below! Check out my Youtube and Instagram for daily plant content.

Building an Ikea Greenhouse Cabinet-free printable!

Greenhouse cabinets are great ways to make sure your tropical plants are thriving in their optimal conditions. Learn here how I built my greenhouse cabinet and find useful links and lists for making your own! At the bottom of the post you will find a printable PDF with links to all the materials you need to make your own greenhouse cabinet.

My goal for my cabinet is to create a humid environment for my tropical plants as most tropical plants require humidity levels that are not usually maintained in houses.

The first thing I did was to chose which Ikea cabinet I wanted to transform. There are many different options, but I chose the Milsbo Tall Ikea cabinet in the black color. It is big enough that it will fit all my plants in the years to come, but it will not take up too much space in my plant room. If you are looking for a smaller cabinet, the Ikea Baggebo and Rudista cabinets are good options too.

The next important thing is to get weatherstripping for the greenhouse cabinet. Weatherstripping is an adhesive strip that seals the cracks of the cabinet to retain humidity. If your cabinet is black, then use this black weatherstripping. If it is white, you can use this one. Matching the color of the weatherstripping with your cabinet is not required! This is purely a personal reference.

Another important thing to add is a small fan. Fans will provide air circulation which is important with high humidity in order to prevent fungal and bacterial deseases on your plants. Here is the link to the fan I used.

The most important thing in your greenhouse cabinet will be grow lights! These will provide the light the plants will need to grow. I like and used the Barrina grow lights. Depending on how wide your greenhouse cabinet is, they have 2ft wide ones and 1ft wide ones. the grow lights come in multiple different colors, but the white light is my favorite as they light up a room without being blindingly bright.

If you want to maximize your greenhouse cabinet’s vertical space, consider hanging grid organizers in your cabinet. These will allow you to add extra shelves/space for more plants.

Those are all the materials needed to build a greenhouse cabinet. Attached at the bottom is a free PDF with all the links to the materials mentioned.

PDF:

How to save free seeds from your garden!


Hi guys! This post is #1 of a series for how to save seeds. This one is all about harvesting your seeds and setting them up for storage. Let’s get started.

First you want to chose your plant to take seeds from. If you are worried about cross pollination, (cross pollination is when a pollinator bees, wasps, etc. pollinate one type of a plant and then a different type of the same plant, that fruit is basically a combo of the two types of plants. Remember, you can always search this up) then take seeds from a plant that is far away from another plant like it but not the same.

Second, there are two main types of plants, hybrid and heirloom. The difference between the two is that when you save seeds from a hybrid plant, when you grow the seeds next year, the produce is a little bit different (in a bad way usually) and every tine you keep on saving seeds from a hybrid plant, the produce gets worse and worse. Heirloom plants on the other hand, when you save seeds from them, the seeds (not counting cross pollination) are basically the same produce as the other plant. This principle is usually used for tomato plants, and you can find out whether they are a heirloom or hybrid by looking at the tag, the seed packet, or by searching it up.

Another factor to saving seeds is the dryness/wetness. If it has been raining a lot recently, then you should let the seed pod/seeds dry a bit before you store them. If they are already dry, still let sit for a day or two just to be safe. You don’t want your seeds to rot in storage!

That’s it for today’s post! This post was all about setting up for saving and storing our seeds. In our next post, we will talk about how to do exactly that.

Bye! Please check out our 33 other painstakingly written posts!