How to prune mint. Pruning the mason jar herb garden!

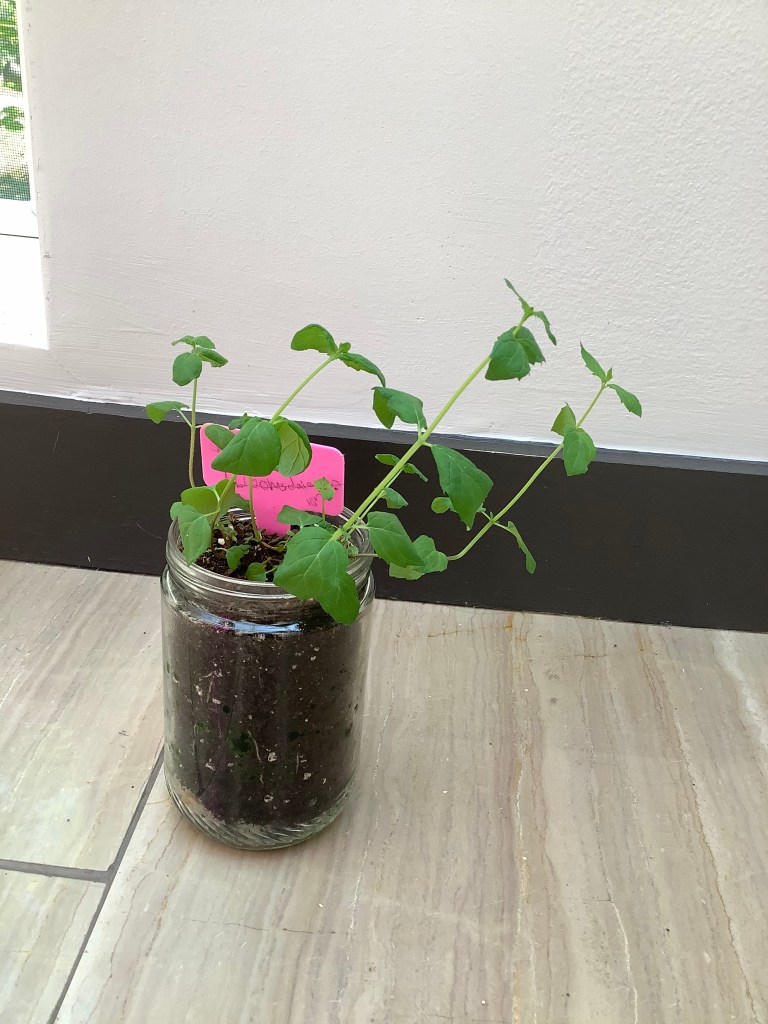
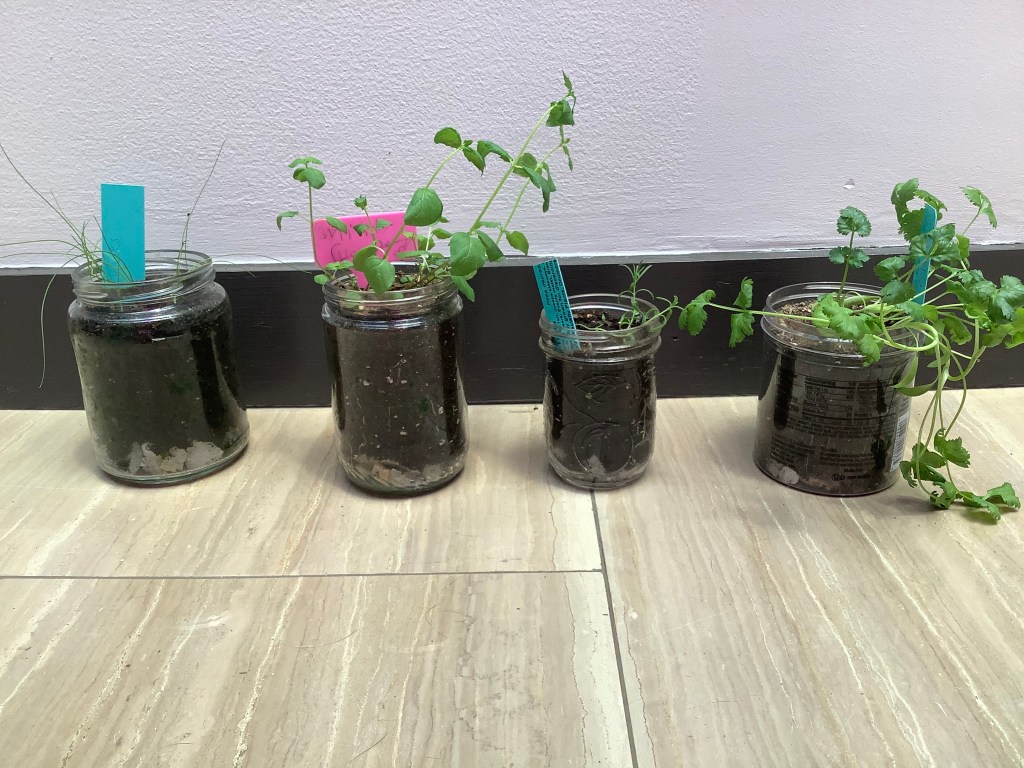
Hi guys! Today we are going prune our mint and chives in the mason jar herb garden!

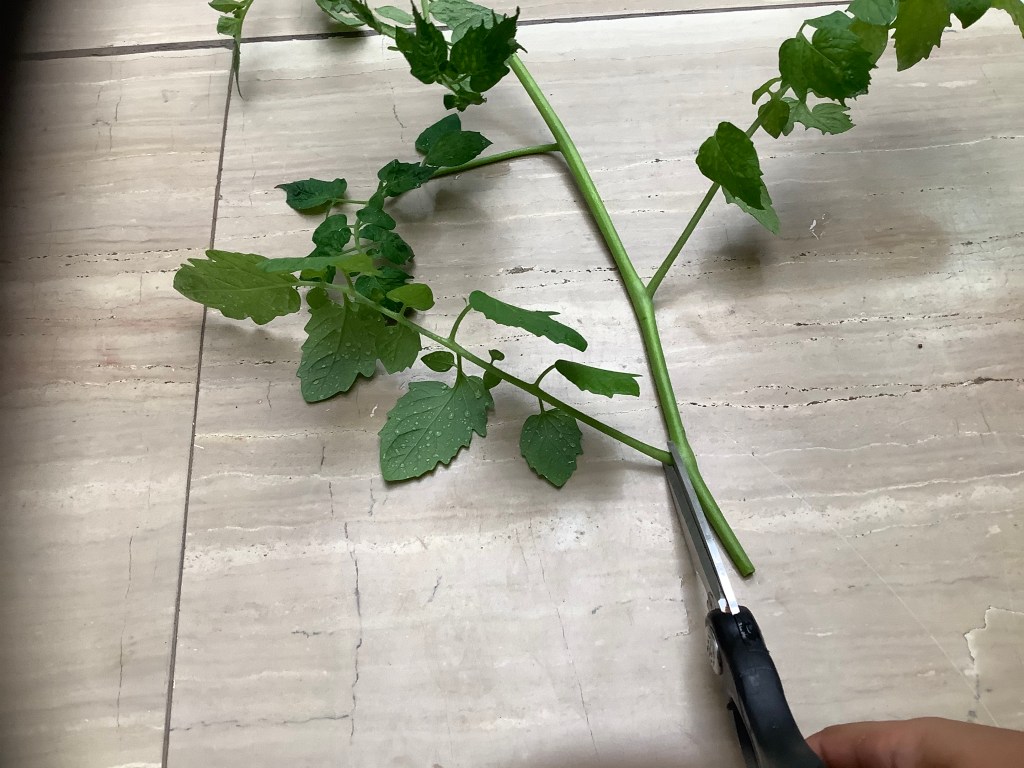
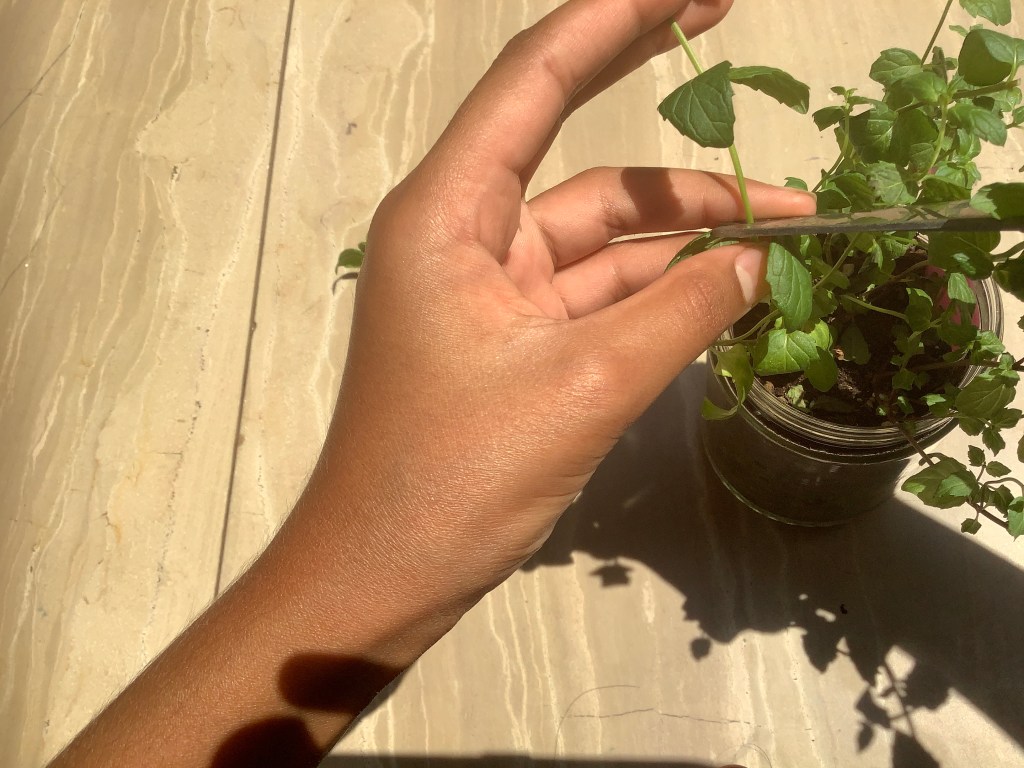
let’s start with our mint! Trimming mint is like trimming basil. You cut the stem at a leaf node so that your plant will get more bushy and put out more new growth.
Check out my post about pruning basil here: https://tigershakti.wordpress.com/2020/07/27/how-to-prune-basil/

Here is what a leaf node looks like on a mint plant:

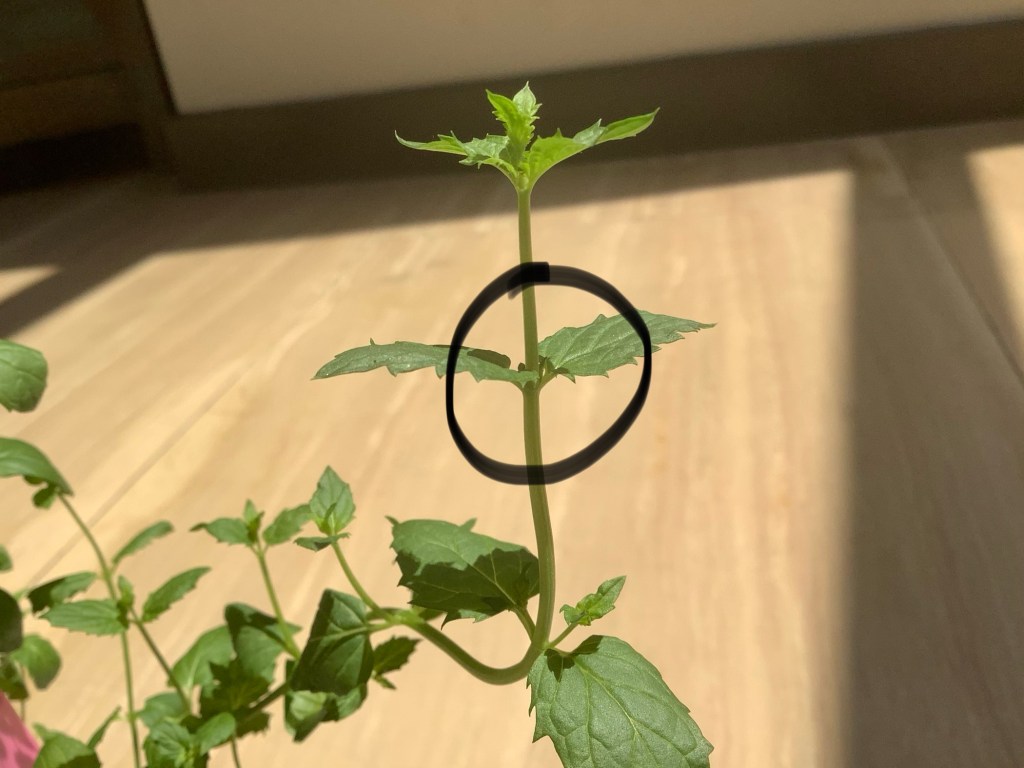
Sometimes when your mint stem gets pretty thick, you will start to see little branches coming out of the leaf node before you even cut the stem!

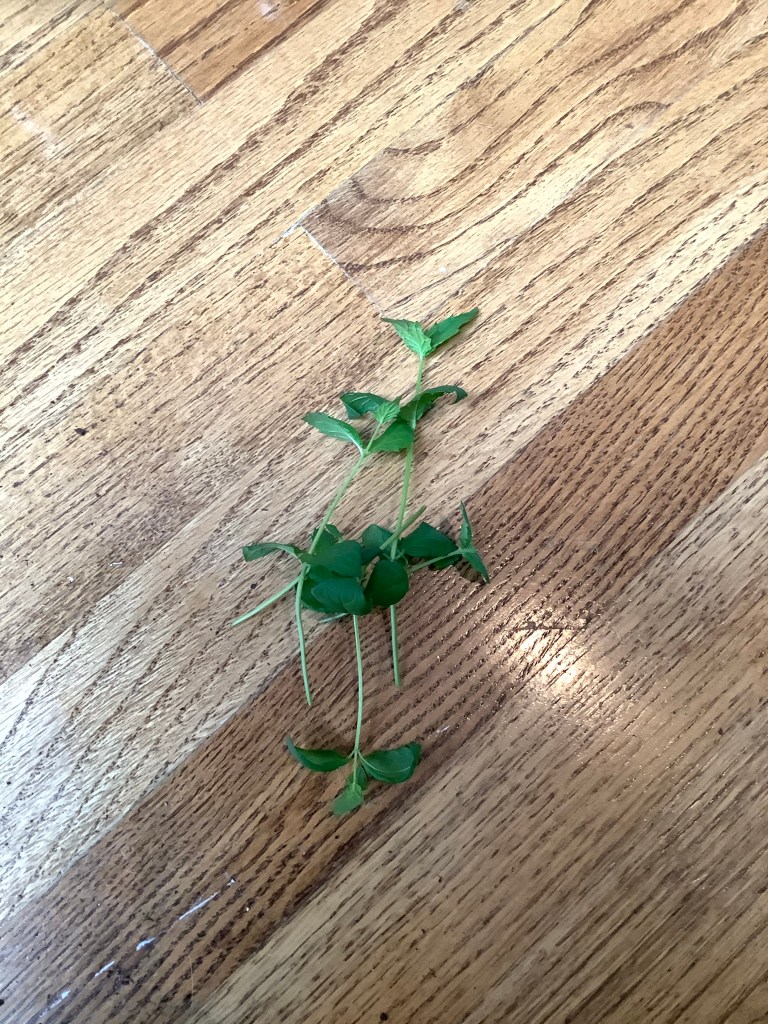
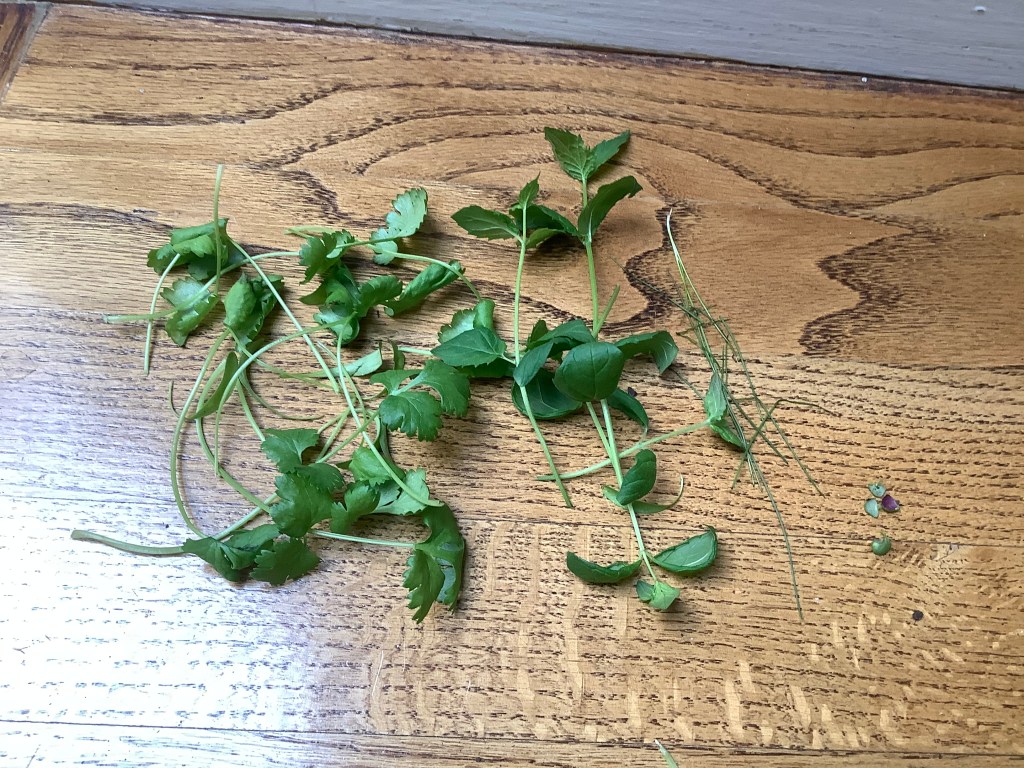
Because mint grows so aggressively, you can cut your plant pretty low on the stem. Here is how I pruned my mint:

Remember, cut the stem right above a set of leaves!(a leaf node)

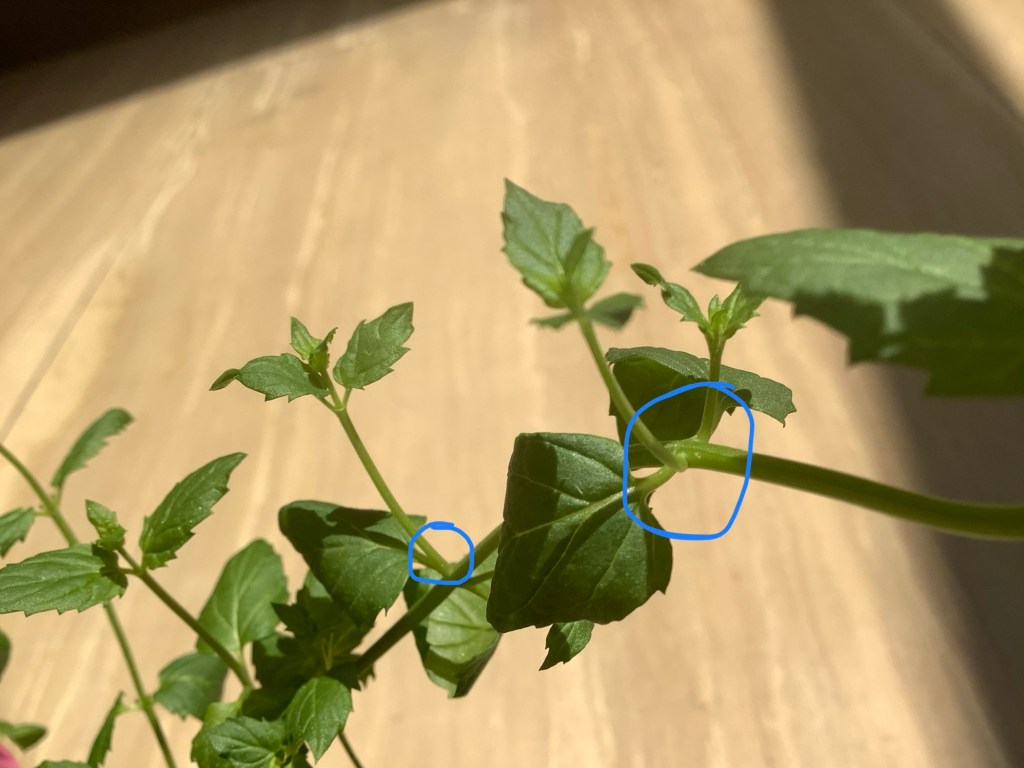
Here is a mint stem that I cut in another tutorial. See how the one stem branches off into two at the leaf node? That is what we are going for. Nice and bushy growth!

That is how you prune mint!
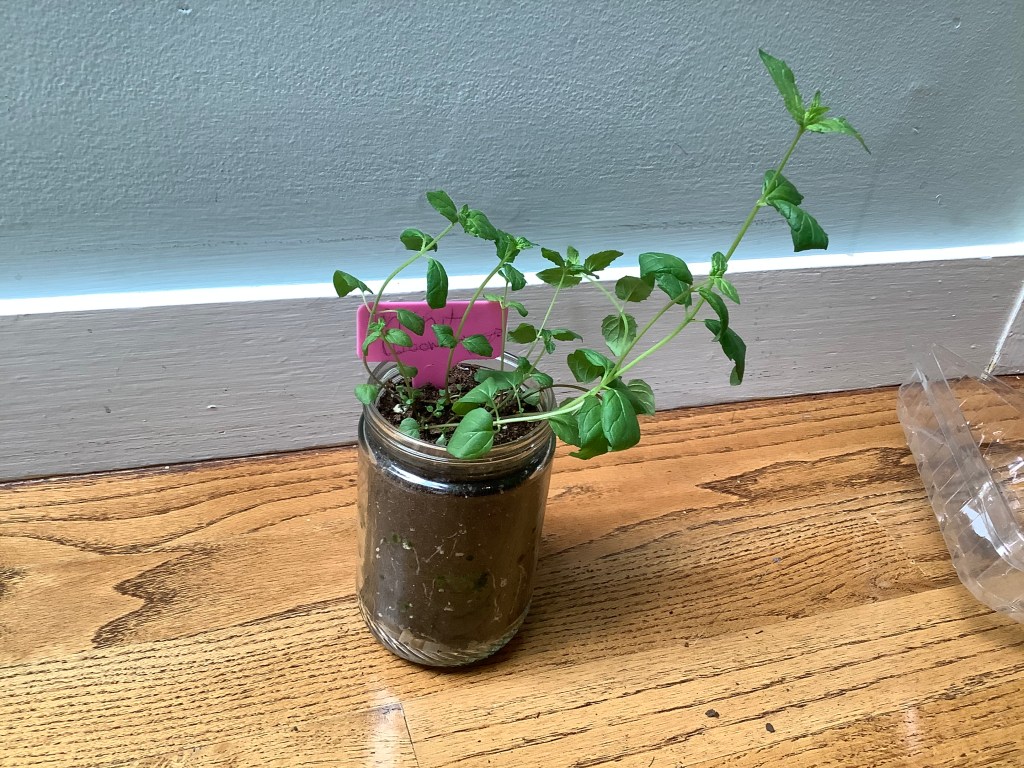
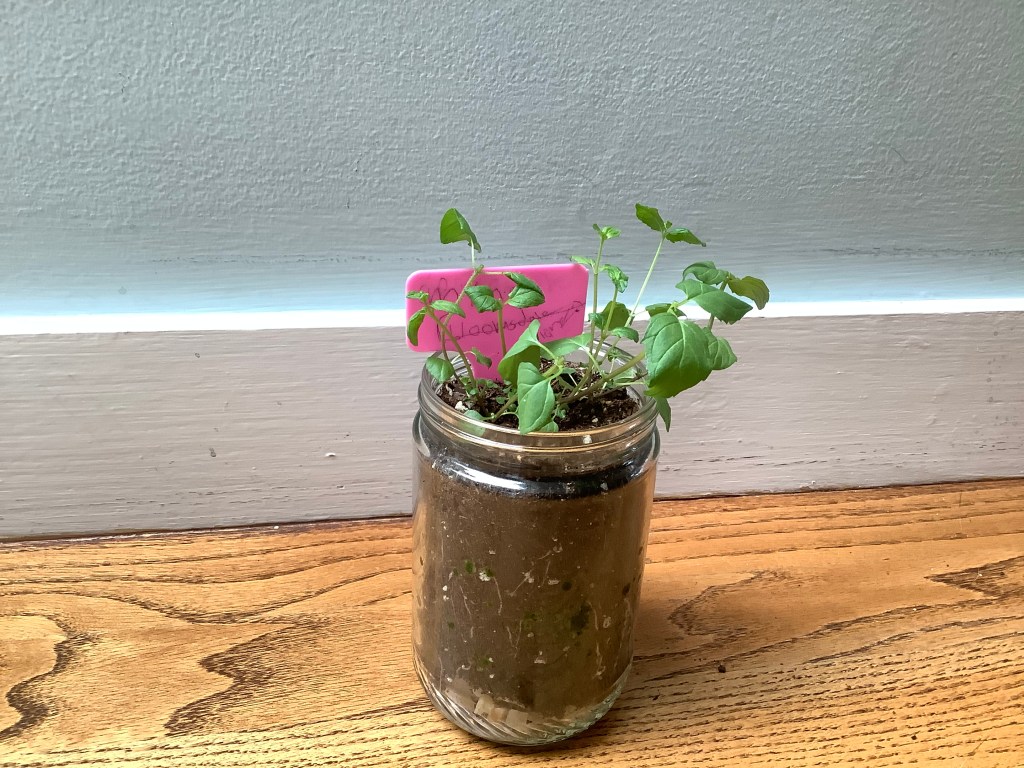
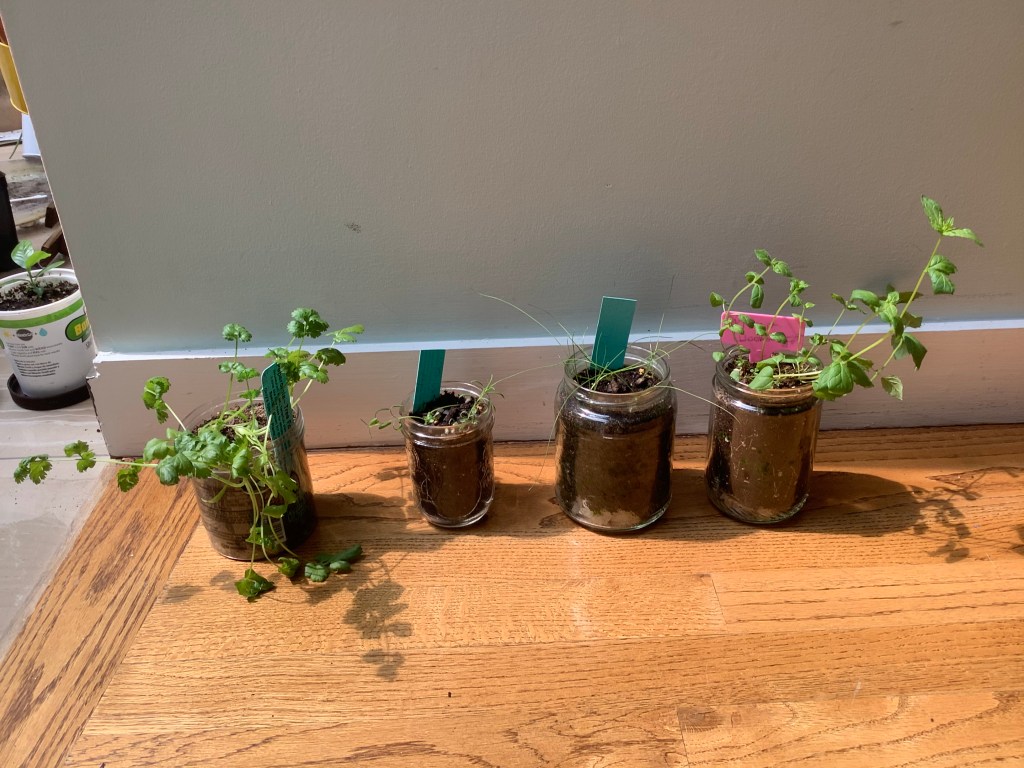
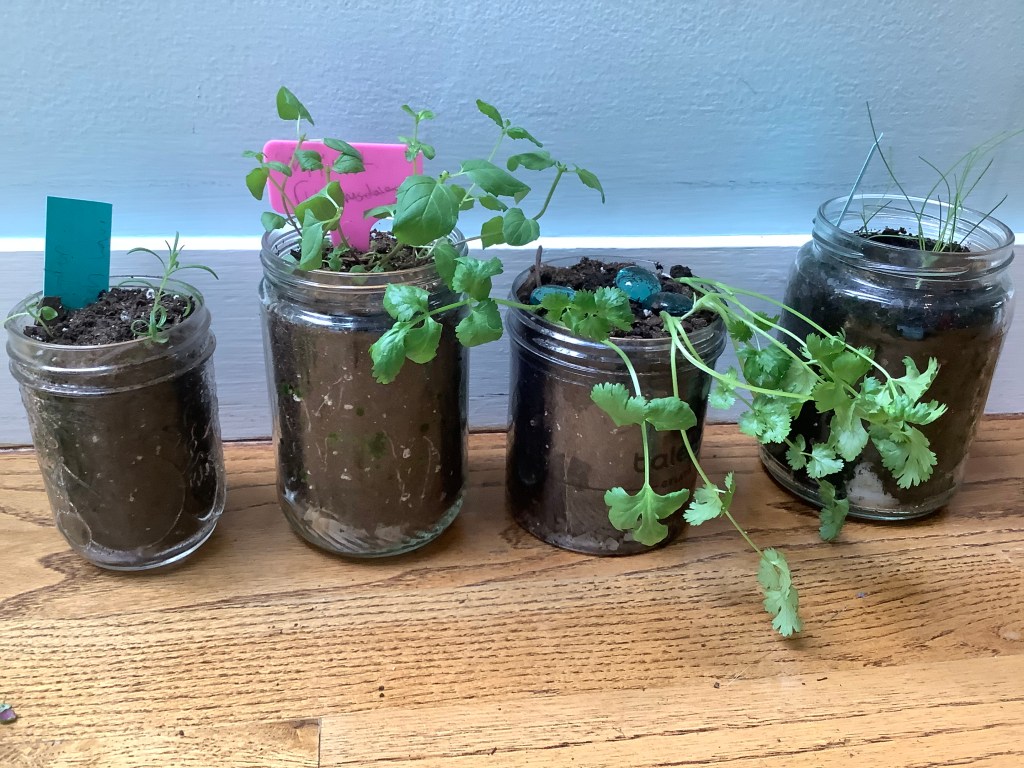
Here is the plant before and after:

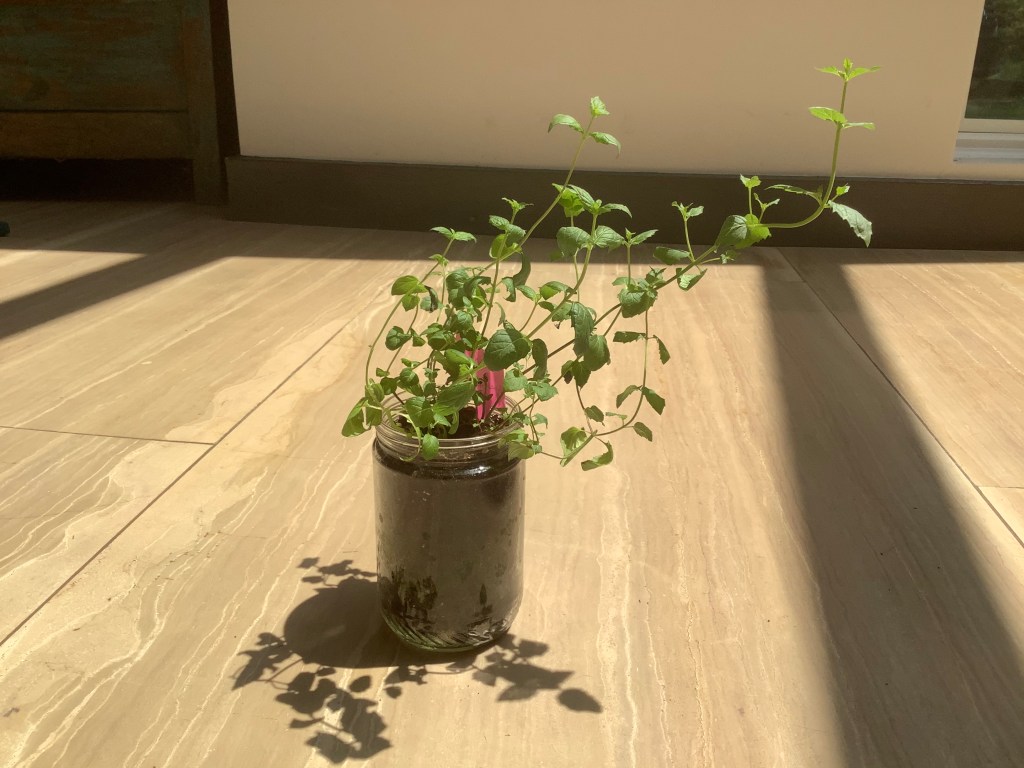
Like we did here, you can still cut mint back pretty aggressively and your plant will grow back stronger then ever.

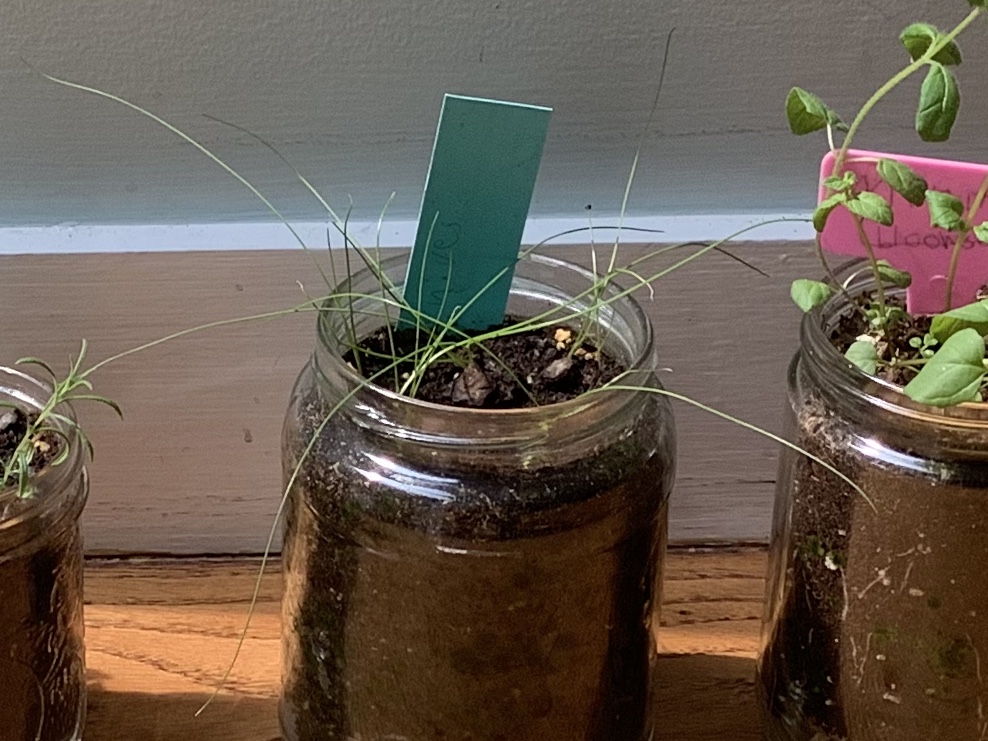
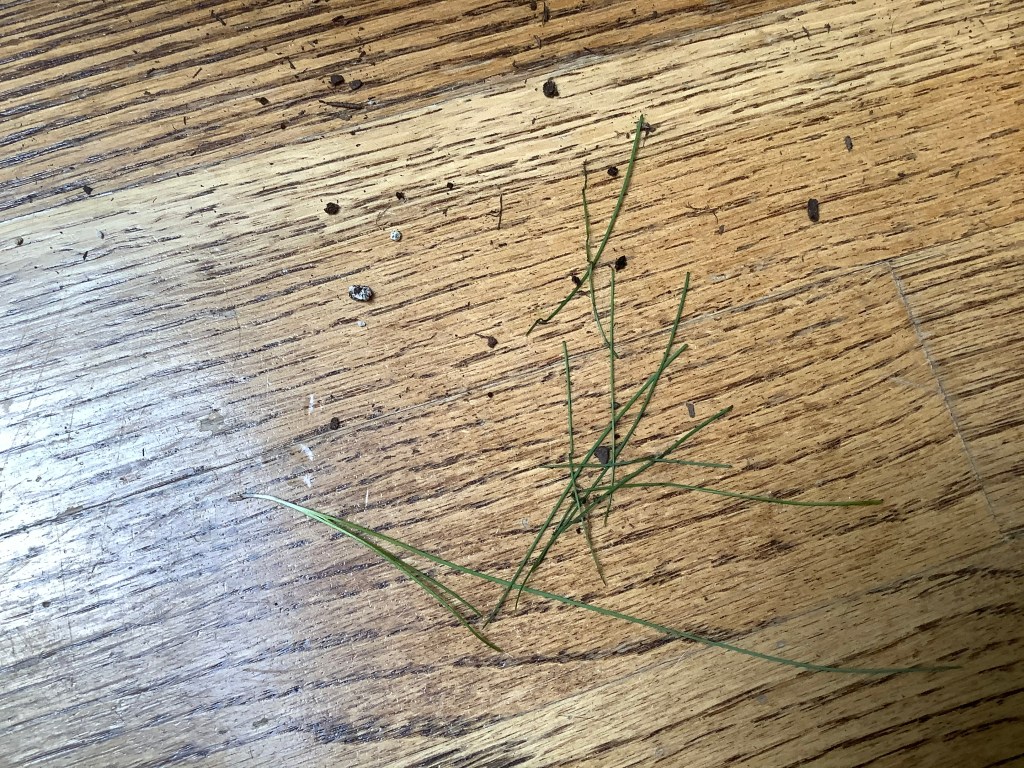
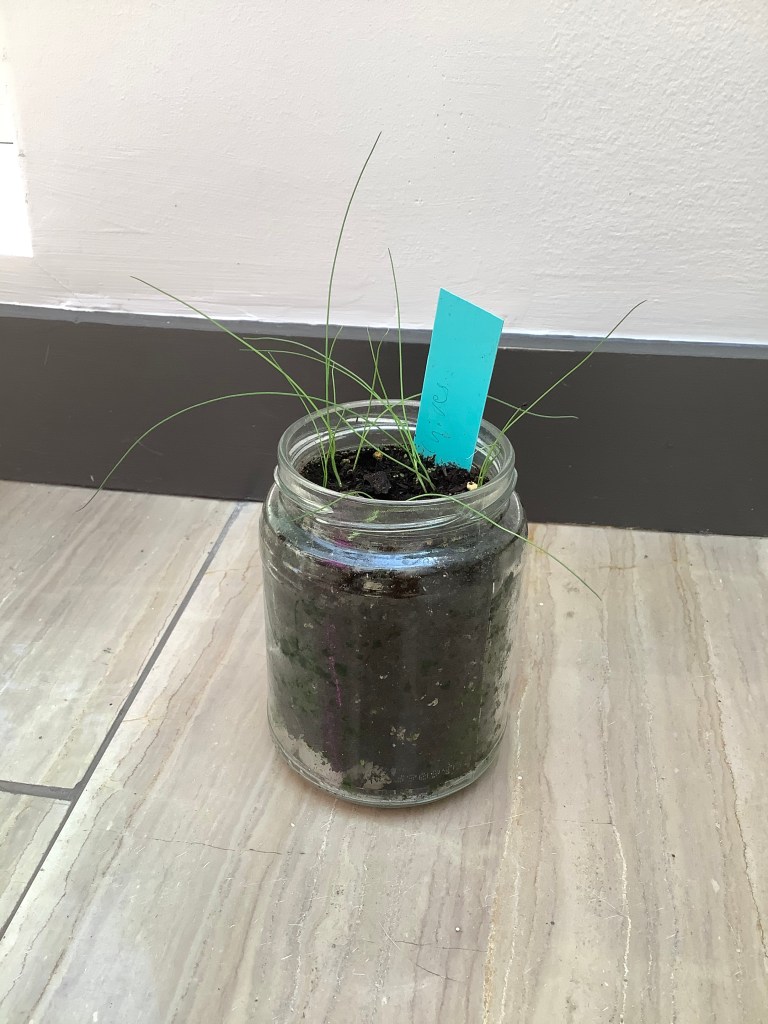
For the chives all I am going to do is to give them a little haircut so they keep growing.

Before we rap up this post I want to say that when you first start your mason jar herb garden, it will take a little while for it to start producing a usable amount of herbs. So that is all the more reason to start your own mason jar herb garden right now! Make sure you check out my other mason jar herb garden posts!

That is it for today’s post! I hope you enjoyed it! See u guys on my next post! Bye!

Small space gardening #1

Recently many people have been starting to garden. Especially now, during the coronavirus pandemic going on. But not everyone has a garden to grow in. In this same we are going to look at container gardening and other small space garden options. Make sure you look at my mason jar herb garden posts!
let’s get started!

In this post, we are going to talk about a pretty popular way of small space gardening, container gardening! Container gardening is definitely your best bet for small space gardening. Here are some pros and cons of container gardening:

Pros: Portible, if you need to move your container to a sunnier location or a dryer one, container gardening makes this super easy! All you have to do is pick it up and move it. Another pro of container gardening is that you get less weeds because your plant is not in the ground. There are many more good things about gardening in containers but that is all I’m going to mention today.

Cons: a con of this method of gardening is that because your plants are in a restricted area, their roots suck all the nutrients out of the soil. Which means that your have to fertilize your plants more often. The last con that I have about container gardening is that your have to water more often. But this can be fixed by installing a drip irrigation system. But I don’t recommend trying to do that if this is your first time container gardening.

Over all, container gardening is a super fun and reliable way to garden. I really recommend it if you are a beginning gardener, or if you are an expert gardener.

That is all for today’s post! I hope you enjoyed it. In the next post of this series, we will talk about how to make/grow your own container garden! Stay tuned for my next post. Bye!


Fertilizing my citrus plants/trees!

Hi guys! Today I am going to be fertilizing my citrus plants/trees. I am going to be doing this in a video today! See you there!

Seed haul!

Hay guys! Today’s post is going to be a seed haul! All the seeds came from Baker creek heirloom seeds. Let’s get started!

Also, I just want to say, I apologize if anybody takes this as bragging, it is not my intention to do so.

First I got these flowers to bring in some pollinators. They are;

Next we have three varieties of basil. Our family really loves basil, which is why in addition to the 15 plants we already have growing, I also bought these! I chose the Saim queen Thai basil because my family uses Thai basil in cooking too. I got the Persian and Greek dwarf basil just to have fun trying it out!

After that I got these seeds to add some color and variety to the garden.

Next, I got some bean and pea seeds. I was especially excited about these because we love band and sugar snap peas as a snack!

And last but not least we have some more greens seeds. We use so much cilantro and coriander in our cooking! The mustard seeds were a free variety that came with my order.

That is it for today! I hope you all enjoyed this post. I will be posting a video version soon. Keep a lookout for some posts on planting tips and care for the seeds that I got. Bye!

How to propagate a tomato branch to get another tomato plant!

Hi guys! Today I am going to show you how you can take a broken tomato branch, (or sucker) and turn it into a new plant! Let’s get started!

First you need your branch. Mine is a bit big, but you can definitely use a smaller branch.

Next we need to prepare our branch. To do this, all you need to do is to snip off the lower leaves on your tomato plant. Also, if there are any flowers, gently remove them. This way your branch will focus on making roots instead of making one last batch of flowers.

Once you’re done that, you need to get a container that can hold water and that is big enough for your branch. Fill it up with tap water.

Now, put your branch in your container with water.

Also, as an experiment, I am also going to try propagating some large tomato leaves.

All that’s left to do is to put your branch in a mostly sunny area, (it they are in super intense light, it can shock them) and if your container is clear, cover it’s sides with a paper towel to minimize the amount of sunlight that hits the water. (To much sunlight in the water can encourage algae to grow.

That’s it for today’s post! I hope you enjoyed it! I will be posting updates on the tomato branches! Bye!

Mason jar herb garden maintenance!

Hi guys! Today we are going to to some work on our mason jar herb garden. The herbs need some trimming and some of the soil levels are going down. Let’s get started!

First we need to help our cilantro. I’m gonna give it a hair cut and add some more soil.

Next we need to trim the lavender. All I’m gonna do is take of the seed leaves and add some more soil.

Now we need to trim the mint. When you cut mint, you can be a little bit more aggressive because it is a more vigorous herb.

Lastly, we need to trim the chives. Trimming chives can be a little tricky because of the way their leaves are shaped. I like to just cut the tips off of my chive seedlings.

That’s it for today’s post! I hope you enjoyed it and learned something from this post! Click Here to see how I made this garden! Stay tuned for my next post. Bye!

Mason jar herb garden update!

Hello! A while back I did a post on growing herbs in mason jars from seed. Now after a bot over a month, here is what they look like now:

The mint is doing good!

So are the chives!

looks like the cilantro needs a haircut!

Last but not least, the lavender is looking a little small, but it’s still pretty healthy!

That’s is for today’s post! I hope you guys enjoyed seeing how the mason jar garden is growing. I sure am! Click Here to see how I made it! I hope you all have a good day. Bye!

Trying out two buzzy grow kits!

Hello! Today I am going to try out a couple of buzzy grow kits. I got the mint one and the spruce christmas tree one. I got this one as a gift from a friend (!) but you can also get similar ones on Amazon. Lets get started!

First I read and took off the cover on the spruce kit. It came with a seed packet, 3 expandable soil pellets, and the container it came in. Here are a what one of the soil pellets looked like:

To start, you are supposed to expand the pellets by putting them in a container with water. Then, you fill your container. I saw that the three pellets only filled a little less than two thirds of the container. So I took two of the mint kit’s soil pellets and finished filling it with those. After the container is filled with soil, you bury the seeds. This particular kit came with around three. I hope they germinate!

Now it’s time to do the mint kit. Because I used most of the soil that the mint kit came with for the other one, I filled the mint kit with my own potting mix. And, just because I already had my gardening stuff out, I put some rocks for drainage at the bottom.

And lastly, I planted the mint seeds and then watered it down.

I hope you enjoyed this post! Once these grow, I will post an update.
Bye!

How to grow mason jar herb garden!

Hi guys! Today I am going to start a series about growing a garden indoors for people who don’t have an outdoor garden and/or for anyone who wants to grow a garden indoors. Let’s get started!

The first step to grow herbs in mason jars it to (obviously) get a mason jar. Your mason jar could be anything from a cleaned jam or salsa jar, to a store bought jar. I like to use recycled jam, salsa, etc. for growing my herbs inside.

Next, we need some soil and drainage material. The drainage material helps to hold the excess water from the plant‘s soil so the roots do not rot. Drainage material can be rocks, shells, or broken terra-cotta pieces. When you get your soil, it’s important to buy potting mix because if you just get it from outside, it can have bugs, other seeds, and more things you don’t want in your mason jar herb garden. To fill your mason jar, place your drainage material on the bottom to about 1/2 to 1 inch high.

Then, take your potting mix and fill your jar till the soil level is around where the cap screws on.


After your mason jar is filled, chose the type of herb seeds you want and plant them according to the packet they came in. Plus, don’t forget to label your jar so you know what is inside it!

After you plant your seeds, gently water them and place your mason jar in a sunny area. Most herbs like full sun, which it 6+ hours of sun. Depending on how big your mason jar is, you should water your plant every other day to every day.

Thanks for reading today’s post! Keep a lookout for an update on my herbs, and my next post. See you then!

Drying herbs! (Herb Drying Part 1)

Lemon Balm bundle

Yesterday, it was good weather outside, so I decided to harvest and trim some of our lemon balm. To make sure that the cuttings would keep, they had to be dried. FUN FACT! many herbs taste stronger when they are dried! Here I am using lemon balm as an example, but most herbs can be dried like this. 

First, I washed the lemon balm cuttings to get rid of any dirt. Then, after they were dry, I made Bunches of lemon balm cuttings that were about the same size. FUN FACT! Lemon balm is a good herb for making tea! 😋 After that, I took a rubber band (I have leftover rainbow loom bands from craft projects so I used those), and tightly wound them around the top stems of the lemon balm cuttings.

Making bundles using rainbow loom

Next, I took some spare paper clips and unfolded them like this:

( you can use big ones or small ones)

After I had prepared the paper clips, I took one the smaller end of one of the paper clips and slipped it in the rubber band that was holding the steps together, and there you go! Some Lemon balm cuttings (or most other herb cuttings) ready to dry! FUN FACT! Lots of herbs like the mint family, rosemary, etc, like to be trimmed and grow even better with proper pruning! Stay tuned for a post about trimming/pruning herbs!

Keep a lookout for my DIY herb drying rack post tomorrow!