
Hey guys! I am going to try a new posting schedule – every Friday and Monday. Plus if I have the time, I might add extra posts in the middle. Now let’s get started!
It’s time to finish setting up our watercolor pallet! Today we are going to label our colors and make a color reference. Labeling your colors makes everything easier because that way it’s easy to match your colors to your color chart. Plus, the color chart is important because when the watercolors in your pallet are dry, they tend to not look the same when they are painted on paper.
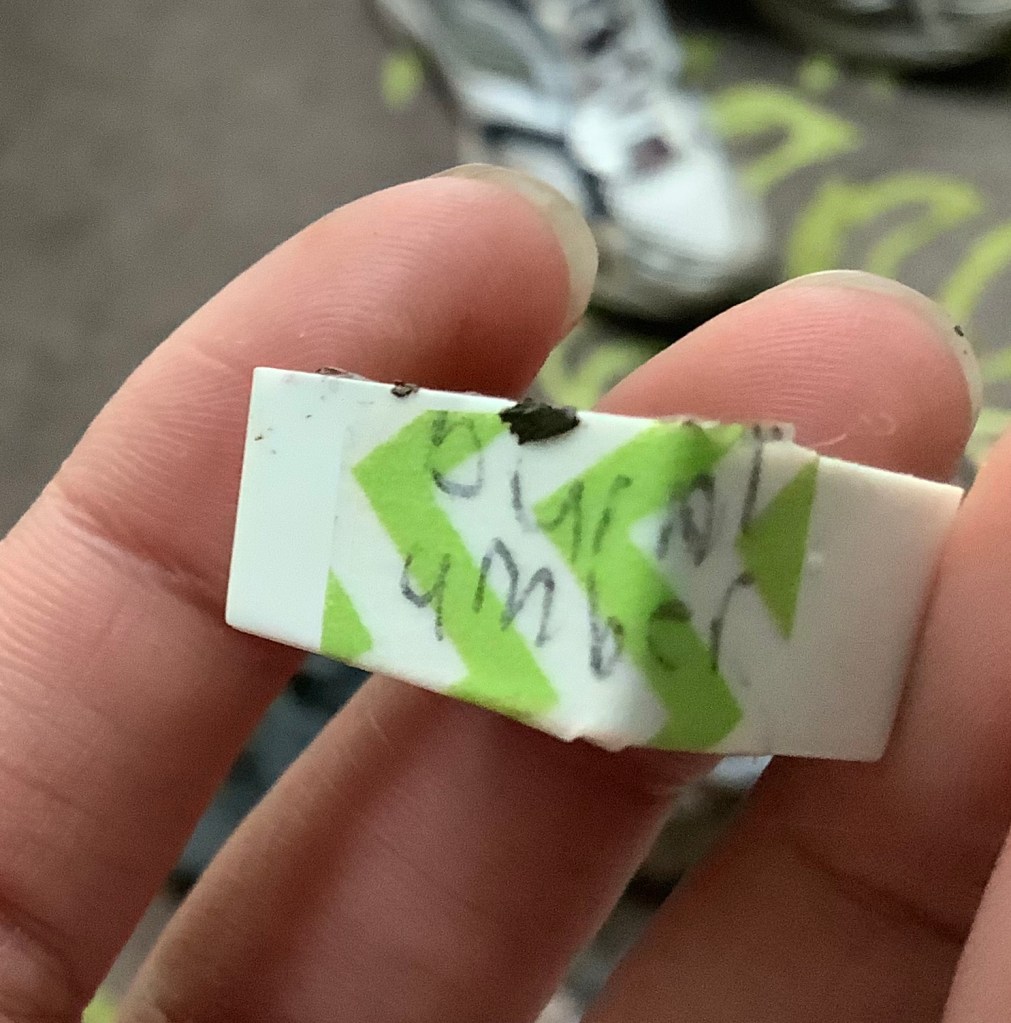
First, let’s start by labeling our pans. I used a piece of washi or masking tape and stuck it to the pan with the color name on it, so I can take it off and change the color if I wanted to.
Once that is done, it’s time to make our color reference or color chart!
To start, cut a piece of watercolor paper that fits inside your pallet.
If you want to make yours simple all you have to do is make little swatches of each color in the order you want them in your pallet, and once they’re dry, you can just write the color names.

I like to take mine to the next step, and make it adjustable and waterproof! If you want to learn how to do that, keep on reading.
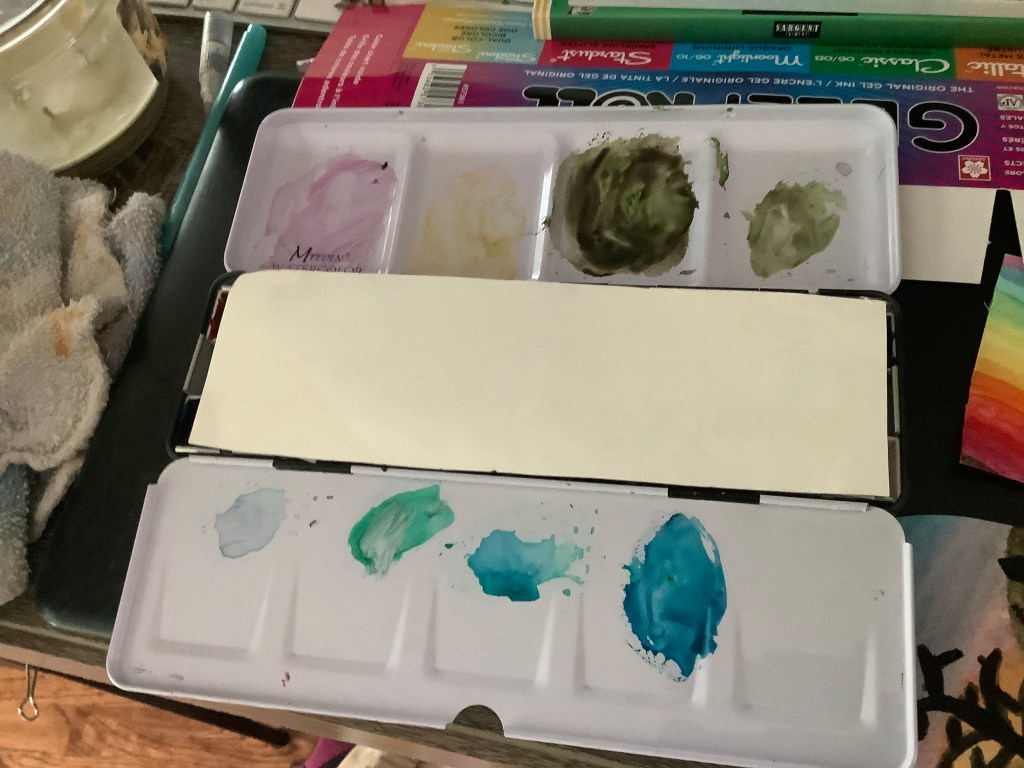
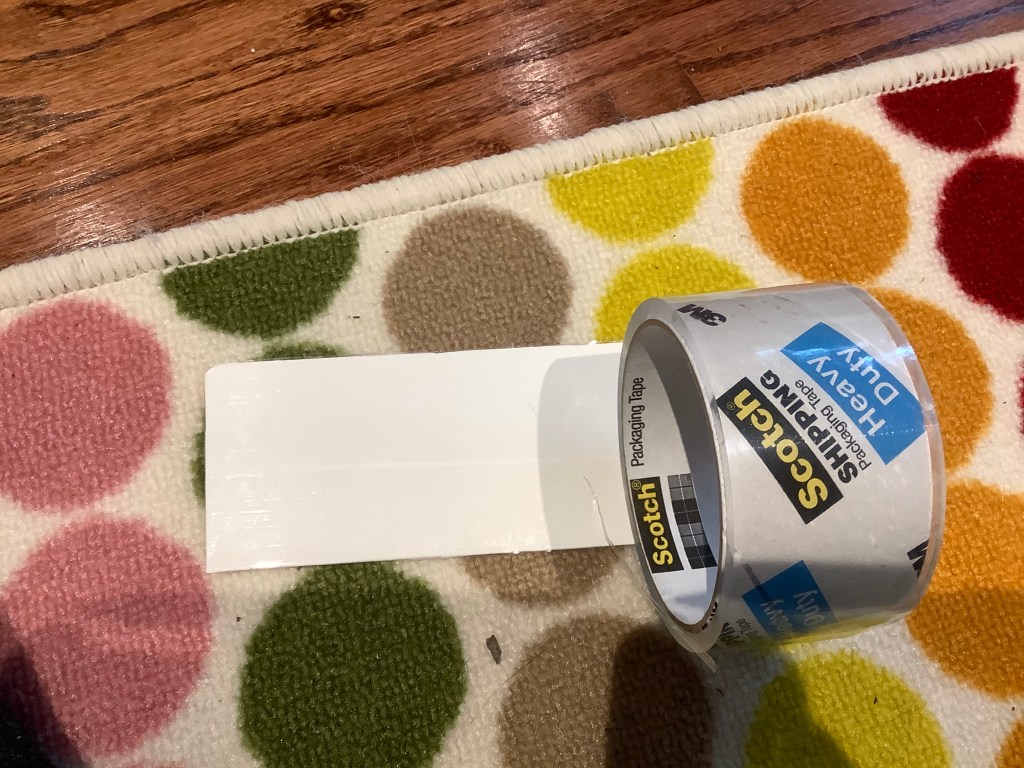
Now it’s time to make our more complicated color reference. To start, cut a piece of watercolor paper that fits inside your pallet. Then, on a separate piece of watercolor paper, Make all the color swatches and quickly write the color name so you don’t forget. Then, while that is drying, take the watercolor paper that is cut to fit your palate, and cover it with packing tape.
Once that is done, cut little color blocks out of your swatches. (If they are wet, they may tear) Also, write small color names to fit with your now cut out color swatches. After that is finished, take your packing tape, or normal tape, and “laminate” your swatches with their color tag. (Make sure that the back is also covered)
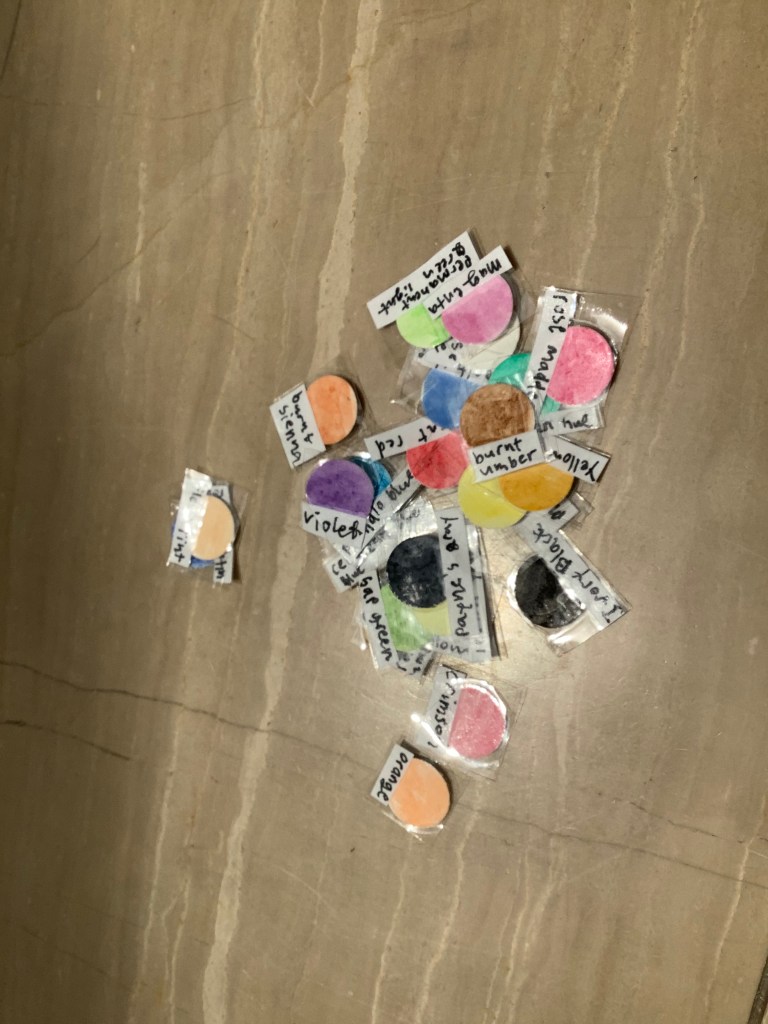
Next, take some glue dots and stick them on the back of your swatches and then put them on your laminated cut out piece of watercolor paper. Arrange them till you are happy with how it looks.
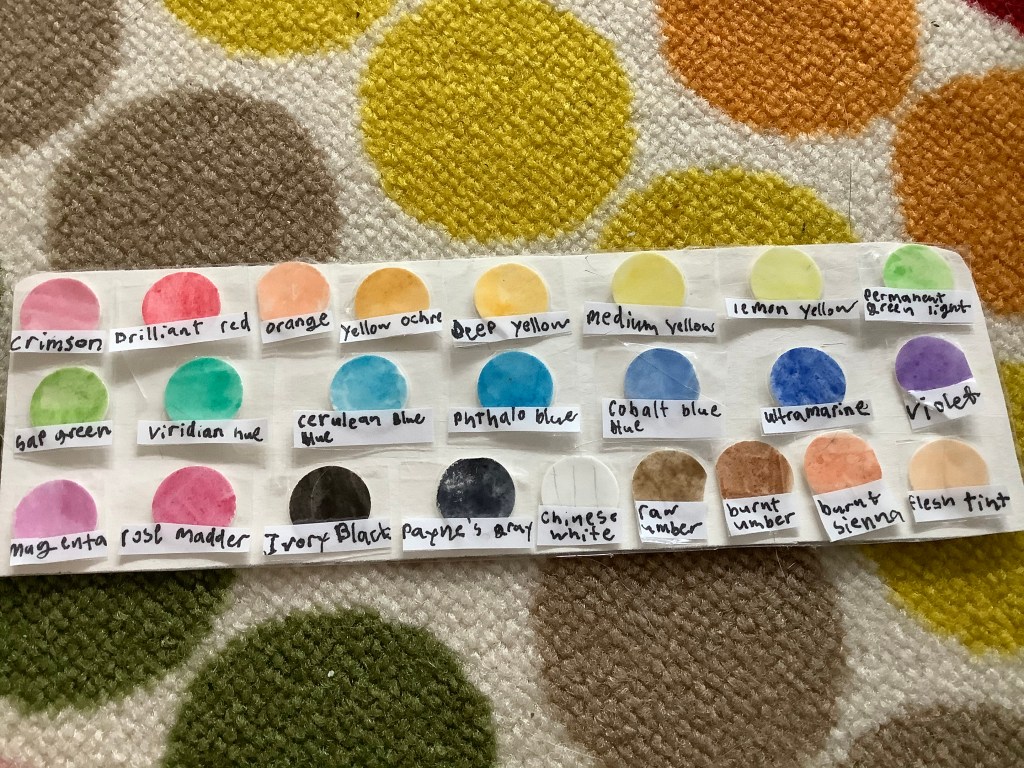
Once you have your color chart, you’re done! Now you can see what every color truly looks like, and have the ability to rearrange them without having to make a new chart! See you soon!

